Learn to crochet a trendy and versatile hand bag with our Free Crochet Portfolio Hand Bag Pattern that combines style and function in one project.
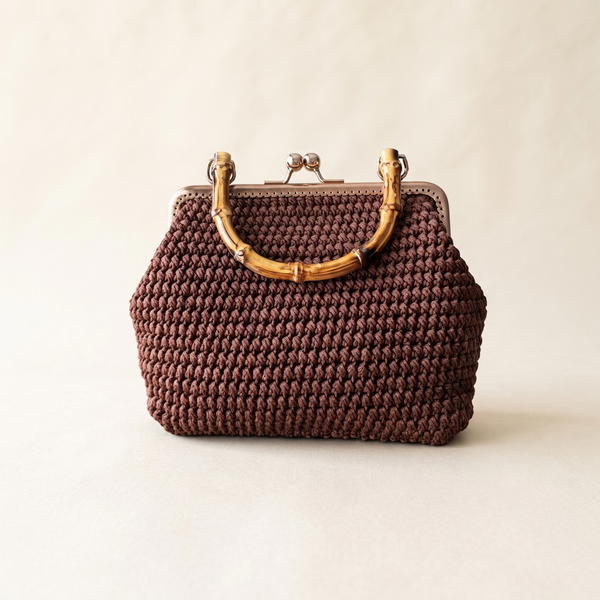
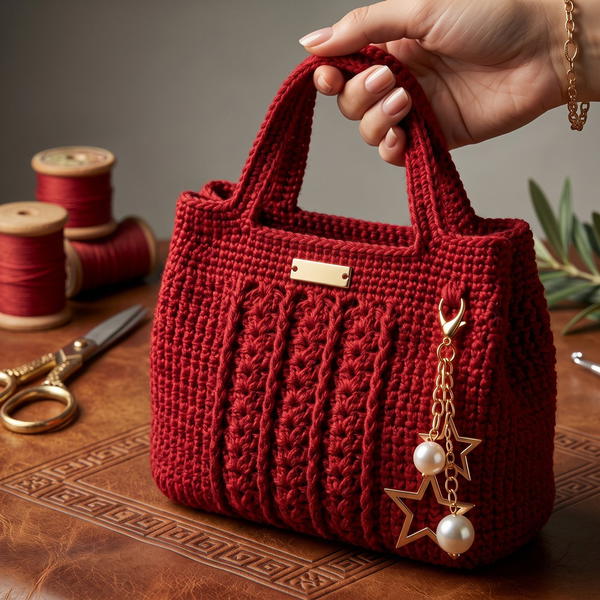
For those who love combining art and function, the Free crochet Portfolio Hand Bag pattern is a project worth exploring. This chic and compact accessory is perfect for keeping your daily essentials in style, offering both practicality and a handmade, elegant touch. Created with inspiration from Örgü ütopyası, the handbag’s design is as versatile as it is beautiful, making it a wonderful addition to your wardrobe or a thoughtful handmade gift.
Free Crochet Portfolio Hand Bag Pattern Must Try
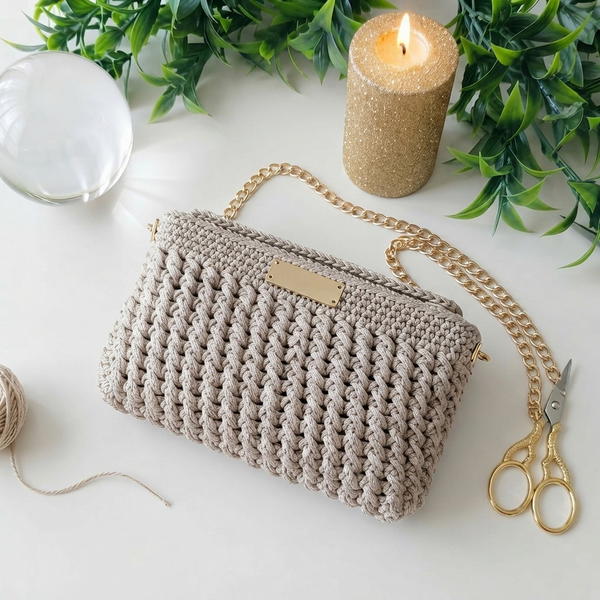
With its rectangular shape and sleek style, this portfolio handbag is ideal for carrying items like notebooks, gadgets, or other small essentials. The design is modern yet timeless, featuring intricate crochet patterns that add a layer of sophistication to its appearance. The texture is soft yet firm, ensuring durability while maintaining an attractive and polished look.
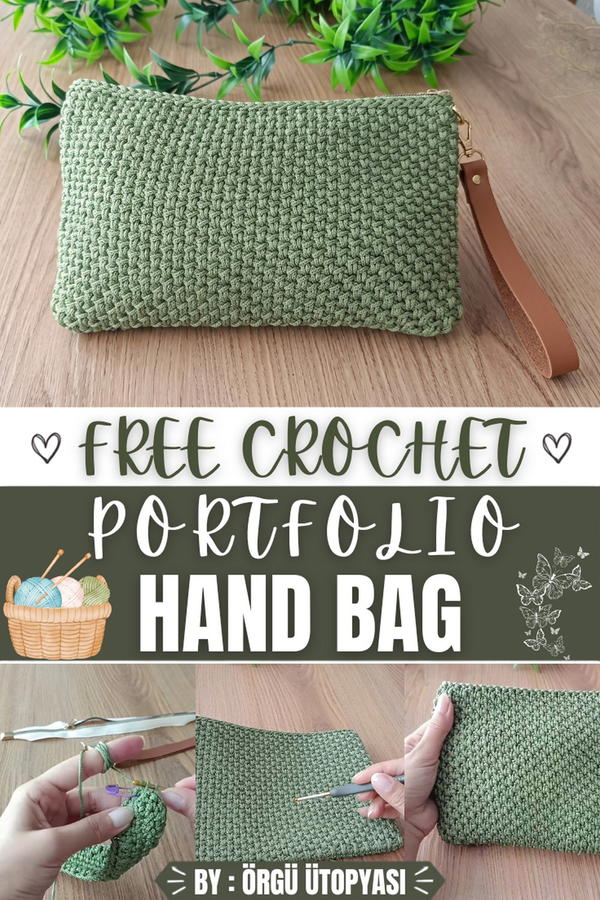
This crochet project excels not just in utility but also in charm. Its minimalist design works seamlessly with various outfits, making it a go-to accessory for work, casual outings, or even special occasions. You can also customize its colors to suit your personal style or create a unique gift for someone special, perfect for birthdays, anniversaries, or just as a heartfelt gesture.
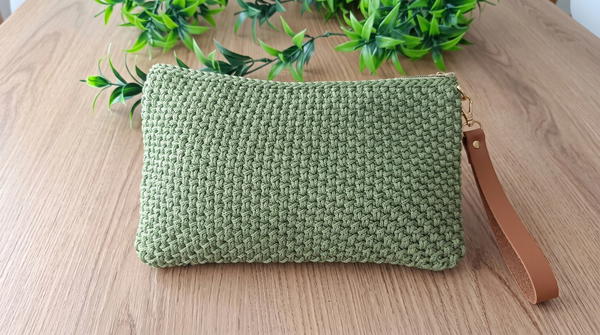
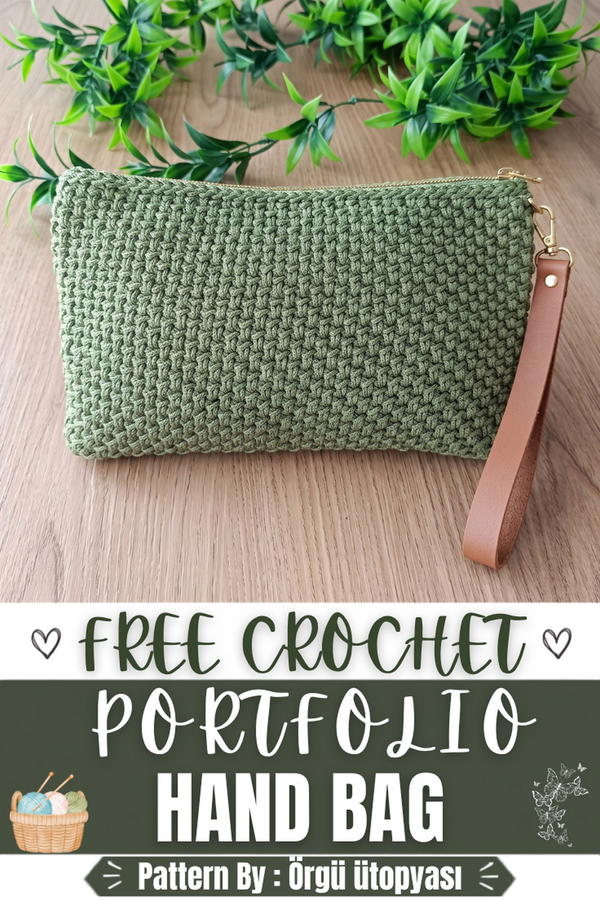
Crochet Zippered Portfolio Clutch Bag Pattern
This pattern provides a clear, detailed guide for creating an elegant, zippered portfolio clutch bag, ideal for storing essentials such as documents or personal belongings. With a structured design, sturdy macramé yarn, and a subtle textured pattern, this clutch combines form and function. It also includes lining, a zipper closure, and an optional wrist strap for added style and usability.
Skill Level
Intermediate
This project is suitable for crocheters with a solid understanding of basic crochet stitches and techniques, particularly working in rounds, back loop only stitches, and sewing finishes.
Materials
- Yarn: Macramé yarn – this type of yarn is ideal due to its durability and ability to hold shape well.
- Lining Fabric: Adhesive fabric (interfacing) for the interior of the bag.
- Hardware: Zipper (matching size to the bag’s opening) and a small handle or strap.
- Crochet Hook: Size appropriate for your chosen macramé yarn. For 2mm macramé yarn, a 3.5mm crochet hook is recommended.
- Sewing Tools: Needle and matching thread for hand-sewing the lining and zipper.
- Scissors and Measuring Tape: To trim the yarn and measure dimensions.
Special Stitches
- Single Crochet (sc): Insert the hook into the stitch, yarn over, pull up a loop, yarn over again, and pull through both loops on the hook.
- Back Loop Only Single Crochet (BLO sc): This is a regular single crochet, but it is worked into the back loop of a stitch only.
- Long Single Crochet: A variation of the single crochet, worked by inserting the hook into the stitch one row below (instead of the current row).
Stitch Abbreviations
| Abbreviation | Meaning |
|---|---|
| ch | Chain |
| sc | Single Crochet |
| BLO | Back Loop Only |
| sl st | Slip Stitch |
Useful Tips
- Use a stitch marker: Since some parts of the bag are worked in continuous spirals, use a marker to note the beginning of each round to prevent losing track of your progress.
- Neat Finishing: Work the last row of slip stitches carefully to create a clean and sturdy top edge.
- Shaping the bag: Ensure the macramé yarn’s firm texture is worked with consistent tension for a professionally shaped clutch.
- Precise cutting for lining: Cut the adhesive lining fabric slightly smaller than the bag’s interior to avoid puckering or bulk.
- Zipper sewing: Use small, even hand stitches to securely attach the zipper without twisting or distorting the fabric.
Detailed Pattern
1. Foundation and Base Construction
Foundation Chain:
- R1: Begin with a slip knot and chain 43 ch (approx. 24 cm).
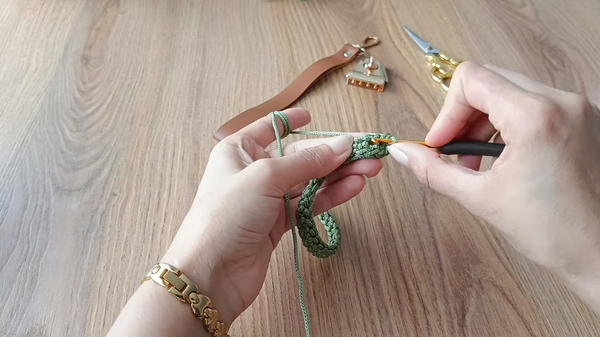
Base Rounds:
- R2:
- Work 42 sc into the chain, starting from the second chain (leave 1 chain unworked).
- Into the last chain of the row, work 3 sc to create a rounded turn.
- Continue working sc along the opposite side of the chain, placing 1 sc into each stitch.
- Into the final stitch, add 2 sc for the turn, joining the round with a sl st.
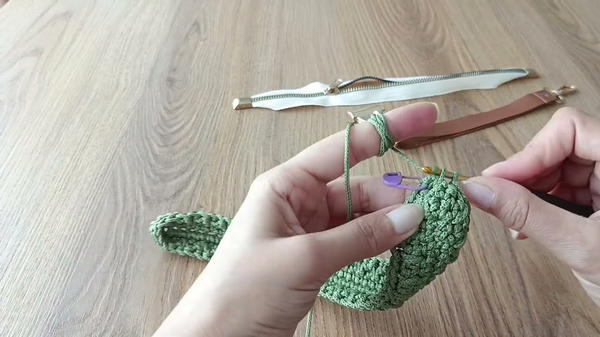
- R3: Chain 1 and continue in rounds. Work 1 sc into each stitch, adding 2 sc into each stitch of the curve sections to shape the base.
- R4: Repeat the increases for one additional round, placing 2 sc in each stitch along the curves and 1 sc in each stitch along the straight sides.
At the end of the base rounds, you should have a structured oval shape measuring approximately 31 cm x 8.5 cm.
2. Main Body of the Bag
Stability Rows:
- R5–R6: Work 2 complete rounds of sc into both loops (without any increases). This helps build the stability and strength of the bag before transitioning to the body pattern.
Mesh Pattern (Body Pattern):
- R7: Begin the textured pattern. Alternate between:
- 1 BLO sc (insert hook into the back loop only and complete a single crochet).
- 1 long sc (insert hook into the stitch in the row below the current one, yarn over, and complete the stitch).
- Repeat this sequence (BLO sc, long sc) around the bag.
- Remaining Rounds (R8–R35):
- Continue the mesh pattern in a spiral. Use a stitch marker at the beginning of each round to maintain alignment.
- Ensure an even alternation between the BLO sc and long sc throughout.
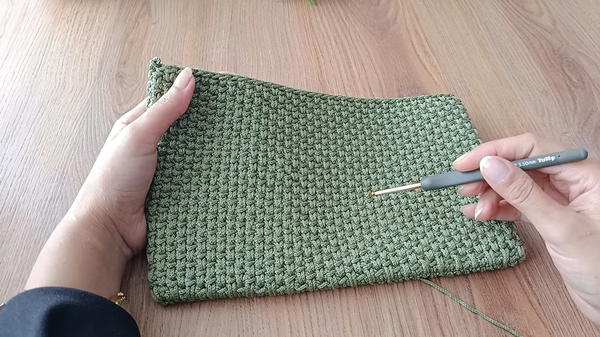
Once complete, the bag body should measure approximately 30 cm in height.
3. Finishing the Top Edge
Edge Round:
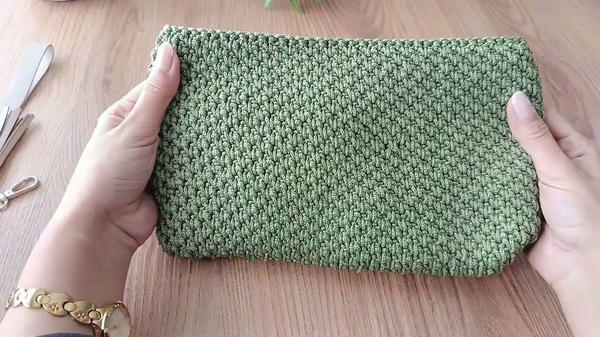
- After completing the body, finalize the top edge with a row of sl st around the top of the bag. This creates a clean, sturdy finish that stabilizes the opening.
4. Assembly
Lining the Bag:
- Measure the bag’s interior and cut the adhesive fabric (interfacing) slightly smaller than the dimensions to prevent bunching.
- Attach the liner to the inside using adhesive backing or sewing it by hand for a more secure fit.
Sewing the Zipper:
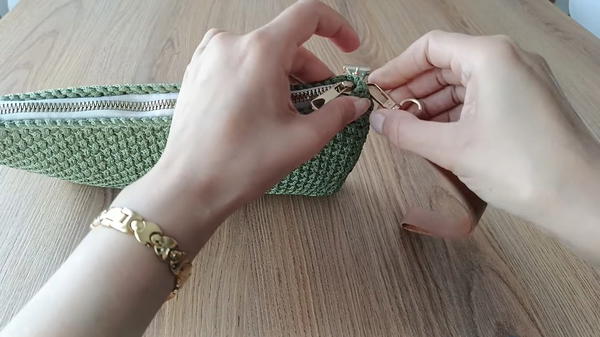
- Position the zipper evenly along the top opening of the bag. Use clips or pins to hold it in place temporarily.
- Using a needle and matching thread, sew the zipper onto the bag with small, even stitches. Make sure the teeth of the zipper align smoothly with the bag's edge.
Attaching the Handle/Strap:
- Attach the small strap or handle to one of the narrow ends of the bag.
- Sew it securely into place to ensure it holds weight without detachment.
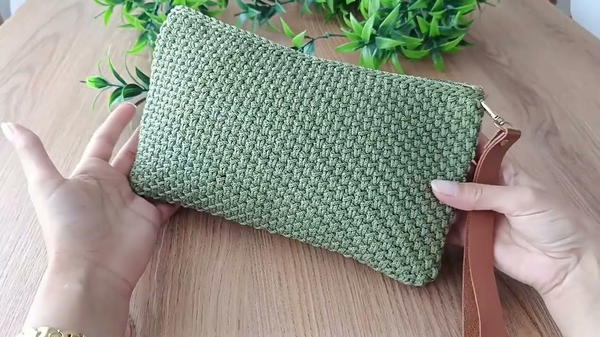
Assembly and Sizing
- Base Dimensions: 31 cm x 8.5 cm.
- Body Height: 30 cm.
When lining and attaching the zipper, ensure all components fit smoothly and cleanly for a professional finish.
Conclusion
This zippered portfolio clutch bag is perfect for a variety of occasions, blending practicality and elegance. The structured body, breathable pattern, and secure closure make it as durable as it is stylish. Customize the color and size to meet your needs or match your personal style. The addition of a handle ensures convenience, making it easy to carry wherever you go.