Mint Design Blog


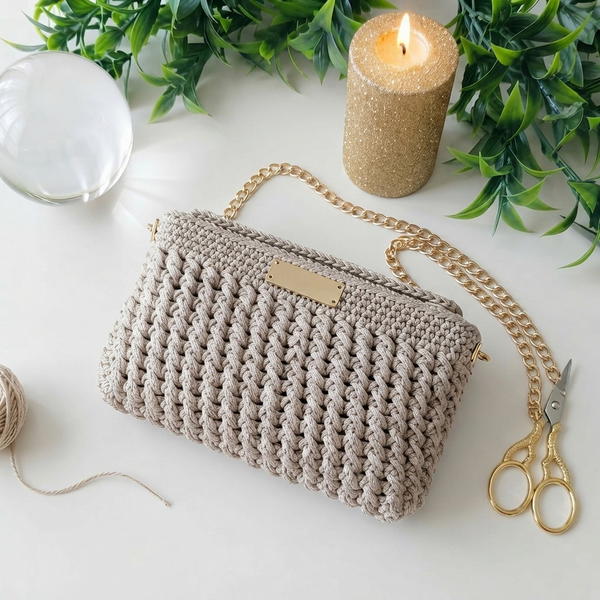
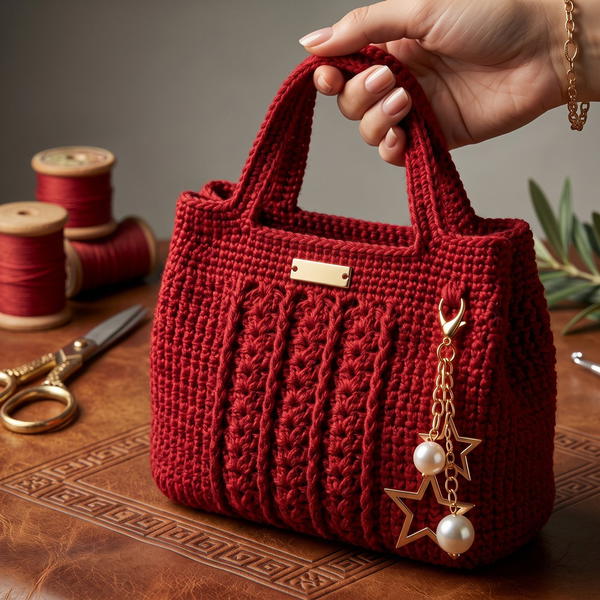
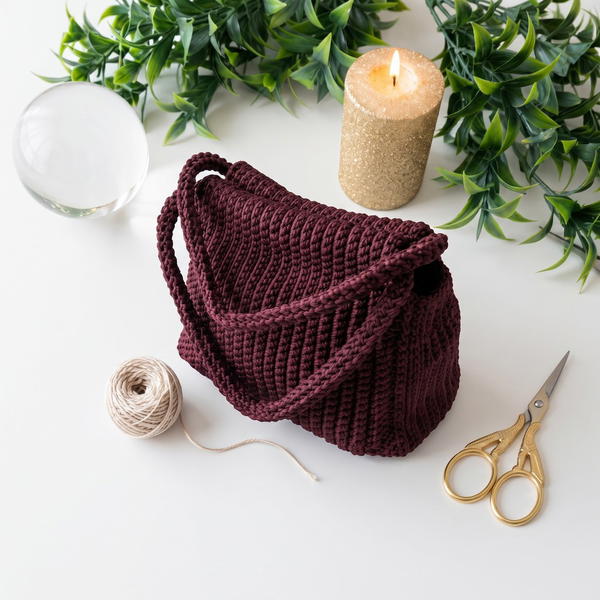
Upgrade your bag instantly with this Free Crochet Premium Bag Strap Pattern that shows you how to make stylish, durable straps adding flair and comfort.
Having a bag you already love, but its strap is plain or worn out. What if you could replace it with something handmade, strong, and stylish? Adding a premium crochet bag strap not only gives your bag a fresh and elegant look but also makes it unique and more personal. A beautifully designed strap can change how your bag feels and looks, making it more comfortable to use and elevating its style instantly.
Free Crochet Premium Bag Strap Pattern for a Stylish Touch
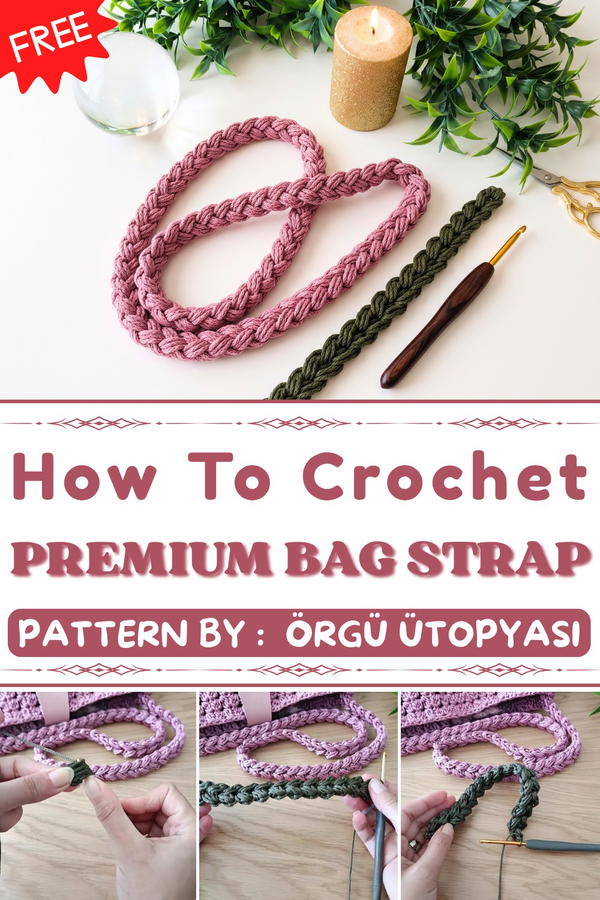
Örgü ütopyası, a skilled crochet expert, breaks down this process so beginners can easily follow along. She guides viewers step by step in an encouraging and simple way, ensuring no one feels lost. Her method of crochet involves using strong stitches that make the strap durable, so it lasts a long time, even with heavy bags.
The most attractive part of this crochet strap design is its braided and textured look, which makes it stand out as premium and classy. It’s not just about appearance, the strap is made to feel soft on your shoulder yet sturdy enough to handle weight without stretching too much. You can also pick colors that match your bag or your personal style, giving your old bag a completely new and modern appearance.
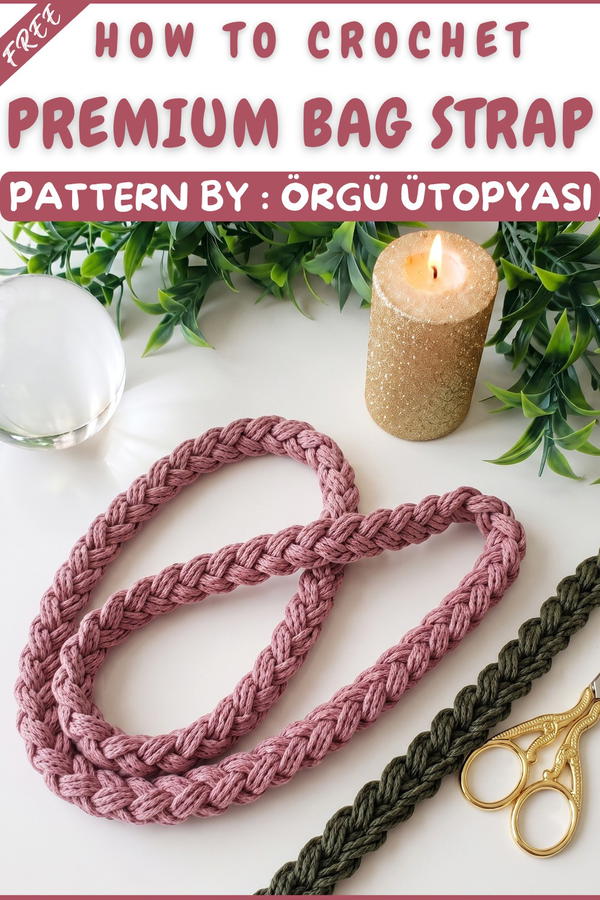
Premium Crochet Bag Handle Pattern
This elegant crochet handle uses the puff stitch technique to create a durable and visually appealing design. The seamless repetition of puff stitches forms a strong yet flexible handle that can be adapted to various bag sizes and styles. Suitable for projects requiring sturdy and decorative components, this pattern is simple yet sophisticated.
Skill Level
Intermediate: This project is ideal for crocheters comfortable with puff stitches and working in repeating patterns. Beginners with some experience can also attempt this with patience and attention to detail.
Materials
- Crochet Hook: 3.5 mm hook.
- Yarn: Size 3 yarn (lightweight, recommended for neat and structured results).
- Scissors: For trimming loose yarn ends.
- Tape Measure: For measuring the desired length of the handle.
Special Stitches
- Slip Knot: A simple knot used to begin the foundation chain.
- Chain (ch): A basic stitch used to build the foundation.
- Yarn over, pull through the loop on hook.
- Three-Loop Puff Stitch (fıstık): A textured stitch that creates a raised, decorative puff.
- Yarn over, insert hook into the designated space, pull up a loop (3 loops on the hook). Yarn over again, pull through all loops in one motion. Close the puff stitch with a chain stitch.
Stitch Abbreviations
- ch: Chain
- puff st: Three-loop puff stitch
- sl st: Slip stitch
Useful Tips
- Maintaining Tension: Keep a firm grip on your yarn to ensure the puff stitches are tight and uniform.
- Hand Ironing: Periodically stretch and flatten your work with your hands to maintain straightness and shape.
- Consistent Turning: Turning your work to the left ensures the puff stitches form correctly in consecutive rows.
Step-by-Step Pattern
Foundation
- Step 1: Create a slip knot on your hook.
- Step 2: Ch 4.
Initial Puff Stitch
- Step 1: Yarn over, insert hook into the 4th chain from the hook.
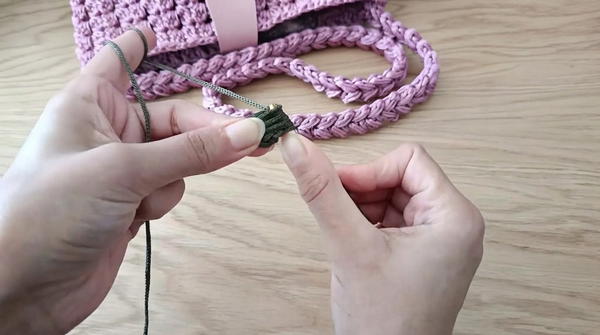
- Step 2: Pull up a loop (3 loops on the hook).
- Step 3: Yarn over, pull through all 3 loops on the hook.
- Step 4: Chain 1 to close the puff stitch.
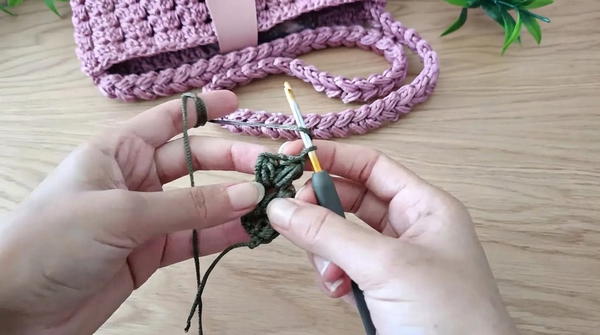
Turning the Work
- Turn your work to the left so that the gap created by the puff stitch and chain is accessible.
Establishing the Pattern
- Step 1: Find the gap between the previous puff stitch and the closing chain.
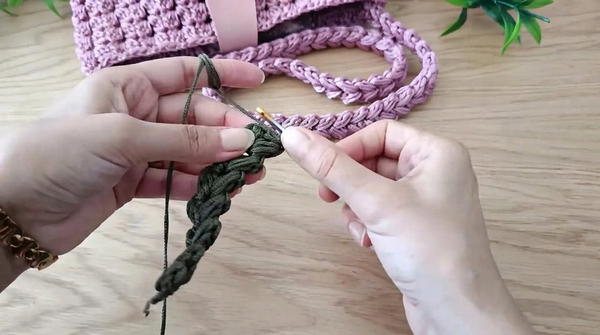
- Step 2: Yarn over, insert hook into the gap, and pull up a loop (3 loops on the hook).
- Step 3: Yarn over, pull through all loops to form a puff stitch.
- Step 4: Chain 1 to close the puff stitch.
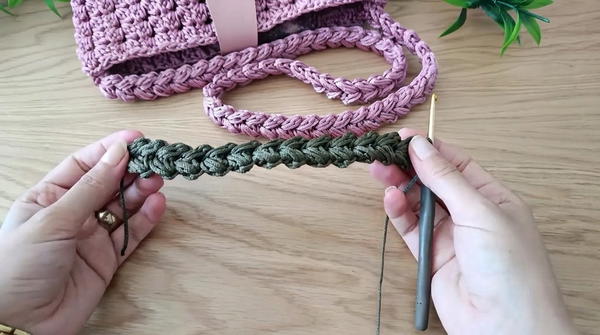
- Step 5: Turn your work to the left to repeat the process.
The Main Sequence
For the remainder of the handle, repeat the following steps:
- Step 1 (Opening the Space): Create a puff stitch in the space between the two previous stitches.
- Step 2 (Turning): Turn your work to the left so the new gap is accessible.
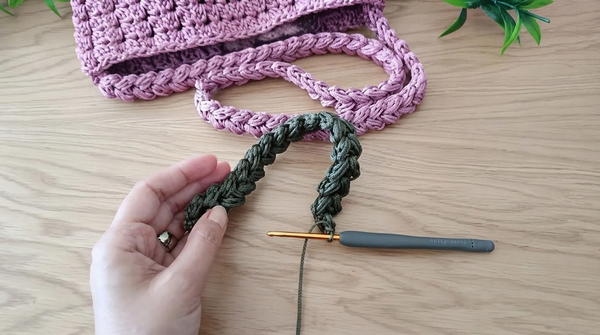
- Step 3 (Filling the Space): Create another puff stitch into the new gap.
- Step 4 (Repeating): Continue turning and stitching until the desired length of the handle is achieved.
Assembly and Sizing
Assembly Instructions:
- Ensure the handle is straight and uniformly shaped. Flatten and stretch using your hands to align the stitches and edges.
- Attach the handle securely to the bag using slip stitches, sewing, or other preferred methods.
Sizing:
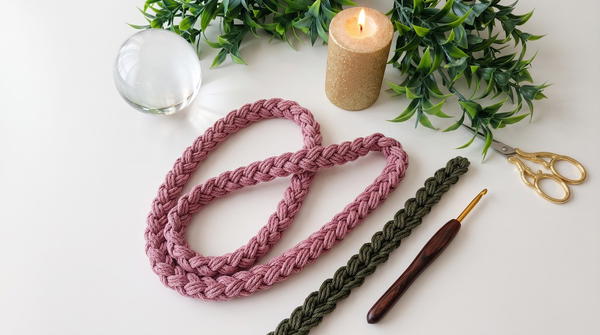
- The size of the handle depends on the number of puff stitches completed. Measure the handle periodically to ensure it fits your intended bag size.
Conclusion
This puff stitch bag handle pattern is a refined addition to any crochet project, offering both functionality and style. The technique creates a textured and structured design that is easy to scale for different bag dimensions. Through consistency and careful attention to tension, this handle ensures durability and elegance for any handmade accessory.
Importance of the Premium Crochet Bag Handle Pattern
This premium crochet bag handle pattern holds significant value for both practical and creative applications. By using the puff stitch technique, the handle offers exceptional durability and structural integrity, making it ideal for bags that carry heavy items. The design ensures the handle can withstand daily wear and tear while maintaining its shape and strength.
On an aesthetic level, the puff stitch creates a visually appealing texture with a polished, handcrafted look. This adds a sophisticated touch to any bag, elevating its overall design and making it stand out. The seamless nature of the pattern eliminates bulky knots, offering a smooth, professional finish that complements various bag styles.
Additionally, the repetitive nature of the pattern simplifies the creative process for crocheters, making it easy to customize the handle’s length and color to suit individual preferences or project requirements. Its versatility makes it suitable for handbags, totes, or even straps for larger items.
This pattern showcases how attention to detail can transform something utilitarian into an elegant, functional element.