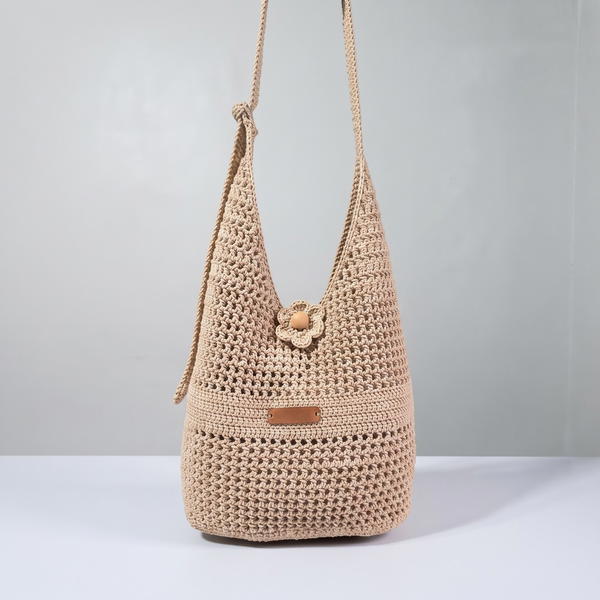
Stitch a floral masterpiece using this free crochet flower bag pattern, ideal for crocheters seeking a beautiful and eye-catching handmade accessory.
In a quiet space filled with soft yarn and endless possibilities, a brilliant idea came to life, combining the charm of flowers with the practicality of a bag. This design captures attention with its intricate flower motifs and thoughtful details, making it both attractive and functional.
It’s cheerful and elegant, perfect for brightening your day while being a practical accessory to carry your everyday items. The design not only serves a purpose but also showcases the creativity of hand-crocheting, inspiring both beginners and seasoned crafters alike.
Simple Free Crochet Flower Bag Pattern with Beginner Tips
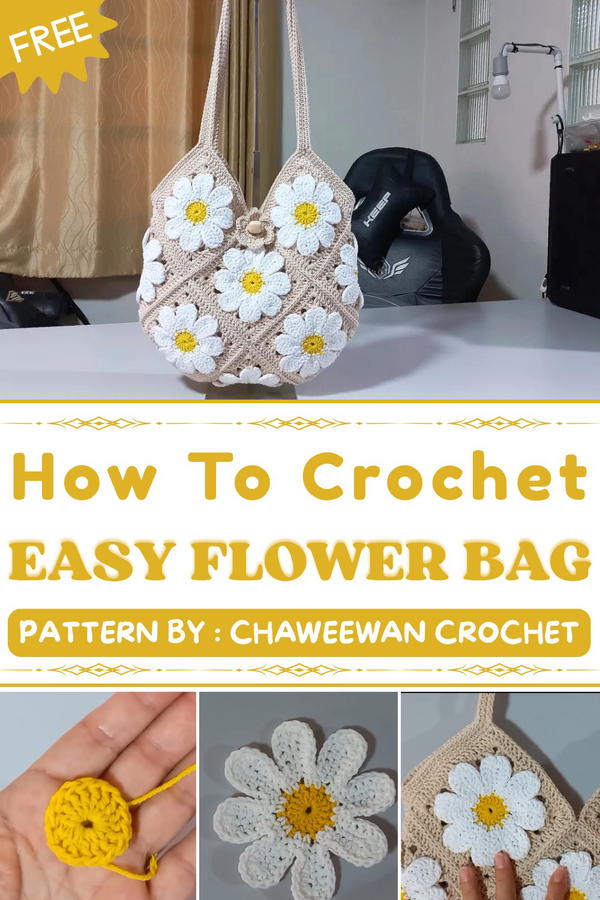
The channel Chaweewan Crochet is a treasure trove for anyone who loves crocheting or wants to learn from scratch. What makes it so special is the way each tutorial is delivered with warmth and simplicity, ensuring that everyone can follow along, no matter their skill level. The creator focuses on creating unique and eye-catching designs that are easy to make but look incredibly detailed and professional.
Among its standout patterns is a stunning flower bag, celebrated for its delightful appearance and clever design choices. Whether you’re just starting with crochet or searching for new creative ideas.
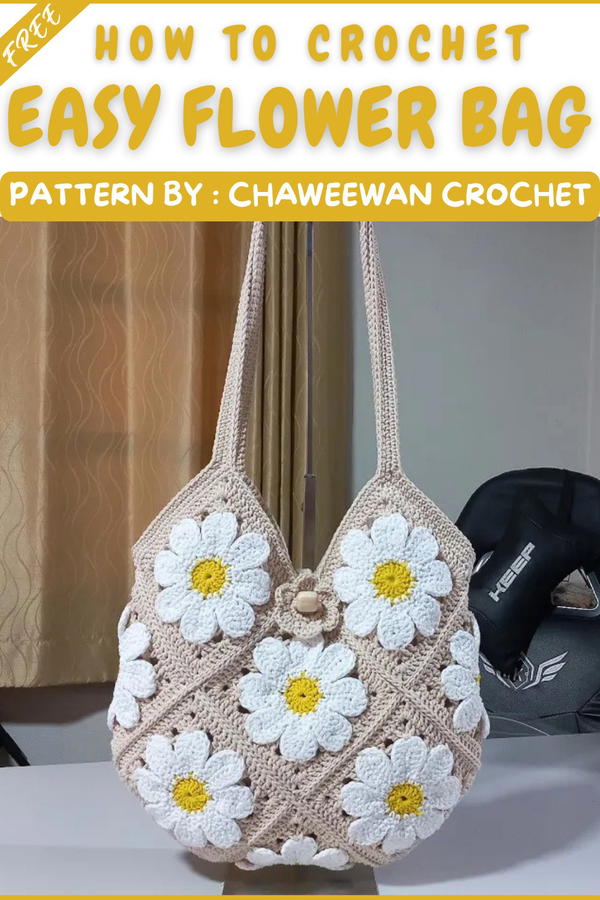
Crochet Floral Rope Bag Pattern
This pattern designs a uniquely textured floral bag crocheted with 2mm thick rope in a combination of colors. The bag features intricate flower motifs assembled into a panel, creating a dimensional and natural aesthetic. The body is crocheted with a combination of double crochets and structured petals, with a decorative button closure and a long shoulder strap. This bag merges traditional crochet techniques with rope work for a durable and stylish accessory.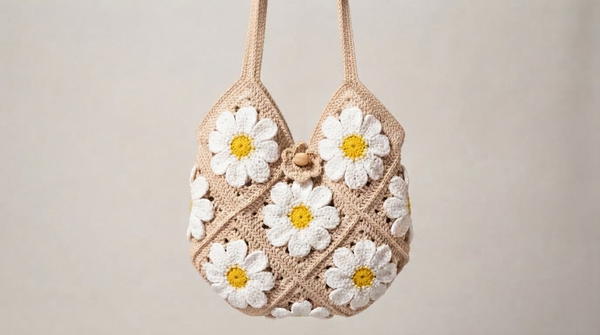
Skill Level
Intermediate to Advanced – The pattern involves yarn manipulation with thick rope, complex stitch placement including double crochets, chains, guilloche stitch techniques, multi-layered petal construction, assembly with needlework, shaping, and finishing with button loops.
Materials
- 2mm thick rope (bleached white, yellow, and unbleached natural colors)
- Size 5/0 crochet needle (hook suitable for rope thickness)
- Scissors
- Button with holes (for closure)
- Safety pin (for marking or working with rope ends)
- Yarn needle for finishing and assembly
Special Techniques/ Stitches
- Double Crochet (dc): Yarn over, insert hook, yarn over and pull loop, yarn over, pull through two loops, yarn over, pull through last two loops.
- Chain (ch): Create foundation loops.
- Slip Stitch (sl st): Insert hook into stitch, yarn over, pull through stitch and loop on hook.
- Guilloche Stitch: A decorative stitch involving double crochets and chains creating openwork pattern (detailed in row instructions).
- Triple Crochet Together (cluster): Work multiple double crochets partially into stitches then yarn over and pull through all loops on hook, decreasing stitches.
- Crochet with Rope: Manipulating thick rope requires threading through loops carefully, often inserting hook through thick strands or loops formed on or beneath rope.
- Assembly Techniques: Sewing petals and panels together with a yarn needle, pulling rope ends through stitches to hide and secure, forming loops and attaching buttons.
Stitch Abbreviations
- ch: chain
- dc: double crochet
- sc: single crochet
- sl st: slip stitch
- tr dec: triple decrease or cluster decrease
- st: stitch
- sp: space
Useful Tips
- Handle the rope gently to avoid twisting or fraying.
- Use a larger crochet hook size (5/0) suited for thicker ropes for smoother stitch formation.
- Mark stitch spots with safety pins if needed during assembly.
- Maintain even tension to keep consistent size and shape.
- Trim and tuck rope ends securely to avoid unraveling.
- When working guilloche and clusters, count stitches carefully to maintain symmetry.
- Assemble flower petals before sewing to the main panel for neatness.
Crochet Pattern Instructions
Creating the Flower Motif – Stamen and Petals
Round 1: Forming the Stamen Base
- Wrap the rope around your middle finger to form a ring.
- Insert the crochet hook through this loop, pick up the rope, and pull through to create a foundation loop.
- Chain 1.
- Work double crochet (dc) stitches into the ring and space around it:
- Make 16 dc stitches evenly spaced into the ring.
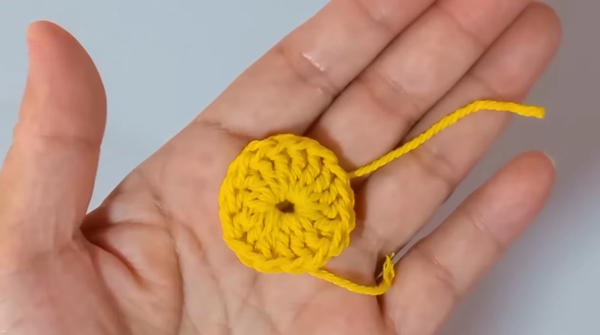
- Make 16 dc stitches evenly spaced into the ring.
- Pull the rope end to tighten the loop closed. This forms the base for the flower center.
Round 2: Begin Petal Contrasts
- Change rope color to white for petals.
- Insert rope end at the opposite side from where the last round ended.
- Chain 1 (counts as a stitch).
- Chain 6, then work dc stitches into the next chain space:
- Crochet 5 dc stitches spaced evenly along the chain 6 base.
- Chain 6 and work additional sets of stitches balanced around the ring.
- Repeat for 8 sets total, ending with chaining 6.
- These form loops that’ll be built into petals.
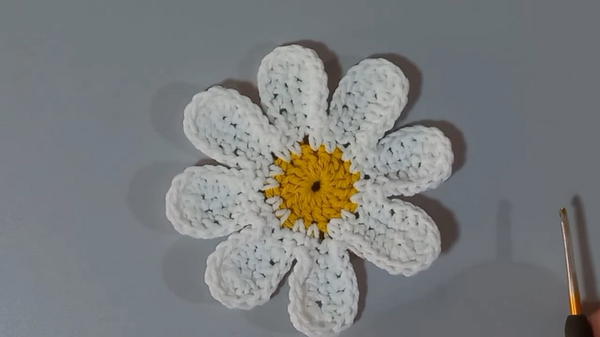
Round 3: Building Petals
- Crochet dc stitches into petal loops following a pattern:
- One dc between petals, double dc in petal base spaces.
- Triple dc clusters worked into petal tops for bulk.
- Continue to form 8 distinct petals around the stamen base.
- Cut and manage rope ends carefully to prevent fraying.
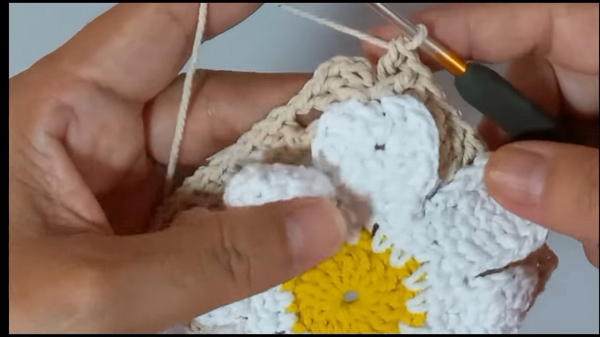
Round 4: Strengthening Petal Shape
- Work an additional round of dc stitches along petal bases to enhance structure.
- Insert stitches carefully through base rope parts to preserve petal form and flexibility.
Assembling Petals and Flower Panels
- Arrange 13 floral panels as individual petals for assembly.
- Overlap panels as per flower layout.
- Use yarn needle and rope ends to sew panels together at overlapping edges:
- Insert needle through chain gaps near double crochet stitches to join petals securely.
- Pull rope through at intersections to fasten without visible bulk.
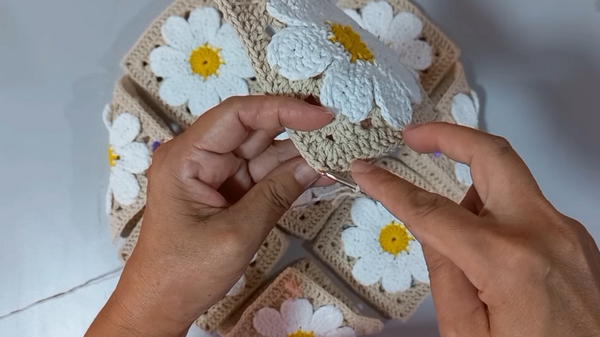
- Complete full flower panel ensuring petals align evenly.
Constructing Bag Body and Strap
Edge Finishing & Assembly
- Once all flower panels are connected:
- Trim and weave in all loose rope ends.
- Crochet around the entire edge with single crochet (sc) stitches for smooth finish.
- Chain 95 stitches for the shoulder strap.
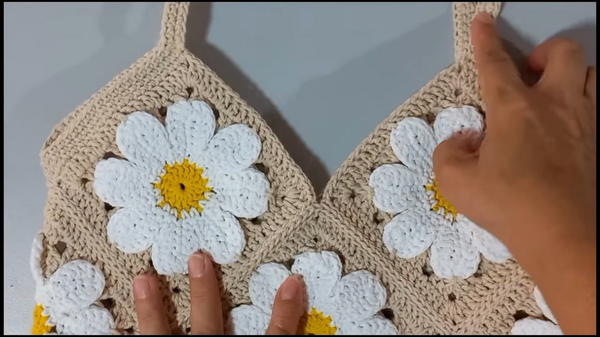
- Attach the strap ends neatly to the sides of the bag using tight sc stitches.
Creating the Closure Loop and Button Attachment
- Create a loop for button closure by chaining 8 stitches.
- Attach loop securely opposite the button placement on the bag opening edge.
- Sew button in place on the flap or opposite side of the opening.
- Ensure loop fits snugly over button for secure closure.
Assembly and Sizing
- After completing floral panels and assembly:
- Bag measures approximately 12 inches in width.
- Height is approximately 10 inches including strap height.
- Strap length is approximately 12 inches for comfortable shoulder carry.
- Maintain edge reinforcements by crocheting around openings and strap joints.
- Ensure all seams are tightly secured to accommodate bag use.
Summary
This floral crochet rope bag blends decorative petals with sturdy rope construction to form a natural, handcrafted accessory. The intermediate-to-advanced techniques encourage skill enhancement through guilloche stitch patterns, petal shaping, and precise assembly. Using 2mm rope in multiple colors adds tactile interest and durability. The resulting bag provides both visual appeal and practical use with secure closure and comfortable strap length. This holistic crochet project celebrates creativity through texture and design suitable for everyday fashion or gifting.