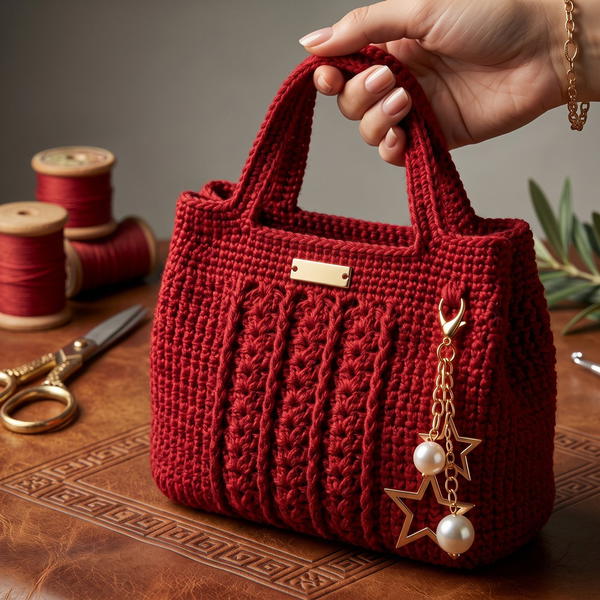
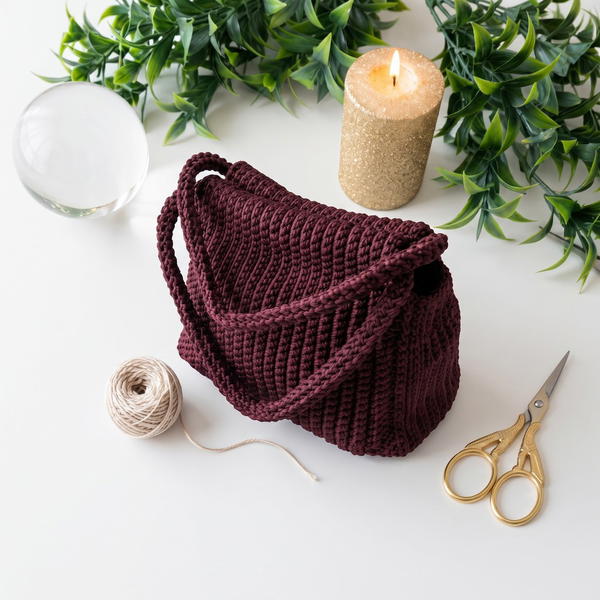
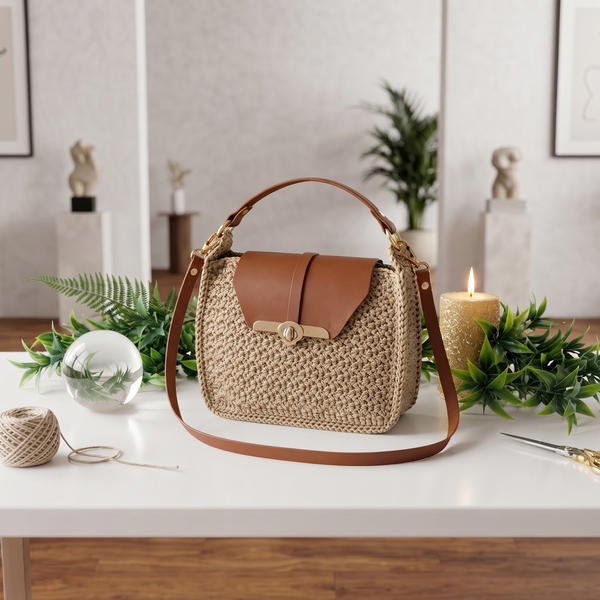
Start your next project with a free crochet round bag pattern made with T-shirt yarn, perfect for those seeking a durable and chic accessory.
Making a beautiful round bag by hand is a special experience that combines creativity and skill. On Gepradocroche, a channel known for its detailed and thoughtful crochet lessons, you can learn how to create this lovely bag using thick T-shirt yarn. The creator, Je, shares this project as one of her favorite and most elegant designs, carefully explaining each step so you can follow along. Though the bag takes some practice and patience due to its advanced techniques, the clear instructions make it accessible for those ready for a rewarding challenge.
How to Crochet a Round Bag With T-shirt Yarn – Free Pattern
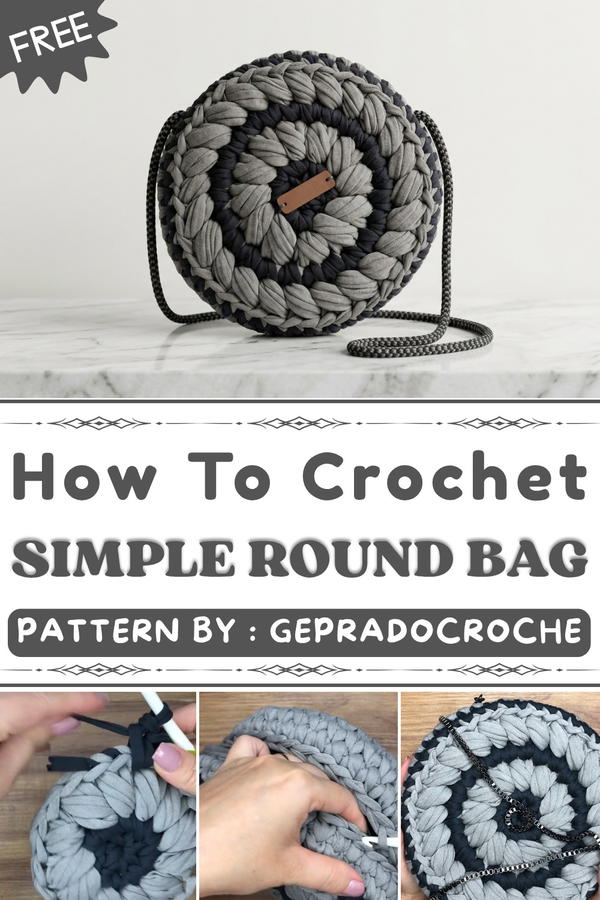
This bag’s design is especially attractive because of its smooth, circular shape and sturdy texture, which comes from working with wide yarn and a mix of single and puff stitches. Starting from a small magic circle in the center, the bag grows with carefully placed increases to keep its perfect round form.
The stitches create a firm fabric, but it still has a little stretch, making it practical for holding items securely. The pattern uses color changes and neat finishing techniques for a clean look, while the hidden seams keep the bag looking polished. The use of T-shirt yarn adds a casual yet modern feel, making it perfect as a stylish everyday accessory or a unique gift.
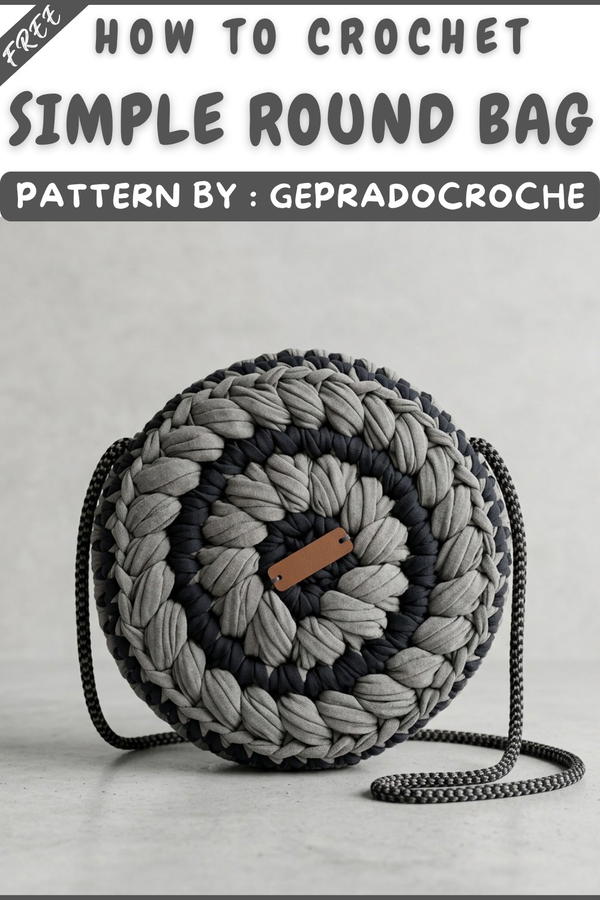
Round Crochet Bag – Pattern & Instructions
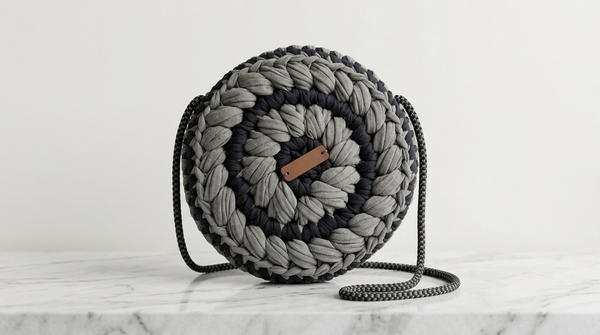
The Anne Bag is an advanced, textured, round crochet bag designed with innovative shaping, invisible color changes, and a sturdy construction. Using techniques like magic circles, puff stitches, and seamless joining, this project results in a professional-looking accessory perfect for innovators looking to expand their skills. The bag includes detailed guidance for creating the base, building the sides, innovative joining, and professional finishing.
Pattern Important Tips
- Stitch Placement: For a round bag with perfect increases, always work stitches into the center between two chain heads or the specific “neighbor” location as described, not just into the top of the stitch.
- Invisible Seam Technique: Color changes and joinings are simulated by “faking” the last stitch for perfect transitions and a scar-free look.
- Consistent Height: Keep stitch height even by regularly checking against your hook or project as you pull up loops for puffs or single crochets.
- Securing Ends: Hide tails skillfully inside the work with a drop of glue for durability and a professional edge.
- Color Management: Alternate and repeat colors for the visual impact; be sure to leave tails at each change for neat hiding.
- Marking: Always mark the last stitch of a round if you’re unsure about round endings—this prevents losing count, especially as piece grows.
Skill Level
Advanced – This project is best suited for experienced crocheters or ambitious intermediates with patience and focus. It involves attentive stitch placement, puff/cluster stitches, and advanced finishing.
Materials
- Super Premium Cord Yarn, 25 mm, approx. 500g, color “Mist” (main color)
- Second color: Cord yarn “Lead” (for puff rounds and accessories)
- Crochet hook, 6 mm
- Scissors
- Tapestry needle (for finishing and joining)
- Stitch markers or scrap yarn for marking
- Techbond glue (for invisible thread finishing)
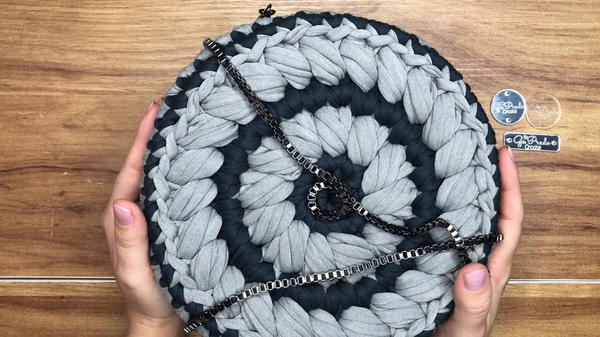
- Accessories: Purse handle/strap and optional rings
Gauge & Stitch Pattern
- Gauge is flexible and not crucial due to the robust construction; thickness yields stability.
- Main stitches: Magic circle, single crochet (sc), puff stitch, slip stitch (sl st).
- Puff stitch: Yarn-over, pull up loop three times into same st, then yarn over and pull through all loops on hook.
Stitch Abbreviations
- mc: Magic circle
- sc: Single crochet
- ps: Puff stitch
- inc: Increase (do two stitches in same space)
- sl st: Slip stitch
- ch: Chain
- rep: Repeat
Special Stitches
- Puff Stitch: Yarn over, insert into stitch, pull up loop to correct height; rep 3 times (total of 4 loops on hook), yarn over, pull through all loops on hook.
- Invisible Join: Remove loop from hook, pull yarn to back; use tapestry needle to thread through following stitch and back into where the yarn emerged. Used for color changes and seamless rounds.
Notes for Starting the Pattern
- For best results, use continuous rounds (no visible seam) with simulated stitch closure.
- Secure all ends invisibly inside the work.
- Mark the last stitch of each round for easier tracking of increases and joins.
Pattern
Bag Front & Back Panels (Make Two)
Round 1: Magic Circle Foundation
- With first color, make a magic circle (mc).
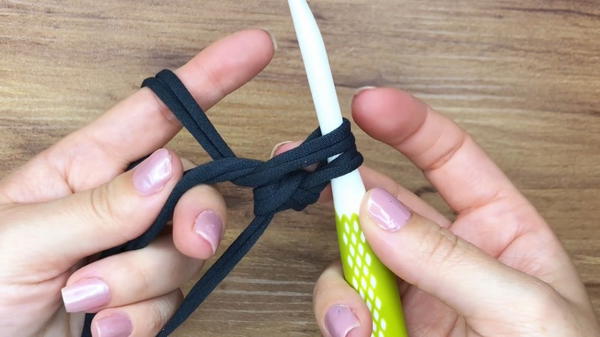
- Inside the mc, work 6 sc, keeping stitches loose, then pull circle snug.
- Find the knot between two chains/"neighbors" for the proper placement.
- Do not join; use invisible closure (see Special Stitches) for seamless look.
Round 2: Increase Round
- In each "neighbor center" (between chain heads), 2 sc in each st around (total 12 sc).
- Close round as before, using invisible join.
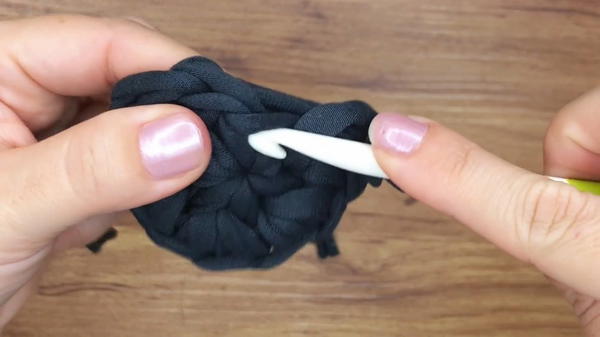
- Cut color, secure tail as described (pass under bridge in next stitch, then back under previous stitch; trim/glue inside).
Round 3: Puff Stitch Round (Second Color)
- Attach new color using invisible join in any stitch.
- In same stitch: Yarn over, pull up to height, rep 3x, then yarn over and pull through all loops – puff st made.
- Sc in next proper position (center of “neighbor” as described).
- Repeat [puff st, sc] all the way around (total 12 of each).
- Seamless closure and tail finish as before.
Round 4: Single Crochet Increase (Main Color)
- In any top of a puff st, join yarn.
- Work 2 sc in each gap between puffs (not in puff heads) – total 24 sc.
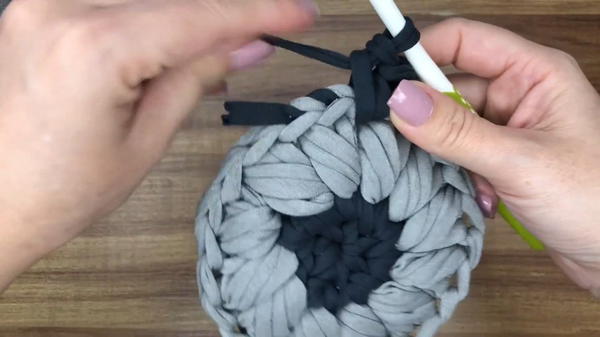
- Close seamlessly.
- Secure ends, trim/glue inside.
Round 5: Puff Stitch Round (Second Color)
- Attach yarn at any stitch.
- Puff st, sc in next “between”; Be sure puff sits between previous round’s increases.
- Complete round; close and finish as before.
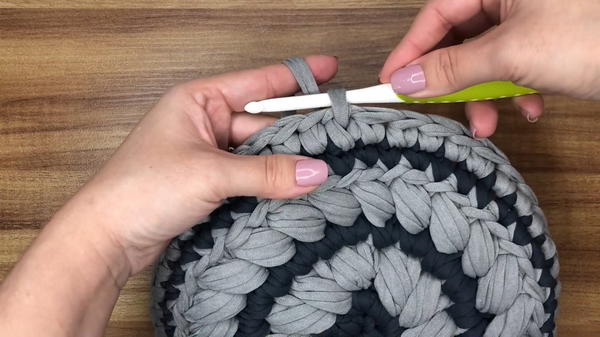
Round 6: Single Crochet – Regular (Main Color)
- Attach at any st.
- Sc in each stitch (no increase).
- Complete round, close invisibly.
Rounds 7–8: Side Building
- Work 2 rounds of sc (no increases): Pick up center of stitches for a sharp, straight edge. These rounds help the panel begin to form a wall.
Repeat for Second Panel
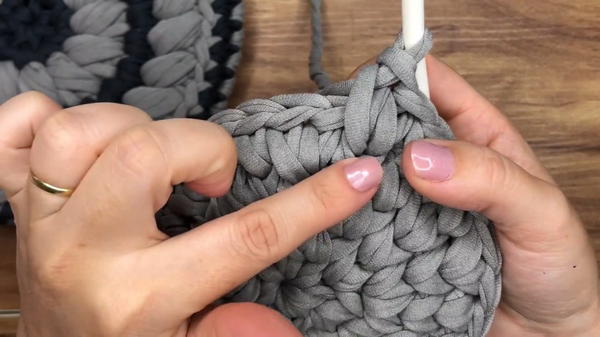
- Make bag’s back in the same manner.
Optional: Additional Rounds for Larger Bags
- To increase bag size, continue increasing panels using standard increase formulas:
- Next rounds: [n sc, inc] rep across.
- Increase “n” by one each round (see transcript for details).
Assembly and Sizing
Joining Both Sides
- Place both panels with right sides facing out.
- Align the closure point at bag sides (not at the top, for a neat finish).
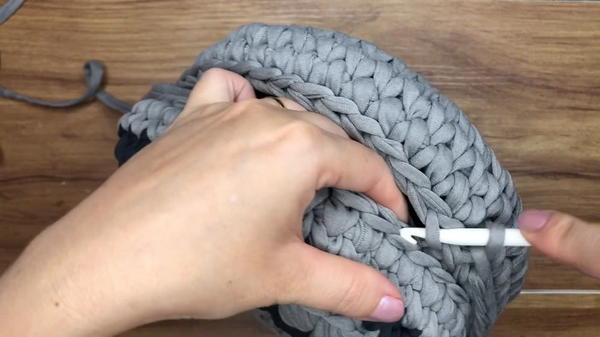
- Use same color as side rounds. Insert hook through inside/back loop of each piece at side, sl st through both loops across half the diameter, leaving a suitable opening.
- For zipper closure, refer to provided YouTube tutorial.
- Once half the bag is joined, switch to single-panel slip stitch edging (both loops of one side), going around the entire opening for stability and zipper support.
Finishing
- Weave in all threads inside with tapestry needle; secure with a small drop of glue and trim.
- Attach handles or rings as desired (see transcript for suggestions).
- If using a label, sew on discretely at the corner or side for best look.
Approximate Sizing
- When made as described with 25 mm cord: Diameter ~24–28cm; Depth ~6–7cm (adjust by adding rounds).
- Quantity: Half a skein per bag, extra for accessories.
Conclusion
The Anne Bag showcases advanced crochet construction and finishing. Its seamless joins, creative increase logic, and smooth color changes set it apart as a polished, unique project. While the pattern is detailed and technique-heavy—especially with puff stitches and invisible joins—the extra steps reward you with a highly professional finish. Suitable for accessories or everyday use, this bag can be customized with size, color, and handle choices, expanding your skillset in the process. Explore different yarn weights or add linings as desired for further personalization.