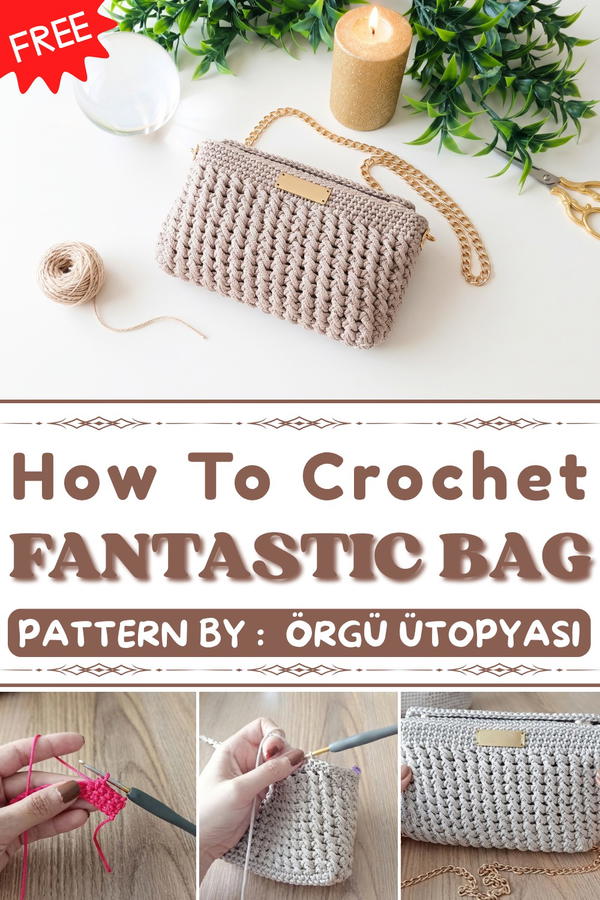
Bring creativity to life using this Free Crochet Fantastic Bag Pattern guiding you through crocheting bags that are both stylish and practical for daily use.
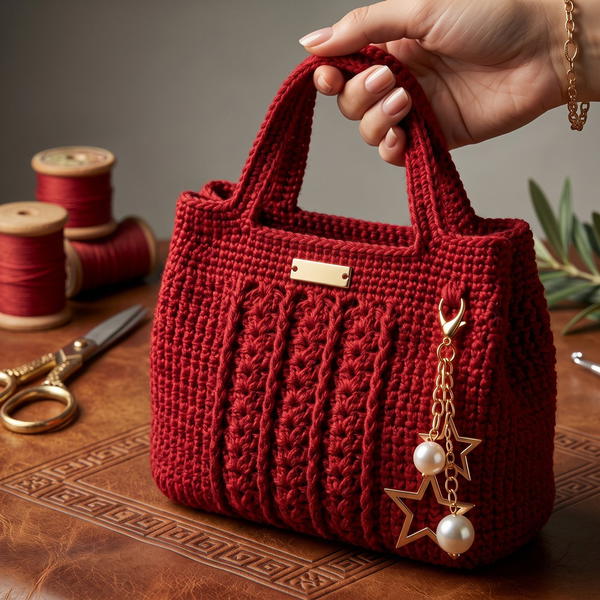
Walking into a room, holding a bag so unique and stylish that everyone stops to admire it. This crochet bag design is a perfect blend of beauty and practicality that anyone can create with the right guidance. Its textured surface and rounded shape make it stand out, while the strong base ensures durability for daily use. Whether you need a bag for shopping, outings, or a casual day, this design is a fantastic choice.
Free Crochet Fantastic Bag Pattern Your Next Favorite Project
About Channel!
Örgü ütopyası, a talented and patient designer, makes croccheting such projects easy and enjoyable through her detailed tutorials. Her videos are perfect for beginners and experienced crocheters alike, as she explains every step in a simple and clear way. With her approachable teaching style, even complicated patterns feel achievable and fun to work on. The bag’s clever construction and thoughtful details show her unique creativity and dedication to helping others make beautiful items by hand.
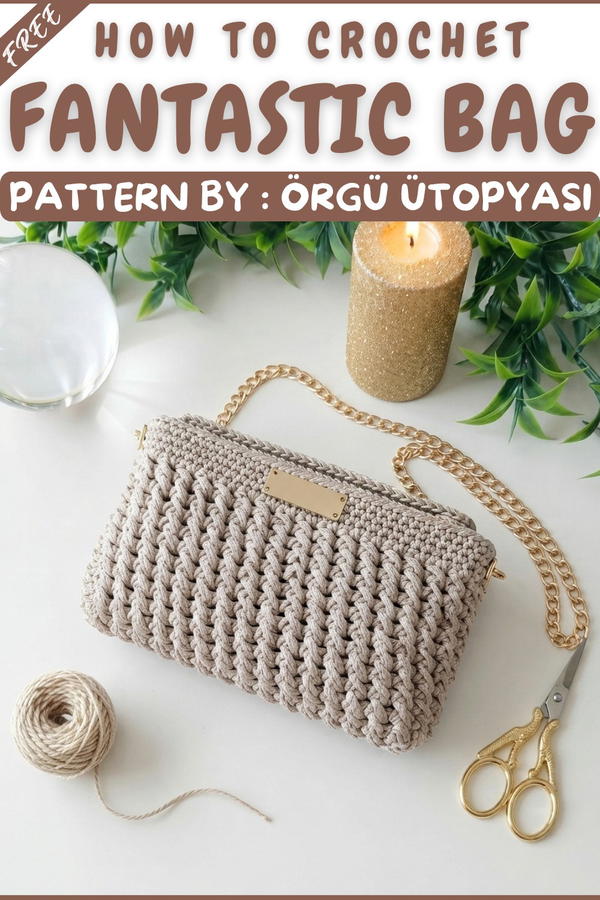
The most attractive feature of the design is its curved shape combined with a textured stitch that gives the bag a professional, stylish look. Using soft, thick yarn ensures the bag is lightweight but durable enough for everyday use. What’s even better is its versatility, you can try different colors and styles to make it truly your own.
Mini Crochet Bag Pattern
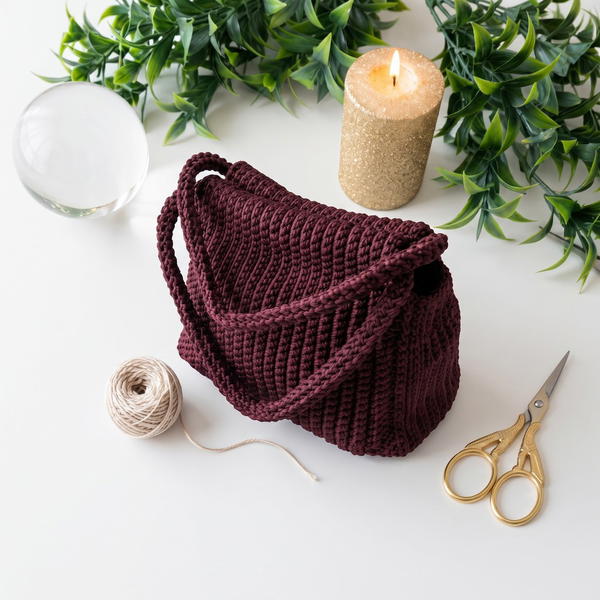
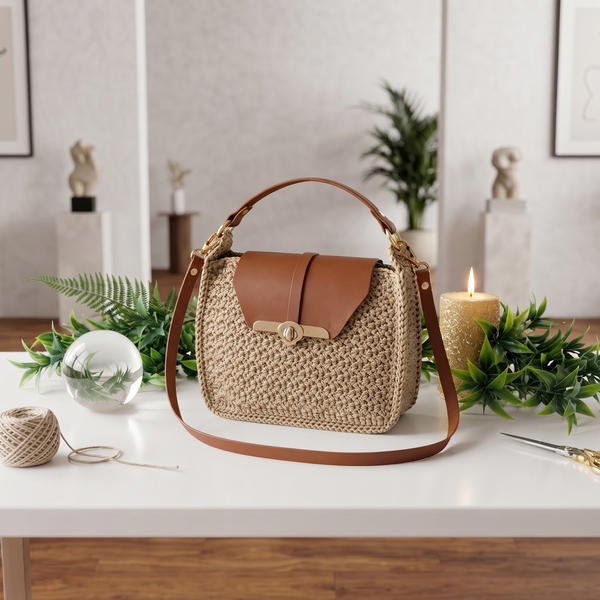
This mini crochet bag is perfect for carrying daily essentials, designed with a compact yet practical size. It is stylish, beginner-friendly, and can be customized to your preferences. The bag works beautifully with chains or rings for handles, and you can easily adjust the size or add lining for durability.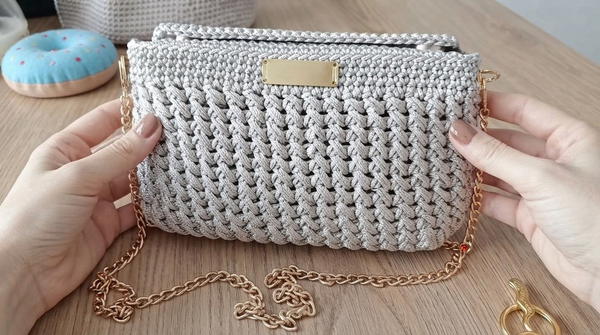
Skill Level
Beginner: This pattern is easy to follow, using only basic stitches, and is suitable for those new to crochet with some experience building rows and assembling.
Materials
- Yarn: Polyester macrame yarn, size 4, in your choice of color (approximately 200 g).
- Crochet Hook: 3 mm.
- Magnetic Button: For closure.
- Fishing Line or Invisible Thread: For sewing seams and attachments.
- Optional Handles: Chains, loops, rings, or crocheted handles.
- Optional Lining: Fabric for bag lining, cut to size.
- Sewing Pins: To secure parts while assembling.
- Scissors.
- Lighter: For sealing yarn ends.
Special Stitches
- Single Crochet (sc): Insert the hook, yarn over, pull up a loop, yarn over, and pull through both loops on the hook.
- Slip Stitch (sl st): Insert the hook, yarn over, and pull the loop through the stitch and the loop on the hook.
- Diagonal Single Crochet Pattern: A two-step single crochet pattern where one stitch is made in the next stitch and the next stitch is made in the skipped previous stitch, creating a textured diagonal effect.
Stitch Abbreviations
- ch: Chain
- sc: Single Crochet
- sl st: Slip Stitch
- st(s): Stitch(es)
Useful Tips
- Count Stitches: Ensure an accurate count in each row to maintain the shape and alignment of the bag.
- Adjust Size: To create a bigger or smaller bag, adjust the number of chains and rows in the base and body accordingly.
- Reinforce Edges: Use a lighter to seal and prevent the macrame yarn ends from fraying.
- Use Stitch Markers: Place markers at key points (e.g., the start of a round) to avoid losing track.
- Optional Finishes: Customize the design with chains, rings, or crocheted handles, or add a decorative label or brooch for unique detailing.
Pattern Instructions
Bag Base
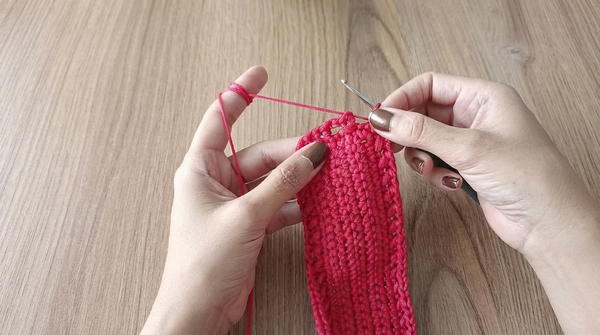
- Foundation Chain:
- Ch 31. Make a lock stitch to secure the starting point.
- Row 1:
- Starting from the second ch from the hook, sc across (30 sc).
- Ch 1, turn the work over.
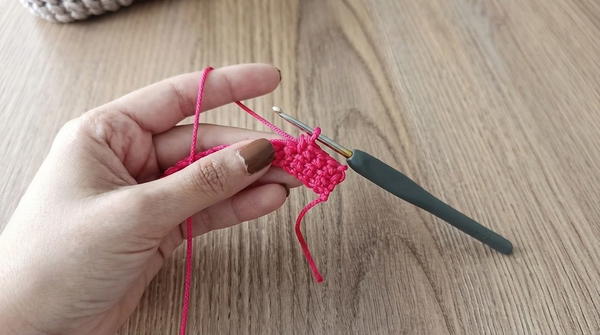
- Rows 2–6:
- Sc across the row (30 sc in each row).
- Ch 1, turn at the end of each row.
- Adding an Edge:
- After completing Row 6, ch 1. Begin crocheting a round of sc along the perimeter of the rectangle to form the edges:
- Work 1 sc into each row along the short sides of the base (7 sc per short side).
- At each corner, work 3 sc into the same st to create a rounded curve.
- Work 1 sc into each st along the long sides of the base (30 sc per long side).
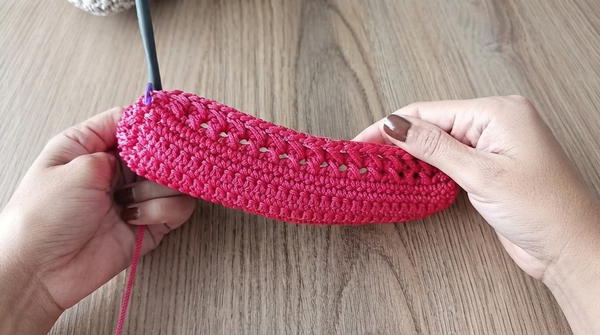
- After completing Row 6, ch 1. Begin crocheting a round of sc along the perimeter of the rectangle to form the edges:
Bag Body and Pattern
- Transition to Spiral:
- Once the base is completed, attach with a sl st to the first sc and secure with 1 ch. Crochet in a spiral from this point onward (no clear start or end of rows).
- Start the Diagonal Single Crochet Pattern:
- Wrap the yarn around the hook (yo) and insert the hook into the second st. Crochet a single crochet.
- Skip one st, then sc into the next st.
- Insert the hook into the skipped st and crochet a single crochet.
- Repeat this diagonal crochet pattern for the entire round.
- Subsequent Rounds:
- Once you reach the marker or the start of the round, continue the spiral pattern:
- Sc into the left space of the previous diagonal.
- Sc into the right space.
- Repeat this process round after round to maintain the diagonal effect without gaps.
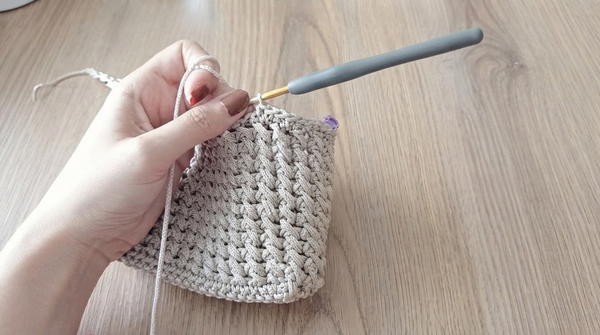
- Once you reach the marker or the start of the round, continue the spiral pattern:
- Continue Until Desired Height:
- For this bag, crochet 11 rounds of the diagonal pattern for a height of approximately 11 rows of textured stripes.
Top Finishing Rows
- Remove the diagonal texture:
- After completing the desired height, secure the last diagonal stitch with a sl st.
- Work one round of sc into the top of each sc around the edge. Crochet in a spiral without breaking the yarn.
- Final Edging:
- Crochet 2–3 rows of single crochet stitches (sc) in a spiral.
- Add a sl st to the final stitch and fasten off the yarn.
Flap Closure
- Mark the Bag Center:
- Flatten the bag and use stitch markers to highlight the center and corners.
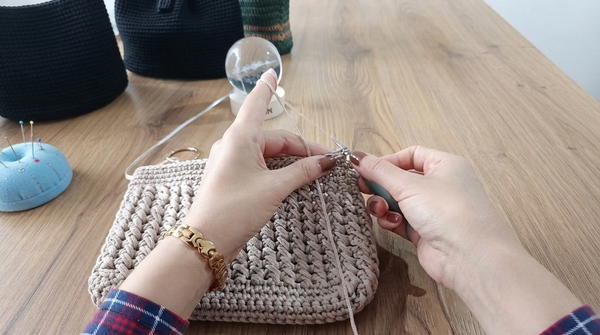
- Flap Base:
- Choose the center back of the bag and attach the yarn.
- Crochet 5 sl sts (into the back loops only) at the flap base.
- Flap Rows:
- Begin with 31 sc across the back loops (spanning both sides of the marker).
- Ch 1, turn, and repeat for 6 rows.
- Second Flap:
- Repeat the above steps on the opposite side of the bag, ensuring symmetry.
Assembly and Sizing
- Handles:
- Attach chains, rings, or a crocheted handle as desired:
- To use a crochet handle, start with a foundation chain, approximately 55 cm long.
- Work in a spiral of sc along the chain until the handle reaches your preferred width.
- Attach the handle ends securely to the top corners of the bag using fishing line or matching yarn.
- Attach chains, rings, or a crocheted handle as desired:
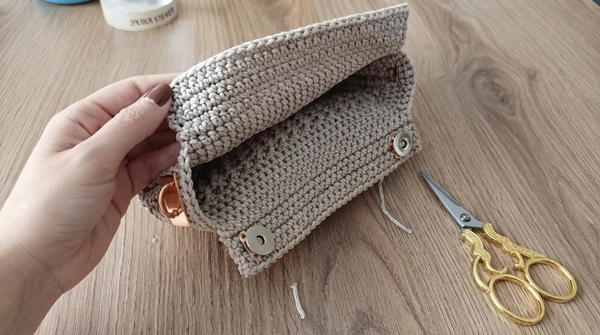
- Attaching the Magnetic Button:
- Use fishing line to sew magnetic buttons onto the center of each flap.
- Ensure both halves align and secure by sewing multiple times with proper tension.
- Lining (Optional):
- Cut the fabric to the size of the bag's interior, leaving an additional 1–2 cm for seam allowance.
- Pin the lining to the inside of the bag, ensuring it fits snugly.
- Use the hidden stitch method to sew the lining in place.
Conclusion
This adorable crochet mini bag is a versatile accessory, combining practicality and style in one handcrafted item. With its customizable size, optional decorative finishes, and simple construction, this pattern is perfect for beginners and experienced crocheters alike. Enjoy adding your personal touch with unique handles or linings, and create a bag that perfectly suits your style needs!