Stay cozy and stylish with this Free Crochet Fingerless Gloves Pattern, offering warmth and easy movement for your hands in cooler weather with a personal touch.
When the chill of cooler weather sets in but you still need full use of your fingers, fingerless gloves offer the perfect balance of warmth and practicality. The Free Crochet FINGERLESS GLOVES pattern is a fantastic project that combines style and function, making it a favorite among crocheters looking for quick, wearable accessories. These gloves showcase a sleek, fitted design that hugs the hands comfortably while leaving the fingers free for texting, crocheting, or grabbing a cup of coffee.
Quick & Stylish Fingerless Gloves – Free Crochet Pattern
The texture is gently ribbed or lacy depending on the stitch choice, adding subtle visual interest and stretch. The basic shape extends from the wrist to just before the knuckles, with an opening for the thumb thoughtfully placed for ease of movement. This versatile pattern often comes with adaptable sizing options—ranging from small to large—so you can customize the fit by changing your hook size or yarn weight.
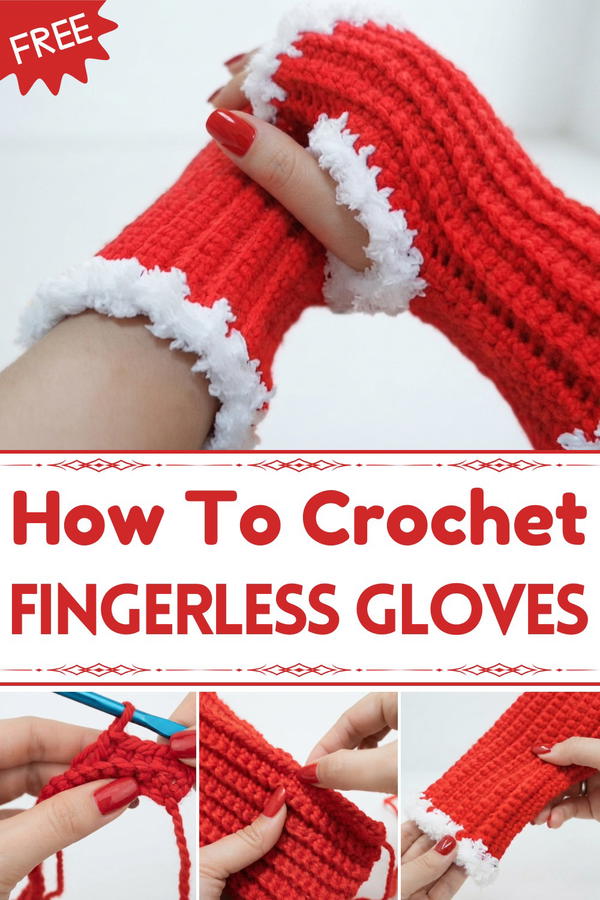
Construction typically involves working in rounds or rows with simple stitches like double crochet or half-double crochet to create the body of the glove, followed by a carefully placed thumb hole. A helpful tip is to use a yarn with some elasticity, such as a wool blend or acrylic with a bit of stretch, which enhances comfort and helps maintain shape over time. The inspiration behind this design stems from the desire to blend everyday functionality with cozy handmade charm, making these gloves both practical and stylish.
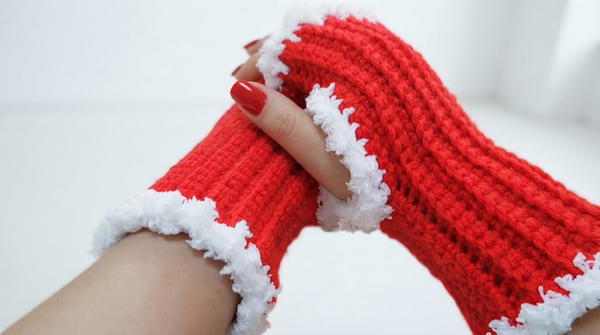
Perfect as thoughtful gifts or for personal use during brisk autumn walks and office hours, these fingerless gloves invite endless creativity. You can play with colors, add decorative buttons, or incorporate delicate patterns to reflect your personal style. This crochet pattern is a wonderful way to warm up your hands and your crafting spirit at the same time.
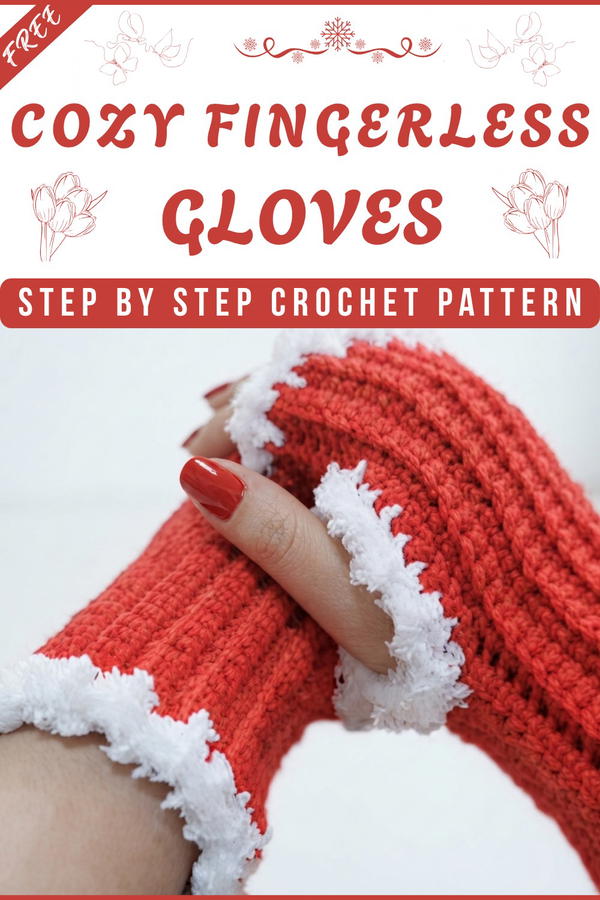
Festive Fingerless Gloves Crochet Pattern
Keep your hands cozy and stylish with these festive fingerless gloves. Designed with a simple ribbed texture and easy shaping, these gloves are ideal for both beginners and those wanting a quick, practical project. The addition of contrasting edging transforms them into the perfect holiday accessory; customize the colors for any season or occasion!
Skill Level & Terminology
- Skill Level: Beginner
- Pattern Terminology: US crochet terms
Materials & Tools
- Yarn:
- Red acrylic yarn (worsted or aran weight recommended)
- White yarn (acrylic or cotton, similar weight for contrasting edging)
- Hook:
- 5 mm crochet hook
- Notions:
- Tapestry needle for sewing
- 2 stitch markers
- Scissors
Optional: Feel free to use any color combination to match your style or holiday!
Gauge
Gauge is important for fit.
- Using sc in back loop only, work a 4” (10 cm) swatch.
- Should measure approximately 18 stitches by 28 rows.
- Adjust hook size if necessary for proper fit.
Abbreviations
- ch = chain
- sc = single crochet
- hdc = half double crochet
- sl st = slip stitch
- blo = back loop only
- st(s) = stitch(es)
Special Stitch Instructions
Single Crochet – Back Loop Only (sc-blo):
Insert hook into the back loop of your stitch (not both loops), yarn over, pull through, yarn over again, pull through two loops. This creates a ribbed, stretchy fabric ideal for gloves.
Half Double Crochet (hdc):
Yarn over, insert hook into stitch, yarn over, pull through. Yarn over again and pull through all three loops on hook.
How to Start & Stitches Used
You start by creating a rectangle of ribbed fabric using the single crochet in the back loop only (sc-blo) stitch. Sewing the edges forms the fingerless glove shape. Edging uses half double crochets (hdc) in a contrasting color for a finished look.
Stitches Used:
- Single Crochet
- Single Crochet Back Loop Only
- Half Double Crochet
- Slip Stitch
Finished Size
- Fits average adult hand
- Finished rectangle before sewing measures approx. 18 cm x 10 cm (7” x 4”)
- Cuff fits palm circumference of about 18–20 cm (7–8”)
The Pattern
Part 1: Ribbed Glove Rectangle
With red yarn:
- Leave a 10-inch starting tail for sewing later.
- Make a slipknot and chain 31.
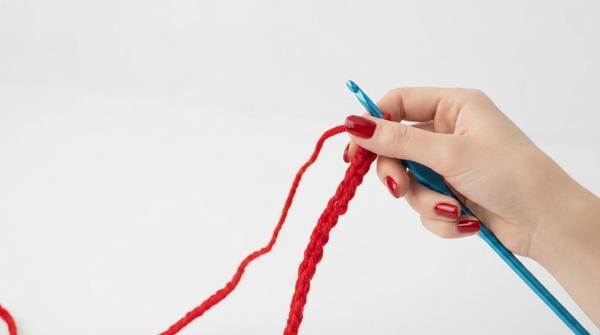
- Row 1:
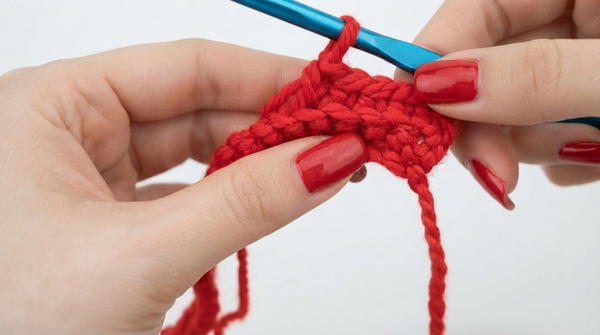
- Starting in the second chain from hook, work 1 sc in each chain across.
- (30 sc total)
- Row 2:
- Ch 1, turn.
- Work 1 sc in back loop only of each stitch across.
- (30 sc-blo)
- Rows 3–28 (or until rectangle measures 18 cm):
- Ch 1, turn.
- Repeat Row 2 (sc-blo in every stitch across).
- You should have 28 rows in total at the end.
To begin, make a chain and work single crochets in each chain. On the next row, you’ll crochet only in the back loops, creating a stretchy ribbed fabric. Continue this pattern for 28 rows or until your rectangle is about 18 cm long.
Part 2: Forming the Glove & Thumb Opening
Shaping and Sewing:
- Lay the rectangle flat, with the ribbing running vertically.
- At one edge, mark the first 13 stitches from the bottom with a stitch marker for the lower palm seam.
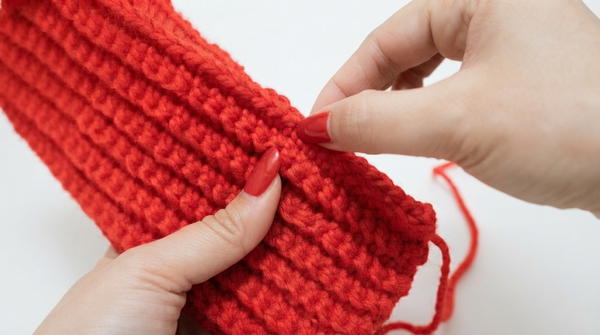
- On the opposite edge, mark the next 8 stitches from the top for the upper seam.
- With the tapestry needle and starting tail:
- Sew the bottom 13 stitches together using the mattress stitch (or sewing through one back loop then one front loop).
- Leave the next section open for the thumb hole.
- Sew the top 8 stitches together for the upper hand seam.
- Repeat on the other side for a symmetrical fit.
Fold the rectangle in half. Sew one side together at the bottom for your wrist, leave a gap in the middle for your thumb, then sew the top for your palm. Use the stitch markers to help measure.
Part 3: Edging with Contrasting Color
Adding White Edging:
- Insert hook into any stitch at the glove’s opening.
- Join white yarn, chain 2.
- Round 1:
- Work 1 hdc in each stitch around the opening.
- Join with a sl st to the first hdc if working in the round.
- Fasten off and weave in the ends.
- Repeat for:
- The lower wrist opening
- The thumb opening
- The upper palm opening
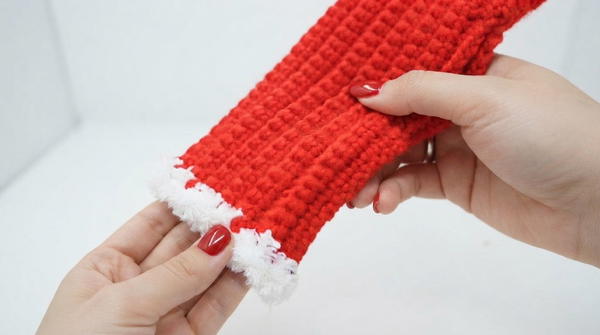
Once your glove is sewn, use white yarn to crochet simple stitches all the way around each opening. This gives the glove a neat, decorative finish.
Assembly & Finishing
- Fold glove as described, sew the seams to form your glove shape and thumb opening.
- Add white crochet edging to each opening for a festive touch.
- Weave in all loose ends neatly.
- Make the second glove:
Repeat all steps above for the second fingerless glove.
Fold your glove, sew the seams, and add white crochet stitches to the edges. Repeat for the second glove. Your gloves are ready to wear or gift!
Tips and Customization
- For a larger or smaller glove, adjust the number of starting chains (for width) or rows (for length).
- Use different colors for a personalized touch.
- Add beads or embroidered motifs to customize further.
Finished Project & Care
Your fingerless gloves are ready for festive wear!
Machine wash gently; lay flat to dry for best results.