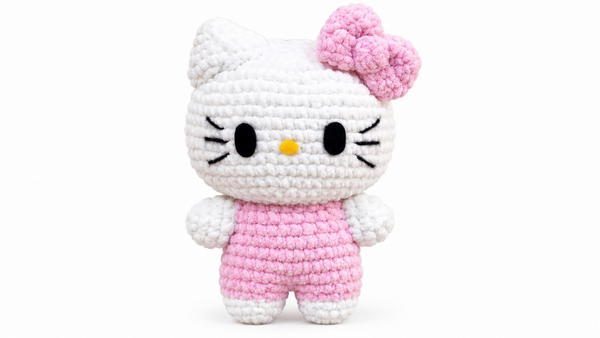
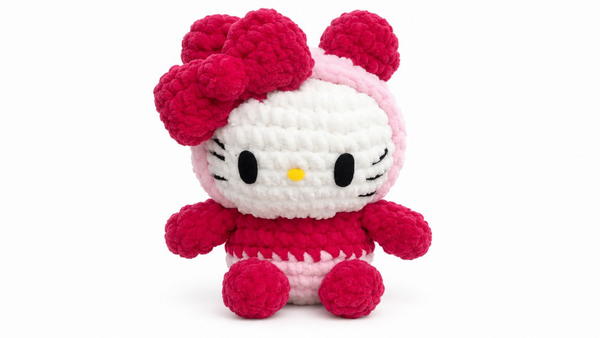
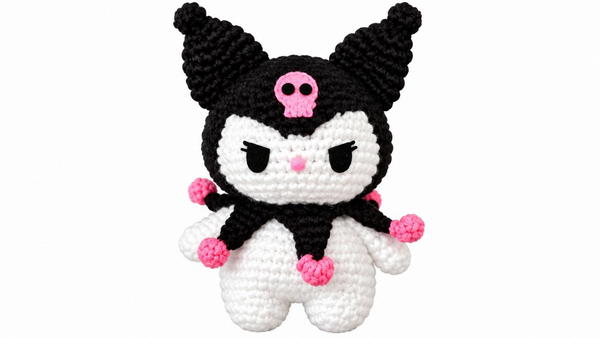
Style your toy shelf with the Crochet Miffy In A Dress Free Pattern, featuring a simple outfit and long ears for a fun little room decoration.
The adorable character Miffy has been brought to life in a wonderful DIY project, thanks to the original YouTube tutorial by Fairycrochett. Full credit goes to Fairycrochett for creating and sharing this helpful guide that makes crocheting Miffy super accessible.
Free Crochet Miffy Amigurumi Pattern With Lovely Little Dress
Crochet Miffy Amigurumi is a delightful handmade stuffed toy made using yarn and a crochet hook. Its main features include Miffy’s round head, long ears, tiny arms, and the simple “X” for a mouth that makes this little bunny instantly recognizable. The charm of this project lies in its simplicity and minimalistic beauty, capturing Miffy’s essence with just a few stitches.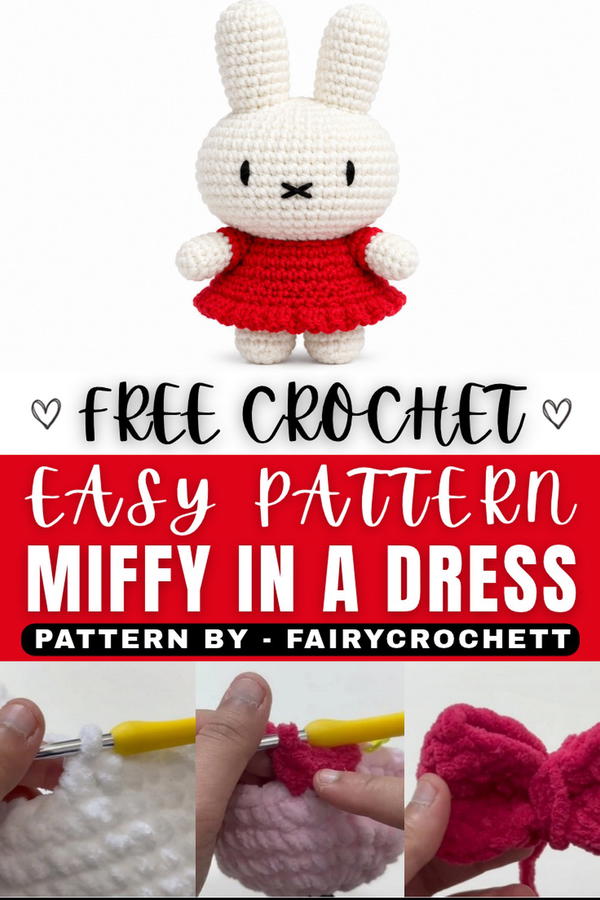 This crocheted Miffy can be used as a cute decoration in a nursery, a sweet gift for someone special, or even a playful keychain if made smaller. What makes it unique is the option to customize it by changing yarn colors, adding tiny accessories like scarves or bows, and even experimenting with facial expressions through embroidery.
The process involves a few basic crochet steps suitable for beginners. You start with a magic ring to form a tight circle, then crochet in rounds to shape the head and body. Next, you create small tubes for ears and arms, which are sewn onto the body. 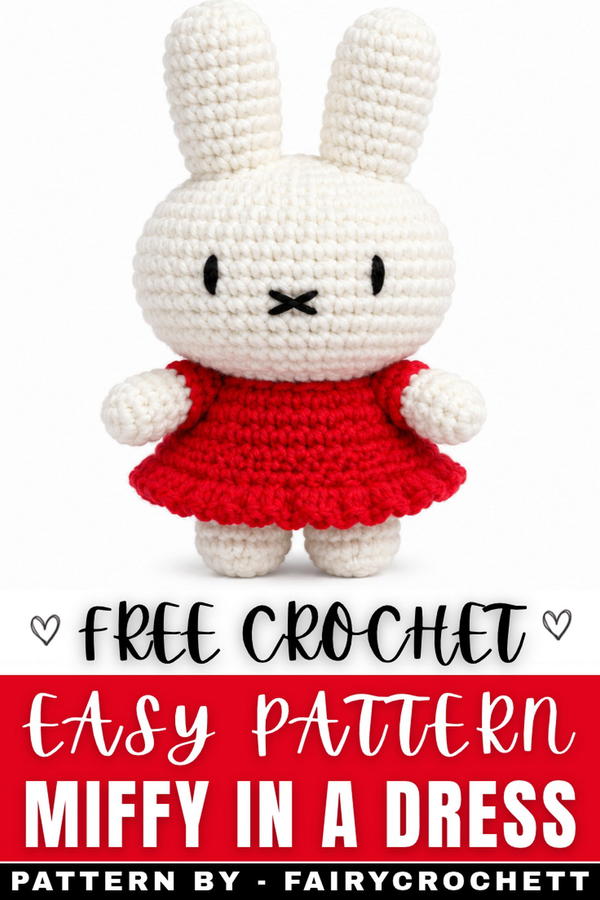 The final touch is adding the face with embroidery thread—simple eyes and that iconic “X” mouth. Overall, this project is a friendly and fun way to make a cute little Miffy stuffed toy.
About the Pattern
This pattern details the construction of a classic Miffy doll, closely mirroring the original style and proportions. Each component—from the iconic head and long ears to Miffy’s dress and body—is explained in a clear, sequential manner. Using simple basic stitches, strategic increases and decreases, and methodical assembly, this pattern provides a comprehensive guide for crocheting a highly recognizable and appealing Miffy plush.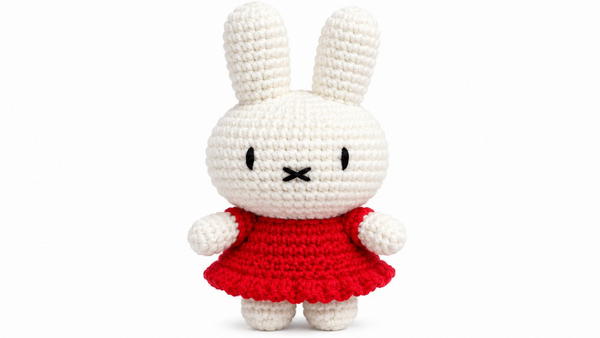
Pattern at a Glance
The instructions are separated into logical segments corresponding to Miffy’s main features:
- Head (with facial embroidery)
- Ears
- Body and Legs (joined for seamless construction)
- Arms
- Dress (including skirt and sleeves)
- Assembly (attaching all pieces)
Each section lists specific round counts, stitch sequences, and shaping details to aid the maker throughout the construction process.
Important Notes
- Maintain even tension when working increases or decreases to preserve Miffy’s round shape.
- Use stitch markers at the start of each round to prevent accidental skipping or overlap.
- Stuff all parts firmly to ensure the doll retains its shape and stands upright.
- For embroidery, use a tapestry needle and black yarn to add eyes and mouth with precision.
- Complete all components before assembly for ease and accuracy.
Difficulty Level
This pattern is suited for confident beginners. Core skills required include magic ring, single crochet, basic increasing and decreasing, simple embroidery, and some sewing for assembly. The dress incorporates working in rows and making armholes, requiring minor shaping familiarity.
Supplies Needed
- Worsted weight yarn in white, navy blue, orange/yellow, black
- 3.5 mm or 4.0 mm crochet hook
- Scissors
- Fiberfill stuffing
- Stitch markers
- Yarn needle
- Black embroidery yarn (for facial features)
Size & Measurements
The completed Miffy doll measures approximately 10–12 inches tall when worked with recommended yarn and hook. Size may vary slightly based on tension and fiberfill density.
Gauge & Stitch Details
Gauge is not critical, but uniformity across pieces is recommended. In standard worsted yarn, 4 rounds of single crochet in the round should be about 2 inches in diameter.
Crochet Abbreviations
- SC – Single Crochet
- INC – Increase (2 SC in one stitch)
- DEC – Decrease (single crochet 2 together)
- MR – Magic Ring
- CH – Chain
- FO – Fasten Off
- ST – Stitch
- DC – Double Crochet
Special Stitch Guide
Magic Ring (MR): Form a loop, insert the hook, pull up a loop, and crochet stitches into the ring. Pull the tail to tighten.
INC (Increase): Work 2 SC into the same stitch.
DEC (Decrease): Using the invisible decrease technique, crochet two stitches together for a neat finish.
Complete Crochet Pattern
Head
- Round 1: Make a magic ring, work 8 SC into the ring.
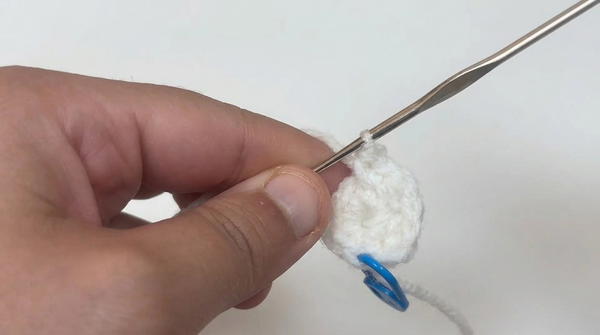
- Round 2: 8 INC (each stitch gets 2 SC)—(16 SC).
- Round 3: (1 SC, 1 INC) repeat around—(24 SC).
- Round 4: (2 SC, 1 INC) repeat around—(32 SC).
- Round 5: (3 SC, 1 INC) repeat around—(40 SC).
- Round 6: (4 SC, 1 INC) repeat around—(48 SC).
- Round 7: (5 SC, 1 INC) repeat around—(56 SC).
- Round 8: (6 SC, 1 INC) repeat around—(64 SC).
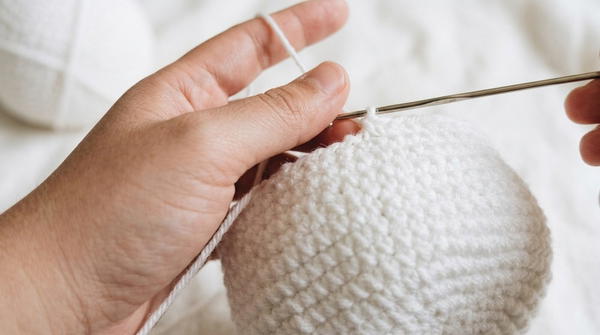
- Round 9: (7 SC, 1 INC) repeat around—(72 SC).
- Round 10: (8 SC, 1 INC) repeat around—(80 SC).
- Rounds 11–19: 1 SC in each stitch around for 9 rounds (keep stitch count consistent).
- Decreasing Rounds:
- (8 SC, 1 DEC) repeat—(72 SC).
- (7 SC, 1 DEC) repeat—(64 SC).
- (6 SC, 1 DEC) repeat—(56 SC).
- (5 SC, 1 DEC) repeat—(48 SC).
- (4 SC, 1 DEC) repeat—(40 SC).
- (3 SC, 1 DEC) repeat—(32 SC).
- (2 SC, 1 DEC) repeat—(24 SC).
- (1 SC, 1 DEC) repeat—(16 SC).
- DEC in each stitch (8 DEC)—(8 SC).
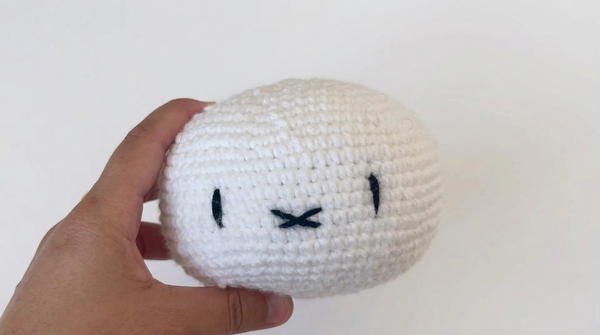
- Stuff the head firmly.
- Using black yarn, embroider two simple oval eyes well-spaced and a classic Miffy “X” mouth below and between the eyes.
Ears (make 2)
- Round 1: Start with a MR, work 6 SC.
- Round 2: 6 INC—(12 SC).
- Round 3: (1 SC, 1 INC) repeat—(18 SC).
- Rounds 4–13: Work 1 SC in each stitch for 10 rounds to achieve the long ear shape.
- Stuff gently (not overly firm) and FO, leaving a tail for sewing.
Body and Legs
Legs (make 2):
- Round 1: Begin with a MR, 6 SC.
- Round 2: 6 INC—(12 SC).
- Rounds 3–4: 1 SC in each stitch—(12 SC per round).
- First leg: FO.
- Second leg: Do not FO.
Connecting the Legs:
- From the second leg, CH 2.
- Join to the first leg with a SC through the first stitch of the fastened-off leg.
- In the next round:
- 12 SC around the first leg
- 2 SC into the connecting chain
- 12 SC around the second leg
- 2 SC into the other side of the chain
- Total: 28 SC
Body Growth:
- Round 1: (3 SC, 1 INC) repeat—(35 SC).
- Rounds 2–5: 1 SC in each stitch—(35 SC per round, 4 rounds).
- Decreasing Rounds:
- (14 SC, 1 DEC) repeat twice—reduces by 2 stitches each time.
- Work 3 SC in the last three stitches.
- Rounds 6–9: 1 SC in each stitch for 4 rounds.
Stuff the body as you go.
Arms (make 2)
- Round 1: MR, 8 SC.
- Rounds 2–9: 1 SC in each stitch for 8 rounds.
- Lightly stuff and FO, leaving a tail for sewing.
Dress
- Foundation: Slip knot, CH 39 (for a foundation chain of 38 plus 1 turning chain).
- Row 1: 38 SC across.
- Armholes Row:
- 7 SC, CH 7, skip 4, 8 SC, CH 7, skip 4, 15 SC.
- Increase Rows:
- (16 SC, INC), (16 SC, INC), (9 SC, INC) (follow sequence for shaping, referring to the original for numbers).
- Continue with rows of SC to desired torso length.
- Skirt:
- Add 1 CH for height.
- Work DC INC (2 DC in each stitch) in every stitch around for a flared skirt look. Repeat until skirt reaches desired length and fullness.
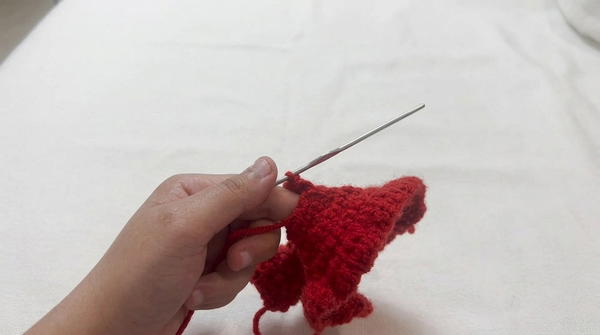
- Sleeves:
- In each armhole, work 14 SC into the space for 2 rounds to form sleeves.
Assembly & Finished Size
- Sew the ears atop the head with the yarn tails and needle.
- Attach the head to the completed body securely, aligning the shape for proper posture.
- Sew the arms to either side of the body underneath the dress sleeves.
- Ensure all pieces are neatly joined and any visible gaps are closed.
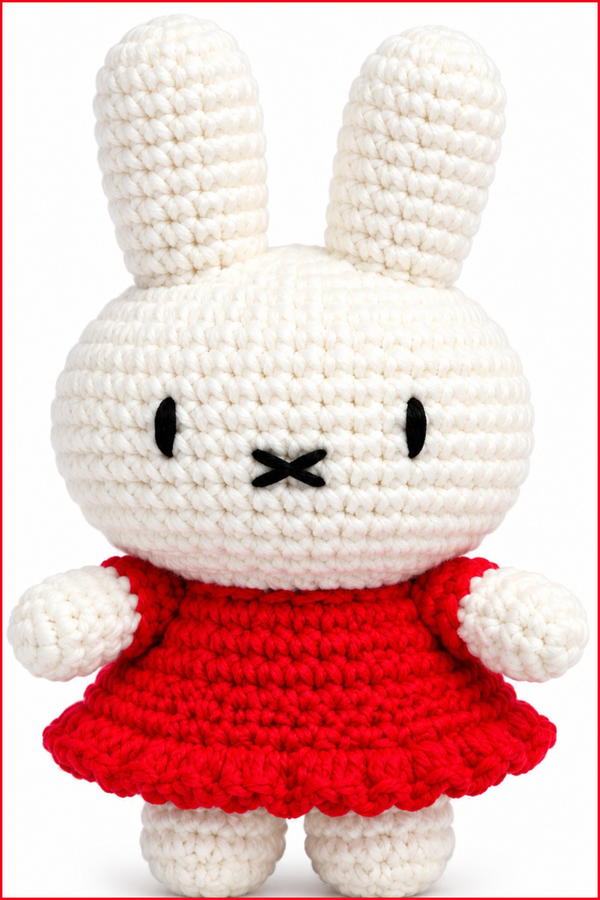
- The finished Miffy doll stands 10–12 inches tall, with soft stuffing and classic features.
Conclusion
By carefully following each round, stitch, and assembly direction, this pattern makes it possible to recreate Miffy with precision and timeless appeal. The straightforward construction and well-organized instructions result in a cohesive doll ready for gifting, display, or imaginative play, and offers excellent practice in amigurumi techniques and basic garment construction.