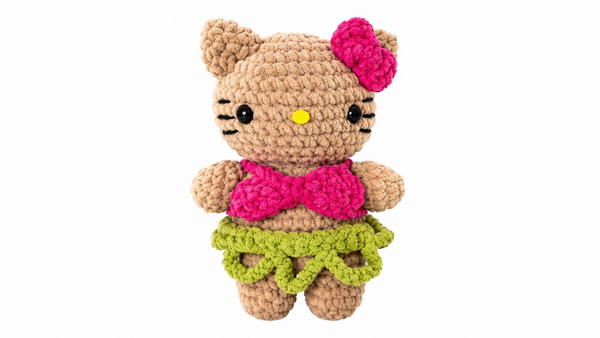
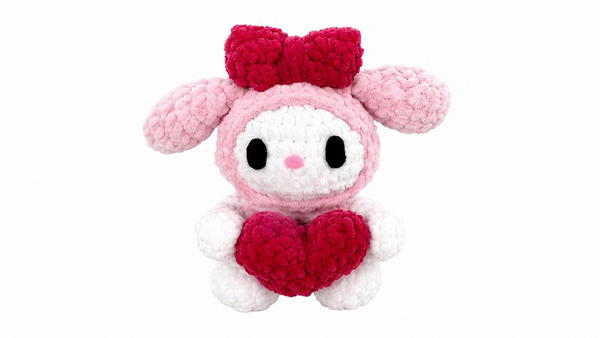
Wrap up in cozy charm with the Crochet Hello Kitty Beanie Free Pattern, a lovely yarn hat for cold days, cute photos, and birthday gifts.
Fairycrochett presents a lovely winter accessory inspired by one of the world's most popular cartoon characters. The Crochet Hello Kitty Beanie is a warm and stylish hat that adds a fun touch to cold-weather clothing. It is a wonderful choice for people who want something useful to wear while showing their love for Hello Kitty.
Cozy Crochet Hello Kitty Beanie Free Pattern For Winter Wear
The beanie has a smooth, rounded top that covers the head nicely. Two small cat ears give it the well-known Hello Kitty style, while a pretty bow near one ear adds a lovely finishing detail. The white base gives the hat its classic appearance, and the red or pink bow adds a bright touch. The simple facial features can also help show the character's familiar look.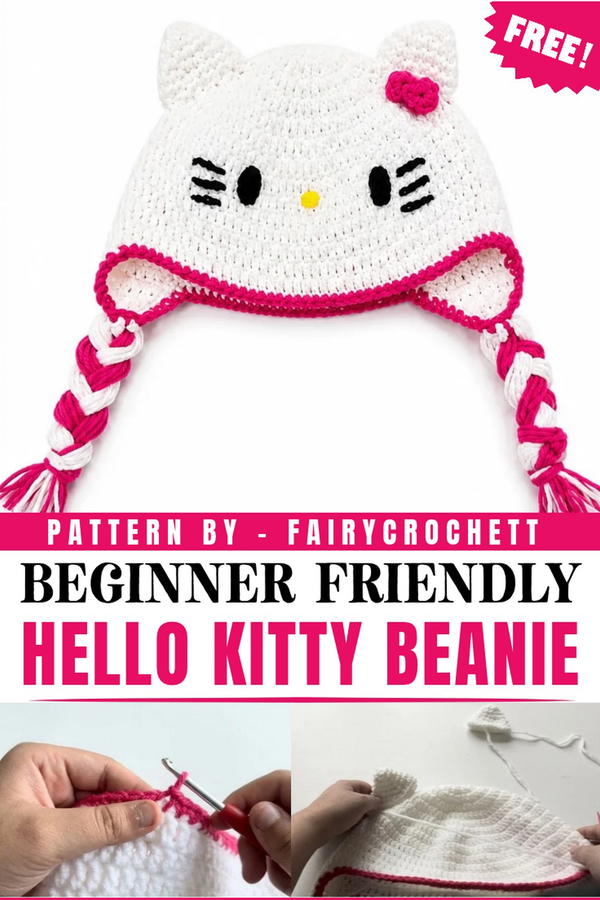 This beanie can be crocheted using soft yarn that feels gentle against the skin. The main section is worked to fit around the head, while the ears and bow are added afterward. A stretchy lower edge helps the hat stay in place, and the close stitches provide extra warmth during chilly weather.
You can wear this beanie during morning walks, winter shopping trips, or outdoor family events. It looks nice with a warm jacket, a plain sweater, or a cozy cardigan. It can also be a thoughtful Christmas present for a Hello Kitty fan or a useful addition to a girl's winter wardrobe.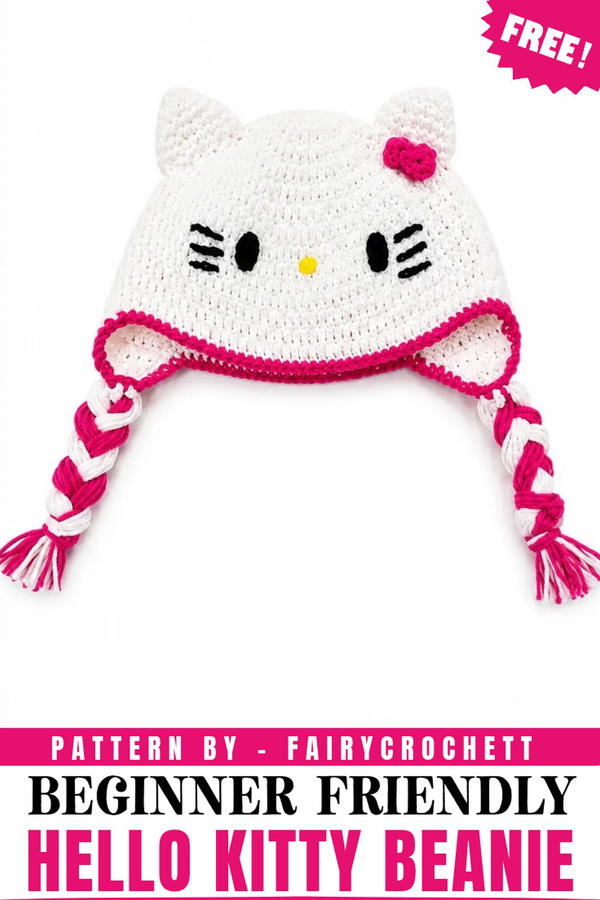 This beanie offers a fun way to wear a favorite character without needing a full costume. Its comfortable fit and recognizable details turn a regular winter hat into a cute fashion accessory.
About the Pattern
The Hello Kitty braided beanie is a playful and practical accessory, blending signature character features with functional warmth. This structured crochet project is divided into essential components: rounded beanie base, shaped ear flaps, decorative border, braided ties, embroidered facial features, and the iconic bow. Built using foundational crochet techniques and accentuated with colorful detailing, the finished beanie is both charming and durable, perfect for fans of Hello Kitty or as a bespoke gift.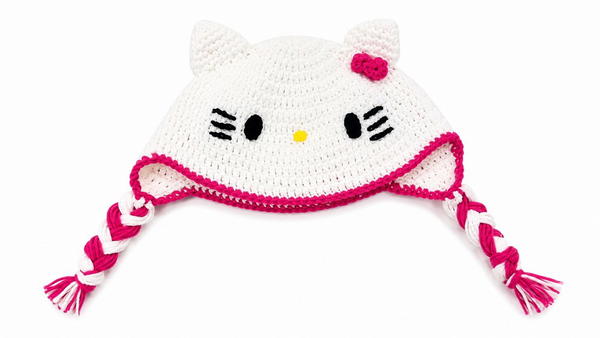
Pattern at a Glance
- Design: Classic rounded beanie with ear flaps, accented by braids, facial embroidery, and a 3D bow.
- Construction: The base is worked in the round with increases, followed by flat rows for ear flaps, border edging, and additional embellishments.
- Features: Ear flaps with braided ties, single crochet border, securely sewn facial details, and stylized bow attachment.
- Finishing: Neat stitch borders and strong braided ties ensure longevity and comfortable fit.
Important Notes
- Use tight, even tension throughout, especially at the increases and flaps for consistent shape and warmth.
- Join color changes cleanly and weave in ends for a professional look.
- Braid ends thoroughly to prevent unraveling during wear.
- Place facial features with care for a recognizable Hello Kitty expression.
- Secure all sewn embellishments with firm stitching.
Difficulty Level
The pattern is well-suited for advanced beginners through intermediate crafters. All techniques are basic but require precision, particularly in joining color changes and assembling facial features.
Supplies Needed
- Yarn: Worsted weight in white (main), pink (border and bow), black (eyes), yellow (nose)
- Hook: 4–5 mm for main body, smaller for facial features and bow if preferred
- Tapestry needle
- Scissors
- Stitch marker (optional for rounds)
- Polyester stuffing (small amount for bow if desired)
- Measuring tape
Size & Measurements
- Beanie circumference: 48–52 cm (child size; adjust as needed)
- Ear flap length: 8–10 cm
- Braids: 20 cm each, adjustable
- Bow: 6 cm wide
- Facial features: Scaled to beanie proportions
Gauge & Stitch Details
- 10 double crochets = 5 cm for base
- Gauge is flexible; maintain tightness for durability
- Use continuous rounds and turn rows as described
Crochet Abbreviations
- MR: Magic ring
- ch: Chain
- sl st: Slip stitch
- sc: Single crochet
- dc: Double crochet
- hdc: Half double crochet
- inc: Increase (2 stitches in one)
- dec: Decrease (two together)
- st(s): Stitch(es)
Special Stitch Guide
- Magic ring (MR): Adjustable loop for circular starts
- Increase: Work two stitches (dc, hdc, or sc) into one base stitch
- Decrease: Crochet two stitches together for shaping
- Half double crochet (hdc): Yarn over, insert hook, pull up loop, yarn over, pull through all three loops
Complete Crochet Pattern
The Beanie Base
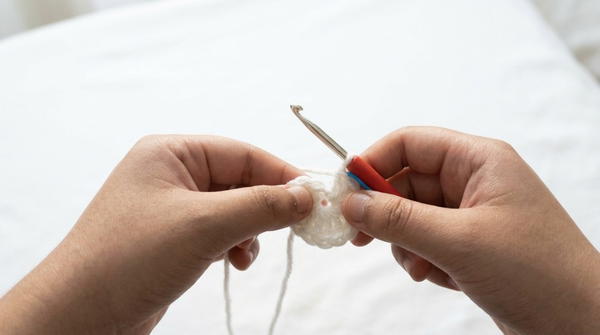
- Round 1:
- Make a magic ring.
- Work 12 dc into ring, pull closed and join with sl st.
- Round 2:
- Ch 2 (counts as first dc).
- 2 dc in each st around (inc in every st), join (24 dc).
- Round 3:
- (1 dc, 1 inc) repeat around, join (36 dc).
- Round 4:
- (2 dc, 1 inc) repeat around, join (48 dc).
- Round 5:
- (3 dc, 1 inc) repeat around, join.
- Continue increasing each round so the pattern is (n dc, 1 inc), until the round becomes (6 dc, 1 inc). This establishes the crown shaping.
- Rounds 6–11:
- dc in each st around for 5–6 rounds (no increases) to create the body height.
- Check fit and adjust with extra rounds if needed.
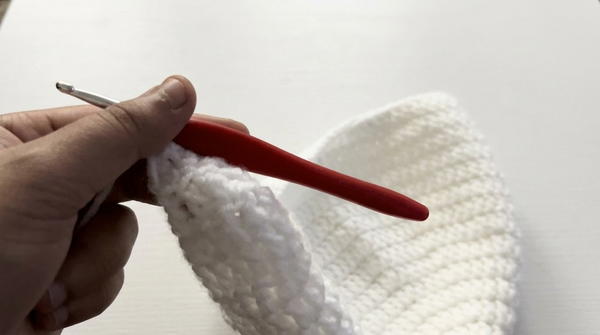
The Ear Flaps (Make 2)
- Foundation Row:
- Attach yarn at desired position, ch 2.
- 12 dc in a flat row.
- Decreasing Rows:
- Ch 1, turn.
- Begin each row with a dc decrease (dc 2 together), and end with a decrease.
- Work dc evenly across.
- Repeat rows, decreasing at each edge, until final row is 2 dc decreases (just 2 stitches remain).
- Fasten off.
- Repeat for second ear flap on opposite side of beanie.
Edging and Braids
- Border Edging:
- Join pink yarn at any point along base edge.
- sc all around edge of the hat and ear flaps (up and down), working evenly into rows and stitches.
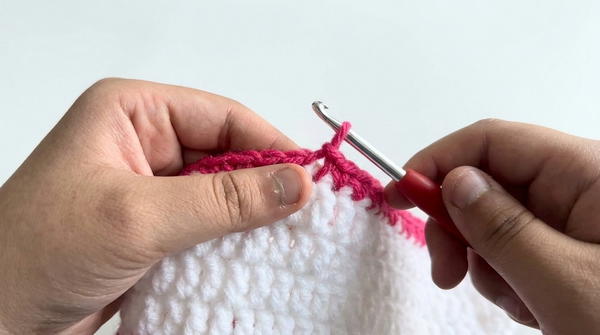
- Join with sl st and fasten off.
- Braids:
- Cut several strands each of white and pink yarn (approx. 40 cm).
- Attach using the hook at the tips of the flaps.
- Split into three groups and braid tightly.
- Knot the ends and trim evenly.
Features and Assembly
- Eyes & Nose:
- Using black yarn, make a slip knot, ch 6 for each eye.
- Work sc over the chain to shape ovals.
- For the nose, use yellow yarn: ch 6, work several sc for a flattened oval.
- Bow:
- With pink yarn, ch 2.
- In the next round, hdc inc (work 2 hdc in each st) to widen.
- Fold and stitch the bow for shape, stuff lightly if desired.
- Repeat for the second side or increase rounds for larger shape.
- Final Attachment:
- Position and sew ears, eyes, nose, and bow onto the beanie using a yarn needle.
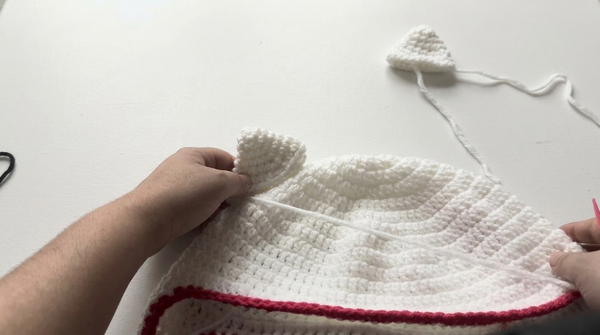
- Secure each stitch around features for durability.
- Adjust placement until Hello Kitty expression is clear and symmetrical.
- Position and sew ears, eyes, nose, and bow onto the beanie using a yarn needle.
Assembly & Finished Size
After attaching components, ensure the braided ends are knotted tightly, the facial embroidery and bow are well anchored, and the ear flaps curve snugly for warmth. The finished beanie should fit comfortably, with all features visible and securely affixed.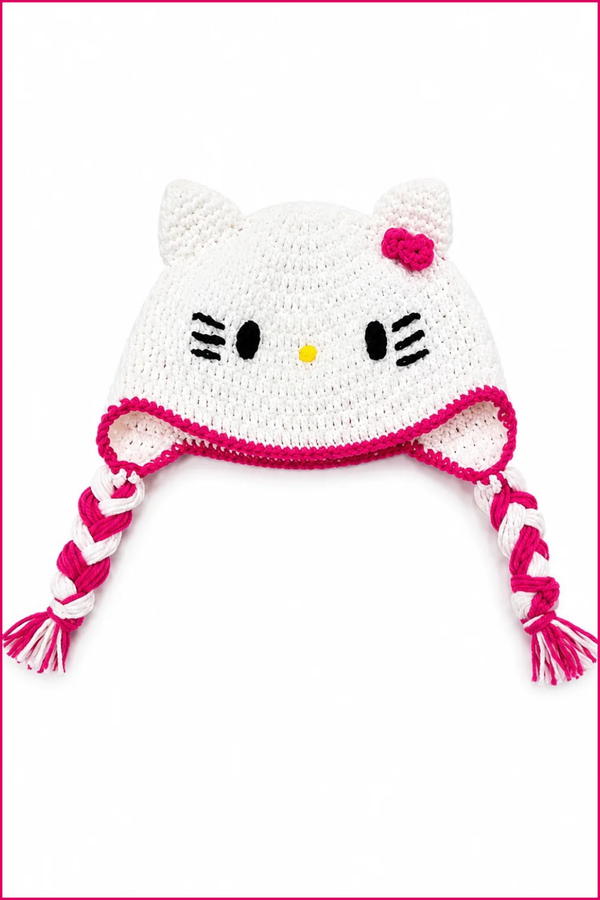
Conclusion
This Hello Kitty braided beanie pattern combines fundamental crochet techniques with creative assembly methods. The structure—from the rounded crown and classic ear flaps to the bordered edging, bold braids, and 3D features—delivers a durable, distinctive accessory. Embellishments and precise sewing establish familiar character charm, making the beanie both practical and playful. The finished piece stands out as a handmade highlight, easily adapted to various sizes or personalized colorways.