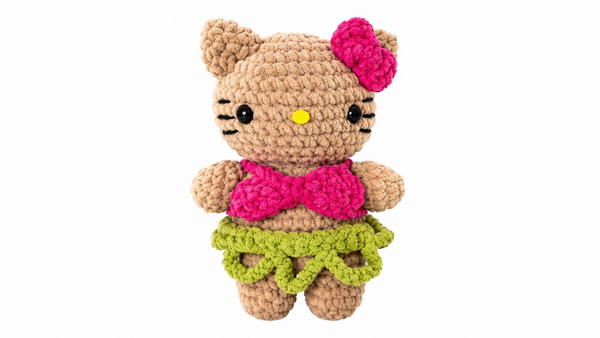
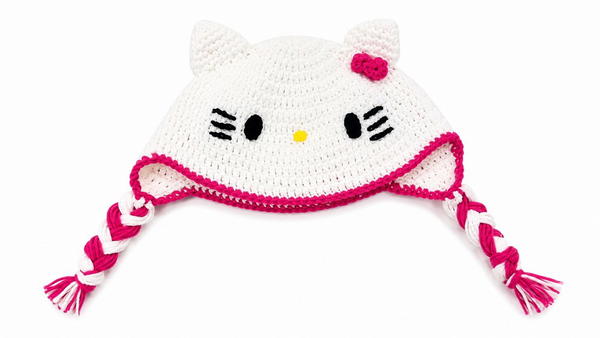
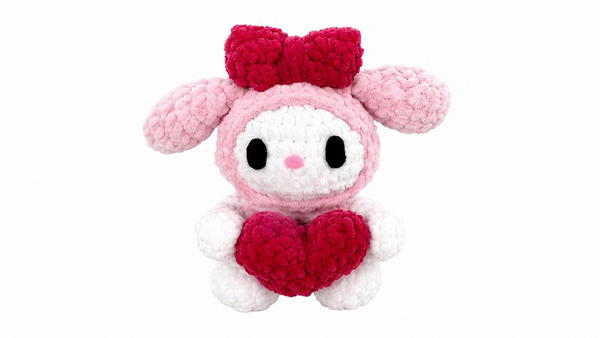
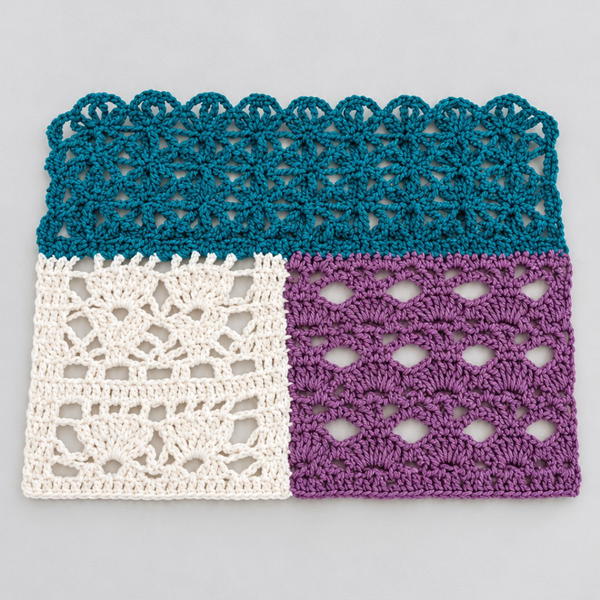
Try the Crochet Amigurumi Kuromi Free Pattern for a cute Sanrio doll with a black hood and pink skull, lovely for gifts and bedroom shelves.
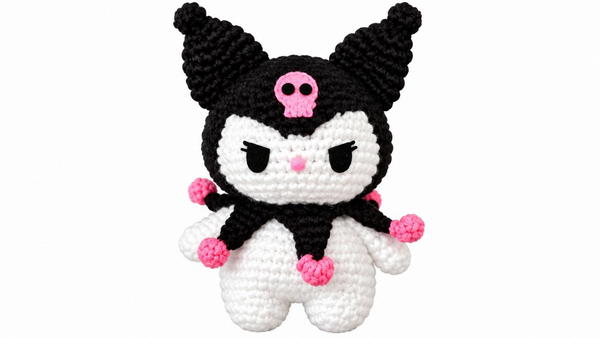
Have you ever wished you could crochet a charming little character that brightens up your space? The Crochet Amigurumi Kuromi is a delightful project that brings this wish to life. Designed by Fairycrochett, this cute creation captures Kuromi’s mischievous yet lovable personality with its signature black jester hat topped with a pink skull, big round eyes, and a sweet smile. Its compact size makes it a perfect decoration for your desk, shelf, or even a travel buddy to carry along.
Easy Crochet Amigurumi Kuromi Free Pattern with Cute Ears
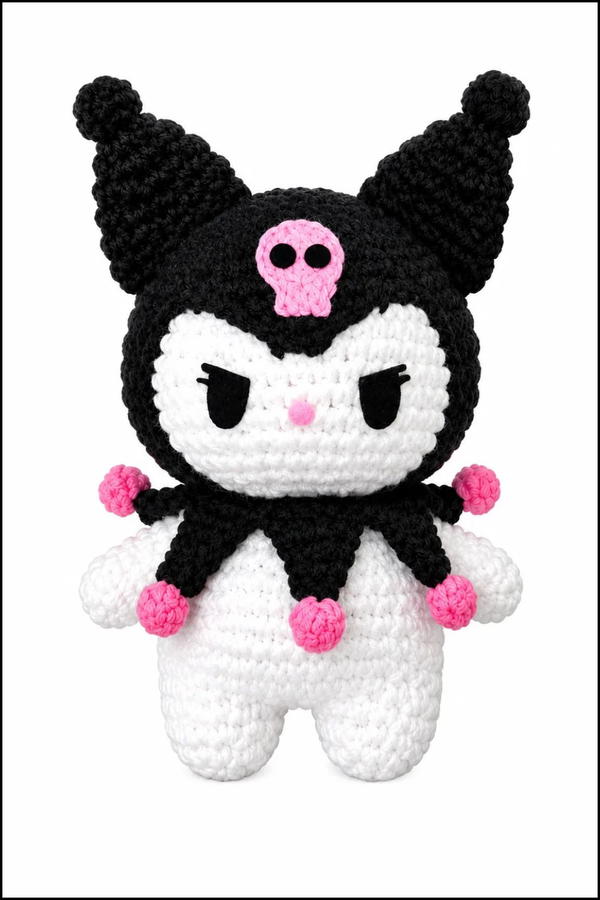
The finished Kuromi amigurumi has a lovely handmade feel, combining softness with bold colors that really pop. Its unique design and cheerful expression make it an eye-catching addition to any collection of cute handmade toys. Whether you’re looking for a gift or something to brighten your own day, this piece fits perfectly. The appeal of crochet amigurumi lies in how each stitch adds personality and warmth — and this Kuromi really stands out!
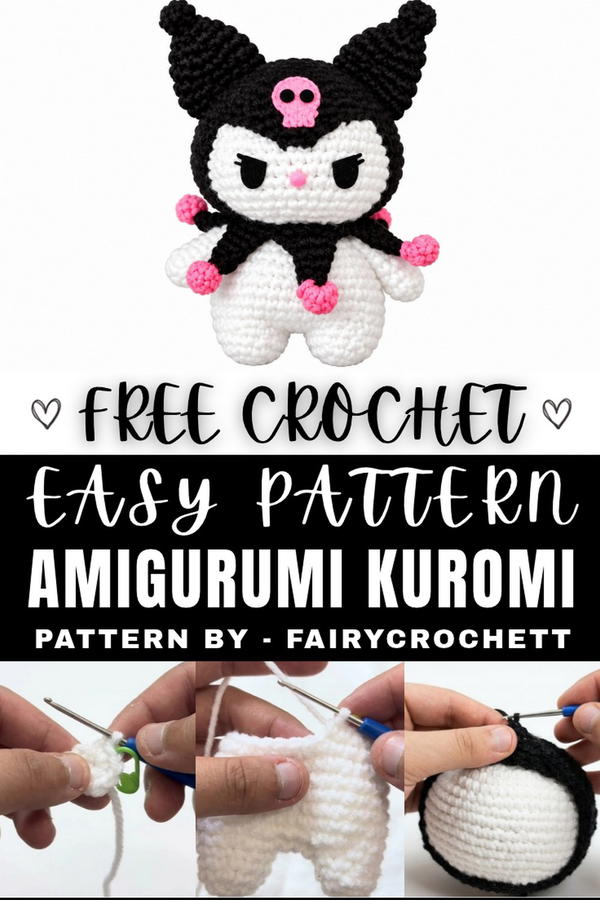 Aside from looking adorable, this cozy figure is a fantastic way to practice crochet skills in a fun and creative way. Thanks to Fairycrochett’s clear and engaging instructions, the pattern is accessible even for beginners who want to try their hand at making charming, detailed amigurumi dolls. Each step encourages creativity and offers a rewarding end result you’ll be proud of.
Interested in crocheting your own little friend? Don’t miss out on the free Crochet Amigurumi Kuromi pattern from Fairycrochett. It’s an enjoyable project that turns yarn into a lovable character with plenty of charm and personality!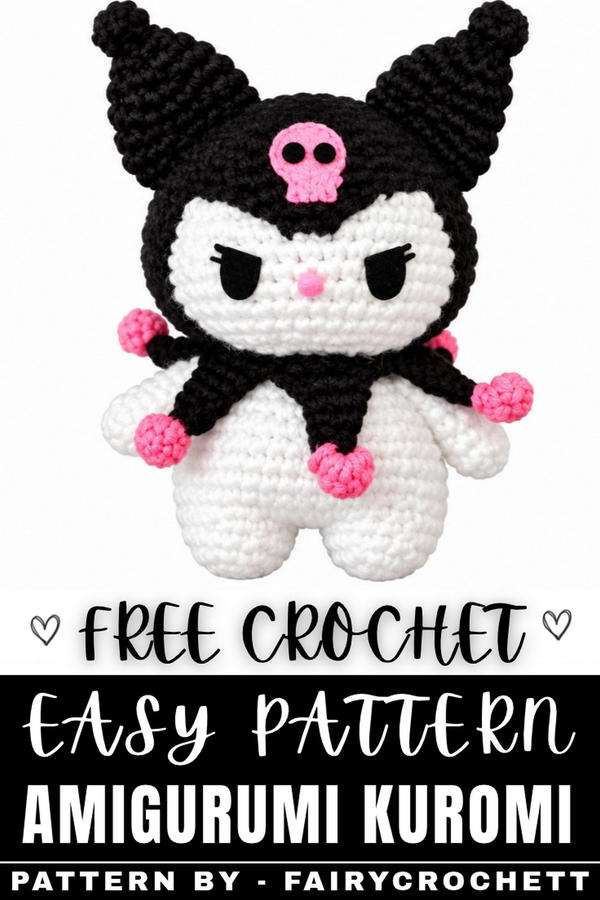
 1234
About the Pattern
This amigurumi pattern captures Kuromi’s mischievous charm with a detailed structure built in sequential, modular pieces. The plush features a seamless blend of character details, including her signature jester hood with a prominent point, expressive ears, a frilly collar, and well-shaped head and body. Classic amigurumi shaping techniques form the foundation, enhanced by thoughtful assembly and decorative elements for a highly recognizable finish.
Pattern at a Glance
The project is organized into clear sections:
- Head and Hood: The spherical head and matching hood are made separately for a neat, layered effect. Increases and decreases shape the base, while extra rounds and raised sections form Kuromi’s distinctive look.
- Legs and Body: Legs are constructed in the round and joined with chains for a seamless lower body.
- Collar: Worked directly onto the neck using a blend of basic and tall stitches for a ruffled effect.
- Ears and Details: Crafted and shaped individually, then stitched for accurate placement.
- Assembly: Precise attachment of each section creates a finished, well-proportioned Kuromi doll.
Important Notes
- Maintain even tension throughout, especially when working increases or decreases.
- Firm stuffing ensures the doll maintains structure, especially for shape-retaining sections like the head and hood.
- Use stitch markers to denote the beginning of each round for accuracy.
- Make all parts individually, stuff as you go, and sew securely during assembly to prevent shifting or looseness.
- Weave in all yarn tails invisibly for a refined finish.
Difficulty Level
The pattern is suitable for confident beginners and intermediate crocheters. Familiarity with the magic ring, basic stitches, standard increases and decreases, working in rounds, and sewing parts together is required. The collar utilizes a range of stitches, providing practical skill-building in varied crochet techniques.
Supplies Needed
- Worsted weight yarn in black, white, and accent shades (for facial and collar details)
- Crochet hook (3.5–4.0 mm recommended)
- Fiberfill stuffing
- Yarn needle for assembly and weaving in ends
- Scissors
- Stitch marker
Size & Measurements
The finished Kuromi plush stands about 6–8 inches tall, making it a perfect handheld or display size. Actual measurement will depend on yarn, hook size, and tension.
Gauge & Stitch Details
Gauge is not critical; the essential factor is producing tight, gap-free stitches. After several rounds, the fabric should be dense enough to prevent stuffing from poking through, with four rounds of single crochet in the round averaging 1.25–1.5 inches in diameter for most worsted yarn.
Crochet Abbreviations
- MR – Magic Ring
- SC – Single Crochet
- INC – Increase (2 SC in one stitch)
- DEC – Decrease (single crochet two stitches together)
- CH – Chain
- HDC – Half Double Crochet
- DC – Double Crochet
- TR – Treble Crochet
- SLST – Slip Stitch
- FO – Fasten Off
Special Stitch Guide
- Magic Ring (MR): Loop yarn into a circle, insert hook, draw up a loop, and work first round stitches into the ring before pulling closed.
- Increase (INC): Place two single crochets in the same stitch.
- Decrease (DEC): Crochet two stitches together (invisible decrease preferred for amigurumi).
- Back loops/front loops: When specified, insert hook under correct loop for desired texture.
Complete Crochet Pattern
Head
- Round 1: Begin with a magic ring, work 8 SC into the ring.
- Round 2: 8 INC (every stitch) – (16 SC).
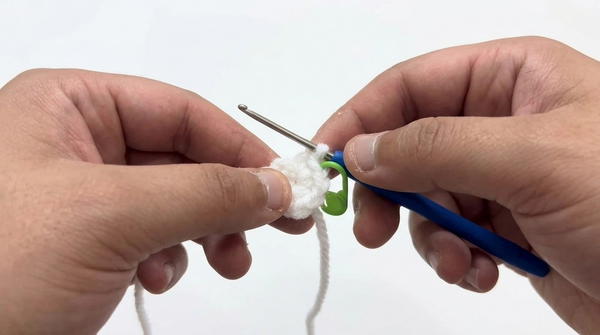
- Round 3: (1 SC, 1 INC) repeat around – (24 SC).
- Round 4: (2 SC, 1 INC) repeat around – (32 SC).
- Round 5: (3 SC, 1 INC) repeat around – (40 SC).
- Round 6: (4 SC, 1 INC) repeat around – (48 SC).
- Round 7: (5 SC, 1 INC) repeat around – (56 SC).
- Rounds 8–16: 1 SC in each stitch for 9 rounds – maintain (56 SC).
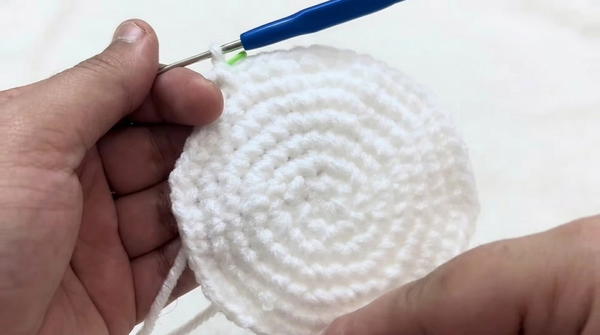
- Shaping/Decreasing:
- (5 SC, 1 DEC) repeat – (48 SC)
- (4 SC, 1 DEC) repeat – (40 SC)
- (3 SC, 1 DEC) repeat – (32 SC)
- (2 SC, 1 DEC) repeat – (24 SC)
- (1 SC, 1 DEC) repeat – (16 SC)
- Continue DEC each stitch until closed.
- Stuff head firmly before completely closing.
Hood
- Repeat the head shaping rounds as above, but after increases are complete, work 10 rounds of 1 SC in each stitch to extend the hood.
- For the “pointy part”:
- On the hood’s top, attach black yarn. Work a foundation of single crochets, then gradually reduce in each row to shape a triangle.
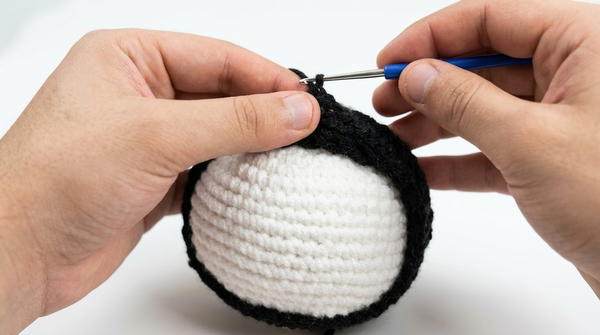
- Continue until a tall, neat point forms, then FO.
- On the hood’s top, attach black yarn. Work a foundation of single crochets, then gradually reduce in each row to shape a triangle.
Legs & Body
Legs (make 2):
- Round 1: MR with 6 SC.
- Round 2: 6 INC – (12 SC).
- Rounds 3–4: 1 SC in each stitch – (12 SC per round).
- FO first leg; keep the second on your hook.
Joining Legs & Forming Body:
- After second leg, CH 2. Join to the first leg’s stitch to begin in the round.
- On next round:
- 12 SC around first leg
- 1 SC into each of the 2 chain stitches
- 12 SC around second leg
- 1 SC into each of the 2 chain stitches (for a total of 28 SC)
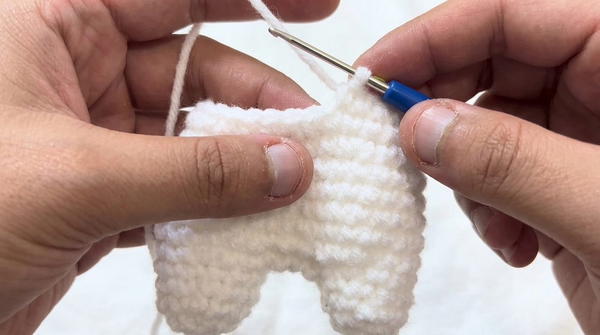
- Continue up the body for several rounds (1 SC per stitch).
- Begin decreasing: (3 SC, 1 DEC) repeat until closed, stuffing as you go.
Collar
- Join black yarn to the neck opening at the top of the body.
- (1 SC, 1 INC) around for a ruffled, expanding collar.
- Work a round of CH 3 between each SC as decorative loops.
- On next round, use various stitches in each chain loop for fullness:
- SC, HDC, DC, TR, DC, HDC, SC in each chain space.
- This produces dramatic collar points.
Ears (make 2)
- Round 1: MR with 6 SC.
- Round 2: 6 INC – (12 SC).
- Round 3: (1 SC, 1 INC) repeat – (18 SC).
- Gently decrease over next few rounds (pattern: (1 SC, 1 DEC) until pointed).
- FO leaving a long tail for sewing.
Assembly & Finished Size
- Insert the head into the hood, securing with stitch markers if needed for symmetry.
- Attach the ears to designated points on the hood, sewing tightly so they stand upright and match Kuromi’s signature shape.
- Sew the body to the head, using the yarn tail from collar for extra security.
- Weave in all ends neatly.
- Once assembled, the finished Kuromi doll measures approximately 6–8 inches tall with a sturdy, seamless structure and crisp defining features.
Conclusion
This crochet pattern enables the precise construction of a characterful Kuromi plush, integrating layered rounds, detailed shaping, and decorative embellishments for true-to-design accuracy. Each round and assembly instruction is organized to reinforce amigurumi fundamentals and facilitate a well-finished piece suited for gifting, collection, or display. The process invites skill development in working shaped components, making it an enjoyable and rewarding crochet experience.