The talented Fairycrochett has created a wonderful tutorial that makes crocheting Hello Kitty both fun and accessible. This tutorial guides you through making a charming Crochet Hello Kitty that’s perfect for fans of this beloved character.
Lovely Crochet Hello Kitty Free Pattern For Cute Gifts
Crochet Hello Kitty is a soft, handmade doll that captures Hello Kitty’s iconic features with simple stitches and adorable details. The finished size is approximately small enough to hold comfortably in your hands, making it ideal as a decorative piece, a baby toy, or a sweet gift. This project suits beginners to intermediate crocheters because it uses basic stitches like single crochet, increases, and decreases, along with some simple sewing to assemble the parts.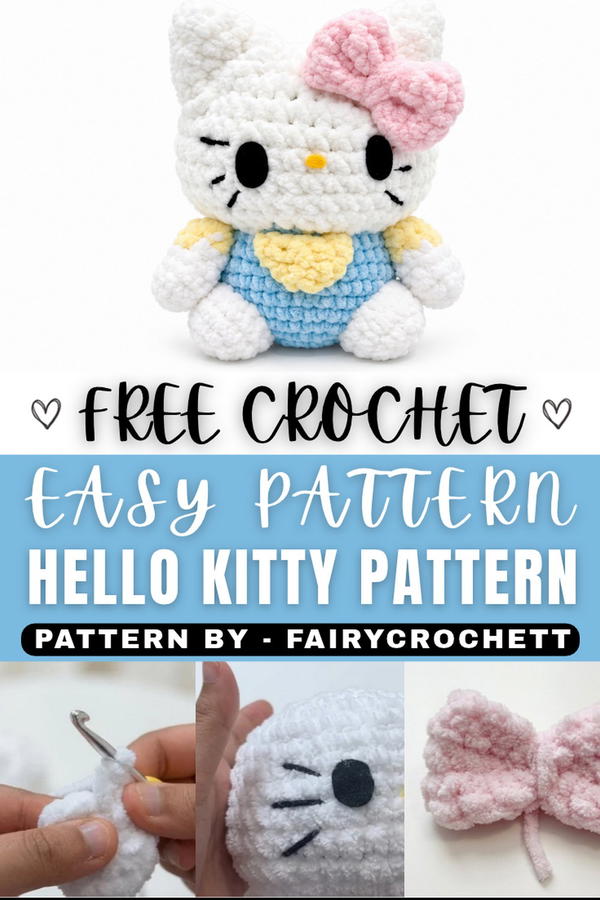 You’ll start by crocheting separate shapes—such as the head, body, and bow—and then carefully sewing them together to bring the little character to life. The pattern allows for creative customization too; you can choose different yarn colors or add personal touches with embroidery.
This project is great because it’s straightforward yet rewarding, offering a lovely handmade item that anyone would cherish. Whether you want to make a gift, add to your collection, or practice your crochet skills, this Hello Kitty is sure to bring a smile.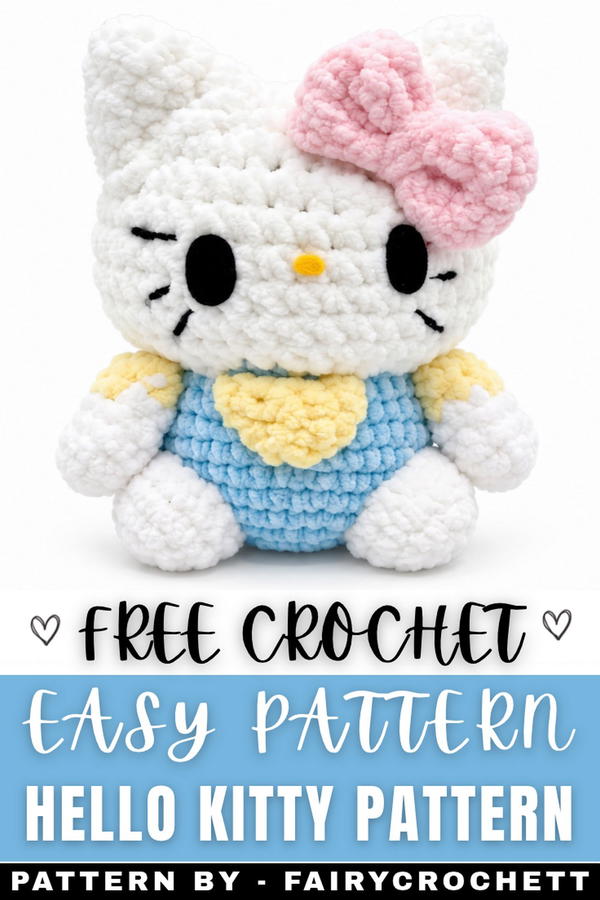 jump into the joy of crocheting and give this free pattern a whirl to create your very own sweet Hello Kitty friend!
About the Pattern
This classic Hello Kitty plush is constructed through separate crocheted units—head, body, ears, arms, legs, bib, and signature bow—that are carefully joined during final assembly. The design utilizes simple stitches and techniques found in amigurumi, resulting in a soft, structured toy that is friendly and safe for children. The shaping is managed with systematic increases and decreases for rounded forms, while facial embroidery achieves expressive features consistent with the iconic character.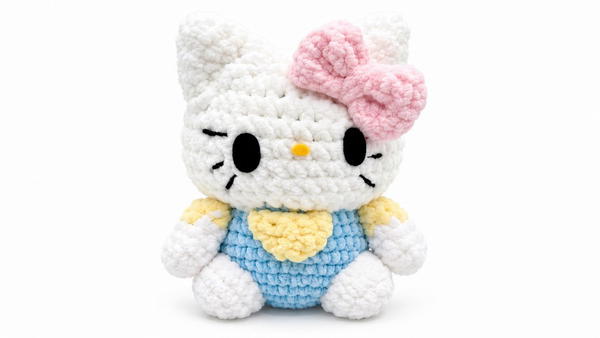
Pattern at a Glance
- Head: Worked in rounds with single crochet, increases for shaping, and decreases for closure; details added via embroidery.
- Body: Built in foundational rounds, combining increases for shape and steady rounds for lift.
- Ears: Tiny rounded triangles, worked from a small magic ring and shaped with increases.
- Arms and Legs: Cylindrical forms, color changes for accent, minimal shaping for softness.
- Bib: A petite rectangular accent, made in flat rows; bow is worked as a simple rectangle and cinched for dimension.
- Assembly: Components sewn securely for durability and precise character definition.
Important Notes
- Maintain consistent tension, especially during color and shape transitions.
- Stuff firmly for shape retention, but avoid overfilling.
- Embroidered facial features should be stitched securely and evenly spaced.
- Long yarn tails should be reserved for all assembly steps.
- For child safety, use embroidery for eyes and whiskers instead of plastic embellishments.
Difficulty Level
Beginner. Basic knowledge of magic ring, single crochet, increases, decreases, color changes, and joining pieces is required.
Supplies Needed
- DK or worsted-weight yarn in white, yellow, blue, and pink (or appropriate Hello Kitty colors)
- 2.5 mm – 3 mm crochet hook
- Fiberfill stuffing
- Tapestry needle for assembly and embroidery
- Scissors
- Embroidery floss for face details
Size & Measurements
- Finished size: 14–16 cm tall (adjustable by yarn and hook)
- Head: ~6 cm across
- Body: ~5 cm
- Bow: ~4 cm wide
- Arms/legs: proportionate to plush size
Gauge & Stitch Details
- Gauge: 6 rounds ≈ 3 cm in single crochet
- Stitches: Dense amigurumi fabric, worked tightly to prevent stuffing exposure
Crochet Abbreviations
- ch: chain
- sc: single crochet
- inc: increase (2 sc in one stitch)
- dec: decrease (sc2tog)
- sl st: slip stitch
- MR: magic ring
- hdc: half-double crochet
- dc: double crochet
Special Stitch Guide
- Magic Ring (MR): Create circle, work starting stitches inside; close tightly.
- Increase (inc): 2 sc in one stitch for shaping or widening rounds.
- Decrease (dec): sc2tog, reducing stitch count for narrowing and closing.
- Embroidery: Back stitch or satin stitch for whiskers and eyes.
Complete Crochet Pattern
Head
Round 1:
- Make a magic ring, work 8 sc into ring.
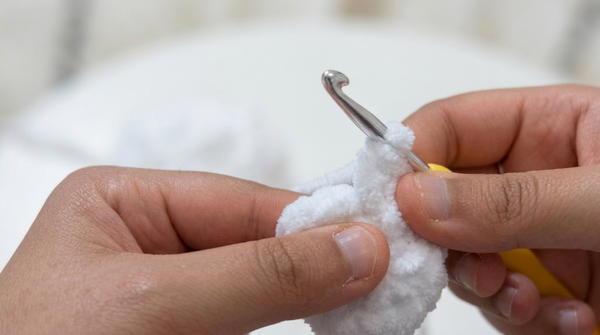
2 Round :
- 8 inc (2 sc in each stitch) (16 sc).
3 Round :
- (1 sc, 1 inc) repeat around (24 sc).
4 Round :
- (2 sc, 1 inc) repeat around (32 sc).
5 Round :
- (3 sc, 1 inc) repeat around (40 sc).
6–12: Rounds
- Work 1 sc in each stitch for 7 rounds (maintain shape).
Decrease Rounds:
- (3 sc, 1 dec) repeat around.
- (2 sc, 1 dec) repeat around.
- (1 sc, 1 dec) repeat around.
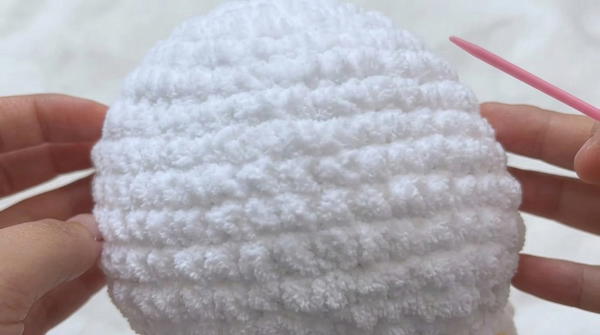
Face Details:
- Embroider whiskers and eyes using black floss, nose with yellow. Follow Hello Kitty spacing for symmetry.
Final Round & Closing:
- Work 8 dec (sc2tog around).
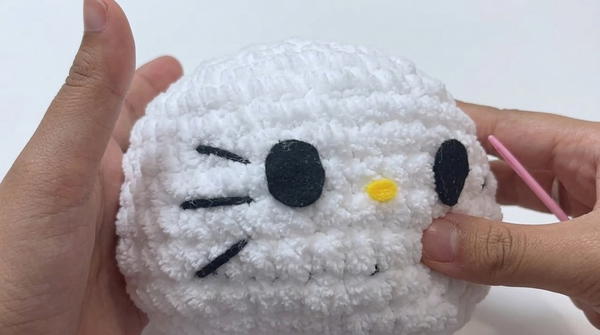 Stuff firmly, close opening, fasten off.
Body
Round 1:
- Make a magic ring, work 8 sc.
2 Round :
- 8 inc (2 sc in each stitch) (16 sc).
3 Round :
- (1 sc, 1 inc) repeat around (24 sc).
4 Round :
- (2 sc, 1 inc) repeat around (32 sc).
5–10 Rounds:
- 1 sc in each stitch for 6 rounds (builds torso).
Fasten off, stuff, reserve tail for attachment.
Ears (make 2)
Round 1:
- Magic ring, 4 sc.
1 Round :
- (1 sc, 1 inc) repeat (6 sc).
2 Round :
- (2 sc, 1 inc) repeat (8 sc).
3 Round :
- (3 sc, 1 inc) repeat (10 sc).
Fasten off, stuff lightly, leave tail for sewing.
Arms (make 2)
1 Round :
- Magic ring, 8 sc.
2–3 Rounds :
- Work 1 sc in each stitch for 2 rounds.
Color Change to yellow (paw accent):
- Work 1 sc in each stitch for 4 rounds.
Fasten off, stuff, reserve tail.
Legs (make 2)
Round 1:
- Magic ring, 6 sc.
Round 2:
- 6 inc (12 sc).
Rounds 3–4:
- 1 sc in each stitch for 2 rounds.
Fasten off, stuff, reserve tail.
Bib
1 Row :
- Magic ring, 5 sc.
2 Row :
- Turn, 5 inc (10 sc).
3 Row :
- Turn, (1 sc, 1 inc) repeat 5 times (15 sc).
Fasten off, weave ends.
Bow
- Make a slip knot, ch 17 + 1 turning ch.
- Row 1: Work 17 sc.
- Row 2: Turn, 17 sc.
- Repeat for total of 2–3 rows for rectangle.
- Fold, wrap center with yarn tail for shape.
Fasten off, reserve tail for sewing.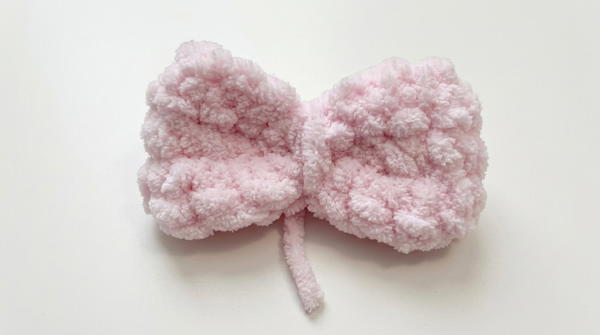
Assembly & Finished Size
- Sew head to body using blue yarn tail, align and stitch securely.
- Attach ears to head with white yarn tails, spacing evenly and symmetrically.
- Sew arms and legs at sides and lower body, matching Hello Kitty proportions.
- Sew bib and bow: Bib centered below head; bow stitched atop left ear, cinched and secure.
Final plush should measure around 14–16 cm, shaped and stuffed for soft, rounded character. Check for firm seams, and embroidered details for safety and character accuracy.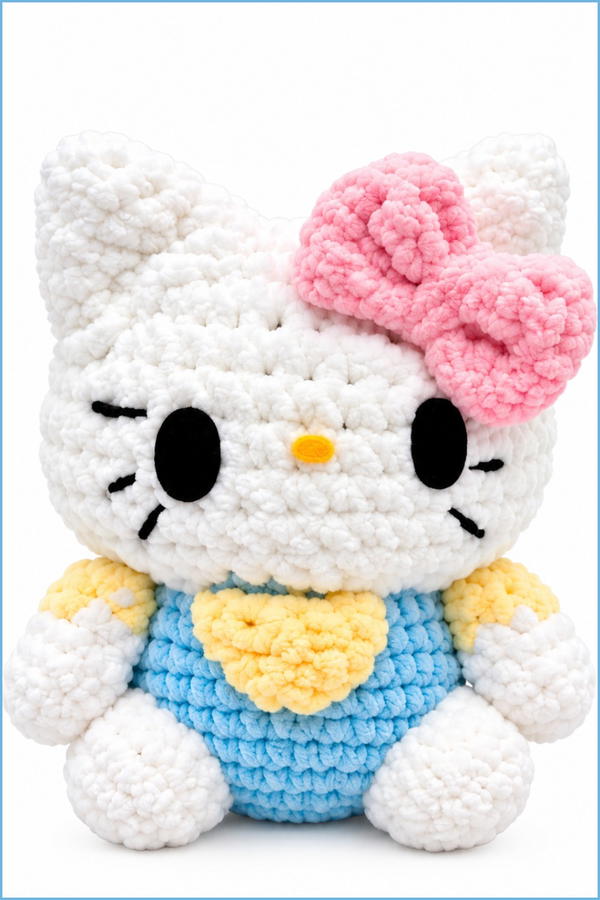
Conclusion
The Hello Kitty plush pattern utilizes foundational amigurumi methods and basic stitches, developing a charming, soft toy with signature features and gentle lines. The pattern encourages experimentation with color and shape for faithful likeness. Successful completion yields a safe, iconic plush suitable for gifting, display, or imaginative play. The piece combines approachable technique with classic amigurumi character elements for a delightful addition to any collection.