Offers easy-to-follow steps, this free crochet mini hobo bag pattern helps you stitch a stylish and compact bag for carrying your essentials effortlessly.
There’s something special about small bags that add charm to any outfit. A fun and stylish project to try is making a mini hobo bag using a free crochet mini hobo bag pattern. This small, soft bag is great for carrying your daily essentials while looking fashionable. If you like simple projects that result in useful and pretty items, this mini hobo bag is a perfect choice.
Cute Mini Hobo Bag Crochet Pattern – Free & Easy Steps
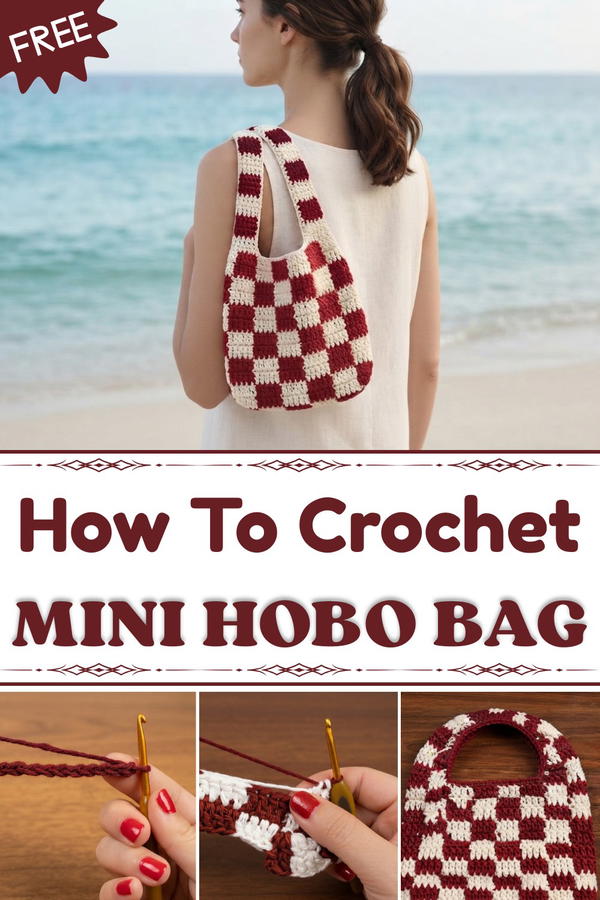
The mini hobo bag has a relaxed, rounded shape with a soft feel. It’s made with yarn and simple stitches, which make it comfortable to wear on your shoulder or arm. The bag has a curved bottom and a wide strap, giving it the classic hobo look but in a smaller and easier-to-carry size. You can pick your favorite colors and even add small details like ribbed edges or patterns. It’s just big enough to hold things like your phone, wallet, and keys, but small enough to stay light and casual.
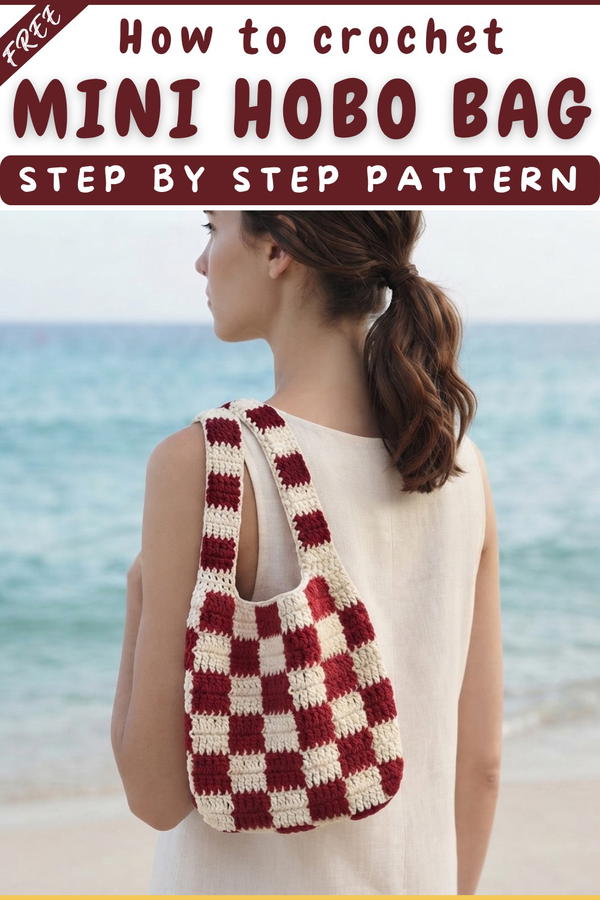
This project is good for beginners and anyone with a little experience. It uses easy stitches like single crochet or half double crochet, which create a firm and sturdy fabric. Making it in rounds helps shape the bag well, and the wide strap is simple to make but strong. Because it’s a small bag, you can finish it quickly and start using it right away.
The free crochet mini hobo bag pattern is great for making gifts or treating yourself. Its style and usefulness add a nice touch to everyday outfits. If you want a simple and pretty project that helps you learn new skills, this mini hobo bag is a wonderful choice. Try it out—you’ll love carrying a bag you made yourself!
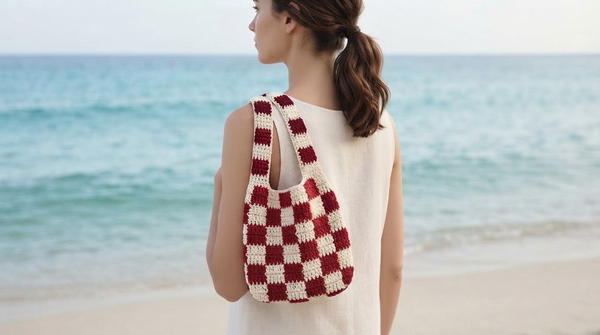
Two-Toned Color Changing Crochet Shoulder Bag Pattern
In this pattern, we'll create a compact and functional shoulder bag featuring striking color changes and a reinforced structure, perfect for daily use. This bag is worked in the round from a foundation chain and uses intuitive color changes for a vibrant, playful look.
Quick Overview Of Pattern
- Rectangular base worked from a foundation chain, turned into an oval by increasing at ends.
- Alternating color technique for a unique, playful appearance.
- Bag body built in continuous rounds with color transitions every few stitches.
- Two sturdy handles worked directly onto the bag with shaped ends.
- Seamed and finished with techniques to ensure strength.
Notes
- Pattern is written in US crochet terms.
- This pattern uses two colors (referred to as Color A and Color B). Change colors as indicated for a smooth transition.
- When not in use, carry the unused color along your work for minimal weaving in.
- Ensure all color changes are made on the final yarn-over of the stitch before the new color is needed.
- Seam sides tightly so objects won’t fall out from inside the bag.
Skill Level
Adventurous Beginner to Intermediate
Skills needed: Foundation chain, double crochet (dc), smooth color changes, working in the round, increasing, simple decreases for shaping handles, seaming.
Measurements / Sizing
- Bag base: Approx. 8" (20 cm) wide
- Bag body: Approx. 7" (18 cm) tall
- Handles: Approx. 15" (38 cm) each (adjustable)
Gauge
- 16 dc and 7 rows = 4" (10 cm). Adjust hook if needed to get a dense, flexible fabric.
- Foundation chain (20 and starting dc) should measure about 8" (20 cm) long when relaxed.
Stitch Abbreviations
- ch – chain
- dc – double crochet
- sl st – slip stitch
- st(s) – stitch(es)
- sk – skip
Special Stitches
- Color Change: Complete the last yarn over of your previous stitch with the new color; now you’re working with that color.
- Carrying Yarn: Carry the unused color along your stitches, encasing it as you crochet, for neat colorwork.
Materials Needed
- Yarn: 100% Cotton Tassel Guya (113g)
- Crochet Hooks: Size 5 (or Size 6 for a looser fit), Size 3 for finishing touches
- Tools: Tapestry needle for assembly
Pattern Instructions
Phase 1: Foundation and Base
Round 1:
- Chain 20.
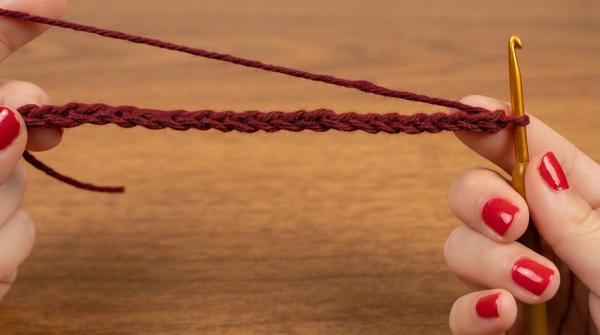
- In the 3rd chain from the hook, work 1 double crochet (dc).
- Change color.
- In the same stitch, work 2 dc, changing color on the 2nd stitch.
- Continue working 2 dc stitches into the same stitch, changing colors each time, until you have 8 dc total in that stitch.
Round 2:
- Work 1 dc in each stitch for 4 stitches.
- Change color on the 4th stitch.
- Repeat this pattern until the stitch before the last.
- In the last stitch, work 8 dc stitches, alternating colors as in Round 1.
Round 3:
- Work 1 dc in each stitch.
- Change colors every 4 stitches.
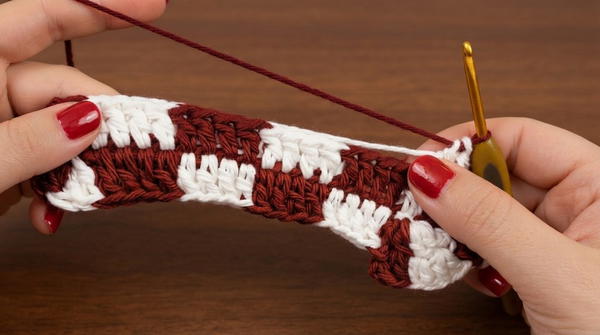
- Continue around to the end of the foundation.
Round 4:
- Slip stitch (sl st) to join, carrying the unused yarn color.
- Chain 2.
- In the same stitch, work 2 dc, changing colors on the 2nd stitch.
Round 5:
- Work 2 dc in each stitch for 6 stitches, alternating colors.
Round 6:
- Work 1 dc in each stitch, alternating colors every 4 stitches.
- Continue until you reach the corner.
Round 7:
- At the corner (8 stitches), work 2 dc per stitch, alternating colors.
- Continue around until the last stitch.
Round 8:
- In the last stitch, work 1 dc.
- Join with a slip stitch.
Phase 2: Building the Body
Round 9:
- Chain 2.
- Work 1 dc in the slip stitch space and 1 dc in the next stitch, changing colors.
Round 10:
- Work 1 dc in each stitch for 4 stitches.
- Change colors on the 4th stitch.
- Repeat around the perimeter.
Round 11:
- Join with a slip stitch, carrying the yellow yarn.
- Chain 2.
- Work 1 dc into the slip stitch space and 1 dc in the next stitch.
Round 12:
- Work 1 dc in each stitch for 1 full round.
- Change colors as established.
Round 13:
- Chain 2.
- Work 1 dc in each stitch, alternating colors.
- Repeat for 5 full rounds or until desired bag height.
Round 14:
- Finish the last stitch.
- Chain 1.
- Cut the yarn.
Phase 3: Handles
Round 15:
- Connect yarn 2 stitches from the edge.
- Chain 2.
Round 16:
- Work 1 dc in each stitch for 93 stitches.
- Join at the 3rd stitch.
Round 17:
- Work 4 stitches, changing colors on the 4th stitch.
- Repeat for 4 blocks.
- Wrap white yarn once around the end to secure.
Round 18:
- Chain 2 and turn.
- Skip the first stitch.
- Work 1 dc in each stitch (4 stitches).
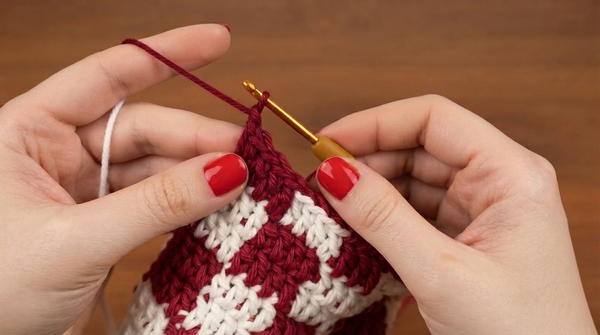
Round 19:
- Turn, chain 2.
- Skip the first stitch.
- Work 1 dc in each stitch.
- Repeat this reduction method until you reach 5 rows for handle height.
Round 20:
- Repeat Rounds 15-19 for the second handle on the opposite side, mirroring the first.
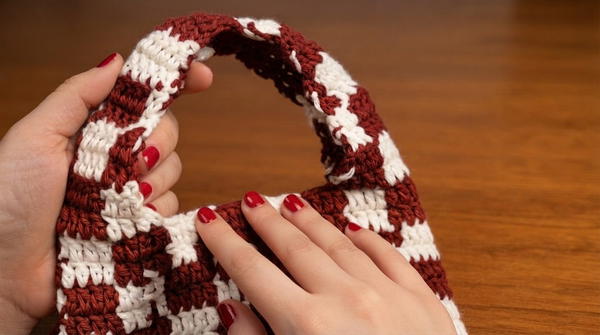
Assembly & Finishing
- Use remaining yarn and tapestry needle.
- Sew side seams tightly to secure the bag.
- Ensure stitches prevent items from falling out.
- Finished bag is compact, flexible, and ideal for daily use.
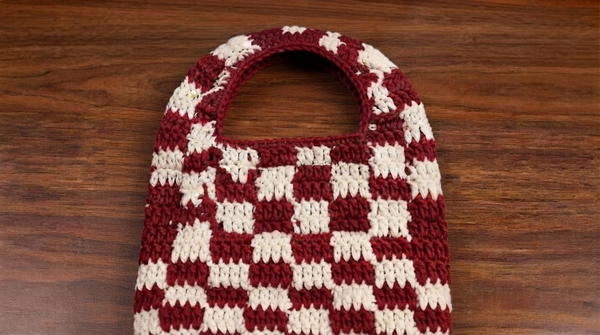
Assembly & Finished Size
- Use any remaining yarn and a tapestry needle to sew the side seams tightly from base to rim, ensuring a compact and secure bag structure.
- Double check that the seams are firm and the base is well aligned.
- Handles should be firmly attached; reinforce at joins if desired.
- Ensure all loose ends are woven in and no gaps remain at seams.
Finished Bag Size:
Approx. 8" wide x 7" tall, with flexible sides and long, comfortable handles.
Conclusion and Ending Words
Your color-changing crochet shoulder bag is now complete! This sturdy yet compact tote is perfect for daily errands, a trip to the market, or as a stylish addition to your accessory collection. Experiment with different color combinations, and adapt handle length for your needs.