Start crocheting a delightful acorn basket today with this free pattern and enjoy making a lovely accessory that’s perfect for fall decoration and storage.
Bringing a touch of autumn charm into your space is easier than ever with a delightful basket inspired by nature’s own acorn. The Free crochet acorn basket pattern, showcased by the creative team at Crochet with Olga Dyvinets!!!, offers a wonderful way to create a cozy, seasonal accessory that’s as functional as it is attractive. This small container, shaped like an acorn complete with a textured cap and stem, can brighten up any room or serve as a heartfelt gift for special occasions.
Cute & Simple Free Crochet Acorn Basket Pattern to Make Today
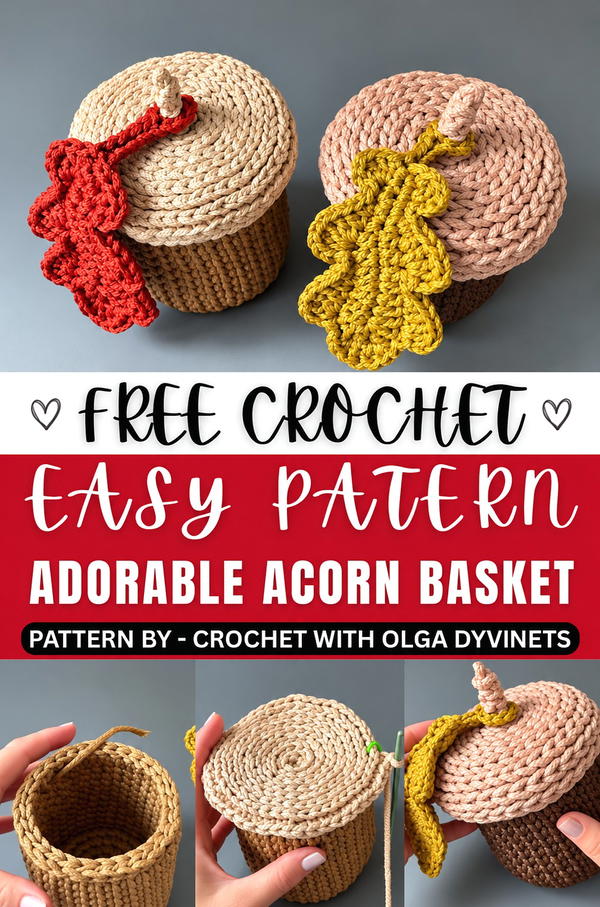
The design features a rich, earthy color palette that highlights the beauty of natural tones, evoking warmth and comfort. Crafted from a sturdy polyester cord, the basket boasts a smooth yet firm texture, allowing it to hold its shape beautifully. Its rounded, barrel-like form and snug lid demonstrate clever shaping techniques, making this project truly stand out with its playful yet practical style.
Not just for decoration, this acorn basket can neatly store small items or hold treasures, making it a versatile addition to your home. The secure lid ensures contents stay hidden yet easily accessible, adding to its appeal. The clear and engaging tutorial (LINK IS BELOW) lays out each step with care, guiding hobbyists through the process and encouraging a satisfying, successful finish. This project is perfect for anyone looking to add a handcrafted touch of fall beauty and usefulness to their living space.
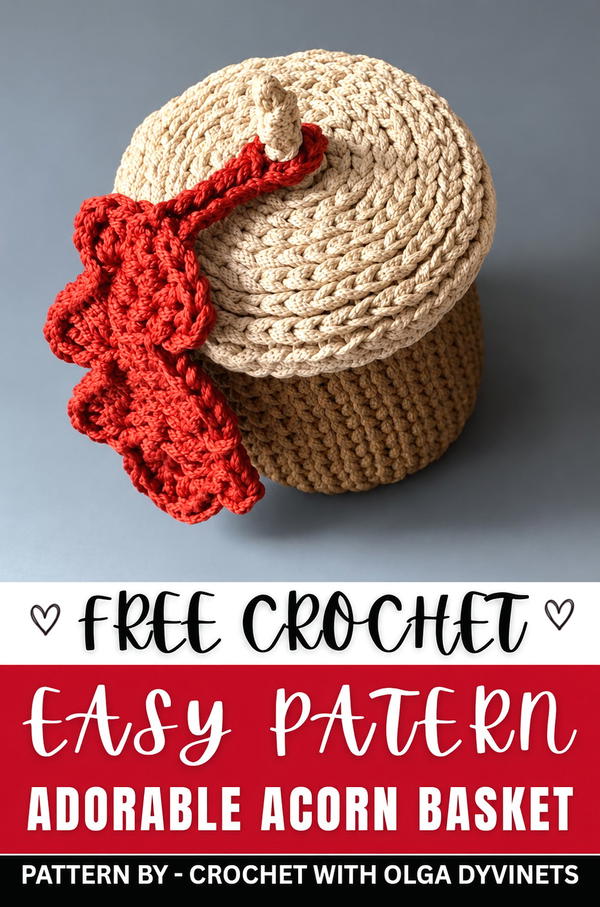
Crochet Pattern: Acorn Basket
The Acorn Basket is a creative and practical project that combines functionality with charm. Featuring a rounded base, sturdy basket walls, and a sculpted acorn lid with a stem, this pattern is ideal for storing keepsakes, small items, or seasonal decorations. Using thick cord with a core ensures a durable and textured finish, while split stitch and camel stitch techniques create visual interest.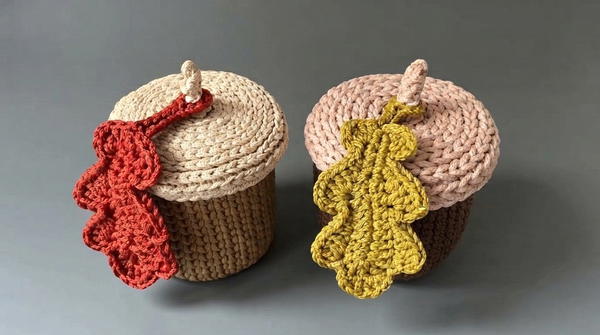
Skill Level
Intermediate – This pattern requires familiarity with working in rounds, increasing and decreasing stitches, and using techniques like split stitches and camel stitches. It is suitable for crocheters with basic stitch knowledge and some experience in shaping projects.
Materials
Basket:
- Cord: 5 mm cord with a core (recommended for durability).
- Crochet Hook: Size 5.5 mm.
Lid:
- Cord: 3 mm cord (or match the basket’s thickness for consistent tension).
- Crochet Hook: Size 4 mm.
Additional Supplies:
- Scissors for trimming cord or yarn.
- Yarn needle for weaving in ends.
Stitch Abbreviations
- Sc: Single Crochet
- Inc: Increase (two stitches worked into the same stitch)
- Dec: Decrease (Single Crochet Two Together, SC2tog)
- Sl St: Slip Stitch
Special Stitches
Split Stitch (Gauloise/V-Stitch):
This technique creates a dense and uniform texture.
- Insert your hook into the “split” portion of the stitch, which sits beneath the loops, between the lateral strands.
- Yarn over and pull through the split area.
- Complete as a typical single crochet.
Camel Stitch (Back Loop Only):
This creates a ribbed texture on the project.
- Insert the hook into the third loop, which is located behind the top two loops of the stitch.
- Yarn over and pull through the third loop.
- Complete the stitch as a typical single crochet.
Useful Tips
- Tension Control: Maintaining uniform tension is key to ensuring your basket retains its structure and shape.
- Working with Cord: When working with thick cord, hold your hook firmly and move slowly to avoid hand fatigue.
- Seamless Finish: Follow the instructions for joining rounds with a seamless finish for a polished and professional look.
- Lid and Basket Matching: The lid and basket should align size-wise, ensuring the lid fits snugly on top. Adjust tension or cord thickness if needed.
- Thread Management: Trim loose ends and weave them in securely. For cord, gently melt the cut ends with a lighter to prevent fraying.
Pattern Instructions
The pattern is divided into three sections: the basket base, basket walls, and acorn lid. Follow all rounds step-by-step for best results.
Basket Base (Donut/Bottom)
- Start:
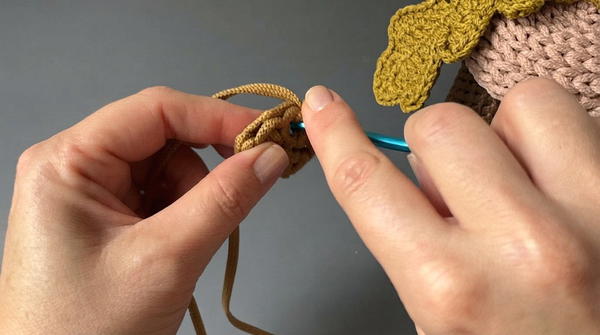
- Create a ring (Magic Ring or loop). Work 6 single crochets (SC) into the ring.
- Pull the tail firmly to tighten the ring well and secure the stitches.
- Row 1:
- Finish the round by joining the last stitch to the tail end using a seamless technique.
- Row 2:
- Work Inc (Increase) into every stitch from the previous row (12 stitches total).
- Use the split stitch technique to add texture and durability.
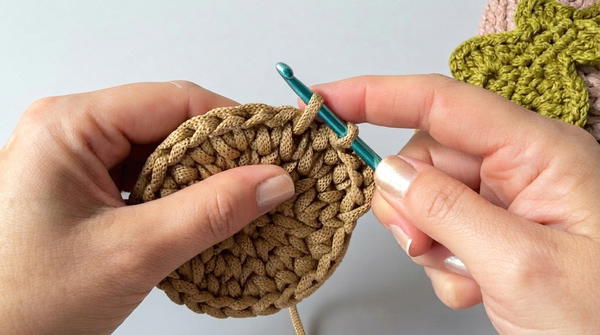
- Row 3:
- Follow the pattern: 1 SC, 1 Inc; repeat 6 times (18 stitches total).
- Row 4:
- Follow the pattern: 2 SC, 1 Inc; repeat 6 times (24 stitches total).
- Row 5:
- Follow the pattern: 3 SC, 1 Inc; repeat 6 times (30 stitches total).
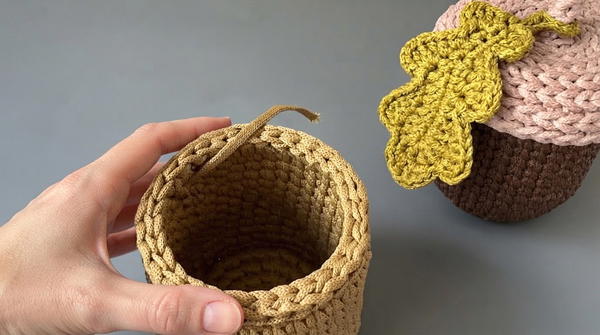
- Follow the pattern: 3 SC, 1 Inc; repeat 6 times (30 stitches total).
Basket Walls
- Transition Row:
- Work 4 Inc evenly spaced throughout the row to transition from the base to the vertical walls of the basket (34 stitches total).
- Rows 2–12:
- Work 11 rows of 34 SC using the split stitch technique. Each row should maintain the same stitch count without increases or decreases.
- Row 13 (Decrease):
- Perform 4 decreases symmetrically spaced around the row to shape the basket’s walls (30 stitches total).
- Edge:
- Work one final row of Sl St (Slip Stitches) around the top edge of the basket to secure the shape and create a clean border.
Acorn Lid (Hat)
Switch to a 3 mm cord and a 4 mm hook (adjust if needed for consistent tension):
- Row 1:
- Create a ring, then work 6 SC into the ring.
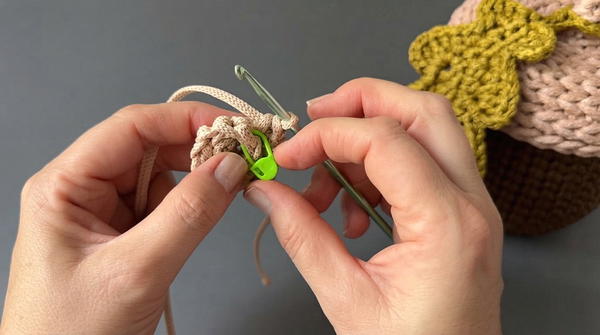
- Create a ring, then work 6 SC into the ring.
- Row 2:
- Work Inc into every stitch (12 stitches total). Use the camel stitch by inserting your hook into the third loop (back loop only).
- Row 3:
- Follow the pattern: 1 SC, 1 Inc; repeat 6 times (18 stitches total).
- Row 4:
- Follow the pattern: 2 SC, 1 Inc; repeat 6 times (24 stitches total).
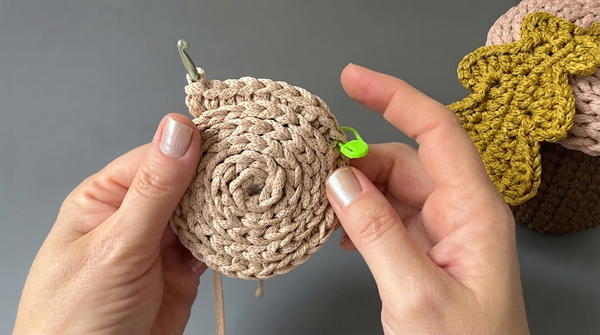
- Follow the pattern: 2 SC, 1 Inc; repeat 6 times (24 stitches total).
- Row 5:
- Follow the pattern: 3 SC, 1 Inc; repeat 6 times (30 stitches total).
- Row 6:
- Follow the pattern: 4 SC, 1 Inc; repeat 6 times (36 stitches total).
- Row 7:
- Follow the pattern: 5 SC, 1 Inc; repeat 6 times (42 stitches total).
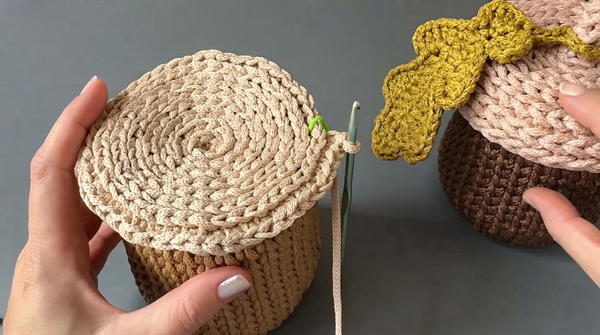
- Follow the pattern: 5 SC, 1 Inc; repeat 6 times (42 stitches total).
- Row 8:
- Follow the pattern: 6 SC, 1 Inc; repeat 6 times (48 stitches total).
- Rows 9–10:
- Work 2 rows evenly in SC (no increases), maintaining the stitch count at 48 stitches.
- Row 11:
- Work a row of Sl St (Slip Stitch) around the entire perimeter of the lid for a clean, polished edge.
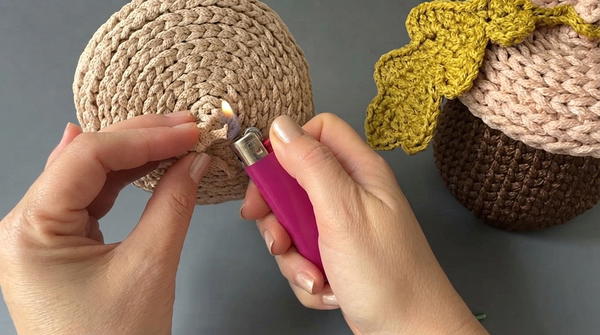
- Work a row of Sl St (Slip Stitch) around the entire perimeter of the lid for a clean, polished edge.
Stem/Tip
- Work into the center 6 stitches of the lid.
- Use Slip Stitches, working in a tight spiral to form the stem. Continue until reaching the desired height for the acorn tip.
Finishing Touches
- Secure Ends: Trim all loose ends, and use a lighter to carefully seal cord edges (if using polyester cord).
- Blocking: Shape the basket as needed using your hands to adjust its form. For added durability, consider wet blocking or steam setting.
Conclusion
This Acorn Basket design combines utility and charm, giving you a practical storage solution with a whimsical twist. The textured split stitch base and walls pair beautifully with the delicate shaping of the lid and stem. Customize the basket by experimenting with cord types, colors, or even adding embellishments to match seasonal decor or personal aesthetics.