Free crochet marshmallow basket pattern offers simple instructions for a fun, functional design to organize essentials or add a cozy touch to any space.
The joy of creating something both beautiful and useful is captured wonderfully in the Free crochet Marshmallow Basket Pattern. This charming basket, shared by U R Unik, is a delightful handmade piece perfect for gifting or adding a cozy touch to your home décor. Its soft, tactile texture offers not only functionality but also a warm, inviting aesthetic that stands out in any room.
Crochet Marshmallow Basket Free Pattern Step-by-Step
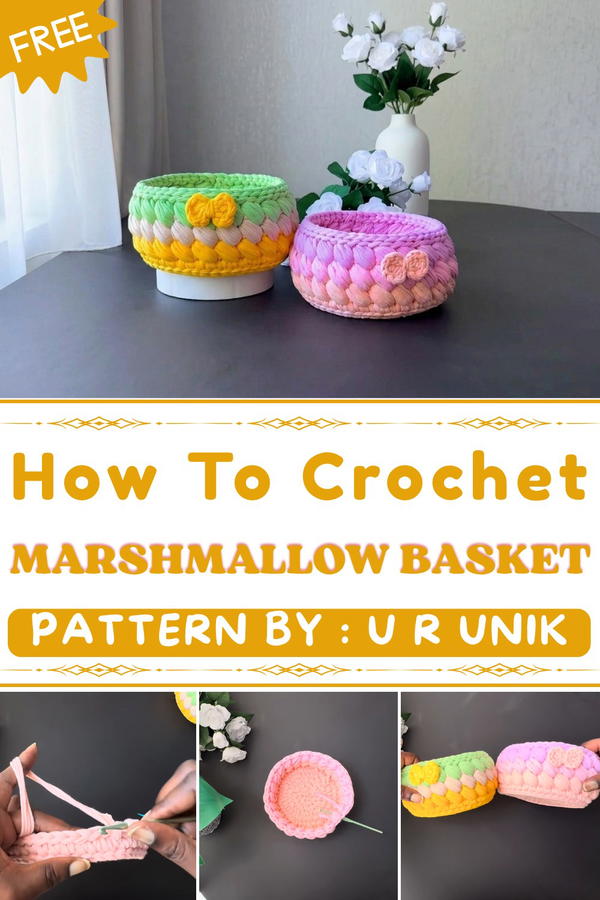
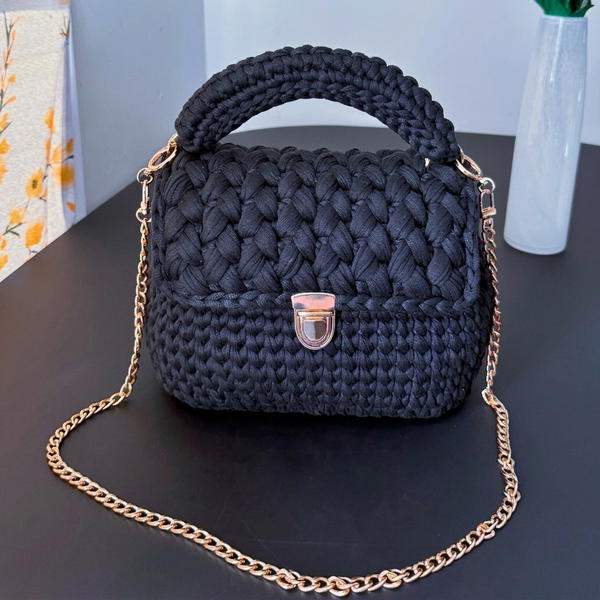
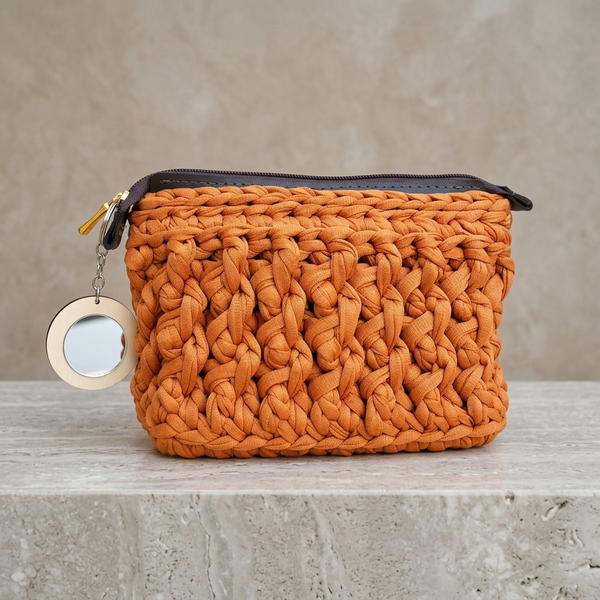
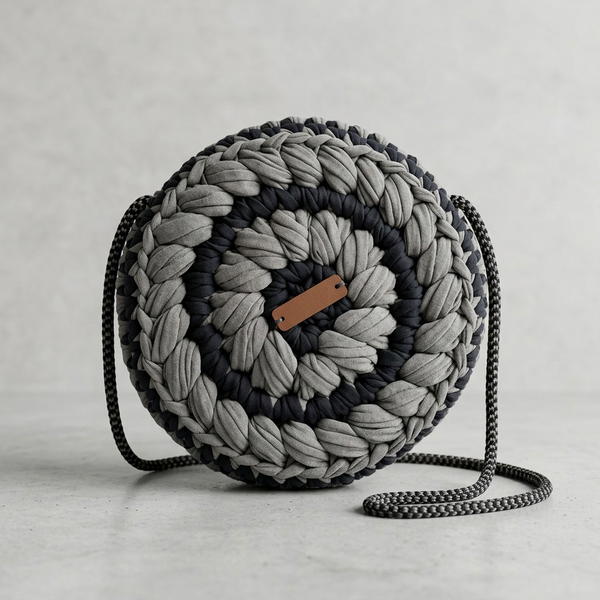
This project showcases a round basket made using thick, doubled t-shirt yarn, giving it robust sturdiness while remaining soft to the touch. The signature "marshmallow" stitch creates a puffy, textured surface that resembles delicate clouds, making the basket visually and physically plush. Its shape is both practical and stylish with a neat, well-defined base that ensures stability and a slightly open top for easy access.
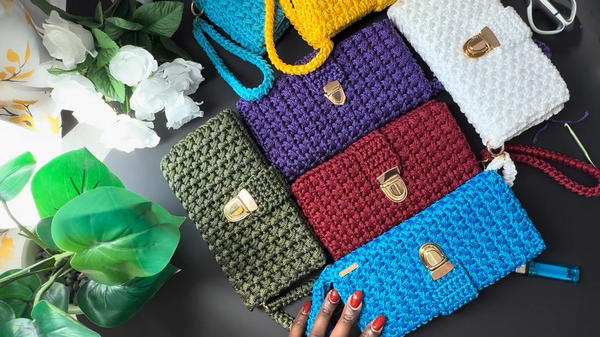
Beyond its visual appeal, the basket is incredibly versatile. It can store crochet supplies, hold small household items, or serve as a unique container for gifts. The layered colors and playful puff stitch pattern add a hand-crocheted charm that instantly brightens a space. Learning the pattern from tutorial means you can customize the basket in your favorite colors, making each creation truly your own.
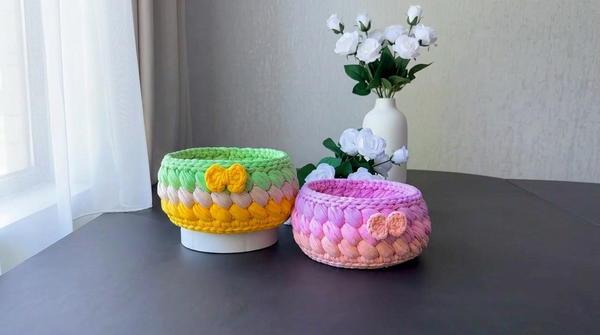
This crochet project combines simple stitches with creative flair, turning a basic basket into a standout piece filled with personality and warmth. It’s an inspiring project for makers at any skill level wanting to add a special handcrafted accent to their environment.
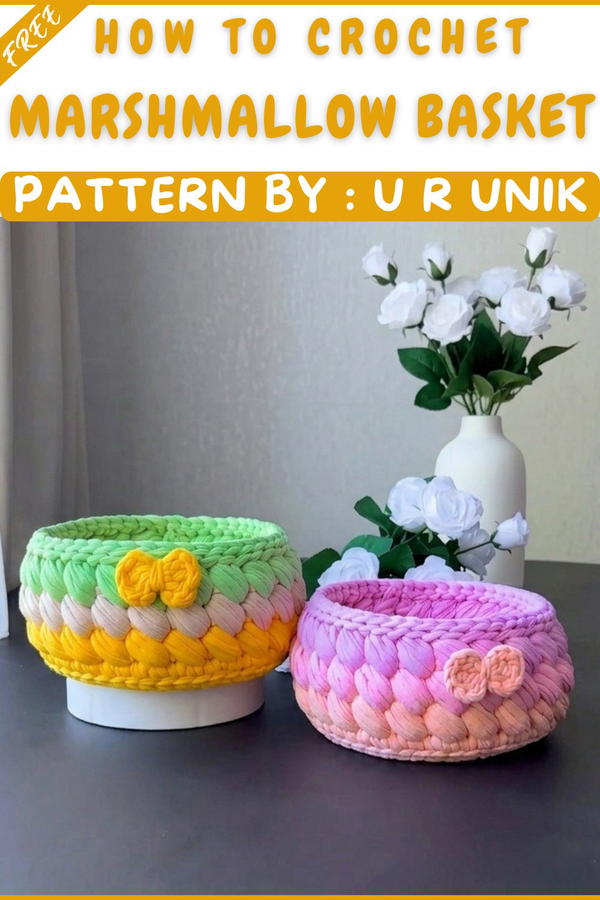
Marshmallow Basket Crochet Pattern
The Marshmallow Basket is a plush storage solution crocheted in thick, soft t-shirt yarn for a structured yet cozy look. Using marshmallow puff stitches for texture and a doubled strand for durability, this pattern yields a round basket ideal for organizing essentials or decorating spaces. With a slip-stitched base, vertical walls, and a whimsical bow accent, it is both functional and visually appealing. The marshmallow stitch brings an exquisite, puffy texture that is perfect for homeware.
Pattern Important Tips
- Always crochet with doubled t-shirt yarn for structure, especially for the base and body.
- Use a 6mm hook for the basket and a 4.5mm hook for the bow to ensure crisp stitch definition.
- Place puff stitches in the gaps between previous round’s puffs for an aligned and fluffy effect.
- Changing yarn color between rounds will enhance the marshmallow swirl. Securely join and weave in color changes for a neat appearance.
- Maintain consistent tension throughout, especially when working puff stitches and slip stitching the base and edge.
Special Notes
- T-shirt yarn can stretch; check measurements as you go and use a firm gauge.
- For a sturdier basket, do not overstuff the puff stitches.
- The basket is worked from the base upward, joining rounds as you go, while the bow is created separately and attached.
- Feel free to adjust the number of base rounds and marshmallow stitch rows to modify basket height and width.
- Marshmallow puff stitch creates extra bulk—ensure you work tightly for best results.
Skill Level
Suitable for Confident Beginners
The pattern uses basic stitches and magic ring, plus the marshmallow puff stitch (a modified technique requiring you to skip, single crochet in the next, and return to the skipped stitch). Prior crochet experience with rounds and increases is helpful.
Materials
- Yarn: 2 cm wide t-shirt yarn; use two strands held together for the basket body and a single strand for the bow
- Hook: 6mm crochet hook for basket; 4.5mm crochet hook for bow
- Scissors: For cutting yarn
- Tapestry needle: For weaving in ends and assembling bow
Measurements / Sizing
- Basket Diameter: Approximately 16–20 cm (6–8 inches) across (depends on yarn and tension)
- Basket Height: 10–15 cm (4–6 inches) high (may be increased/decreased per preference)
- Bow: Approximately 8 cm (3 inches) wide
- Adjust dimensions by adding more base rounds or marshmallow stitch rows
Gauge and Stitch Pattern
- Gauge: Not crucial, but aim for firm stitches so the basket holds its shape. Example: 8 sc x 8 rows = 10 cm (4 inches) with doubled t-shirt yarn and 6mm hook.
- Stitch Pattern: Basket base uses increasing rounds of single crochet; basket body uses marshmallow puff stitch.
Stitch Abbreviations
- ch: chain
- sc: single crochet
- inc: increase (2 sc in same stitch)
- sl st: slip stitch
- MR: magic ring
- dc: double crochet
- st(s): stitch(es)
- BL: back loop
Special Stitches
- Magic ring (MR): Form a loop, insert hook, draw yarn through, work indicated number of stitches into ring, pull tight.
- Marshmallow stitch: Skip one stitch, sc in next, then work sc back into skipped stitch; the result is a textured marshmallow puff.
- Slip stitch: Insert hook in stitch, yarn over, pull through both loops.
Pattern Instructions
Phase 1: The Base
- Round 1:
- Make a magic ring and work 6 sc into MR. (6 sts)
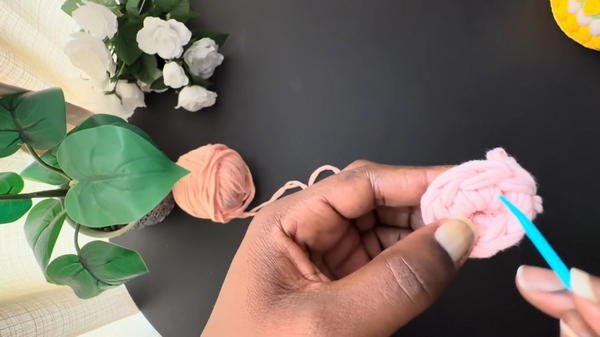
- Make a magic ring and work 6 sc into MR. (6 sts)
- Round 2:
- Work 2 sc in each stitch (inc) around, working into the "V" (front and back loops) of every stitch for a thick base. (12 sts)
- Round 3:
- Repeat: 2 sc in each stitch (inc) around. (24 sts)
- Round 4:
- (2 sc, 1 inc), repeat around. (32 sts)
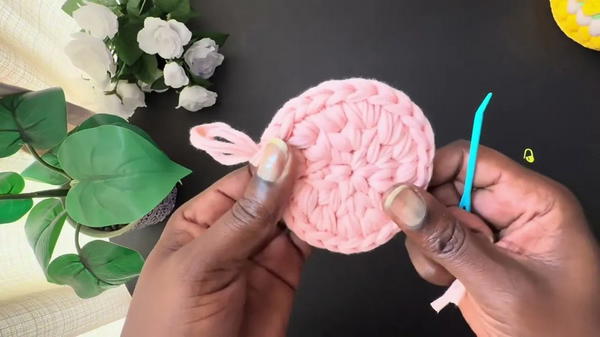
- (2 sc, 1 inc), repeat around. (32 sts)
- Round 5:
- (3 sc, 1 inc), repeat around. (40 sts)
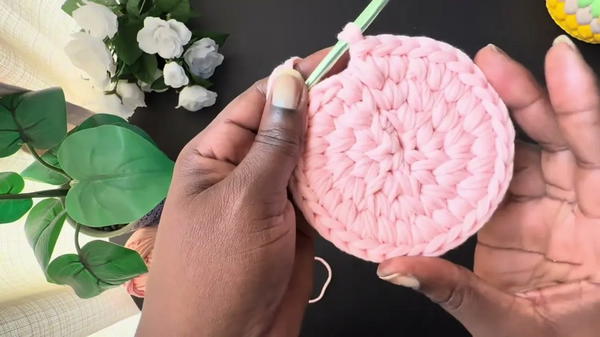
- (3 sc, 1 inc), repeat around. (40 sts)
- Round 6:
- (4 sc, 1 inc), repeat around. (48 sts)
- Finishing the base:
- Work a slip stitch in every stitch around edge to flatten and give a polished finish. Fasten off.
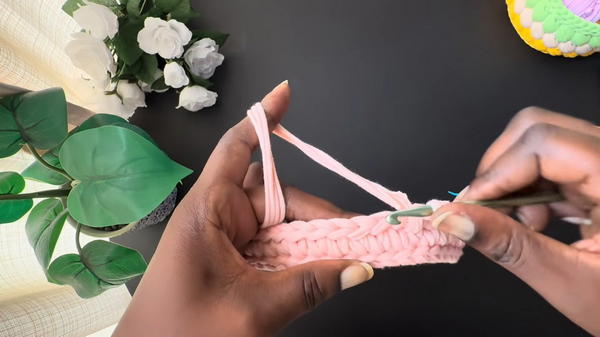
- Work a slip stitch in every stitch around edge to flatten and give a polished finish. Fasten off.
Phase 2: The Body
- Transition Round:
- Attach yarn if needed. Work one round of sc, but only into the back loop (BL) and the loop directly behind. This forms a right angle and stands the wall vertically.
- Marshmallow Stitch Rounds:
- For each round:
- Skip 1 stitch, sc in the next, return to skipped stitch and work sc (marshmallow puff).
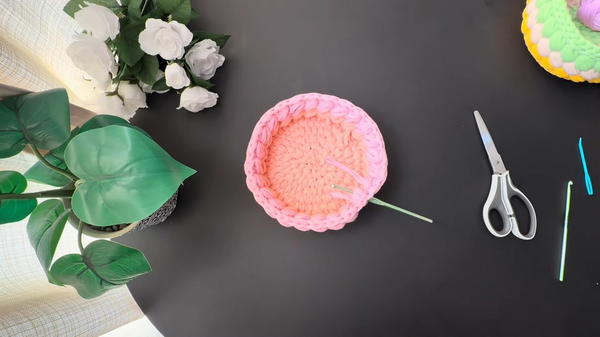
- Continue to end of round. Make sure each puff aligns between previous round's puffs (work each puff in the gap/middle between the previous puffs).
- Switch colors as desired; fasten off and join new yarn at the start of the round.
- Repeat for the number of rounds necessary for desired basket height.
- Skip 1 stitch, sc in the next, return to skipped stitch and work sc (marshmallow puff).
- For each round:
- Top Edge:
- Finish with one round of sl st around the top edge for a smooth, clean finish.
- Fasten off, weave in all ends.
Phase 3: The Bow Detail
- With 4.5mm hook and single strand of yarn:
- Center: Create a magic ring.
- Wings (Make two):
- Ch 3, work 4 dc into the ring, ch 3, sl st into ring. Repeat entire sequence for the second wing.
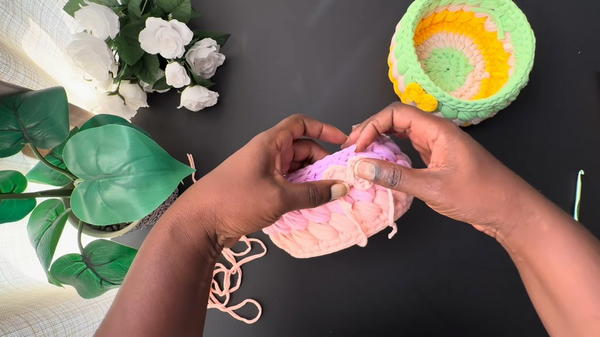
- Ch 3, work 4 dc into the ring, ch 3, sl st into ring. Repeat entire sequence for the second wing.
- Assembly:
- Pull the magic ring tight to close the bow center.
- Wrap yarn around the center several times, tightly.
- Tie off, leaving a tail for sewing.
- Use tapestry needle to sew the bow to the basket as desired—front center, side, or handle.
Assembly
- Weave in all yarn tails throughout the basket.
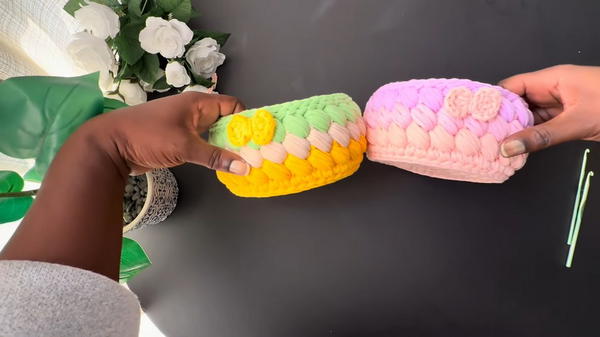
- Attach the finished bow securely to the basket body.
- Shape the basket by gently stretching sides and base.
Conclusion
This Marshmallow Basket pairs playful texture with impressively durable construction, thanks to doubled t-shirt yarn, optimized increases, and the distinctive marshmallow puff stitch. Its sturdy form and polished finishing touches create a versatile piece that can organize, decorate, or serve as a gift. The bow accent adds charm and personalization. Adjust the basket’s size and color scheme according to your preferences, and consider lining for added structure if desired.