Start your next project with this free crochet herringbone stitch bag pattern and make a stylish and simple bag for everyday use.
The joy of creating something unique and stylish grows when you follow a clear and simple guide like the one from U R Unik. This Free crochet Herringbone Stitch Bag Pattern offers an excellent project for anyone looking to add a handmade accessory to their collection or gift something special. Perfect for carrying daily essentials, this bag combines function and fashion in an easy-to-make piece.
Handmade Herringbone Stitch Crochet Bag – Free Pattern
This crochet bag stands out with its rich texture, thanks to the herringbone stitch that gives a beautiful, woven effect. The pattern creates a sturdy yet flexible fabric, making the bag durable and practical for everyday use. Its shape is classic and roomy enough to hold your phone, wallet, and other small items without feeling bulky.
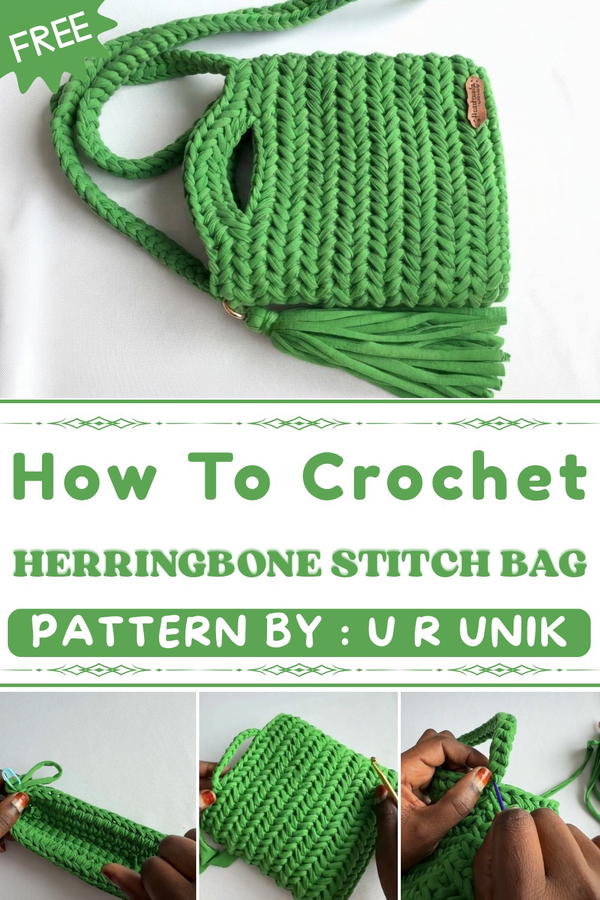
The style of the bag is casual but chic, suitable for a day out or a relaxed evening. Its slightly textured surface and neat stitch lines give it a sophisticated look that catches the eye without overwhelming. This pattern’s charm is not only in its design but also in the relaxing process of creating it, as beautifully demonstrated in the helpful video by U R Unik.
Beyond its beauty, this project also has great gifting potential. Handmade bags like this carry thoughtful meaning and show care. The Free crochet Herringbone Stitch Bag Pattern is perfect for those who appreciate stylish accessories made with love and skill. It’s a wonderful addition to any wardrobe and a creative journey anyone can enjoy.
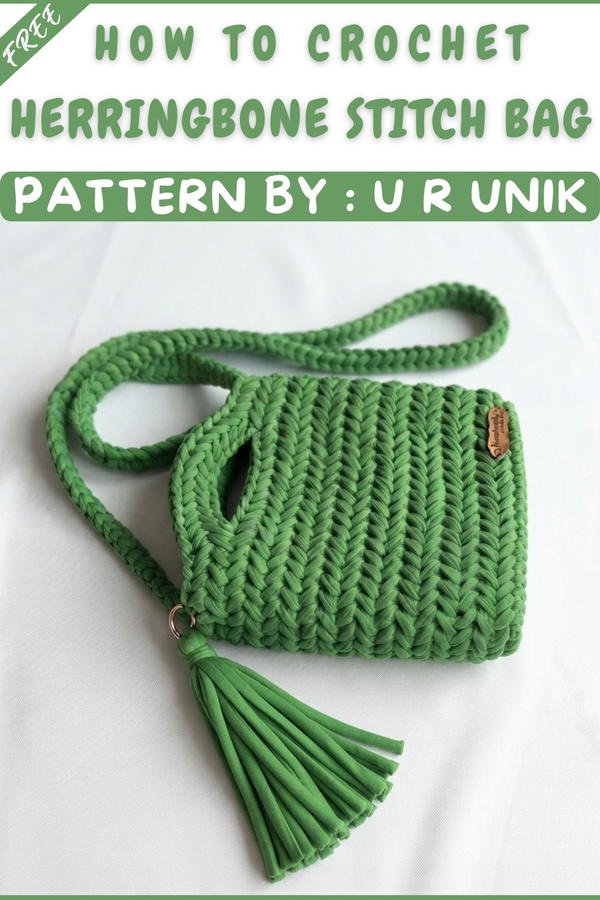
T-Shirt Yarn Herringbone Stitch Purse Pattern
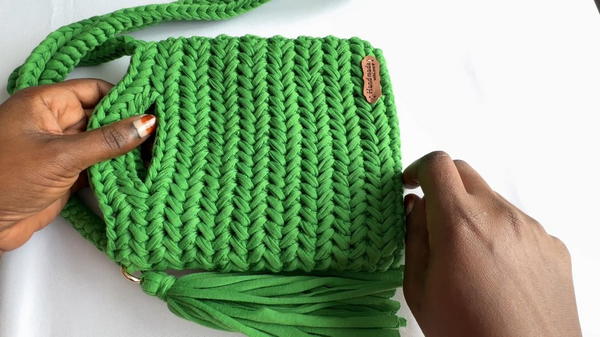
A compact, structured purse featuring the elegant herringbone stitch and accented with a braided strap and playful tassel. Created in seamless rounds for a clean look, this project highlights the texture and substance of t-shirt yarn, balanced with thoughtful finishing for a durable accessory.
Pattern Important Tips
- Foundation Tension: Keep the starting chain loose; t-shirt yarn can create a tight base if your gauge is too firm.
- Stitch Consistency: The herringbone stitch’s beauty is in its uniformity—maintain consistent movement and loop height in each round.
- Marking and Placement: Use stitch markers for center points, which will help with symmetrical handle placement.
- Sturdy Joins: Reinforce handle and strap attachments with several secure passes using a strong, large needle.
- Yarn Handling: For the braided strap, keep yarn untwisted for an even appearance; double-check lengths before assembly.
Skill Level
Intermediate: The pattern uses single crochet, slip stitch, and a unique herringbone variation, worked in rounds and into chain spaces. Some finishing and assembly techniques are included.
Materials
- T-shirt yarn (approx. 100 meters)
- 5mm crochet hook (bag body)
- 6mm crochet hook (strap)
- One O-ring (for strap attachment)
- Large yarn needle (for bag seams)
- Small sewing needle (for decorative tag)
- Stitch marker
- Scissors
Gauge and Stitch Pattern
- Gauge is flexible. Bag fits typical purse proportions when worked in specified yarn and hook sizes.
- Stitch pattern: Herringbone stitch worked seamlessly in rounds, defined by its distinctive chevron look.
Stitch Abbreviations
- ch: chain
- sc: single crochet
- sl st: slip stitch
- st(s): stitch(es)
Special Stitches
- Herringbone stitch in the round: Insert hook into next stitch, yarn over, pull through both the stitch and the loop on your hook in one motion (no yarn over before inserting hook). Continue into each consecutive stitch around, alternating direction for texture.
- Braided strap: Four strands are doubled, then loops at the bottom are drawn through the top using a crochet hook for a chain-like braided effect.
Notes for Starting
- Ensure the bag’s width is suitable by adjusting the starting chain (shoulder or crossbody bag styles may require more/less than 25 ch).
- Flat base is worked in an oval; do not twist chain after foundation row.
- Use the stitch marker to clearly note where to attach handles and center points before working strap joins.
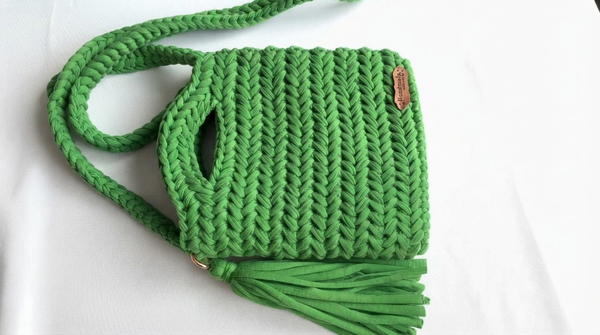
Pattern Steps
Foundation
- Ch 25 using a 5mm hook (adjust for size if desired).
Base
- Row 1: Work sc in each chain across.
- In the last chain, work 3 sc to turn around the end.
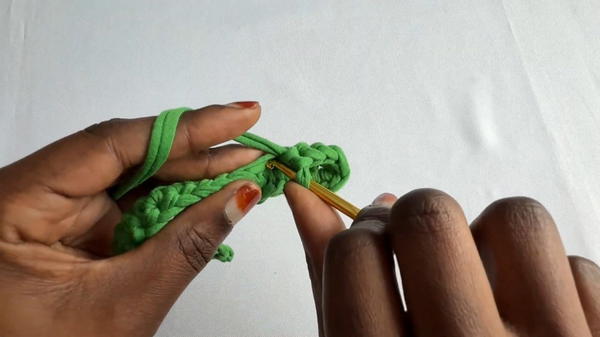
- Continue down the opposite side of the starting chain, working sc in each stitch.
- At the final stitch, work 2 sc to round off the edge.
- You will now have an oval with increased stitches at both ends.
Herringbone Pattern Body
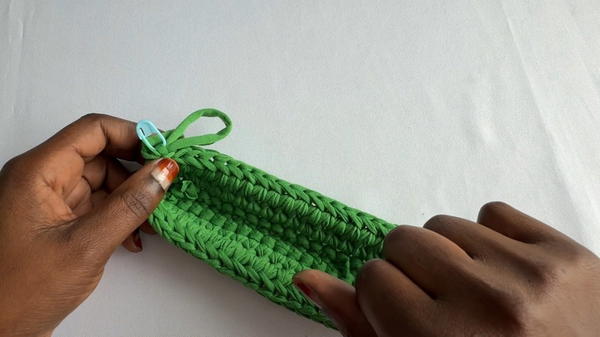
- Round 1:
- Join with a sl st to the first sc and ch 1.
- Begin the herringbone stitch: insert hook into the first st, yarn over and pull through both the stitch and loop on hook in one smooth motion.
- Continue herringbone stitch in every stitch around.
- When you reach the start, sl st to close round and ch 1.
- Rounds 2–15:
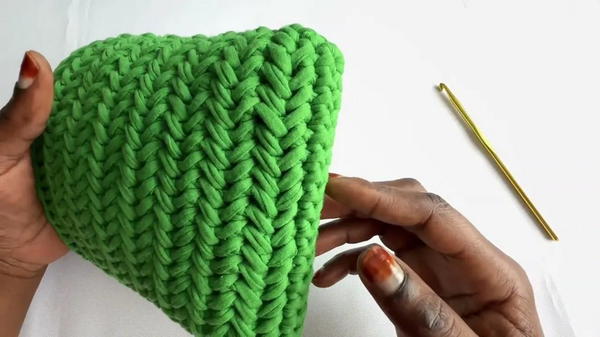
- Alternate the direction of stitches if you wish for extra texture (work forward then backward for chevron effect).
- Continue in seamless rounds, working the herringbone stitch around.
- Ensure that each round closes with a sl st and starts with a ch 1.
- Total of 15 rounds for the body, or until desired height is reached.
Handles
- Lay your finished purse flat, locate and mark the true center with a stitch marker on both sides.
- For each handle:
- Ch 12 at the top/center edge where your handle will attach.
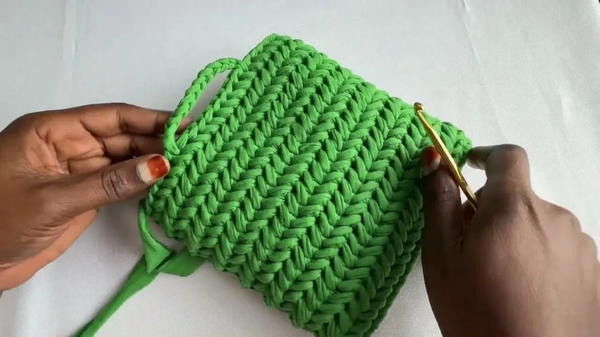
- Sl st back into the body at the corresponding point, ensuring both handles are centered and of equal length.
- Continue the herringbone pattern, now also incorporating the chain handles directly into your stitch work, blending them into the main bag structure.
- Repeat on the second side for symmetry, then continue with herringbone rounds to reinforce handle bases as desired.
- Ch 12 at the top/center edge where your handle will attach.
Finishing Round
- Work one final round with the herringbone stitch to stabilize the bag’s rim, moving in the forward direction for a unified edge.
- Fasten off, weave in all ends securely.
Strap (Braided Style)
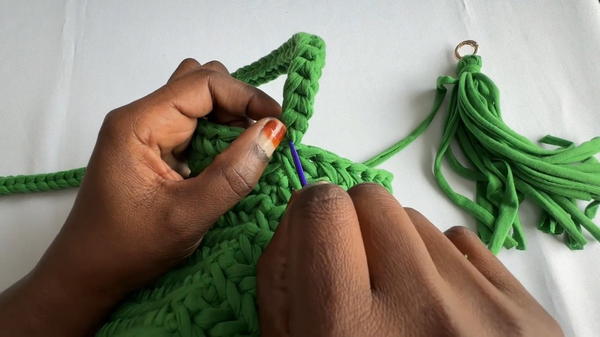
- Use the 6mm hook and double a long length of t-shirt yarn to create four strands.
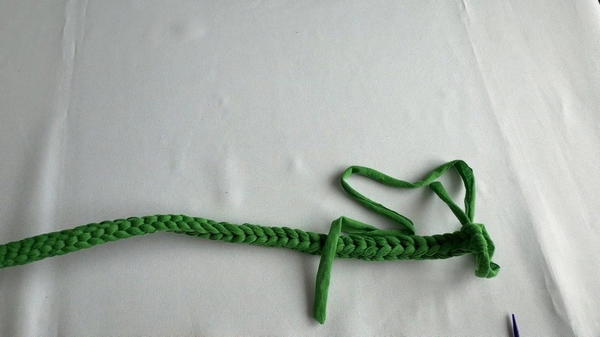
- Lay the strands flat, adjust to desired finished strap length.
- Use the hook to pull the bottom loops of all four strands through the top, one after the other, creating a series of interlocking chain loops (braided/crocheted chain effect).
- Adjust tension for evenness, checking length as you go.
Tassel
- Wind yarn around a solid, flat object (such as a book) until thick enough.
- Slide a separate strand through the top, tie tightly.
- Cut the bottom ends, trim evenly.
- Optionally, wrap a small strand around the tassel’s head and secure.
- Attach tassel to bag or O-ring.
Assembly and Sizing
- Place O-ring at a handle top or bag side as preferred.
- Use large needle to sew each strap end firmly to the bag’s top, threading through the O-ring if using.
- Ensure both ends are balanced and reinforced for durability.
- Attach tassel to O-ring, handle, or bag base for accent.
- Use small needle to secure decorative tag at desired location.
- Final bag size will depend on adjustments, but typical dimensions are approx. 20–25cm wide and 13–18cm tall.
Final Thoughts
The herringbone stitch provides this purse with not only visual texture but also a structured form that holds its shape with supportive t-shirt yarn. Practical handles, a unique braided strap, and a playful tassel join meticulous stitching for a purse that combines craft tradition with modern styling. Adjust colors, length, or embellishments for a personal signature, making this accessory a reflection of creativity and skill.