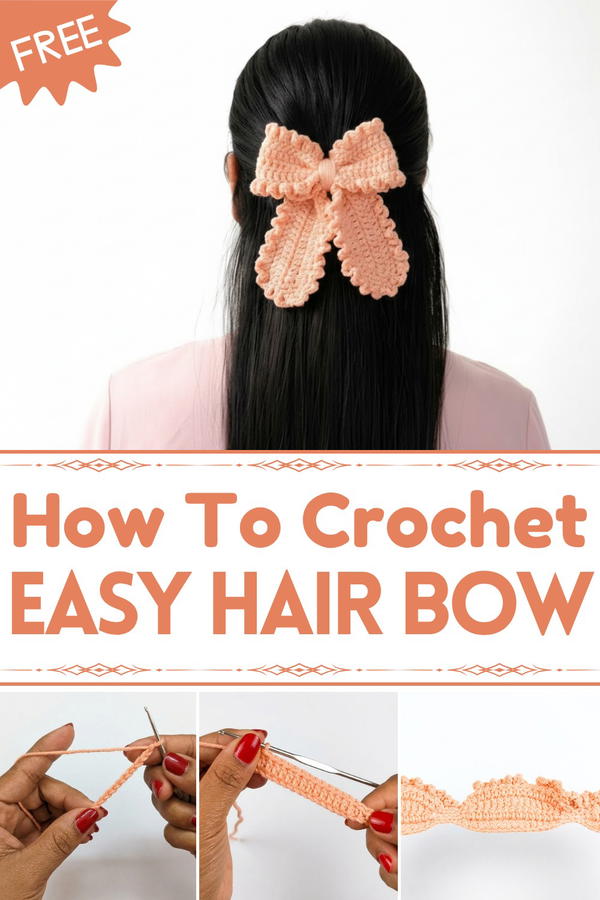
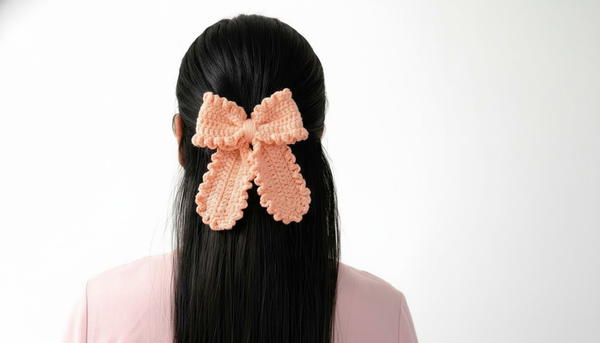
Create a charming crochet boat hair bow with this free pattern, perfect for adding a fun nautical vibe and handmade flair to any hairstyle effortlessly.
A cute and charming accessory can elevate any hairstyle and add a playful touch to your look. A free crochet boat hair bow pattern is a delightful way to create something unique and stylish. This hair bow combines practicality with beauty, easily clipping onto your hair or tying onto a headband to complete any outfit. The crochet design gives it a soft, handmade appearance, making it stand out from ordinary hair accessories.
Crochet Hair Bow for Any Occasion – Get the Free Pattern
Its petite and adorable structure is perfect for both kids and adults, adding a pop of personality and creativity to everyday wear, special occasions, or even as a thoughtful handmade gift. The bow can be made in a range of colors, helping it match any outfit seamlessly. Its lightweight and gentle texture make it comfortable for all-day wear, while the boat-inspired shape gives it a fun, nautical vibe. Whether for a child’s hairstyle, a fashionable statement piece, or a lovely addition to your accessory collection, this crochet hair bow brings a sense of joy and style wherever it goes.
Crochet Textured Hair Accessory (Bow-shaped Hair Clip)
Skill Level
Intermediate
- This pattern requires basic knowledge of crochet stitches (slip stitch, single crochet, half double crochet), proper yarn tension, and working in rows.
Materials
Yarn:
- Acrylic yarn: Choose bright or contrasting colors for a vibrant, textured look.
Hook:
- 4.0 mm crochet hook suitable for the yarn weight.
Notions:
- Alligator clip or hair tie (optional): For the final attachment.
- Hot glue gun or needle and thread (if attaching bow to a clip).
- Tapestry needle: For sewing or weaving in ends.
- Scissors: To cut the yarn.
Key Abbreviations (US Terms)
- ch – chain
- sc – single crochet
- hdc – half double crochet
- sl st – slip stitch
- rep – repeat
- st(s) – stitch(es)
Special Notes
- Gauge: Gauge is not critical for this project. Ensure your tension creates firm stitches.
- Customization:
- Adjust the size of the bow by increasing or decreasing starting chains and rows.
- Change the length of the middle wrap for a sleeker or chunkier look.
- Working flat: The main bow piece is crocheted in rows and later cinched to form the bow shape.
Pattern
Part 1: Main Bow Section
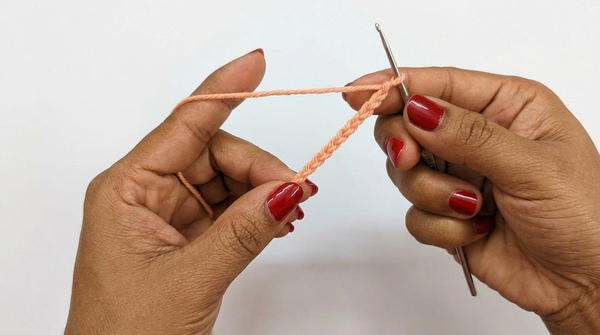
Step 1: Foundation Chain
- Using Main Color 1 (e.g., white), make a slipknot.
- Ch 80 for a medium-sized bow. (Adjust the number of chains to create a smaller or larger bow).
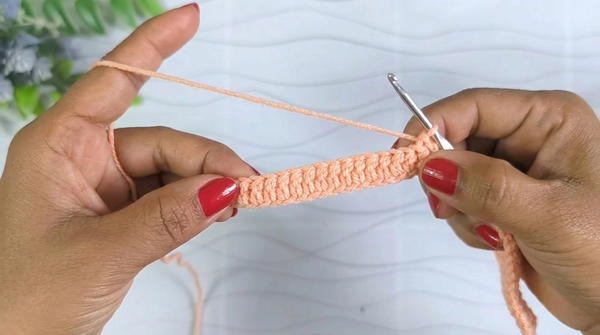
Step 2: Row 1 (Half Double Crochet Foundation)
- Skip the first chain (this acts as a turning chain).
- In the second chain from the hook:
- Yarn over, insert the hook into the chain.
- Yarn over again, pull through the chain (3 loops on the hook).
- Yarn over again, pull through all 3 loops on the hook. This completes 1 hdc stitch.
- Continue working 1 hdc in each chain across the row.
- Total: 79 hdc stitches.
- Turn your work.
Step 3: Row 2 (Repeat HDC)
- Ch 1, and working into the first st of the previous row, create:
- 16 hdc stitches.
- Then, 1 sc in the next st.
- Work 4 sl st in the next 4 stitches.
- Add 1 sc in the next st.
- Work 14 hdc across the next 14 stitches.
- 1 sc in the next st, followed by 5 sl st in the next 5 stitches.
- Continue by repeating 1 sc followed by 14 hdc.
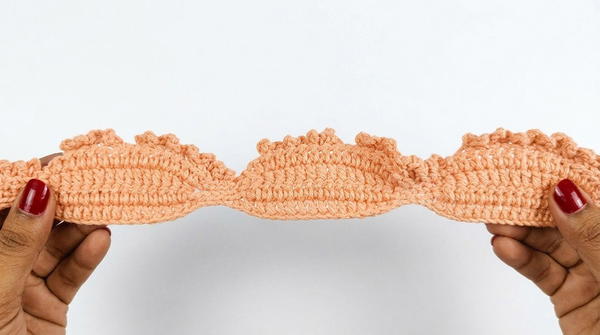
Part 2: Adding Texture & Shaping
Step 4: Base Repeats
Follow the same stitching pattern as Row 2 for Rows 3 to 5:
- hdc segments with sc and sl st combinations.
Adjust the total hdc stitches if making a smaller or larger bow.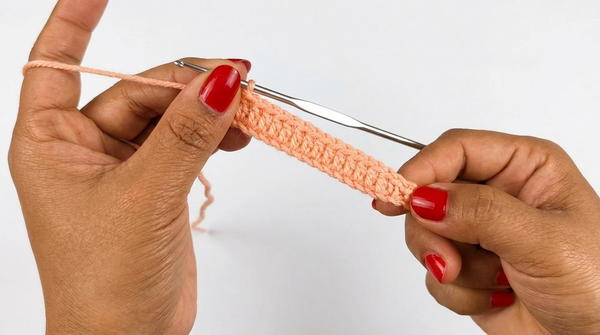
Step 5: Count Rows
For a medium-sized bow, stop after 4 rows of textured repeats. Customize your texture layer by adding extra rows as preferred.
Step 6: Finish the Section
- Secure and Fasten: When the rows are complete, cut the yarn, leaving a 6–8 inch tail for sewing.
- Shape: Fold the rectangle and cinch the middle tightly to begin forming the bow shape.
Part 3: Center Wrap
Step 7: Middle Wrap Foundation
- Slipknot, Ch 10 (adjust according to how thick or thin you prefer the wrap).
- Work hdc across the foundation chain.
- Crochet additional rows until the wrap fits snugly around the cinched bow shape (typically 3–5 rows).
- Wrap the middle piece around the bow and sew securely at the back.
Part 4: Assembly
Step 8: Attach to Accessory
- If adding an alligator clip:
- Use a hot glue gun to attach the bow securely to the clip.
- If using a hair tie:
- Glue or sew the tie securely to the back of the bow.
- Ensure the wrap covers all finishing seams for a clean look.
Conclusion
Congratulations on creating this textured hair bow accessory! This versatile piece works wonderfully as a hair clip, headband accessory, or even a brooch. Its structured design adds flair to any outfit, while the acrylic yarn ensures durability.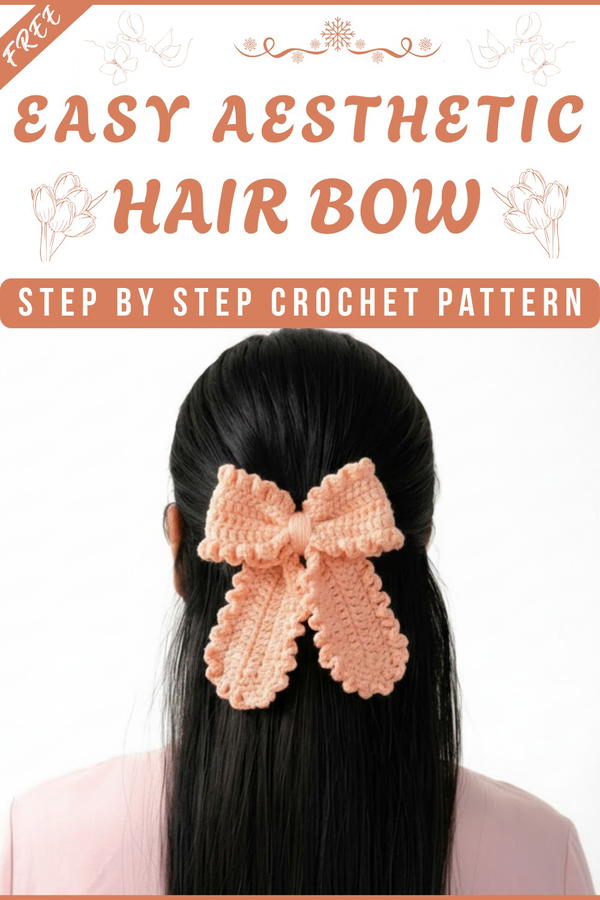
Pattern Corrections
- Ensure slip stitches are loose and even to avoid puckering.
- For beginner ease, start with fewer foundation chains to create a smaller bow before scaling up.
Tips
- Customize with Colors: Try contrasting colors for the wrap to add visual interest.
- Blocking: Lightly block the bow using steam to ensure flatness before cinching.
- Experimentation: Add beads or a small crocheted flower for additional embellishment.


