
Step into elegance with this free crochet wooden handle bag pattern and create a stunning accessory perfect for daily use or special occasions.
Creating a chic and practical bag with wooden handles brings a fresh twist to crochet projects. This Free crochet wooden handle bag Pattern offers a wonderful way to make a stylish accessory that combines durability and charm. Thanks to clear guidance from the talented folks at U R Unik, the process is simple yet rewarding for beginners and experienced makers alike.
Crochet Wooden Handle Bag Pattern – Easy and Free
This bag is a perfect blend of function and beauty, designed with a sturdy rectangular shape that holds its form well. Using thick yarn and neat stitches, it boasts a textured look that feels both cozy and strong. The wooden handles add a unique, natural touch that makes the bag stand out and gives it a lovely rustic appeal.
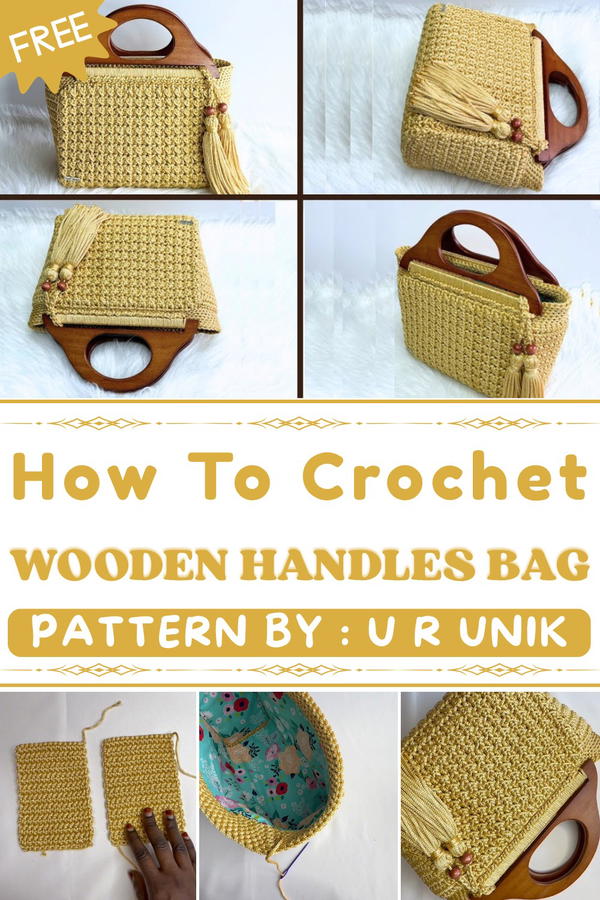
Ideal for carrying daily essentials, this bag also shines as a handmade gift, expressing care and creativity. Its moderate size fits well with casual or slightly dressed-up looks, making it versatile for many occasions. Attention to small details like the sewn fabric lining, net inside, and magnetic clasp enhances the bag’s usability and adds thoughtful finishing touches.
With its charming tassels and carefully crocheted sides, this project offers a rewarding creative journey. The blend of texture, style, and natural wood elements results in a bag that’s not only pretty but also sturdy and practical, a delightful addition to any wardrobe or a special present made with heart.
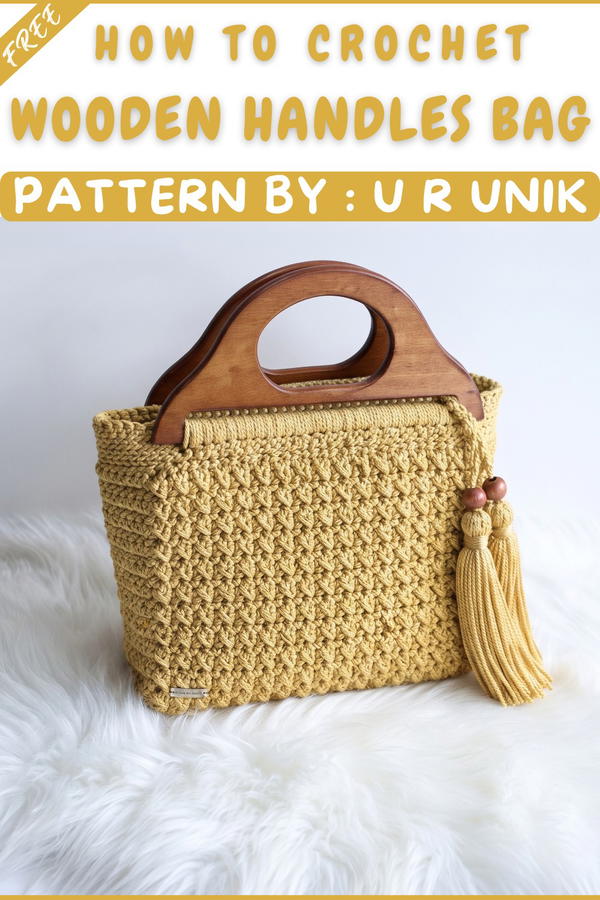
Crocheted Macrame Yarn Handbag with Wooden Handles
A designer-inspired handbag with sturdy structure, decorative handles, and a full lining combines functional crochet with tailored finishing. This pattern uses macrame yarn and structured netting alongside practical hardware and stylish accents, making a statement accessory that stands out for its craftsmanship.
Pattern Important Tips
- Yarn selection: Choose a robust, smooth macrame yarn for defined stitches and durability.
- Tension: Maintain even, firm tension to give the bag structure and a finished look.
- Consistency: Carefully count chains, rows, and stitches to ensure symmetrical panels and a professional result.
- Lining: Sewing in lining and netting increases both strength and aesthetics. Attach the lining securely before assembly.
- Assembly: Use strong, invisible stitches and a large needle for sturdy seams.
- Finishing: Edging, hardware, and decorative features like tassels give the bag its personality—work these slowly for best results.
Skill Level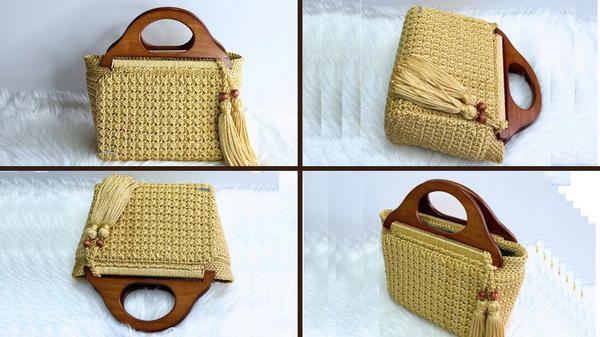
Intermediate. Familiarity with basic and compound stitches, sewing linings, attaching hardware, and crocheting around handles or rings is required. This pattern is suitable for those with a solid grasp of handbag and accessory construction.
Materials
- Approx. 30 m macrame yarn
- Crochet hook: 4.5 mm
- Two wooden handles (or handles of choice)
- Lining fabric (enough for main body and sides)
- Netting mesh (for stability)
- Beads (for tassel adornments)
- Large needle (yarn/tapestry needle) and small sewing needle
- Magnetic clasp (snap closure)
- Handmade tag
- Scissors
Gauge and Stitch Pattern
Gauge is reliant on your yarn and tension; a tight, dense fabric is best for structure.
Main pattern row is a repeating single crochet (sc), half double crochet (hdc), and slip stitch (sl st) worked in the back loop only for subtle ribbing.
Stitch Abbreviations
- ch = chain
- sc = single crochet
- hdc = half double crochet
- sl st = slip stitch
- BL = back loop (insert hook into the back loop only)
Special Stitches
- Pattern Row: Work into the BL only sequence: [1 sc, 1 hdc, 1 sl st] and repeat.
- Split Stitch Edging: Insert hook between legs of previous row’s stitch, splitting it for a decorative look.
- Crochet-Around-Handle: Work sc stitches tightly around wooden handles for a seamless join.
Notes for Starting
- Start with a loose chain to prevent puckering at the base.
- Mark the center stitches for side panels to ensure perfect symmetry.
- Always check work for twist/alignment before stitching or sewing.
- Prepare and fit the netting and lining before assembling for easier sewing.
Detailed Pattern
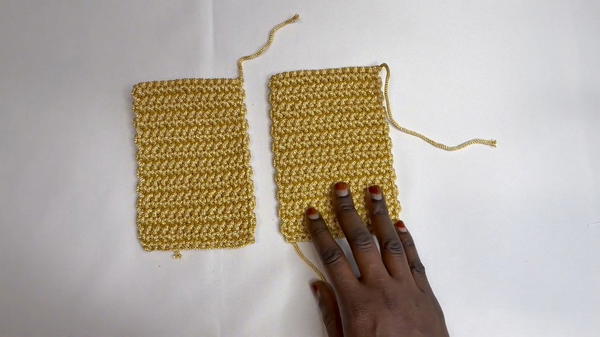
Main Body
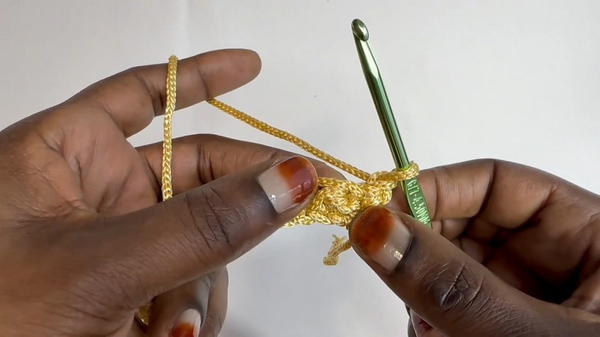 Foundation Chain:
- Ch 61.
- Pattern Rows (Repeat for 33 Rows):
- Row 1:
- Work into the BL only: 1 sc in first stitch, 1 hdc in next stitch, 1 sl st in next stitch; repeat across the row.
- Rows 2-33:
- Turn, ch 1. Repeat the same stitch sequence (sc, hdc, sl st) into the BL only across each row.
- Continue until you have 33 rows in total, ensuring consistent tension and even edges.
- Row 1:
Bag Sides
- Setup:
- Locate and mark the 14 center stitches on each short end of the main body panel for side attachment.
- Side Panels (Make 2):
- Attach yarn at the first of the 14 center stitches.
- Ch 15 (counts as turning chain plus 14 for height).
- Rows 1–20:
- Starting in the 2nd ch from hook, sc across for 14 sc.
- Ch 1, turn.
- Repeat for a total of 20 rows for each side panel, keeping rows straight and tension even.
Assembly
- Lining and Netting:
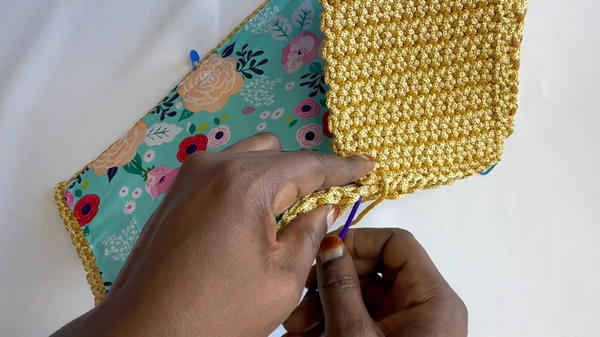
- Cut fabric and netting to fit the main body and both side panels.
- Using small needle, sew netting to the wrong side of crocheted pieces.
- Attach lining fabric on top of the netting; fold raw edges under for a clean finish.
- Attach Side Panels:
- Using the large needle and matching yarn, sew side panels to the main body at the marked 14 stitches, working from the inside for a seamless join.
- Secure all seams, and weave in any remaining ends for strength and neatness.
Decorative Edging (Bottom Edges)
- Edging (Bottom):
- Work 7 rows of decorative split stitches along the bag’s bottom edges (both front and back).
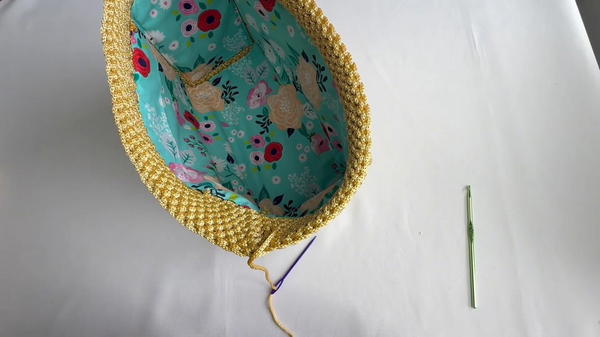
- To “split” the stitch: Insert hook through the middle of the previous row’s stitch rather than under both loops, creating a corded look.
- Work 7 rows of decorative split stitches along the bag’s bottom edges (both front and back).
Handles
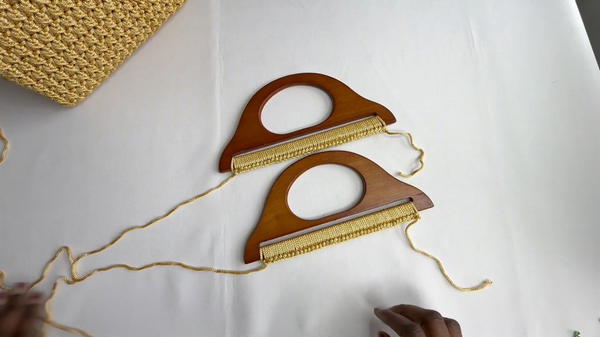
- Crochet Around Handles:
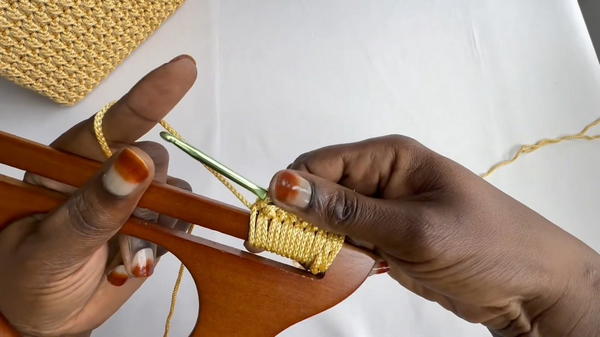
- Place wooden handle at the top of body panel.
- Attach yarn to handle and work tight sc around entire circumference until handle is covered in neat crochet stitches.
- Repeat for the second handle.
- With a yarn needle, sew crocheted handles securely onto the bag’s top edge.
Tassels
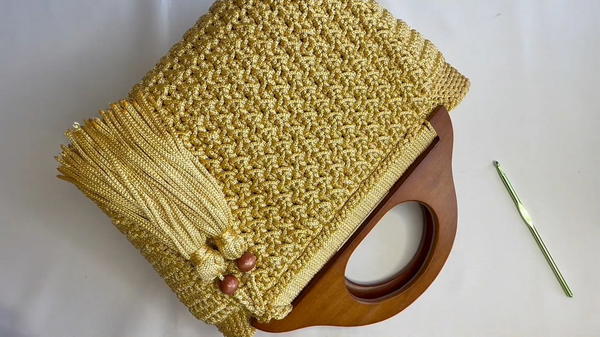
- Create Tassels:
- For each tassel, ch a string to desired length.
- Thread beads onto chain for accent.
- Attach tassel to bag at chosen point (usually handle base or side seam).
- Make two tassels and sew both securely.
Hardware & Tag
- Magnetic Clasp:
- Use small needle and thread to hand-sew a magnetic clasp to the upper inside edge of the bag for closure.
- Handmade Tag:
- Attach a tag to the exterior or lining, as desired, to personalize the finished handbag.
- Attach a tag to the exterior or lining, as desired, to personalize the finished handbag.
Assembly and Sizing
- Main body: One rectangular piece with 61 base stitches and 33 rows.
- Sides: Two panels of 14 stitches x 20 rows each.
- Handles: Fit to bag’s width and sewn at top edge.
- Tassels: Length as preferred (customize for personal style).
- Bag dimensions: Vary by yarn and tension, but approximate finished measurements should be around 25–30 cm in width and 20–25 cm in height (excluding handles).
Final Thoughts
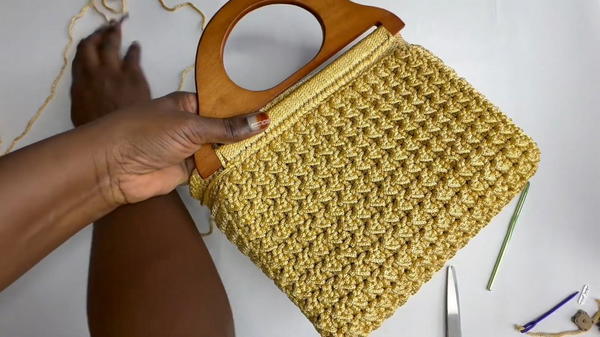
This handbag pattern blends traditional crochet with structural sewing and finishing details for a fashionable and professional result. Each stage, from textured main body rows to decorative edging and sturdy wooden handles, enhances both appearance and usability. Lined for stability, and featuring thoughtful hardware and ornamental touches, the result is an accessory that showcases both craft skill and personalized style. Adjust color, bead, and tassel details for variants to suit any wardrobe or gifting occasion.


