Express your love in a creative way with this Free Crochet Amigurumi Heart Pattern, helping you make a heartfelt and adorable gift for someone special.
When it comes to expressing affection in a cute and crafty way, handmade projects always have a special touch. The Free Crochet AMIGURUMI Heart pattern is a perfect example, a sweet and simple design that conveys love through a charming little crochet piece. This project is ideal for those looking to make a meaningful gift or a keepsake that feels personal and heartfelt.
Free Crochet Heart Pattern for Cute Amigurumi Heart Toys
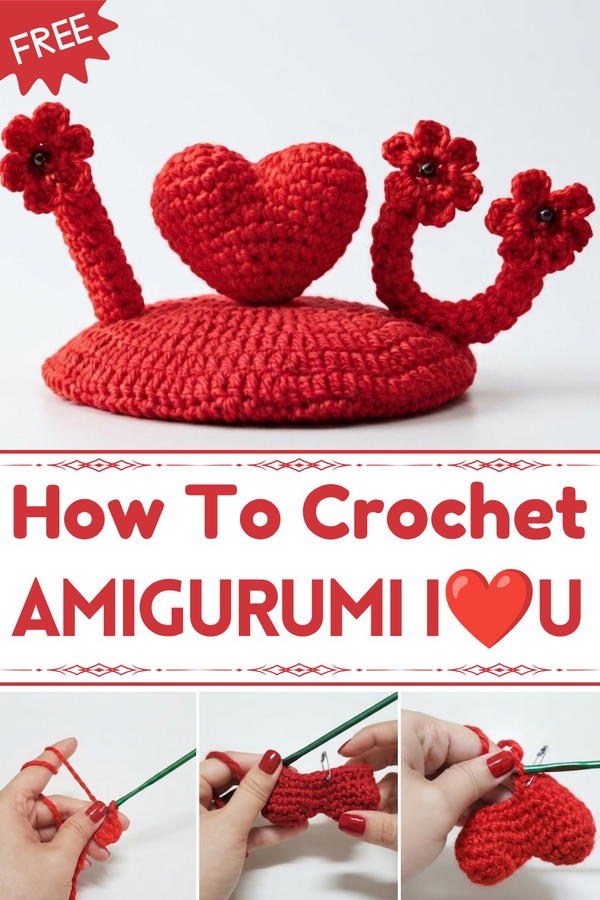
The Heart amigurumi is a small, soft figure shaped like a block or pillow with clear and bold lettering featuring “I” and a heart symbol, followed by “U.” Its style is playful and modern, with smooth, tight stitches creating a clean texture that holds its shape well. The project can be customized in size depending on the yarn weight and hook used; you could create tiny keychain versions or larger decorative pillows for a lovely display.
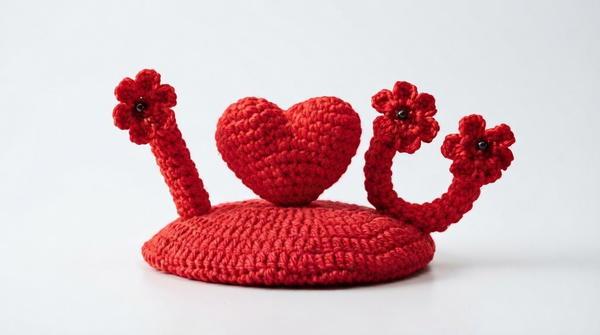
Working mainly with single crochet stitches in continuous rounds, this pattern is straightforward and beginner-friendly. An important tip is to keep your tension consistent and firm so the piece stays sturdy and the filling doesn’t peek through. The design’s inspiration came from my love for simple, meaningful crochets that double as heartfelt gifts. Soft acrylic or cotton yarn is ideal here because they help show off the neat stitches and keep the amigurumi soft but durable.
This Free Crochet AMIGURUMI Heart pattern is perfect for Valentine’s Day, anniversaries, or just to brighten someone’s day with a handmade token of love. Feel free to play with colors, add facial expressions, or combine it with other amigurumi to create a unique gift. Let your creativity shine and share some handmade warmth!
Crochet Heart Pattern
In this guided pattern, you’ll create a crochet heart that serves as the centerpiece of an Heart motif, perfect for gifts, keepsakes, or embellishments. The process follows an amigurumi approach, forming a plush, dimensional heart and bold letters. The steps are presented in a clear, round-by-round sequence, ensuring you replicate the shapes shown in the transcription. Each stitch, increase, and connection is detailed for a smooth, accurate finish.
Quick Overview of Pattern
- Create two semicircular "cups" for the heart's upper lobes
- Connect pieces to build a full heart shape
- Stuff and decrease to form a neat, closed base
- Crochet tubular shapes for "I" and "U"—add wire for structure
- Assemble letters and heart using hot glue
- Final piece is plush, bold, and customizable
Notes
- The heart is worked in continual rounds using a magic ring, no joining between rounds.
- Stitch placement is marked with a safety pin or stitch marker for accuracy.
- Increases expand the shape, decreases bring it inward for sculpting.
- Letters are constructed as tubes, sized by repeating rounds.
- Pipe cleaners/wire are optional for creating sturdy letters.
Skill Level
Beginner to Intermediate:
Pattern uses magic ring, increases, decreases, continuous rounds, basic sewing and assembly.
Materials
- Red yarn (preferably 70% olefin, 30% acrylic)
- 4mm crochet hook
- Amigurumi toy stuffing
- Yarn needle
- Scissors
- Safety pin (as stitch marker)
- Optional pipe cleaners/wire (for shaping the "I" and "U")
- Hot glue gun
Measurements / Sizing
- Finished heart: approx. 2.5–3 inches across, 2.5 inches tall (with worsted, 4mm hook)
- "I"/"U" letters: 1.5–2 inches tall (customizable)
- Size determined by yarn and hook selection
Gauge
Gauge is not crucial, but stitches should be tight enough to prevent stuffing from showing through.
Stitch Abbreviations
- SC – Single Crochet
- Inc – Increase (2 SC in same stitch)
- Dec – Decrease (work 2 stitches together)
- St – Stitch(es)
Special Stitches
- Magic Ring: Form a loop; crochet stitches into it; pull tail to tighten.
- Increase (Inc): Work 2 SC into same stitch.
- Decrease (Dec): Combine 2 stitches into 1 SC.
The Crochet Pattern
Heart Base
Part 1: Initial Cups (Top Lobes)
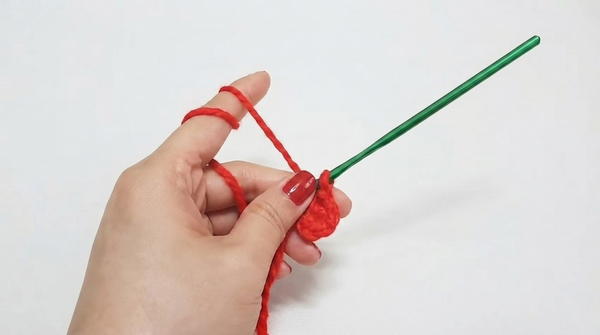
- Round 1:
- Start with a magic ring.
- Chain 1.
- Work 6 SC into the ring.
- Pull tail to tighten the ring.
- Place stitch marker in last stitch.
- Round 2:
- Inc in every stitch around (2 SC in each st).
- Total: 12 SC.
- Round 3:
- (1 SC, Inc) repeat around: 1 SC into next st, then 2 SC into next st.
- Repeat sequence for full round.
- Total: 18 SC.
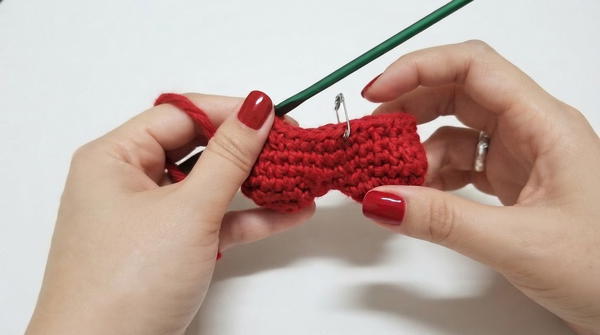
- Fasten off the first piece.
- Make a second piece following the same instructions, but do not fasten off the second one.
Part 2: Connecting the Heart
- Round 4:
- With yarn still attached to second “cup,” start working SC around both cups.
- Crochet one full round of SC around the joined cups.
- Total: 36 SC.
- Use the tail and needle to sew up the little gap left at the cups’ join.
- Round 5:
- (4 SC, Dec) repeat around the entire heart base.
- Sequence: 4 SC, then decrease (two stitches together).
- Total: 30 SC.
- Round 6:
- Work 1 SC in every st around.
- Total: 30 SC.
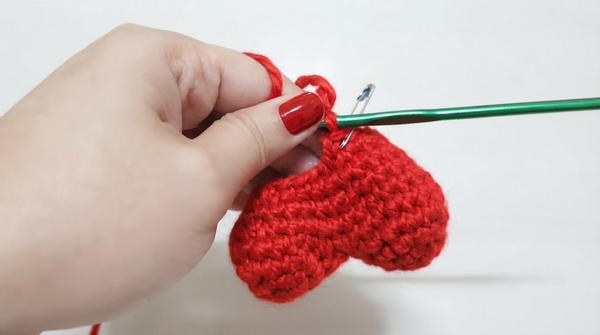
- Round 7:
- Continue working SC in each st.
- Total: 30 SC.
- Round 8:
- (3 SC, Dec) repeat around: 3 SC, then dec.
- Total: 24 SC.
- Round 9:
- Work 1 SC in every st around.
- Total: 24 SC.
- Round 10:
- (2 SC, Dec) repeat around: 2 SC, then dec.
- Total: 18 SC.
- Firmly stuff the heart with toy stuffing at this point.
- Round 11:
- Work 1 SC in every st around.
- Total: 18 SC.
- Round 12:
- (1 SC, Dec) repeat around: 1 SC, then dec.
- Total: 12 SC.
- Round 13:
- Work 1 SC in every st around.
- Total: 12 SC.
- Round 14:
- Dec in every stitch around (combine every two stitches).
- Total: 6 SC.
Assembly & Closing
- After completing Round 14, fasten off.
- Using needle, weave yarn tail through remaining stitches to pull hole closed.
- Insert needle through the center and pull tight.
- Cut the excess yarn.
Letter Construction ("I" and "U")
- For each letter:
- Start with a magic ring, 6 SC into ring.
- Pull tail to close.
- Continue working 1 SC in each stitch in a spiral to create a tube.
- Keep crocheting until tube reaches desired height (about 1.5–2 inches).
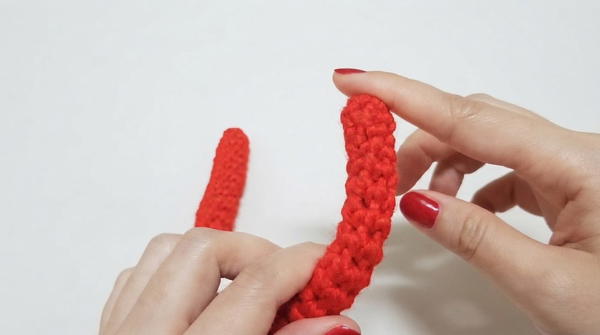
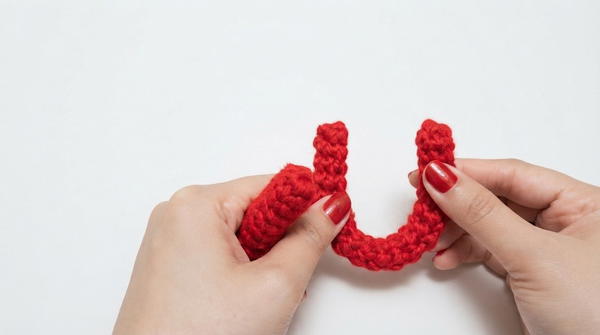
- For the letter "U," gently bend tube into a "U" shape.
- For letter "I," make a straight tube.
- Insert pipe cleaner or wire into each tube for structure and shaping.
- Fasten off, leave a tail for attaching.
Final Assembly
- Use hot glue to securely attach the "I" and "U" letters on the front of the heart.
- Adjust placement, pressing gently until glue sets.
- Optional: Add other embellishments or sew pieces if preferred.
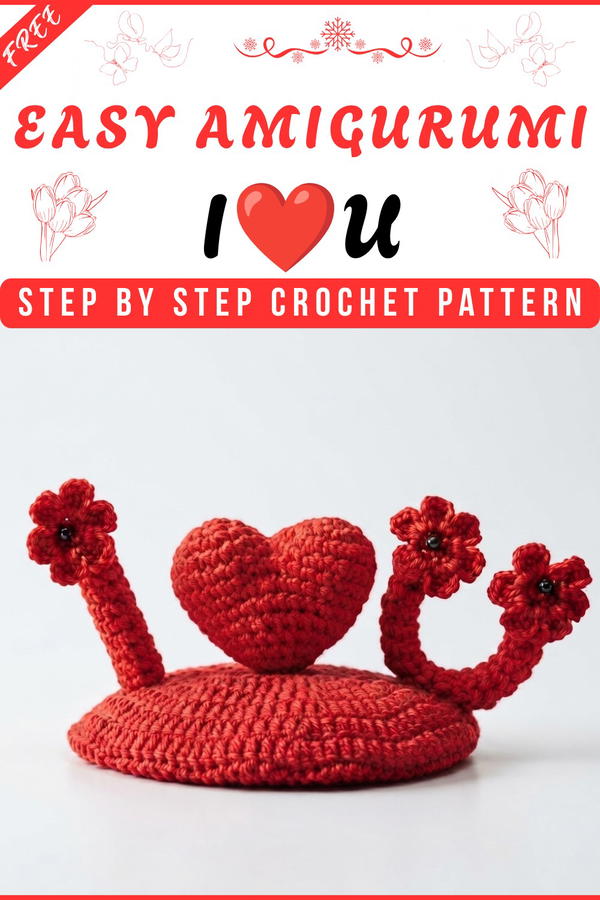
- Your plush, decorative "I ❤️ U" motif is now ready!
Assembly & Finished Size
- Heart: Approximately 2.5–3 inches wide, plump and plush.
- Letters: About 1.5–2 inches tall, pipe cleaners provide structure.
- Final motif can be used as a gift, accessory, or decoration.
Conclusion and Ending Words
With this step-by-step pattern, you’ll crochet a striking amigurumi Heart motif that combines amigurumi shaping, clever assembly, and playful construction. By following every round, stitch, and connection laid out above, your finished piece will be neat, well-stuffed, and strikingly clear. Whether you keep it as a sweet decor or gift it to a loved one, this project is a wonderful expression of creativity and affection.