Upgrade your crochet projects with this Free Crochet COIN PURSE KEYCHAIN Pattern, offering simple steps to make a cute and portable everyday essential.
Add a charming and practical touch to your daily essentials with a handmade accessory that’s both stylish and functional. This adorable coin purse keychain is perfect for keeping your loose change, keys, or small treasures organized and easy to find. Its compact size makes it ideal for all seasons and occasions, whether you’re running errands or heading out for a casual outing.
Quick Crochet COIN PURSE KEYCHAIN Free Pattern
Crocheted with soft, durable yarn, this project features textured stitches like single crochet and slip stitches, creating a sturdy yet comfortable fabric. The clever construction includes a secure closure, either a zipper or flap and a built-in keyring for convenience and easy attachment to bags or belts. Subtle design elements like color accents or decorative edging add personality and flair without complicating the project.
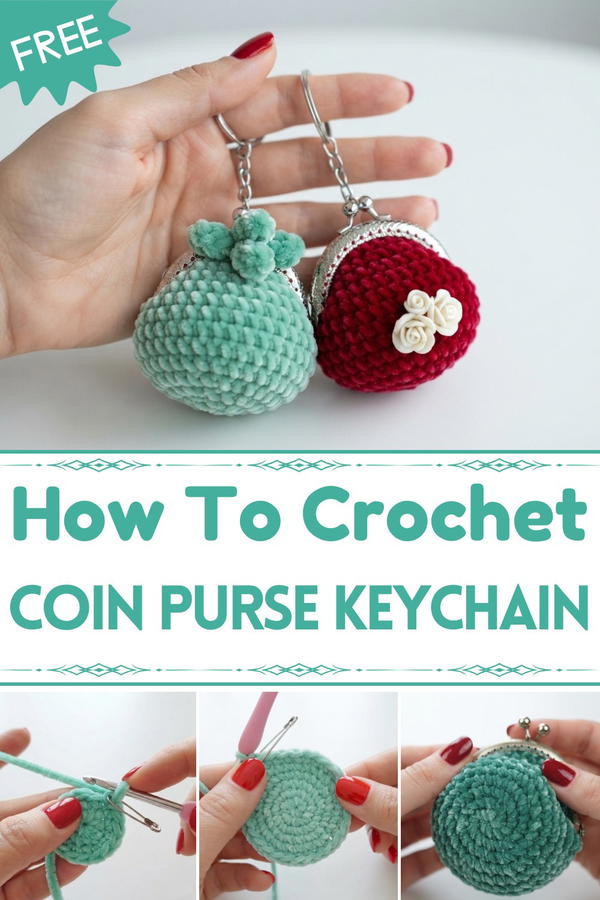
Perfect for beginners, this pattern comes with clear instructions and helpful tips to guide you through the process smoothly. We recommend using medium-weight cotton or acrylic yarn, as these fibers offer just the right balance of durability and softness, making the coin purse keychain lightweight yet strong. When choosing your size, consider how much you want to carry—small and cute or slightly larger for more storage.
Avoid common pitfalls like uneven tension or skipping stitches, which can impact the shape and usefulness of your finished piece. Consistent stitching and patience will ensure a beautiful result every time.
Step into this free crochet coin purse keychain pattern tutorial and crochet a unique, practical accessory that’s sure to brighten your day!
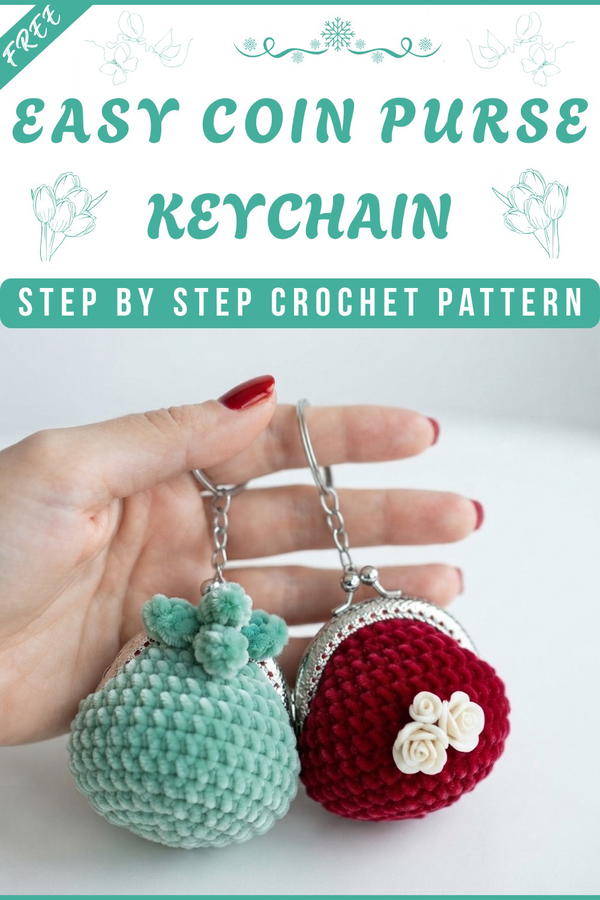
Crochet Coin Purse Keychain – Step-by-Step Pattern
Quick Overview Of Pattern
- Crocheted in the round from the base up (no seaming required)
- Uses continuous rounds with stitch marker for guidance
- Includes a simple, repetitive increase sequence to form a circular base
- Features a section of straight rounds to form the body/walls of the purse
- The top is secured to a metal coin purse clasp
- Finishing allows for custom decoration (pom-poms, flowers, etc.)
Notes
- This pattern uses cotton yarn, but acrylic can also be used.
- Work in a spiral; do not join at the end of rounds unless indicated.
- Always place a stitch marker in the last stitch of each round to help keep track.
- Keep your tension even, but not too tight, for easy sewing onto the metal clasp.
- Add decorations such as pom-poms or flowers for customization.
- The coin purse can be lightly stuffed to give it shape or left unstuffed if you want it flat.
Skill Level
Beginner–Easy:
This project only requires knowledge of the magic ring, single crochet, increasing, sewing, and attaching to a clasp.
Materials
- Cotton yarn (sample uses Cute Turquoise; acrylic is also suitable)
- 3 mm crochet hook
- Scissors
- Sewing thread (to match yarn or in a neutral color)
- Needle (for sewing the purse to the clasp)
- Safety pin (used as a stitch marker)
- 5 cm metal purse clasp (purchased online)
- Pom-poms, crochet flowers, or other decor (optional, for finishing)
- (Optional) Toy stuffing (to hold shape if desired)
- Hot glue (for attaching pom-poms or decor)
Measurements / Sizing
- The completed purse fits neatly into a 5 cm width metal clasp.
- Height is proportional, creating a small pouch suitable for coins or keys.
- Shape is circular at the base, then straight up to the clasp.
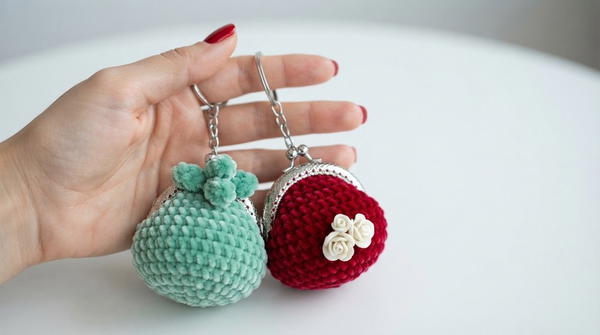
Gauge (and Stitch Pattern)
- Gauge is not critical for this pattern, as the fit will be adjusted when attaching to the clasp.
- Stitch Pattern: Single crochet in continuous rounds.
Stitch Abbreviations
- mr – magic ring
- sc – single crochet
- inc – increase (2 sc in one stitch)
- st – stitch
- ch – chain
Special Stitches
Magic Ring:
Make a loop, insert hook, yarn over, pull through, ch 1, then crochet stitches into the loop as indicated.
Increase:
Work 2 single crochet (sc) into the same stitch.
The Crochet Pattern
1. Base and Rounds
Step 1: Create the Base with Magic Ring
- With Cute Turquoise yarn and a 3 mm hook, make a magic ring (mr).
- Chain 1 to begin the first round.
Step 2: Round 1
- Work 6 single crochet (sc) into the magic ring.
(6 sts at end of round 1) - Pull the tail gently to close circle.
- Place a stitch marker (such as a safety pin) into the 6th sc so you know where your round ends.
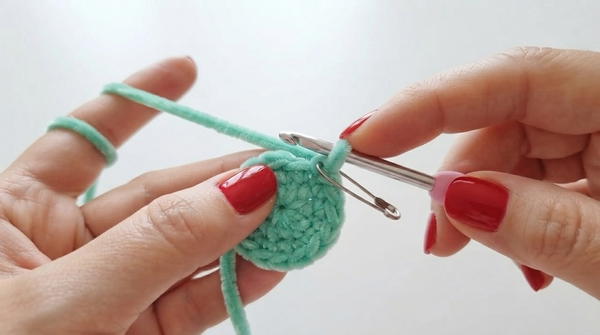
Step 3: Round 2
- Inc in every stitch: work 2 sc in each st around.
(6 sts x 2 = 12 sts at end of round 2)
Step 4: Round 3
- [1 sc in next st, inc in next st] repeat around.
(Repeat sequence 6 times: 6 sc, 6 inc → 6 + 6 = 12 sts added to previous 12 = 18 sts at end of round 3)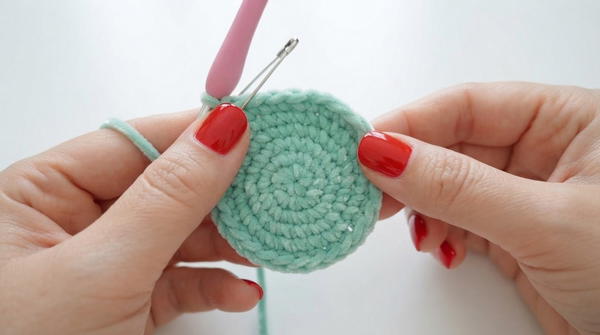
Step 5: Round 4
- [1 sc in each of next 2 sts, inc in next st] repeat around.
(Repeat sequence 6 times: 12 sc, 6 inc → 18 + 6 = 24 sts at end of round 4)
Step 6: Round 5
- [1 sc in each of next 3 sts, inc in next st] repeat around.
(Repeat sequence 6 times: 18 sc, 6 inc → 24 + 6 = 30 sts at end of round 5)
Step 7: Round 6
- [1 sc in each of next 4 sts, inc in next st] repeat around.
(Repeat sequence 6 times: 24 sc, 6 inc → 30 + 6 = 36 sts at end of round 6)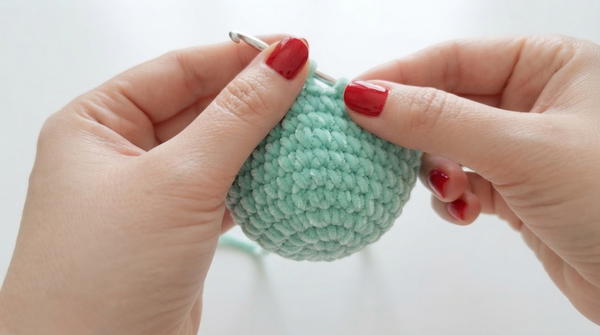
2. Body of the Purse
Step 8: Rounds 7–16
- Sc in every stitch around for 10 rounds
(36 sc in each round; maintain this count throughout rounds 7-16) - Continue moving the stitch marker up at each round to keep your place.
3. Finish Off
Step 9:
- Chain 1, fasten off.
- No need to leave a long tail (you will use sewing thread for the next step).
- Cut the yarn and weave in or hide the tail.
Assembly & Finished Size
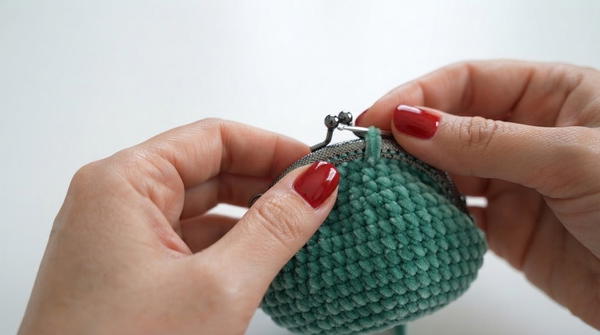
Step 10: Attaching the Purse to the Clasp
- Thread a sewing needle with strong sewing thread (preferably matching your yarn).
- Carefully insert the crochet edge into the metal clasp slot.
- Using your needle, sew through the holes of the clasp, securing the crochet fabric with small stitches.
- Work your way around, ensuring you use all holes and distribute the stitches as evenly as you can (there should be close to 36 sts to fit the metal clasp).
Step 11: Securing & Hiding Ends
- At the end, hide or weave in any sewing thread tails inside the crochet piece.
Step 12: Add Decorations (Optional)
- Glue on pom-poms, sew on crochet flowers, or add any other small decorative items to personalize your purse.
- (Optional) Add toy stuffing for shape if desired, especially if the coin purse will be a keychain or a decorative gift rather than holding coins.
Finished Size
- Coin purse fits a 5 cm clasp and will measure slightly less in width once attached, with proportional height (depends on your gauge and number of rounds).
- The finished purse is handy for small coins, keys, or mini trinkets.
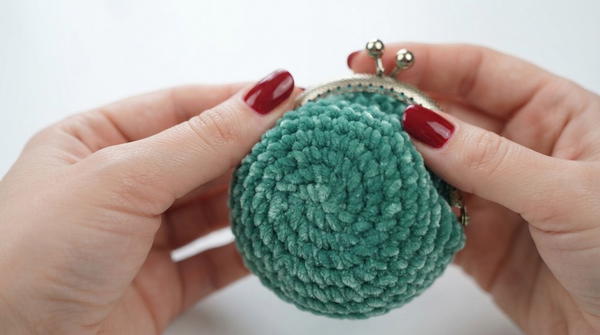
Conclusion and Ending Words
Now guys, here is the final look of our crochet coin purse keychain. You can decorate as you wish—even add toy stuffing or keep it flat. It’s very easy to make, and you can whip up several as gifts for friends or to match your own taste. I hope you will give it a try.