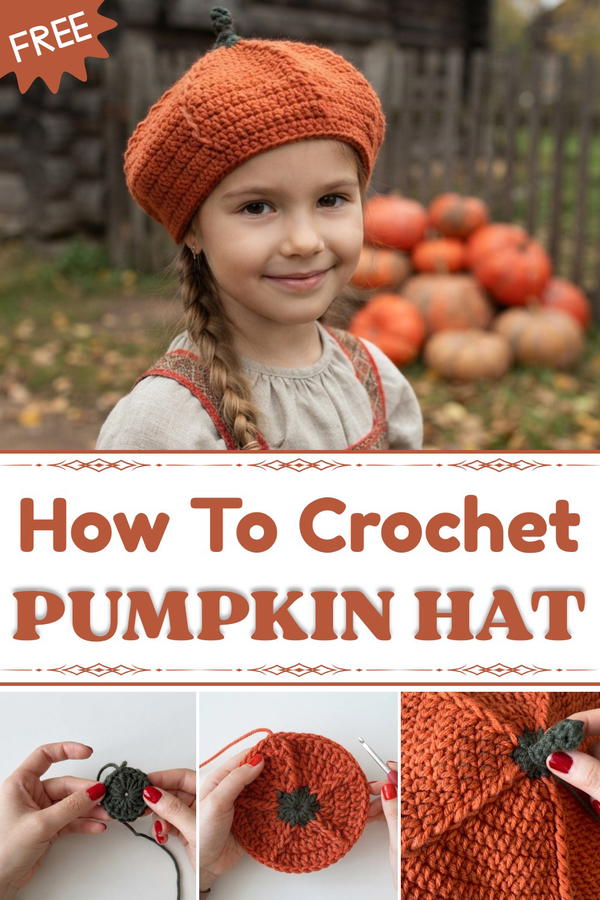
Add Halloween charm to your look with this Free Crochet Pumpkin Beret Hat Pattern that ensures a cozy, stylish accessory for the spooky season.
A pumpkin-shaped hat is a fun and cozy way to celebrate the fall season! The free crochet pumpkin beret hat pattern teaches you how to make a soft, round hat that looks just like a pumpkin. This hat is special because it has a pretty shape with little ridges that remind you of the lines on a pumpkin and a small stem on top. It’s bright, cheerful, and perfect for cool weather.
Trendy Free Crochet Pumpkin Beret Hat Pattern for Festivals
This pumpkin beret is not only cute but also useful. You can wear it to keep your head warm during chilly days, or use it for Halloween and fall parties to show off a festive style. The pattern lets you pick any color you like, orange is popular, but you can also try green, yellow, or even white pumpkins for a fresh twist. You can make this hat in different sizes too, so it fits kids, teens, or adults comfortably.
The most important stitch in this pattern is the puff stitch. This stitch makes the hat feel soft and fluffy while giving the pumpkin its bumpy, round look. It’s easy to learn and fun to make, making the project perfect for beginners and those who enjoy a cozy, textured feel in their crochet work.
This pattern is excellent if you want to create hats, headbands, or fun fall decorations. It’s great for gift-making as well, because who wouldn’t love a handmade pumpkin hat? Whether you want to wear it yourself or share with friends and family, this pumpkin beret adds a touch of fall magic to any outfit.
Making this pumpkin beret hat brings warmth and joy, just like holding a little piece of autumn right on your head.
Quick Overview Of Pattern
- Constructed from the crown upward in rounds.
- Uses green yarn to create a stem at the top, then switches to orange for the main pumpkin body.
- The hat utilizes increases and front post double crochet stitches for a textured pumpkin look.
- Shaping is accomplished with increasing rounds, then decreasing for a beret effect.
- Edged with several rounds of single crochet worked in the back loop only for a cozy, foldable brim.
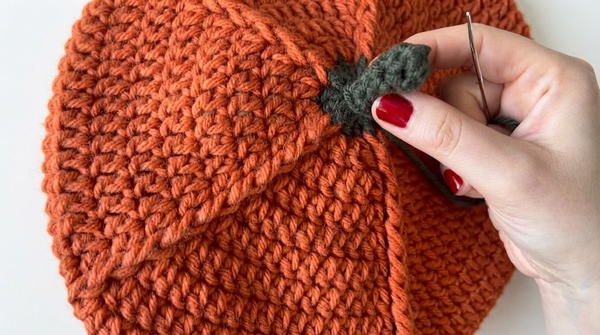
- Finished with a three-dimensional pumpkin stem sewn on top.
- Works up quickly and is ideal for fall or Halloween.
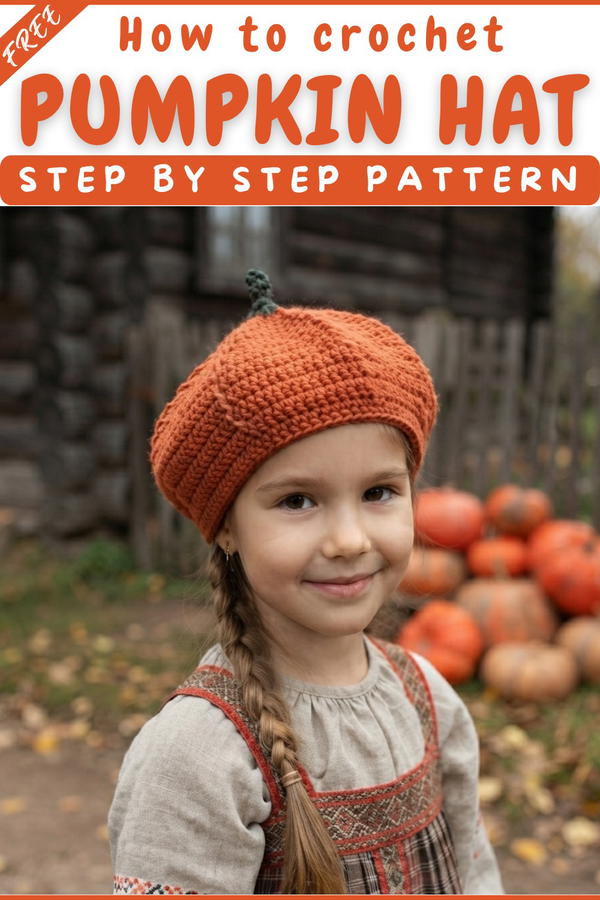
Pumpkin Beret Hat – Step-by-Step Crochet Pattern
Today, I'm going to show you how to make this pumpkin beret hat. It's very easy and it's a one day project. So let's see what we need to finish this project.
Notes
- Chain-3 at the start of a round always counts as a double crochet.
- Use a stitch marker for rounds where noted to mark the first stitch.
- Shape is created by increasing "triangle" segments divided by front post double crochets.
- Fasten off and change yarn colors as indicated in the pattern.
- The hat's brim will curl during increases but will smooth out with decreases and the final edging.
- Weave in ends securely for best results.
Skill Level
Easy / Advanced Beginner
Basic stitch knowledge, working in the round, color changes, and sewing the stem needed.
Materials
- Worsted weight orange yarn (for hat body)
- Worsted weight green yarn (for stem)
- Crochet hook (size suited to gauge, e.g., 4.0 mm [G])
- Scissors
- Yarn needle
- Stitch marker
Measurements / Sizing
- Finished hat fits average teen/adult head (approx. 21-22” circumference).
- Height: approximately 9.5” / 24 cm (can adjust by working more/less rounds).
- Stem is about 1”-1.5” tall.
Gauge
- 15 double crochet and 9 rounds = 4” (10cm), worked in the round.
- Check gauge to ensure proper fit; adjust hook if needed.
Stitch Abbreviations
- ch = chain
- sl st = slip stitch
- sc = single crochet
- dc = double crochet
- fpdc = front post double crochet
- BLO = back loop only
Special Stitches
Front Post Double Crochet (fpdc):
Yarn over, insert hook from front to back to front around the post of indicated stitch, yarn over and pull up a loop (keep loop long, as for a dc), (yarn over, pull through 2 loops) twice.
Double Crochet Two Together (dc2tog):
Yarn over, insert hook into next stitch, yarn over and pull up a loop, yarn over and pull through 2 loops (2 loops left), yarn over and insert into next stitch, yarn over and pull up loop, yarn over and pull through 2 loops (3 loops on hook), yarn over and pull through all 3 loops.
The Crochet Pattern
Crown & Body
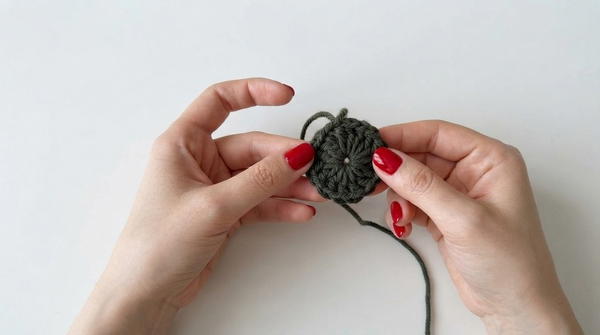
Stem (with green yarn):
- Make a magic ring, ch 3 (counts as dc), and work 14 more dc (total 15 dc) into magic ring.
- Tighten the ring and sl st to top of ch 3 to join.
- Fasten off green yarn.
Pumpkin Beret Body (switch to orange yarn):
- Attach orange by inserting hook in any stitch from previous round, pull up a loop, and ch 3 (counts as dc).
- Round 1 (Increase):
- Work 1 more dc into the same stitch (2 dc in same st).
- 2 dc in each st around for 2 consecutive sets.
- Next stitch: Work fpdc around the post of the corresponding previous round stitch.
- Repeat: [2 dc in ea of next 2 sts, fpdc in next st] all around.
- Sl st to top of ch 3 to join. (Stitch marker helpful)
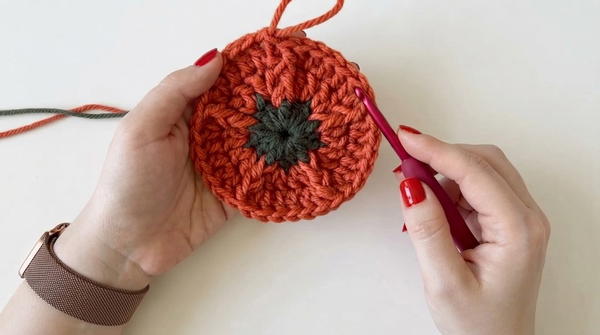
- Round 2 (Increase):
- Ch 3, dc into the same stitch.
- Next 2 stitches: dc in each.
- Next stitch: 2 dc in same stitch.
- Next: fpdc around prev fpdc.
- Repeat: [2 dc in 1 st, dc in next, dc in next, 2 dc in next, fpdc in next] all around.
- Sl st to join.
- Round 3-10 (Continue Increasing, Forming Triangles):
- Continue with the triangle style:
- 2 dc in first st of "segment" or triangle, dc in each stitch across the triangle, 2 dc in last st of the triangle, then fpdc (repeat).
- Each round the "triangle" increases in width between fpdc.
- End each round with sl st to join.
- By Round 10, the fabric may appear curly at the edge (this will fix as you decrease).
- Continue with the triangle style:
- Rounds 11 (No Increase, Maintain Shape):
- Ch 3, dc in each stitch; when you come to a fpdc, work a fpdc.
- Sl st to join. (The sides flatten out now.)
- Rounds 12-15 (Decrease):
- Ch 2 (acts as part of a decrease), dc in the next st (this counts as a dc2tog).
- Dc in each st to last 2 sts before next fpdc, work dc2tog.
- Work fpdc around fpdc as usual.
- Repeat decrease pattern for a total of 4 rounds, shaping down the beret.
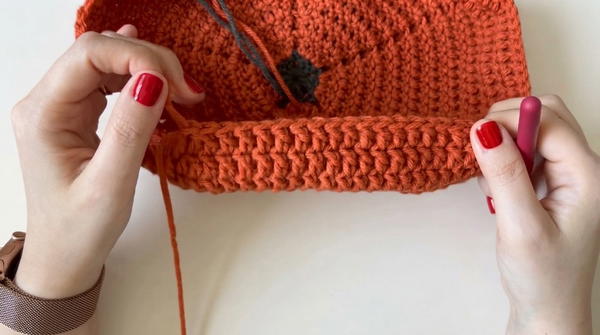
Brim
Brim (with orange yarn):
- After 15th round, ch 1.
- Work 1 sc BLO in every stitch around.
- Sl st to join.
- Repeat 2 more rounds of sc BLO for a total of three rounds.
- Fasten off and weave in all orange ends.
Pumpkin Stem (with green yarn)
- Ch 2.
- Place 5 sc in the 2nd chain from the hook.
- Use a stitch marker to keep track of rounds.
- For Rounds 2–5: Work 1 sc in each st around (spiral, do not join), keeping track with marker. Move the marker up for each round.
- After round 5, sl st to the first sc to join. Leave a long tail for sewing.
- Remove marker and fasten off.
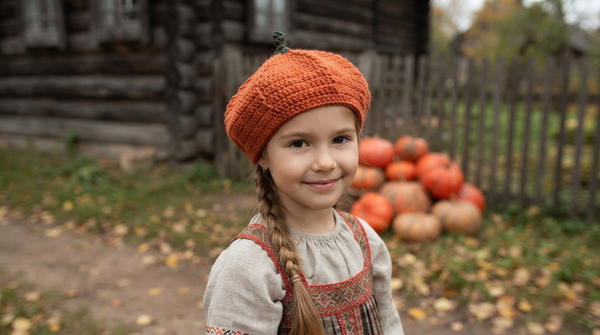
Assembly & Finished Size
Finishing:
- Weave in all loose ends on the beret and brim securely.
- Thread the green stem tail with a yarn needle.
- Center the pumpkin stem at the top of the beret and sew in place, going back and forth through each crochet stitch for a firm hold.
- Hide any remaining tails inside the hat, weaving horizontally three times to secure.
- Optional: Steam block lightly for shape.
Conclusion
Congratulations! Your pumpkin beret hat is finished. When you wear it, you can fold the brim inside for a classic beret look. Take care to weave and sew all ends securely for neat results. Thank you for staying with this pattern until the end—a cozy, festive project perfect for autumn or Halloween