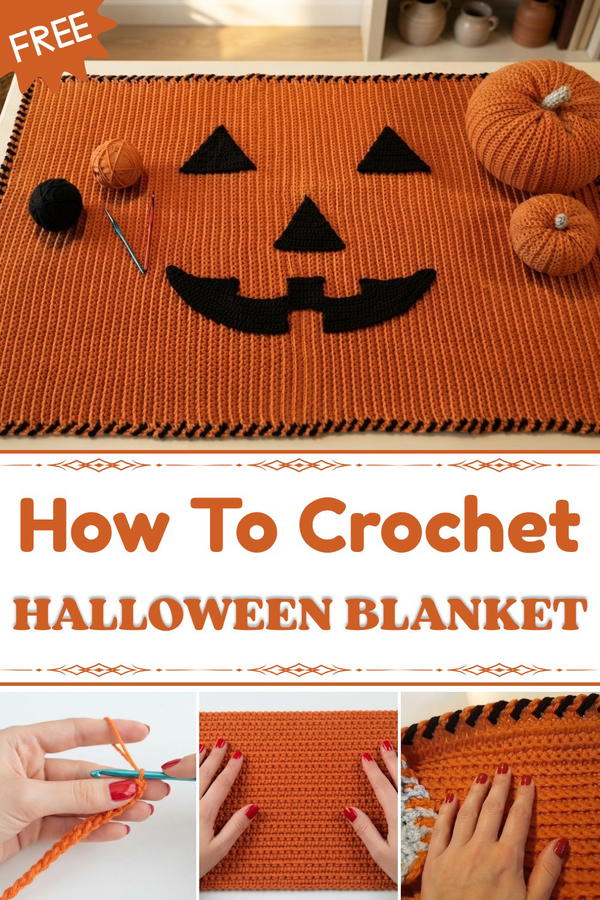
Cover up your little one in Halloween spirit with a Free Crochet Baby Blanket Pattern that ensures cozy comfort and festive charm for the spooky season.
A cozy, colorful blanket made just for babies is a wonderful way to celebrate Halloween. The free crochet Halloween baby blanket pattern helps you create a soft and warm blanket decorated with fun Halloween shapes like pumpkins, ghosts, or bats. This blanket is not only pretty but also snuggly, perfect for keeping little ones warm during cool autumn days.
Free Crochet Halloween Baby Blanket Pattern Step by Step
The beauty of this baby blanket comes from its bright colors and cute Halloween designs. You can use classic Halloween colors like orange, black, white, and purple, or choose any colors you like to make the blanket special and unique. The size of the blanket can be changed too. Whether you want a small lap blanket or a larger wrap to cover a baby, this pattern lets you make any size you need.
One important stitch used in this pattern is the granny stitch. This stitch makes the blanket soft, with little squares that build up the overall design. It’s easy to learn and looks beautiful when the blanket is finished. Sometimes the pattern uses simple chains and double crochets to add charm and texture.
This pattern is great for anyone who wants to make thoughtful gifts for babies or decorate a nursery with a Halloween theme. Beginners can enjoy trying this project because the stitches are simple, and those who love Halloween will find joy in creating spooky yet sweet blankets. From this pattern, you can make baby blankets, crib throws, or even wall hangings.
Crocheting this Halloween baby blanket is a fun way to bring warmth, comfort, and a little Halloween magic to your home or a loved one’s nursery. It’s a perfect blend of creativity and care. 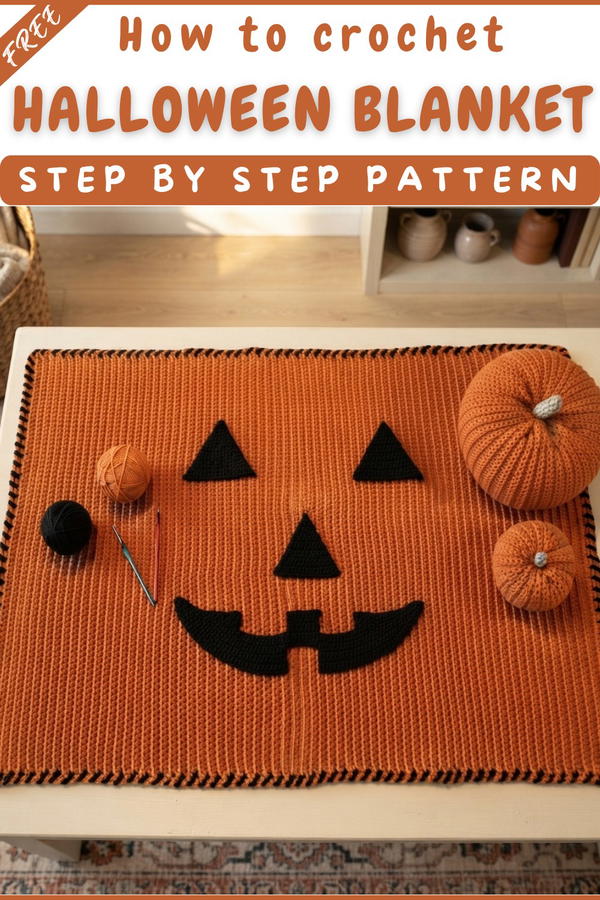
Halloween Baby Blanket Crochet Pattern
Quick Overview Of Pattern
- Blanket is worked flat in rows, using single crochet.
- Beginner-friendly, ideal for practicing basic stitches.
- Features subtle pumpkin-style “veins” made by working some rows in back loop only.
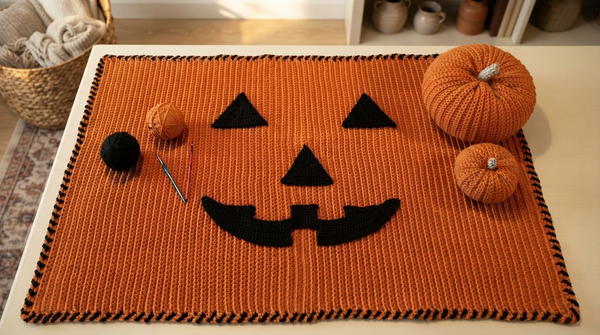
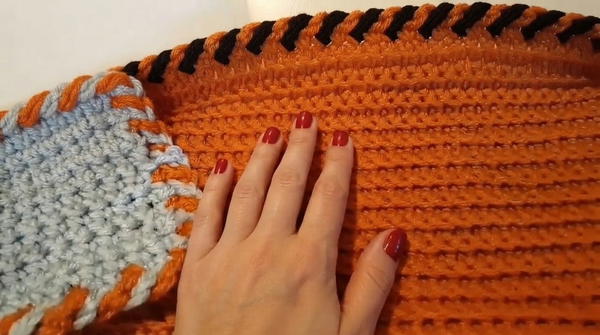
- Blanket includes a fun, two-color twisted rope border.
- Perfect for Halloween as a baby blanket or festive throw.
Notes
- Work the foundation row into the back bumps for a neater base edge.
- Alternate between standard single crochet rows and back loop only rows for texture.
- The “veins”/ridges should all be on one side of the blanket.
- Always work the starting and ending stitches of each row through both loops for tidy edges—this helps when adding the border.
- Count ridges if you lose track of rows (each ridge = 2 rows).
- Use a smaller hook size for the border to help it lay flat.
Skill Level
- Beginner: Uses single crochet, back loop single crochet, chaining, slip stitch, and simple color changes for border.
Materials
- Orange yarn (Medium #4): Main color for blanket
- Black yarn (Medium #4): Used for border
- 5.0 mm (US H) crochet hook
- Optional smaller hook (US G/4.0 mm): For border
- Sharp scissors
- Yarn needle
Measurements / Sizing
- Finished blanket as shown:
- Width: approx. 35–36 inches
- Length: approx. 32–33 inches
- (Based on 101 chains and 200 rows)
- Easily adjustable for larger or smaller sizes by changing the starting chain and number of rows.
Gauge
- Not critical for this blanket, but approx:
- 16 sc x 20 rows = 4” square in single crochet.
Stitch Abbreviations
- ch = chain
- sc = single crochet
- BLO = back loop only
- sl st = slip stitch
Special Stitches
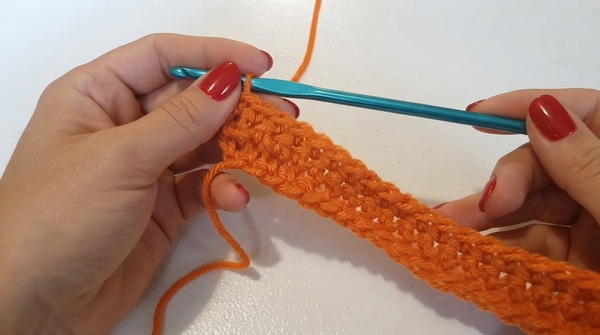
- Back Loop Only (BLO): Insert hook into the loop farthest from you at the top of the stitch, leaving the front loop unworked to create ridges.
- Twisted Rope Border: Two contrasting strands are alternately secured and chained around the entire blanket edge, creating a spiraled rope effect.
The Crochet Pattern
Blanket Body
Foundation & Set-up
- Begin with a slip knot on your hook.
- Row 1:
- Chain 101.
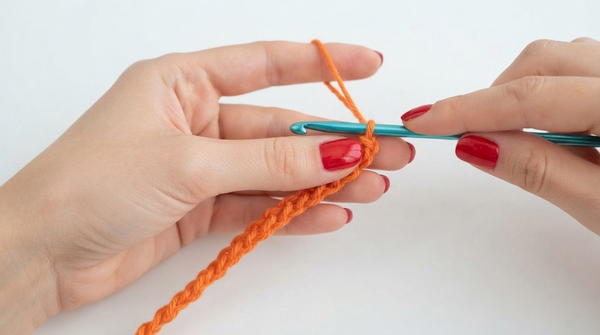
- Work 1 single crochet (sc) in the back bump of the second chain from hook.
- Sc in the back bump of each chain all the way back (100 sc total).
- Chain 101.
- Row 2:
- Ch 1, turn.
- Sc through both loops in the first st.
- Sc BLO in every stitch across, except for the last st.
- Sc through both loops in the last stitch. (This keeps your edges straight for the border.)
- Row 3:
- Ch 1, turn.
- Sc through both loops of each stitch across (standard single crochet, no BLO).
- Rows 4–200:
- Repeat Rows 2 and 3:
- Odd-numbered rows: Sc BLO (with both ends in both loops).
- Even-numbered rows: Sc in both loops across.
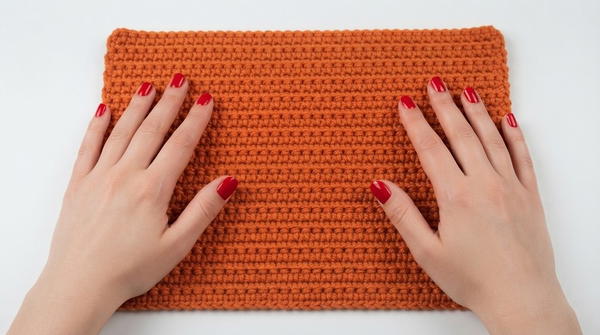
- Continue until you have completed a total of 200 rows.
Tip:
Each ridge (pumpkin “vein”) = 2 rows. If you lose count, count ridges on one side and multiply by two! - Repeat Rows 2 and 3:
Assembly & Border
Twisted Rope Border
- Prepare Yarn:
- Make two smaller balls: one orange, one black (using the main colors of your blanket).
- Using a smaller hook size for the border (1–2 sizes down) helps prevent stretching/bubbling.
- Join Color #1 (Black):
- Attach black yarn with a slip knot in the middle of one side (not at a corner).
- Ch 1, sc in the same place you joined.
- Ch 3, pull up a long loop, and gently set black yarn aside.
- Join Color #2 (Orange):
- In the next stitch, attach orange with a slip knot.
- Ch 1, sc into the same st, ch 3, pull up a long loop.
- Continue Border:
- Alternate using the black and orange yarns:
- Pick up the resting color, fold it over the previous color strand to keep the spiral effect. (E.g., blue over orange, orange over blue.)
- For each stitch around:
- Insert hook in next st, sc, ch 3, pull up a loop.
- Tip: After every 10–12 repeats, flip the yarn ball of the working color over the other to reduce tangling.
- For corners:
- When your approach a corner, chain 4 (or 5 if your stitches are tight) instead of ch 3 to round the corner smoothly.
- Continue working around the blanket, alternating colors and chaining, until you reach the starting point.
- Alternate using the black and orange yarns:
- Finishing the Border:
- When joining the last few stitches, check your color sequence so the spiral pattern stays consistent at the join (skip a stitch if needed for color alignment).
- End each color by working a final sc into the first starting sc of that color and sl st to join.
- Cut yarn, weave in all border ends with yarn needle (hide orange in orange, black in black).
- Adjust and straighten your twisted rope border as needed.
Assembly & Finished Size
- Blanket should measure approximately 35" x 32" after border added.
- All borders secure, with a smooth, spiraled rope effect on all four sides.
- Optional: Gently block for best finish if needed.
Conclusion
Congratulations! You have completed your Halloween baby blanket, featuring fun pumpkin-inspired texture and a colourful twisted rope border. This project is both quick and enjoyable for beginners and makes a delightful addition to any festive décor.