Create a stylish and durable bag effortlessly with the free crochet embossed bag pattern that upgrades your skills while adding unique charm to every outfit.
Every wardrobe benefits from a versatile and stylish bag that can complement a variety of outfits and occasions. On the channel Örgü ütopyası, you’ll find an inspiring model that combines elegance and functionality in a compact accessory. The Free crochet Embossed Bag pattern showcases a carefully designed piece that’s as practical as it is beautiful.
Free Crochet Embossed Bag Pattern with Step-by-Step Guide
This bag stands out with its subtle embossed texture that adds depth and character to its sleek shape. Slim and refined, it features thoughtful details like sturdy rings and a zipper closure that keep belongings safe while enhancing its chic appearance. The overall style balances modern minimalism with a warm, hand-crocheted charm that makes it suitable for both casual outings and dressier occasions.
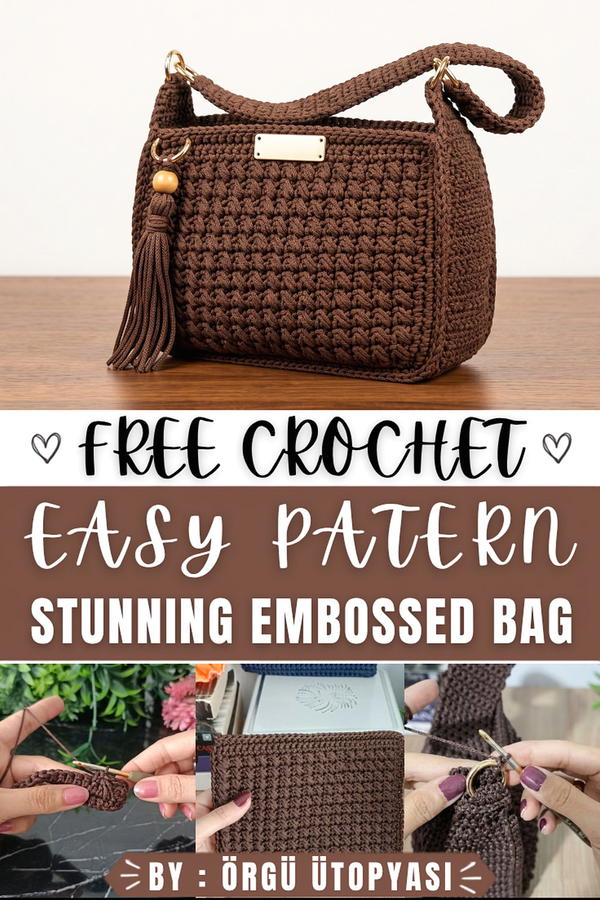
The embossed pattern itself creates a soft yet visually dynamic surface, inviting touch and admiration. Its firm structure allows the bag to hold its shape perfectly, making it a dependable companion for daily essentials. Whether gifting to a friend or adding a unique flair to your own collection, this bag brings both decorative value and practical benefits.
Lightweight yet durable, it slips easily over the shoulder or can be carried by hand, adapting seamlessly to your needs. The inclusion of a carefully sewn lining and details like a bellows structure elevate its quality, making it a treasure worth showing off. Its thoughtful construction promises long-lasting use balanced with timeless style.
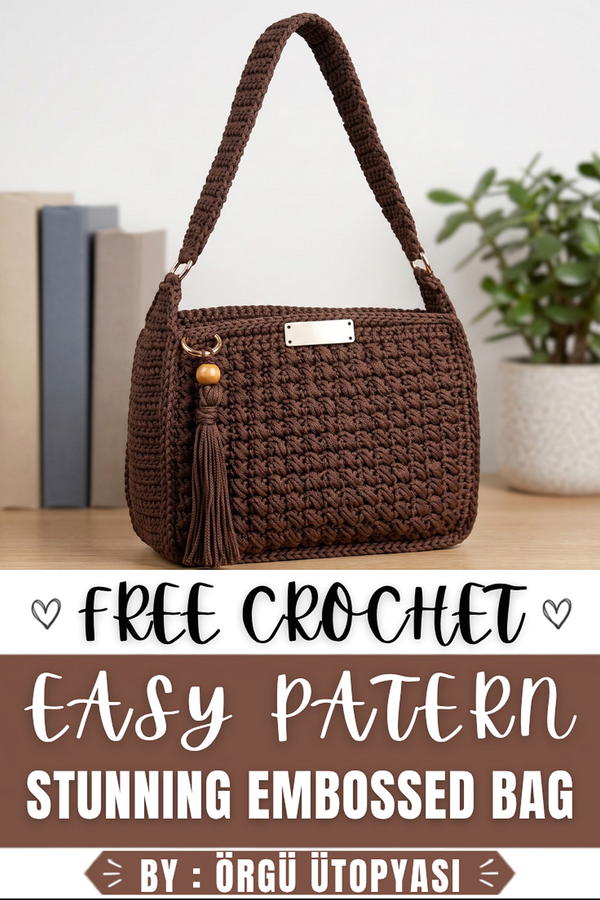
Designer-Style Crochet Bag Pattern
This crochet bag pattern features a clean and contemporary design, perfect for daily use or as a statement accessory. The structured shape is achieved using polyester macramé cord, ensuring durability and a sleek finish. The pattern includes detailed instructions for crafting the base, creating textured stitches, assembling gussets, attaching a zipper, and constructing a sturdy strap, ending with lining for enhanced functionality.
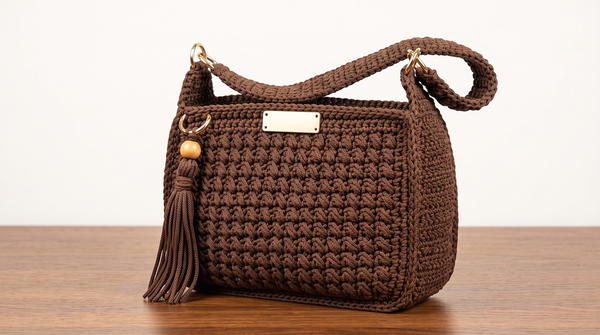
Skill Level
Intermediate
The project requires proficiency in foundational stitches, working textured patterns, managing increases and decreases, seamless assembly techniques, and attaching accessories like zippers and lining. Focus and attention to detail are needed during the joining and finishing stages.
Materials Needed
- Yarn: 1.4mm or 2mm polyester macramé cord (durable and ideal for structured designs).
- Crochet Hook: 3mm macramé hook.
- Accessories:
- Metal zipper for closure
- Lining fabric for the interior
- 2 metal rings for connecting the strap and gusset
- Additional Tools: Stitch markers, scissors, sewing needle, and thread.
Special Stitches Used
- Single Crochet (SC): Insert the hook into the stitch, yarn over, pull through, yarn over again, and pull through both loops on the hook.
- Fill Stitch (Textured Design): Skip one stitch; in the next stitch, insert the hook into the row below to create a textured fill effect.
- Slip Stitch (sl st): Insert the hook, yarn over, pull through both loops on the hook, and the stitch you’re working into.
- Back Loop Only (BLO): Work into the back loop of the stitch only, creating a ridged effect or defined seam.
Stitch Abbreviations
| Abbreviation | Meaning |
|---|---|
| SC | Single Crochet |
| sl st | Slip Stitch |
| BLO | Back Loop Only |
| inc | Increase (2 SC in one stitch) |
| ch | Chain |
Useful Tips
- Cord Management: Polyester macramé cord can fray during trimming. Always seal the ends using heat (like a lighter) for a clean finish.
- Textured Stitch Accuracy: Be consistent when working the textured "fill stitch" pattern to maintain the uniform appearance throughout the bag’s body.
- Zipper Alignment: Position and sew the zipper carefully, ensuring smooth opening and closing functionality.
- Lining Precision: Use an iron to press your lining fabric before stitching it inside the bag for a neat finish.
- Strap Adjustment: Measure strap length based on personal preference or intended use (e.g., crossbody or shoulder).
Step-by-Step Crochet Bag Pattern
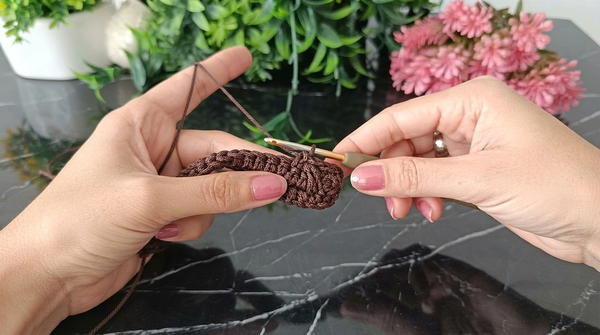
1. Foundation and Base
The base establishes the width and provides structure.
- Row 1: Chain 34. Starting in the second chain from the hook, work 33 SC across the row. (34 stitches)
- Row 2: Chain 1, turn, and work 33 SC across the row. Repeat this row to complete the foundation base.
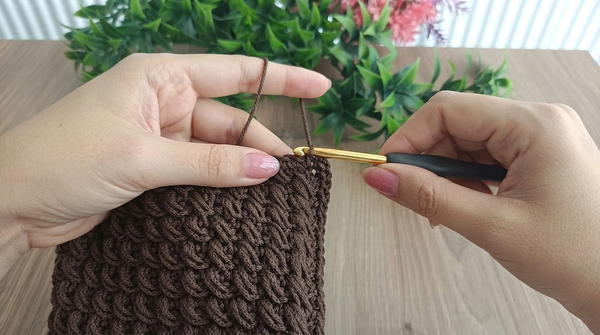
2. Textured Stitch Pattern
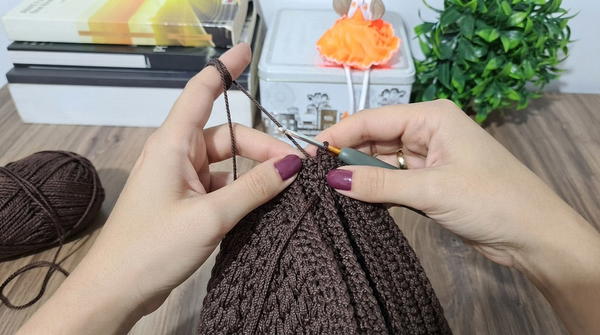
The textured design is created by skipping stitches and incorporating a "fill" stitch into the row below for visual interest.
- Row 1: Begin a new row with SC. Skip one stitch. In the next stitch, insert the hook into the corresponding stitch from the row below and crochet the "fill" stitch. Continue this sequence until the end of the row.
- Repeat this textured stitch pattern for 12 rows, ensuring consistency in skipped stitches and "fill" placement.
3. Main Body
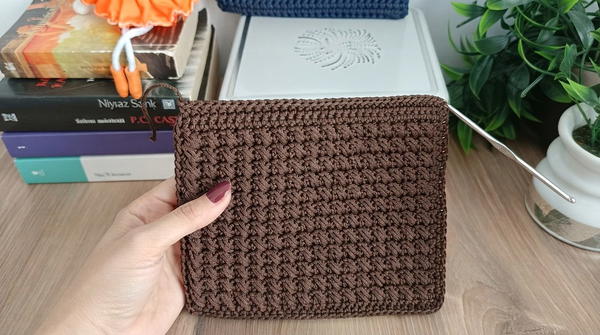
Shape the main body of the bag and frame it with a single crochet border.
- Continue the textured stitch pattern until you complete 12 rows.
- Border Row: Work a round of SC around the entire perimeter of the piece. This creates a smooth edge and frames the section.
4. Zipper and Closure Section
Define the top edge for the zipper by working into front and back loops separately.
- Divide the work at the top edge, separating the front loops from the back loops.
- Work the next few rows exclusively in the front loops for one panel and then repeat for the back loops section. This creates a clean seam and clear attachment points for the zipper later.
5. Side Gussets ("Körük")
The gussets are attached to metal rings and shaped by increasing and maintaining width over several rows.
- Round 1: Attach yarn to the metal ring and work 5 SC around it.
- Increasing Rows: Gradually increase the stitch count by adding SC in specific rows until you reach 12 stitches across.
- Maintaining Width: After achieving 12 stitches, work for 92 rows without any increase to maintain consistent gusset width.
- Decreasing Rows: Reverse the increasing pattern to gradually reduce the gusset width. Attach the second metal ring at the end of this section.
6. Assembly
Connect the main panels to the gusset for a seamless, structured bag shape.
- Align the front and back panels with the gusset edges.
- Use a slip stitch (sl st) joining technique, working through the back loops to create a clean and nearly invisible seam.
7. Strap Construction
The strap is made using rows of single crochet and metal rings for attachment.
- Row 1: Start with 5 SC.
- Gradually increase to 8 SC to provide more width and stability.
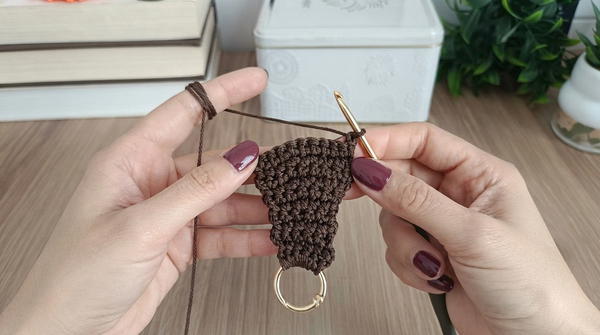
- Work until the strap reaches your desired length (approximately 66 rows total for a crossbody strap).
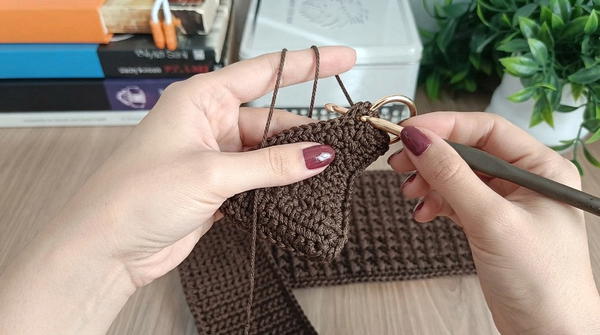
- Attach strap ends to the metal rings on the gussets.
8. Lining and Finishing Touches
Polish the bag with a fabric lining, installed zipper, and heat-finished loose ends.
- Prepare the Lining: Cut and shape the lining fabric to match the interior size of the bag. Iron for neat edges, then sew it into place.
- Attach Zipper: Sew the zipper securely to the defined seams at the top edge. Test its functionality to ensure smooth opening and closing.
- Seal Loose Ends: Tie any remaining yarn ends securely and use a lighter to carefully heat-seal the polyester cord ends.
Customization Options
- Decorative Accents: Add tassels, beads, or embroidery along the strap or gusset for personalization.
- Size Adjustments: Modify the number of base chains and textured pattern rows to create larger or smaller bags.
- Color Variations: Combine different colors of macramé cord for a two-tone or striped effect.
Conclusion
This designer-style crochet bag pattern combines functionality with modern design elements, resulting in a sturdy and elegant finished product. The textured stitch pattern, clean seams, and lined interior elevate this project to a polished accessory. With proper attention to detail during assembly and finishing, this versatile bag is both practical and stylish, ideal for everyday use or special occasions.