Unlock your creativity with a free crochet bag pattern that combines practicality and style, making it the ideal project for both beginners and experts.
The charm of handmade accessories lies in their unique blend of style and function, making them perfect for everyday use or special gifts. This Free crochet Bag Pattern from the creative minds at U R Unik guides you through crocheting a stylish bag that is as practical as it is beautiful. Designed with thoughtful details, this bag not only looks great but serves as a versatile accessory for organizing essentials or enhancing your personal style.
Free Crochet Crochet Bag Pattern With Easy Steps
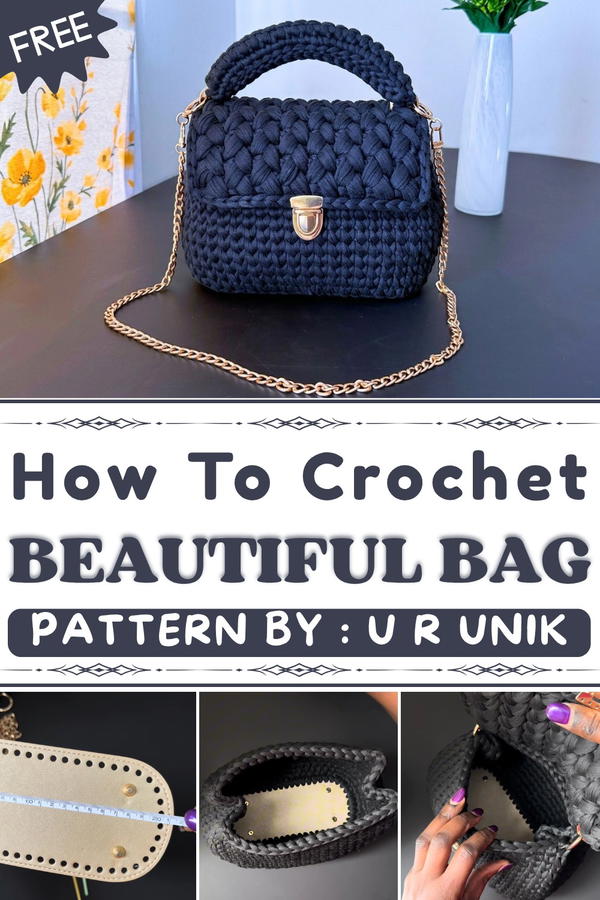
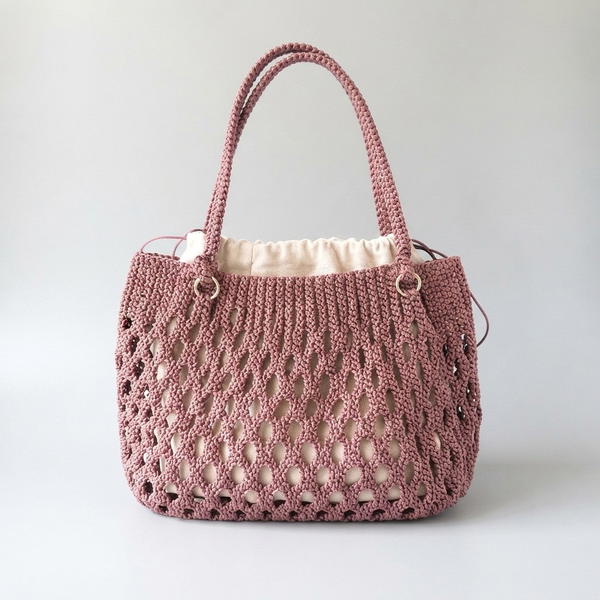
The bag features a structured rectangular shape with a soft yet sturdy texture, achieved by combining puff stitches and slip stitches. The puff stitch adds a delightful, almost cushiony texture, while the neat slip stitch edging gives the bag a polished finish. Its compact size (about 16 cm in length and 22 cm in width) makes it ideal for carrying small items without being bulky. The strap is designed using rows of single crochet, folded, and slip-stitched to form a thick, comfortable handle that supports everyday use.
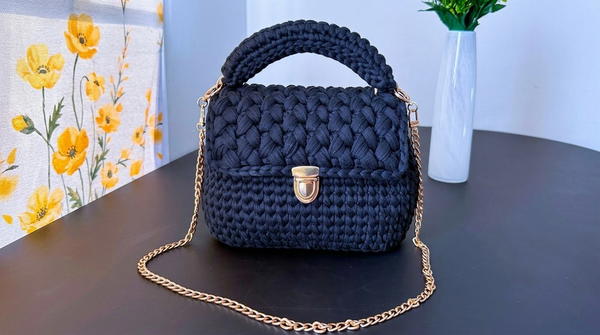
Attention to detail shines through with the carefully sewn cover flap and secure metal rings, which add both function and decorative flair. The assembly techniques shared provide tips to ensure sturdiness, such as positioning rings to reduce strain on the cover. Whether for gifting or personal use, this bag is a charming addition to any wardrobe, offering a blend of cozy texture, thoughtful construction, and smart design.
Following the clear video tutorials, creating this bag becomes an enjoyable project suitable for various skill levels. This pattern invites you to bring a handcrafted touch to your accessories collection with a beautiful and usable crochet masterpiece.
Sunday Bag Crochet Pattern
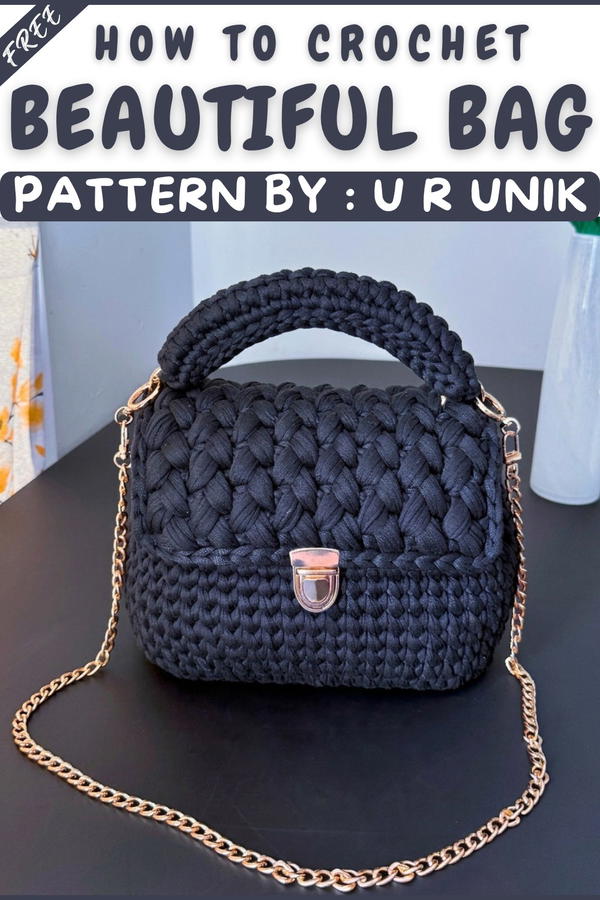
The Sunday Bag is a structured, modern accessory built with plush doubled t-shirt yarn and clever hardware details. Its rectangular base, dense textured body, and unique crossed puff cover make it a standout for casual styling or daily organization. This project combines single crochet, In-V and puff stitches, and straightforward shaping. Designed for crocheters seeking a statement piece, the bag balances structure, texture, and function, finished with a tubular strap and metallic accents for polish.
Pattern Important Tips
- Keep your t-shirt yarn doubled at all times for the base, body, cover, and strap; this ensures structure and longevity.
- The In-V stitch creates a prominent, neat vertical texture—always insert your hook into the center of the "V" from the previous round.
- For a tailored fit, frequently check the height and width of both main body and cover against your bag base; adjust by adding or removing rows or rounds as needed.
- Consistency in slip stitch finishes and hardware attachment provides a professional, durable result.
- When making your puff stitches for the cover, use even tension so all puffs are identical and the cross pattern remains distinct.
Special Notes
- Metal hardware elevates the look and supports the bag, making rings and buckles essential rather than merely decorative.
- If preferred, you can alternate colors for the body, cover, or strap by changing yarn at the start of a row/round.
- Substitute a stiff crocheted base for purchased options if needed, though measurements will affect stitch counts.
- Brighter or variegated t-shirt yarns are excellent for highlighting the texture in this design.
Skill Level
Intermediate
This bag requires basic crochet skills, comfort with working in the round, even tension for thick fabric, and the ability to follow textured stitch patterns. Previous bag or amigurumi experience is helpful. Intermediate assembly skills are needed to incorporate hardware cleanly.
Materials
- Yarn: 12 skeins at 32m each, 2cm width, cotton or t-shirt style; use strands doubled throughout (approx. 192m total)
- Base: 21cm x 10cm leather or plastic rectangle (buy or crochet)
- Hooks: 5mm (base), 6mm (body, cover, and strap)
- Hardware: 4 metal rings (3cm Ø), 1 buckle or clasp
- Chain: 87cm pre-made metal or acrylic, optional but recommended for crossbody use
- Tapestry needle
- Scissors
Measurements / Sizing
- Bag Base: 21 × 10 cm
- Bag Height: About 19 cm (In-V body)
- Cover: 22 × 16 cm (should hang slightly over the sides; 11 puff stitches across width)
- Strap: 20 chains → ~5 cm wide tubular handle after folding and joining, length as preferred
- Chain: 87 cm (for shoulder/crossbody wear)
- Final Bag: Approx. 21cm wide, 19cm tall, 10cm deep
Gauge and Stitch Pattern
- Bag Body Gauge: 5mm hook (base) & 6mm hook (body): ~7 sc × 7 rows = 10 cm in doubled t-shirt yarn.
- Cover and Strap: Using 6mm yields approximately 1 puff/1 sc = 2cm.
- Maintain a dense fabric; adjust hook size or tension if your bag lacks structure.
Stitch Abbreviations
- ch: chain
- sc: single crochet
- sl st: slip stitch
- ps: puff stitch (twice wrapped)
- BL: back loop only
- st(s): stitch(es)
Special Stitches
- In-V Stitch: Insert your hook in the middle of the "V" at the front of the stitch (through the post between the two legs, not the top loops), yarn over, pull up loop, sc as usual.
- Puff Stitch (for cover): Yarn over, insert hook into st, yarn over, pull up a loop—repeat once more (3 loops on hook total), yarn over and pull through all loops.
- Invisible Closure: At the end of a round, use tapestry needle to draw tail through base of first stitch, then back into last completed st for a seamless join.
Pattern Instructions
1. Working the Base
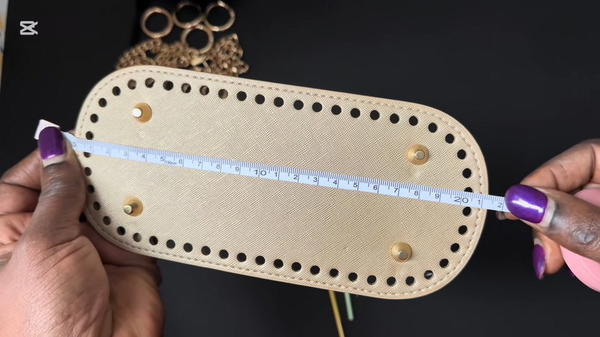
- With 5mm hook, doubled yarn, attach yarn at any hole or corner of your 21x10cm bag base.
- Round 1: Work 1 sc into each hole around the longer sides.
- At short rounded sides, place 2 sc into each of the middle holes to smoothly turn the corner.
- Continue sc evenly around base. Join with a sl st or use an invisible join for a seamless look.
2. First Rounds of the Body
- Switch to 6mm hook with doubled yarn.
- Round 1: Join to first stitch from base with an invisible join if desired.
- Round 2: Work sc into the back loop and the loop directly behind it of each stitch around, forming a pronounced edge for the bag’s upright wall.
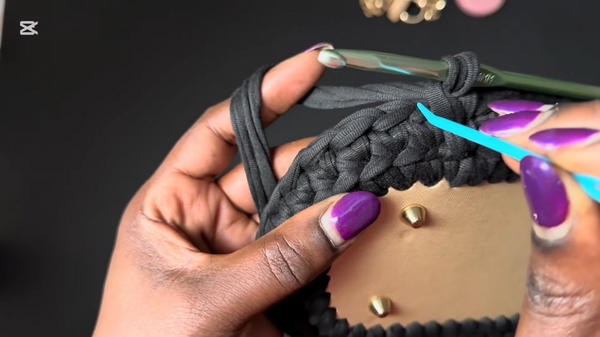
3. Main Body – In-V Stitch
- From Round 3 onwards, In-V stitch: Insert hook into the center of the V from previous round on each stitch (not the front or back loop).
- Work In-V stitch in the round for 17 complete rounds or until your body measures approximately 19cm tall from the base (including first BL round).
- Finish final round with an invisible closure and fasten off, using tapestry needle to weave in the loose end firmly.
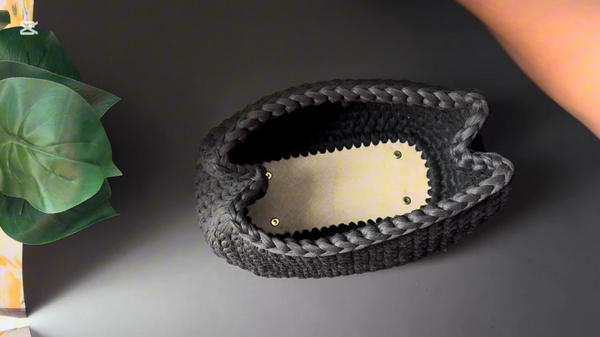
4. Creating the Cover
- With 6mm hook and still using doubled yarn, chain 18.
- Row 1: Starting in 2nd ch from hook, sc across (17 sc).
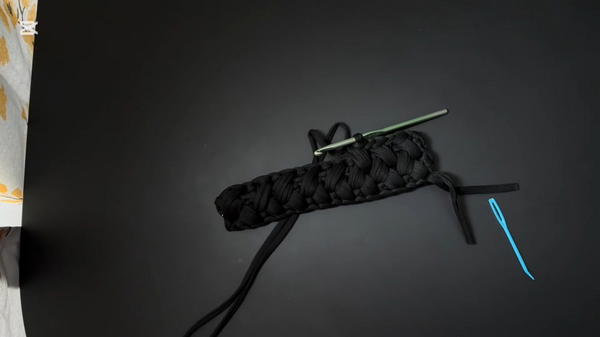
- Row 2 (Cross Puff Row):
- Skip first st, sc in next, then work a puff stitch (2 wraps) into the skipped st.
- Repeat: Skip a st, sc in next, puff stitch in skipped st—across the row.
- Subsequent Rows: Continue pattern established:
- Always skip a st, sc in the next, puff stitch (twice wrapped) back into the skipped/empty stitch below. Puff stitches will line up with the gaps between previous row’s puffs.
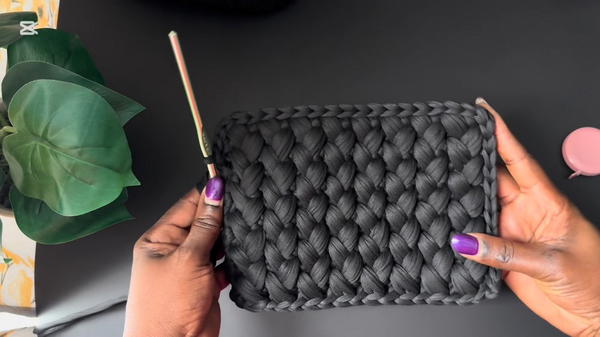
- Continue rows until work measures 16cm in length and 22cm in width, ending with a row containing 11 puff stitches.
- Always skip a st, sc in the next, puff stitch (twice wrapped) back into the skipped/empty stitch below. Puff stitches will line up with the gaps between previous row’s puffs.
- Edge Finishing: Work a row of slip stitches along the “peaks and valleys” (top and bottom edges); on each side, slip stitch only in the front loops for stretch and neatness.
5. Making the Strap
- With 6mm hook and doubled yarn:
- Chain 20 for a wide, flat strap.
- Sc in 2nd ch from hook and across for 19 sc.
- Repeat for 4 rows to form a sturdy rectangle.
- Fold the piece lengthwise. With inside loops lined up, slip stitch along the long open side to join into a thick, tubular handle.
(Sl st through inside loops, not the outermost, for a rounder edge.) - Fasten off and weave in ends.
Assembly
1. Shaping the Body
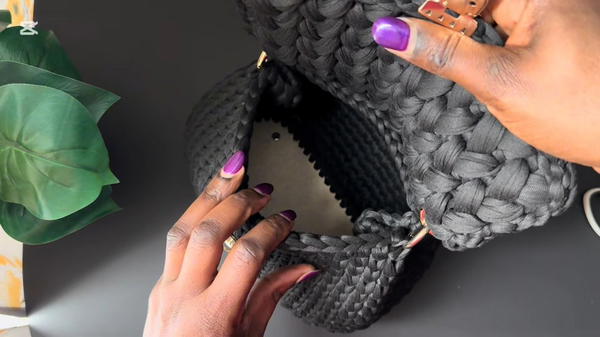
- Fold sides of the main bag inward; secure both folded edges with metal rings at each side.
- Adjust the body so folded shape is symmetrical and fits well with the cover.
2. Fitting and Sewing the Cover
- Lay cover over top of bag body. Confirm fit—edges should hang slightly over main body.
- With tapestry needle and yarn tail, align cover’s back edge stitches with the final round of In-Vs on back body panel.
- Slip stitch or whipstitch through cover and corresponding bag body stitch for a solid, even seam. Fasten all ends on inside.
3. Attaching Hardware
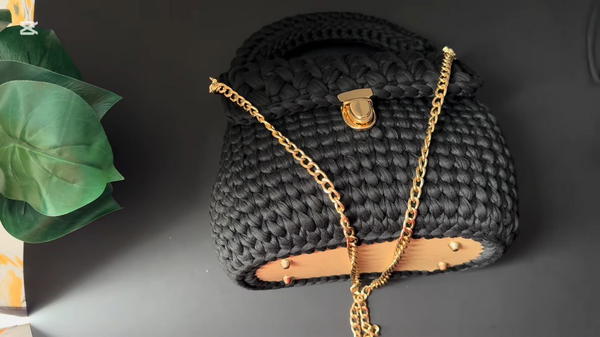
- Buckle: Find center front (approx. 6–8 stitches wide). Sew buckle anchor securely to the bag front, making sure it aligns with cover flap for closure.
- Strap & Rings: Attach remaining rings to each end of strap, then feed these through the side rings so the basket's weight pulls from the body, not the flexible cover. Secure all hardware firmly.
- Decorative Chain: Clip or sew the optional chain between side loops or over the top for style or shoulder/crossbody wear. Ensure chain is evenly balanced and at your desired length.
Conclusion
The Sunday Bag merges utility with sculptural drama, thanks to careful construction, an architectural body texture, and solid, handled hardware. Its plush yarns and double-layered construction result in a resilient, modern silhouette ideal for daily wear. Personalized with bold chains or buckles, the bag can shift from everyday practicality to a standout fashion accent. This pattern’s modular construction also allows for customization in size, color, or strap length according to your individual needs and creativity.