Try the Crochet Bouquet Doll Free Pattern for a lovely flower-inspired toy that makes a floral birthday surprise or a cute decoration at home.
Finding a gift that feels thoughtful and different can be difficult, especially when ordinary presents seem too common. The Crochet Bouquet Doll is a lovely combination of a little doll and a bunch of flowers. It has a sweet appearance that makes it suitable for happy occasions. Instead of giving flowers alone, this design includes an adorable character that gives the arrangement a more personal feeling. Rasha Crochets shares this lovely idea for anyone who likes unusual gifts made with yarn.
Simple Crochet Bouquet Doll Free Pattern With A Sweet Look
The doll is the main attraction, with flowers arranged around it to form a beautiful bouquet. Its little face and outfit give it a gentle appearance, while the colorful blooms help the whole arrangement stand out. You can choose soft purple, peach, or baby pink for a pretty color combination. A ribbon around the lower section can also give it a neat finish.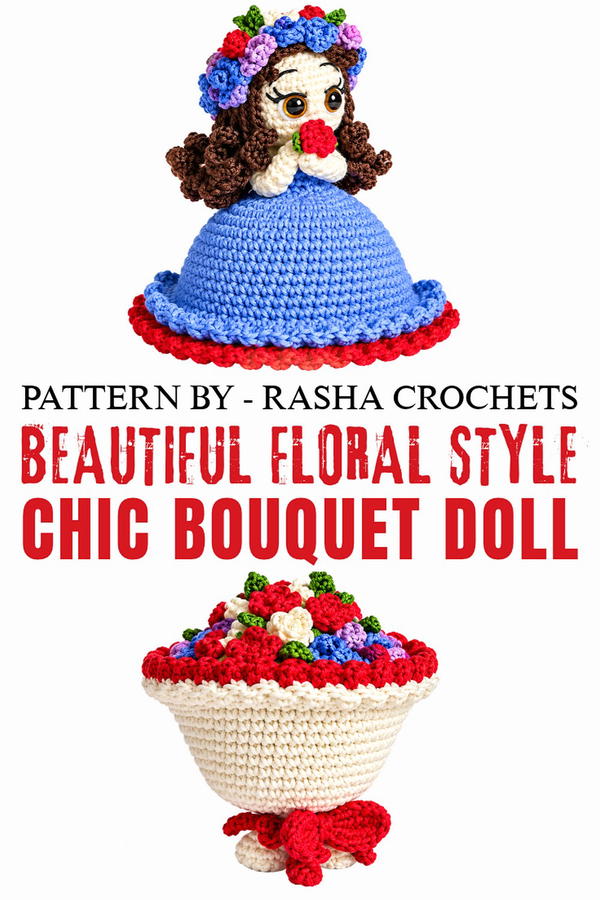 The doll and floral parts can be worked separately using crochet stitches. The finished pieces are then placed together to form the bouquet. Careful arrangement helps the doll remain visible among the flowers.
You can give this bouquet to your daughter on her birthday, surprise your best friend on Friendship Day, or present it to someone after a school performance. It can also be displayed in a bedroom as a reminder of a happy occasion.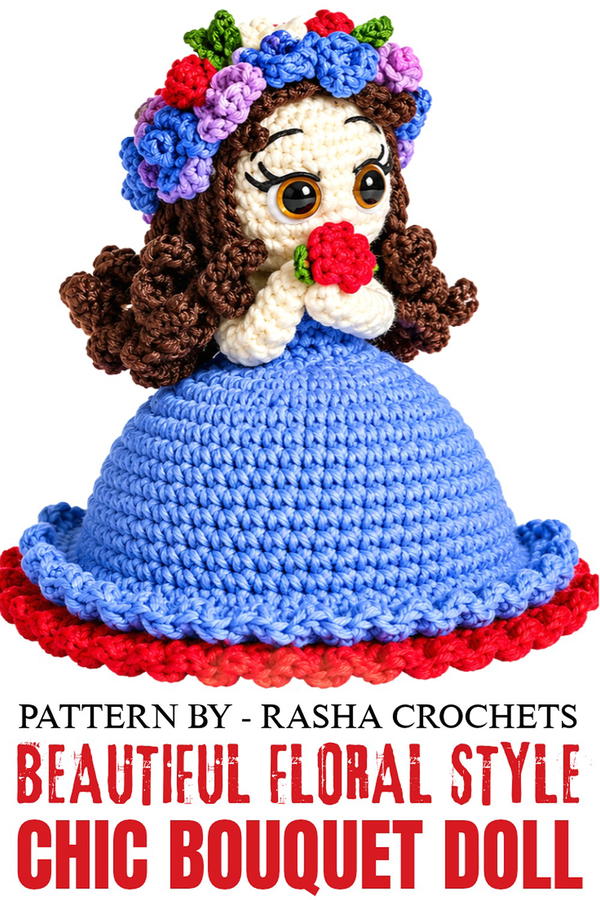 This design offers something more personal than an ordinary bunch of flowers. The combination of a little doll and colorful blooms gives the finished piece a special meaning that someone can treasure for years.
Crochet Doll and Bouquet Pattern
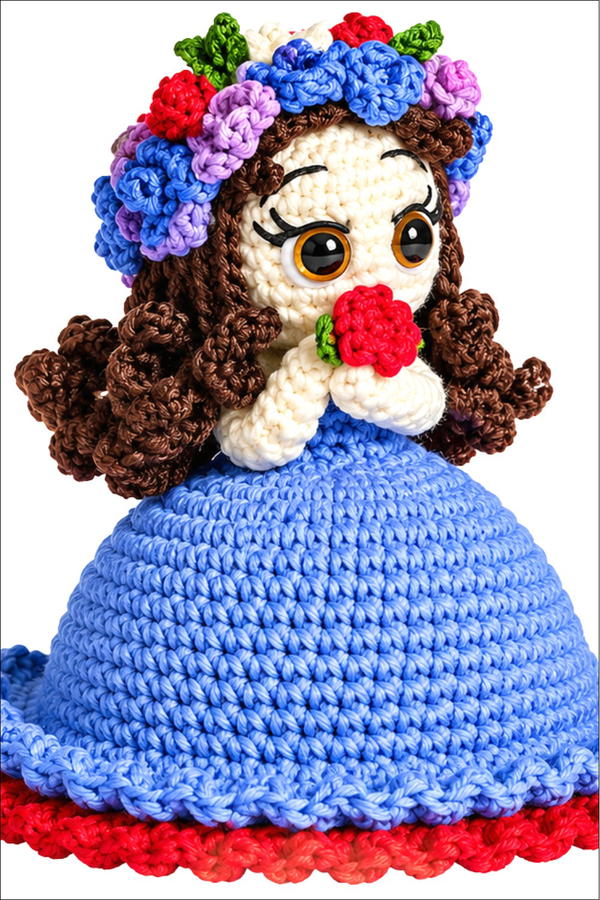
This crochet project creates an enchanting doll standing elegantly atop a flared dress base and holding a charming bouquet. The project walks through sculpting each component one by one, using basic stitches, increases, and a mixture of seamless and textured rounds. The finished result features delicate accessories, sculpted floral elements, soft hair, and a bow—all individually crafted and meticulously assembled for display, gifting, or decorative use.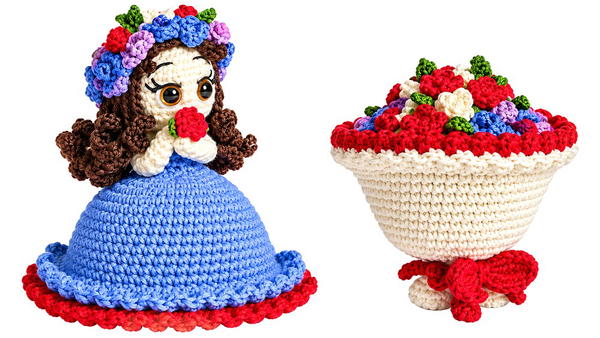
About the Pattern
This design incorporates classic amigurumi techniques to create a standing doll figure combined with floral artistry. The foundation of the doll—a beautifully shaped dress—forms the base of the project, supporting the doll’s head and bouquet. The assembly process challenges crocheters to construct each integral part—the structured base, a separate head, flexible arms, layered hair, intricate bouquet handle, and detailed miniature flowers—before final construction.
Pattern at a Glance
- Comprised of several sections: Dress/Base, Bouquet Handle, Head, Arms, Flowers, Hair, Bow.
- Primarily worked in the round using classic amigurumi methods.
- Some sections require working into back loops or straight rows for added definition and texture.
- Final construction involves careful arrangement and secure attachment of accessories and limbs to maintain stability and refinement.
Important Notes
- Use firm stitch tension, especially for the dress and head, to help the doll retain its upright posture.
- Stuff the head and bouquet handle firmly as you work for best shape retention.
- Attach safety eyes securely before closing the head.
- When making hair, work with an even rhythm and varied chain lengths for a natural layered effect.
- The final appearance dramatically benefits from careful hand-shaping and assembly.
Difficulty Level
Confident beginner to intermediate:
Crocheters should be comfortable with magic rings, increasing, decreasing, working in the round, and back-loop-only techniques. The individual elements are straightforward, but neat assembly and minor hand-sewing/gluing skills are required for a professional finish.
Supplies Needed
- Worsted or sport weight cotton or acrylic yarn in desired doll, bouquet, and accessory colors
- Crochet hook size suitable for amigurumi (typically 2.5mm–3.5mm)
- Polyester fiberfill stuffing
- Safety eyes, size 6–8mm (or black thread for embroidery)
- Tapestry needle for sewing and weaving in ends
- Scissors
- Hot glue gun (optional, for non-sewing attachment of accessories)
- Stitch markers (optional, for marking rounds)
Size & Measurements
- Doll Height (including base and bouquet): Approximately 16–20 cm (6–8”) tall, depending on yarn and tension
- Base/Dress Diameter: Around 7.5–10 cm (3–4”)
- Bouquet Handle Length: About 3–4 cm (1.2–1.6”)
- All appendages sized proportionally for a classic amigurumi style
Gauge & Stitch Details
- Gauge: 7 sc and 8 rows = 2.5 cm (1”); not strictly essential but for best results use firm, even stitches to prevent fiberfill showing through.
- Stitch Patterns: Primarily continuous rounds of single crochet with occasional half-double crochet, increases, and decreases.
Crochet Abbreviations
- sc – single crochet
- hdc – half-double crochet
- ch – chain
- sl st – slip stitch
- inc – increase (2 sc in same stitch)
- dec – decrease (sc 2 together)
- MR – magic ring (adjustable ring)
- BLO – back loops only
- st(s) – stitch(es)
Special Stitch Guide
- Magic Ring (MR): Create a loop, insert hook, pull up a loop, chain to secure, then work stitches into loop. Tighten to close.
- Back Loop Only (BLO): Insert hook only into the back loop of the stitch.
- Invisible Decrease: Insert hook into front loops of two stitches, yarn over, pull through, yarn over and pull through remaining loops.
Complete Crochet Pattern
1. Dress/Base
- Round 1: MR, 6 sc into ring (6)
- Round 2: Inc in each st around (12)
- Round 3: 1 sc, inc around (18)
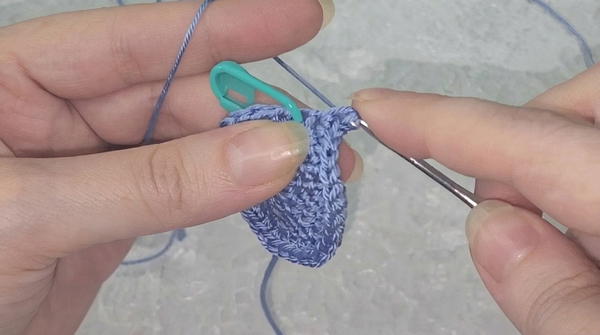
- Round 4: 2 sc, inc around (24)
- Round 5: 3 sc, inc around (30)
- Round 6: 4 sc, inc around (36)
- Round 7: 5 sc, inc around (42)
- Rounds 8–13: Sc in each st (no increases, remain at 42 sts)
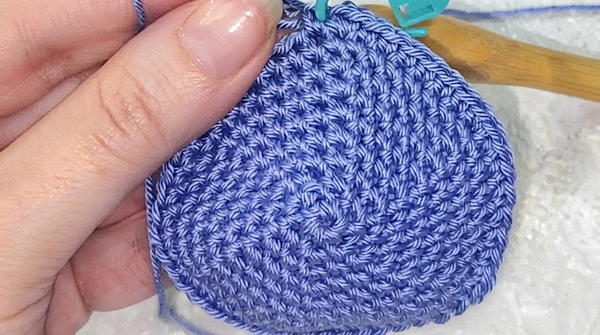
- Round 14: 7 sc, inc around (54)
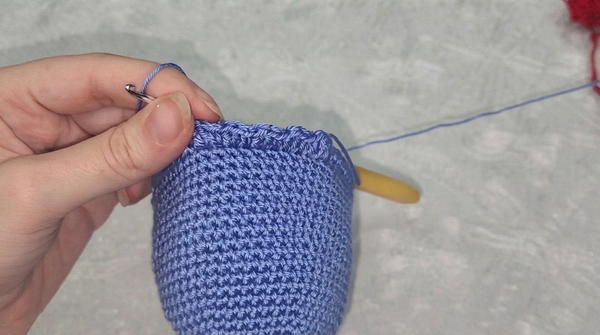
- Rounds 15–19: Sc in each st around (54)
- Final Edge: Work BLO sc in last round to create a defined edge.
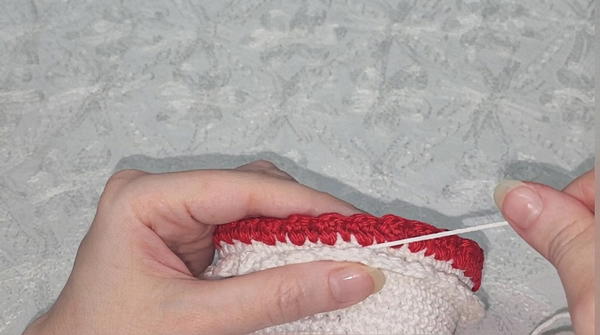
- Decorative Border: Following base edge, add a round of contrasting color with decorative sl sts or scallop edging as preferred.
2. Bouquet Handle
- Round 1: MR, 12 hdc into ring.
- Increase Rounds: Continue increasing each round (hdc or sc) until base cup fits desired bouquet size (usually 1–2 extra rounds).
- Cylinder: Work sc in each st for several rounds, do not increase, to form a tube handle of approx. 3–4 cm length.
3. Doll Head
- Round 1: MR, 6 sc
- Round 2: Inc in each st (12)
- Round 3: 1 sc, inc around (18)
- Round 4: 2 sc, inc around (24)
- Round 5: 3 sc, inc around (30)
- Round 6: 4 sc, inc around (36)
- Round 7: 5 sc, inc around (42)
- Rounds 8–14: Sc in each st for 7 rounds (42)
- Eyes: Insert safety eyes between Rounds 8 and 9, spacing them evenly.
- Decrease Rounds:
- 5 sc, dec around
- Continue decreasing by 6 sts each round, stuffing firmly as you go, until closed.
- Neck/Base: Switch to dress color, 2 rounds sc to form the neck and connection.
4. Arms
- Round 1: MR, 4 sc
- Rounds 2–desired length: BLO sc in each stitch (gives subtle shaping). Make two arms.
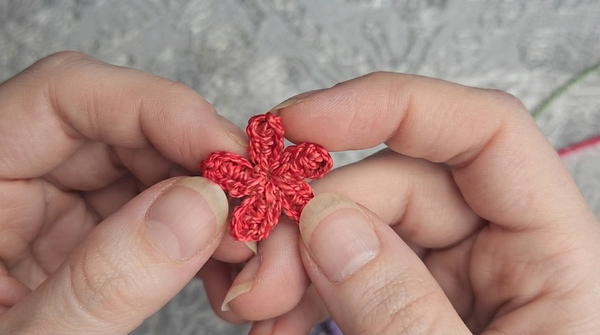
5. Flowers
- Petals: MR, ch 4, sl st in ring (1st petal), repeat for 5 petals.
- Tighten center and secure.
6. Hair
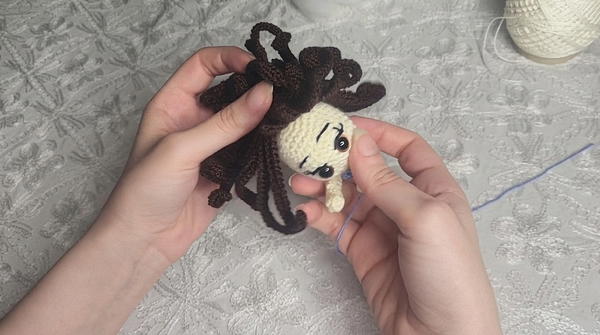
- Attach yarn, ch 9 to 24, turn, work back in hdc across chain for each strand. Attach clusters of different lengths to the head for layers.
7. Bow
- MR, work flat rows across: 9 sc per row, 5 rows total. Fasten off. Cinch center tight with yarn to create bow shape.
Assembly & Finished Size
- Attach head to center top of dress base using neck rounds for seamless connection.
- Secure arms symmetrically at shoulders.
- Place bouquet handle between arms, then glue or sew bouquet flowers to one side.
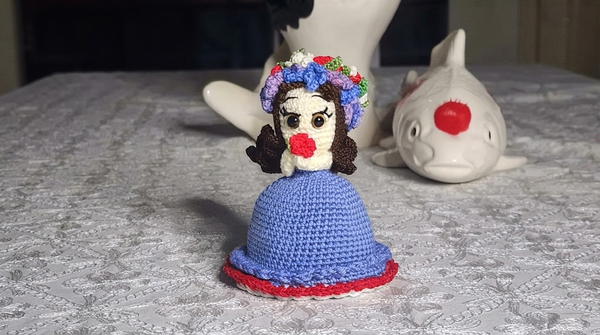 Arrange and glue or sew hair strands to the head, layering from nape upward for volume.
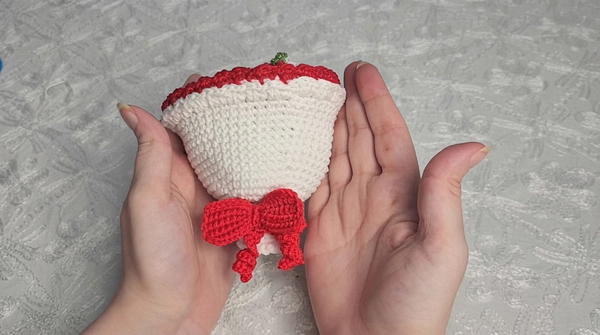
- Affix bow atop or in desired position.
- Adjust features and gently shape stuffing to final proportions.
Conclusion
This thorough crochet doll and bouquet pattern offers a rewarding construction journey through each shape and accessory, building basic forms into expressive, well-finished figures. By carefully following assembly directions, stuffing section-by-section, and securing embellishments, crafters produce a delightful display piece or thoughtful gift, each part crafted for durability and elegant harmony. Color variations and personal touches can bring each doll to life in unique style.