Style a nursery gift with the Crochet Baby Face Appliques Free Pattern, featuring lovely little faces for baby blankets, bags, and clothes.
Sevginin Günlüğü deserves full credit for the original YouTube tutorial that makes the Crochet Baby Face Appliques simple and enjoyable to create. These charming appliques feature sweet baby faces that bring a warm, adorable touch to a variety of handmade projects.
Easy Crochet Baby Face Appliques Free Pattern With Sweet Expressions
The Crochet Baby Face Appliques are small, round designs crocheted with basic crochet stitches to form gentle facial features like eyes, nose, and mouth. Their cute expressions make them perfect for decorating baby blankets, clothing, hats, or nursery items, adding personality and charm wherever they’re used.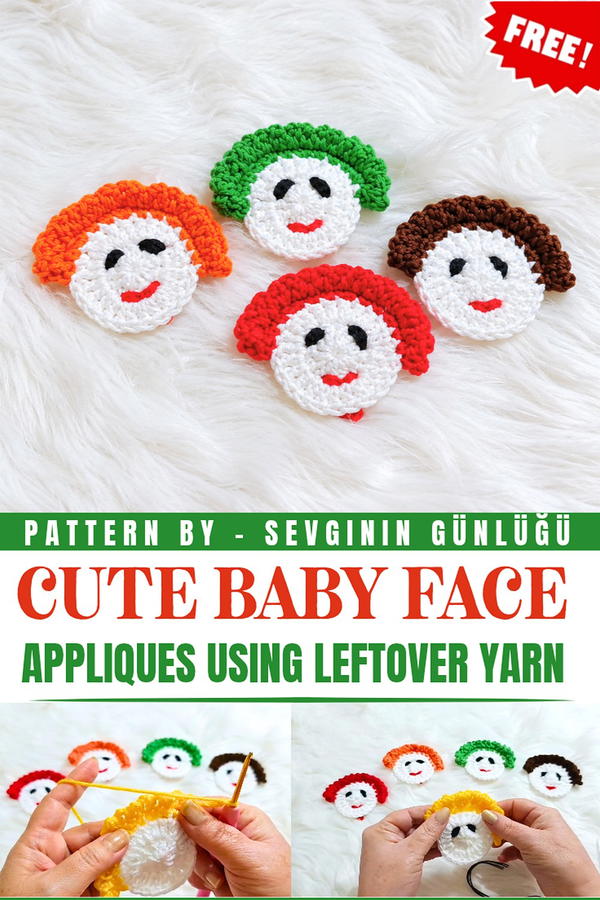 What makes these appliques unique is the chance to customize each face by changing yarn colors or adding little details such as hairstyles or accessories like bows. This lets you personalize each applique to match your style or the recipient’s personality.
To make these faces, you start by crocheting a circular base using single and double crochet stitches. Then, the facial features are carefully embroidered or created with small crochet stitches to bring the expressions to life. 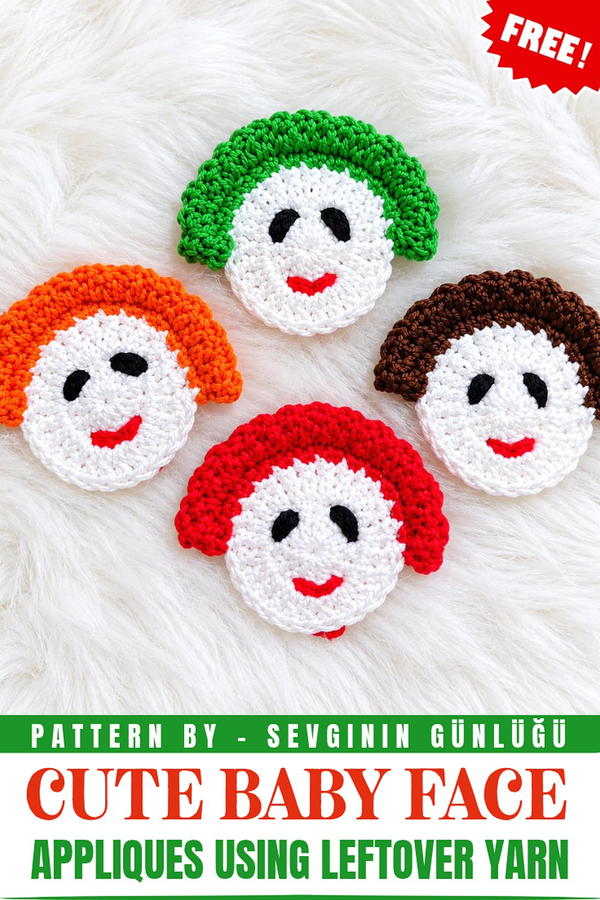 In short, Crochet Baby Face Appliques are a delightful and easy addition to many crochet projects that brighten up gifts and creations with their sweet charm.
About the Pattern
This crochet project features a delightful baby-faced applique, ideal for adding personality to blankets, hats, bags, or garments. The applique is constructed in three main stages: crocheting a soft, round face; building layered, textural hair; and finally, embroidering expressive facial features. The thoughtful layering techniques provide depth and charm while allowing ample opportunity for color customization and expressive details.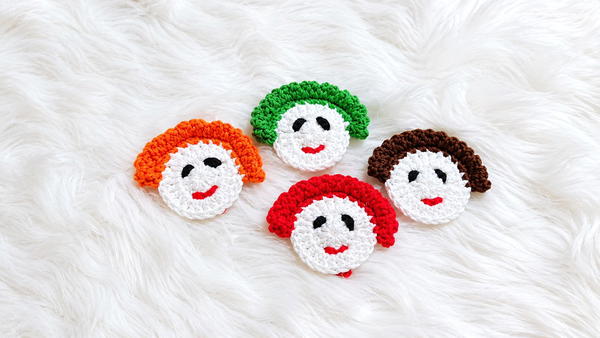
Pattern at a Glance
- Technique: Circular crochet, layered texture, simple embroidery
- Sections: Face, double-layered hair, embroidered eyes and lips
- Project Use: Applique suitable for a variety of textile embellishments
Important Notes
- The whole applique is worked in rounds, followed by surface embroidery for the facial details.
- Two hair layers are made in separate loops (back and front) to create depth.
- Ensure even tension for a round base and neat hair layers.
- The facial features can be tailored for distinct expressions and looks.
Difficulty Level
Beginner to confident beginner. The pattern involves basic rounds, looped hair layers, and simple embroidery—not requiring advanced crochet skills.
Supplies Needed
- Crochet hook: 3mm
- Yarn: Small amounts of worsted or DK weight yarn in three colors:
- Skin tone for the face
- Hair color for hair sections
- Black and red or pink embroidery thread/yarn for facial details
- Tapestry needle: For attaching details and embroidery
- Scissors
Size & Measurements
- Finished applique: Approximately 2–2.5 inches (5–6 cm) diameter, depending on yarn and tension
Gauge & Stitch Details
- Gauge: Not critical for this small applique, but should result in a firm, neat fabric
- Stitch Guide:
- Double crochet (dc): Used for the face and hair base
- Single crochet (sc): Used for hair attachment and layers
- Chain (ch): Used throughout, especially for creating hair strands
- Slip stitch (sl st): For joining and finishing rounds
Crochet Abbreviations
- MR: Magic ring
- ch: Chain
- dc: Double crochet
- sc: Single crochet
- sl st: Slip stitch
- st(s): Stitch(es)
- BL: Back loop only
- FL: Front loop only
Special Stitch Guide
- Magic Ring (MR): Adjustable loop for a seamless, closed center
- Back loop only (BL): Insert hook only into the back loops of stitches for layered effect
- Front loop only (FL): Insert hook only into front loops, the unworked loops remaining from previous round
Complete Crochet Pattern
1. The Face (Surat)
Round 1
- Begin with a magic ring (MR).
- Ch 3 (counts as first dc).
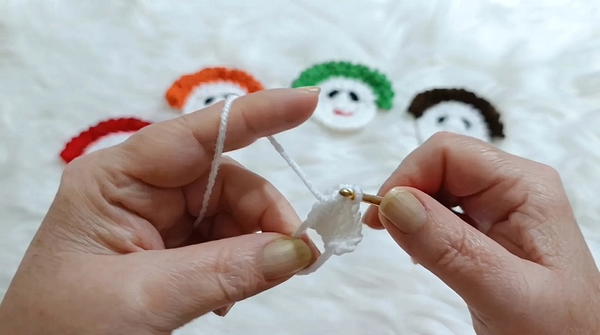
- Work 11 double crochet (dc) into the ring (for a total of 12 dc, counting the beginning chain).
- Pull the tail to close the ring snugly.
Round 2
- Ch 3.
- Work 2 dc into the base of the chain (the same stitch),
- Then, work 2 dc into each remaining stitch around. (You will have 24 dc by the end.)
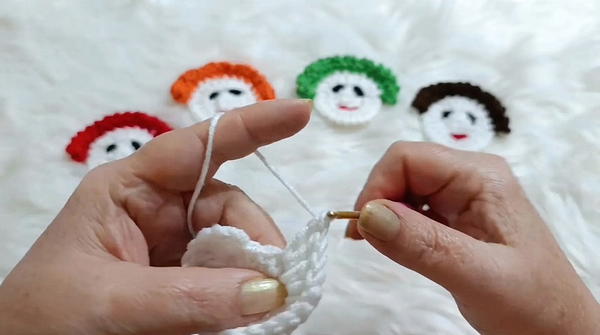
- Join with a slip stitch (sl st) to the top of the initial chain 3.
- Fasten off the face color.
2. The Hair (Saç)
Foundation Row
- Attach hair-colored yarn to any stitch on the face’s edge.
- In first stitch, work 2 single crochet (sc).
- In next stitch, work 1 sc.
- Alternate 2 sc in one stitch, 1 sc in next stitch around the edge for roughly 15 base stitches (if not exact, spread evenly around to cover the upper or desired perimeter of the head).
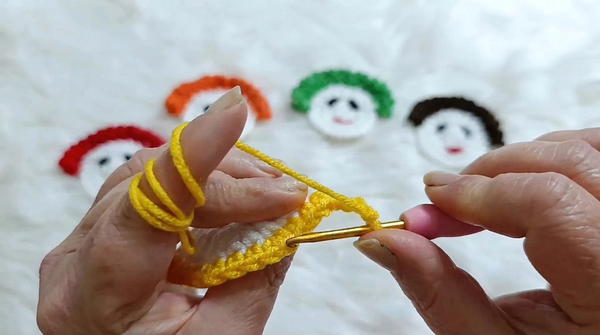
First Hair Layer
- Working only in the back loops (BL)
- Ch 4 at the start (stands for the first hair strand).
- Then for each next BL:
- Ch 3, sc into the next BL.
- Repeat ch 3, sc in next BL all the way around, forming a complete ring of hair strands.
- Do not fasten off if seamlessly continuing to next step.
Second Hair Layer
- Move to the remaining front loops (FL) from the previous foundation row.
- Repeat for each FL around:
- Ch 3, sc into the next FL.
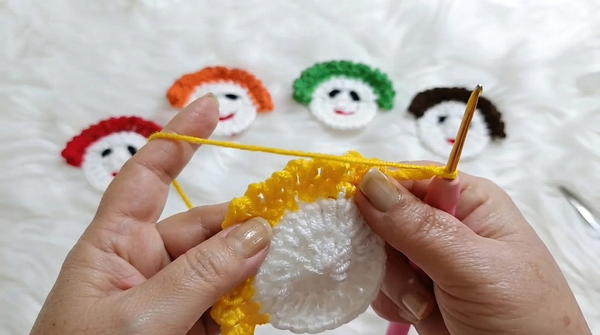
- Ch 3, sc into the next FL.
- Continue to make matching hair strands all around for a thick, double-layered effect.
- Fasten off and weave in ends.
3. Facial Features (Gözler ve Dudaklar)
Eyes
- Using a small length of black thread or yarn and a tapestry needle:
- Select the position for the eyes (visually, about ⅓ from the top edge of the face; spaced appropriately).
- For each eye:
- Wrap the black thread around two adjacent dc stitches, going across the front of the face, 3–4 times per eye.
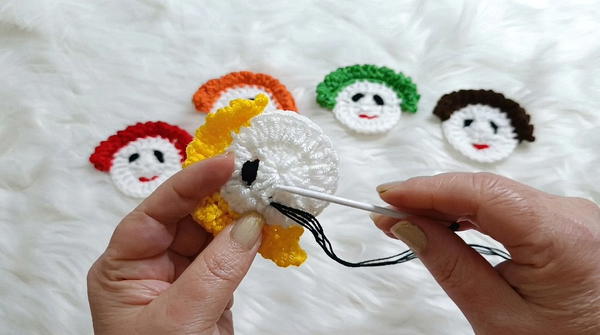
- Secure ends at the back.
- Wrap the black thread around two adjacent dc stitches, going across the front of the face, 3–4 times per eye.
Lips
- With red or pink yarn threaded in the needle:
- Place the mouth just below and between the eyes, centered horizontally.
- Wrap the yarn around the center dc stitches (about two stitches to each side of the center), passing twice to form a gentle curved smile.
- Make a double-layered stitch for the mouth to enhance visibility.
- Secure yarn ends neatly at the back.
Assembly & Finished Size
Weave in any remaining yarn ends on the back. The completed applique measures approximately 2–2.5 inches (5–6 cm) across, depending on your tension and yarn choice. Once all features are in place, the applique can be sewn or glued onto the desired project surface, such as baby blankets, hats, or nursery items.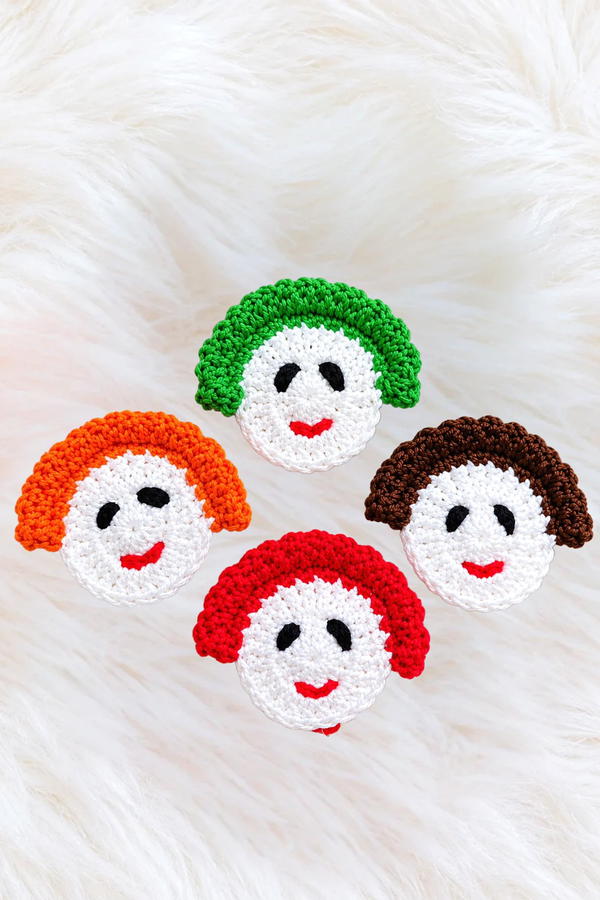
Conclusion and Ending Words
This charming baby face crochet applique brings character and warmth to any project through layered techniques and expressive details. The double-layered hair effect and embroidered features provide a rich, textural finish, making it a delightful handcrafted embellishment for various creations. The easy step-wise method allows for individualization in both color and expression, ensuring every applique is unique and personal.