Bring your creativity to life with this Free Crochet Flower Applique Pattern, and turn ordinary projects into blooming masterpieces full of charm and joy.
Adding a handmade touch to everyday items can instantly lift your style, and crochet flowers are a perfect way to do just that. The Free Crochet Flower Applique Pattern offers a simple and fun project to create charming little flowers that brighten hats, bags, scarves, and home decor. From my own experience, making these appliques is a quick, satisfying way to add personality to any project.
Free Crochet FLOWER APPLIQUE Pattern for Hats and Bags
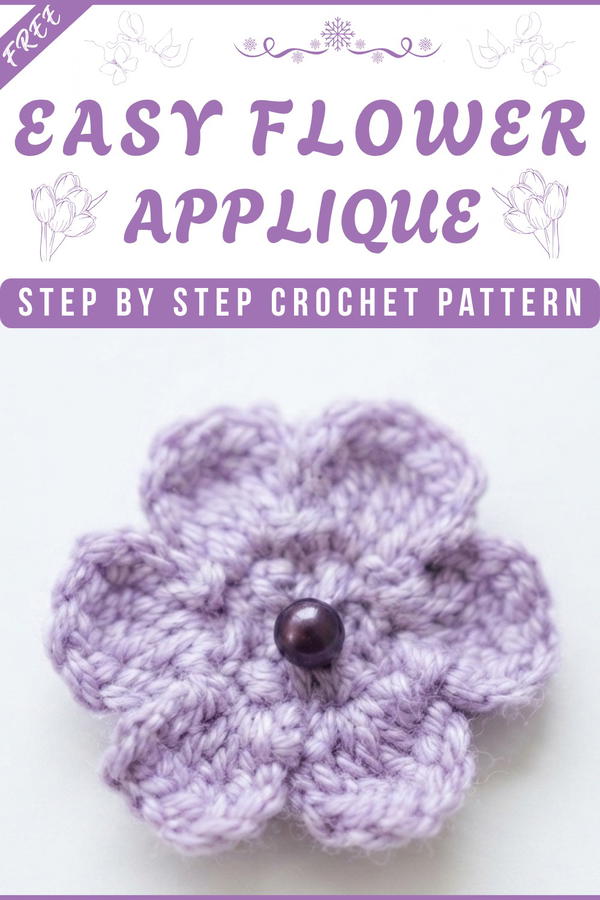
This flower applique features soft, rounded petals with a delicate texture that feels cozy and inviting. Its classic five-petal shape is timeless and adaptable, allowing you to customize the colors to suit your taste or season. The stitches create gentle ridges and curves that give the flower a three-dimensional effect, making it stand out when attached to fabrics. Whether bold and bright or soft and pastel, these flowers add a lovely handcrafted detail to your creations.
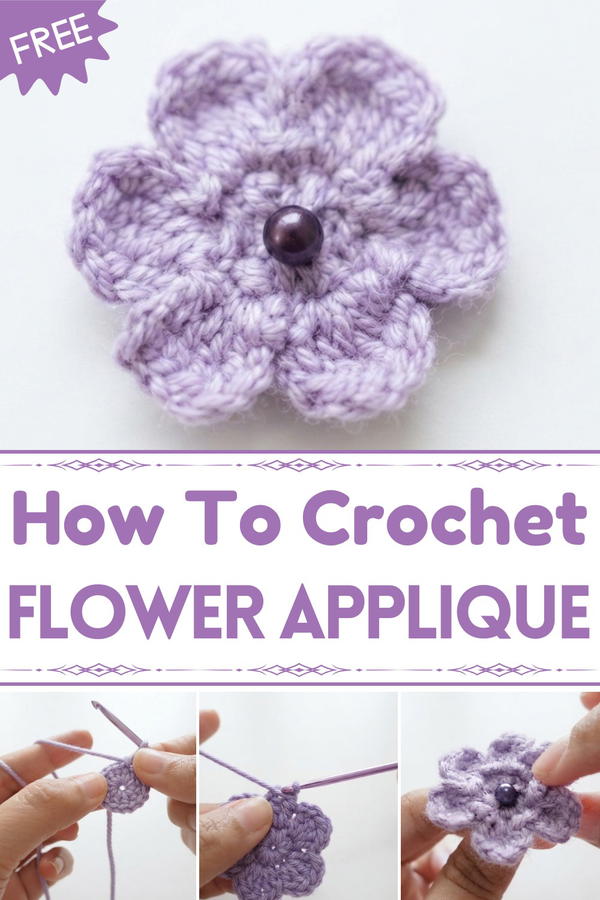
Designed with beginners in mind, this pattern uses basic stitches like chain, single crochet, and double crochet, making it easy to follow even if you’re new to crochet. It also provides great practice for working in rounds and shaping your stitches, skills that are useful in many future projects. Clear instructions guide you step-by-step, helping you complete your flower quickly and confidently.
Crochet flower appliques are fantastic for gifting and decorating. Attach them to accessories, gift wraps, or home items to add sweet, handmade charm. If you want a fast, enjoyable project that brings warmth and style to your world, this Free Crochet Flower Applique Pattern is an excellent choice.
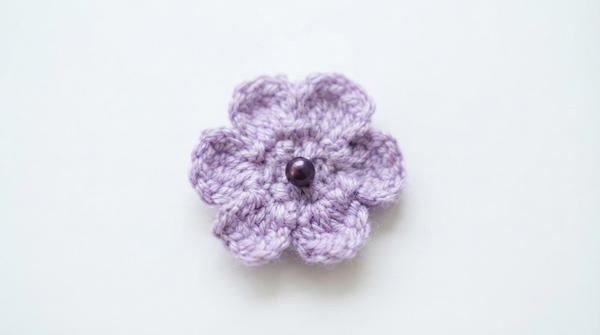
Crochet Flower Pattern
Quick Overview of Pattern
Methodology: Worked in the round starting from a central magic ring.
Structure: Comprised of three distinct rounds, transitioning from a foundation circle to petal formation.
Customization: Includes an optional step to add a decorative bead to the center.
Simplicity: Uses fundamental crochet stitches, making it an ideal "quick-win" project.
Notes
The project begins with a magic ring to ensure a tight, seamless center.
The final appearance can be enhanced by securing a bead, though this remains entirely at your discretion.
Ensure tension remains consistent throughout the process to maintain the symmetry of the petals.
Skill Level
Beginner: Designed for those familiar with basic crochet terminology and stitch execution.
Materials
Yarn: Acrylic yarn in your preferred color.
Hook: 3.0mm crochet hook.
Tools: Scissors and a tapestry needle.
Embellishment (Optional): Decorative beads for the center.
Measurements / Sizing
The resulting flower is a compact, small-scale motif, ideal for applications on headbands, bags, or apparel. Its final size depends on your yarn weight and tension.
Stitch Abbreviations
ch: Chain
sc: Single crochet
dc: Double crochet
sl st: Slip stitch
The Crochet Pattern
Round 1: The Foundation
- To initiate the project, begin by forming a magic ring. This serves as the anchor for your entire floral structure.
- Once the ring is prepared, perform a ch 1. Into the magic ring, you will work 6 sc.
Proceed as follows:
sc into the ring six times sequentially.
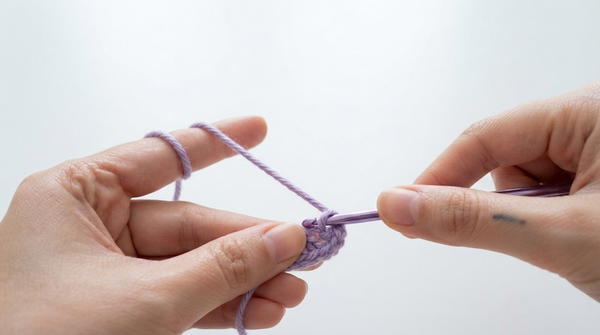
After completing the sixth stitch, gently pull the tail of the yarn to cinch the magic ring, effectively closing the circle.
Complete the round by performing a sl st into the very first stitch of the circle.
Round 2: The Petal Base
This round establishes the foundation upon which your petals will be built.
Begin with a ch 2.
sl st into the next stitch.
Repeat this sequence: ch 2, then sl st into the next stitch.
Continue this pattern around the entire circumference of the circle.
Ensure you complete the final sl st to close the round securely.
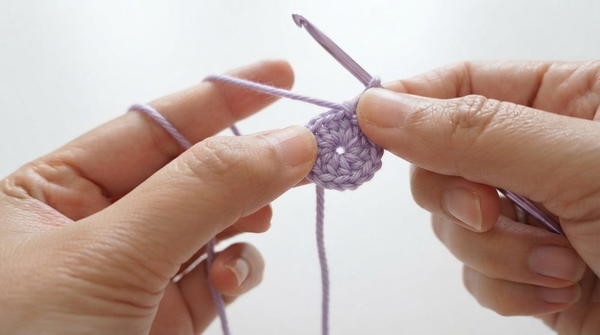
Round 3: Forming the Petals
This is where the structure comes to life. You will be working into the spaces created by the ch 2 loops from the previous round.
Petal 1
Immediately ch 3 to establish the height of the petal.
Work 2 dc directly into the same ch 2 space.
ch 3, then finish the petal by performing a sl st into that same space.
Petal 2
Transition to the second ch 2 space by performing a sl st.
ch 3 to begin the height of the second petal.
Work 2 dc into the center of this second space.
ch 3, and complete the petal by sl st into the same space.
Petal 3
Move to the third ch 2 space with a sl st.
ch 3 to provide the necessary structure for the third petal.
Work 2 dc into this third space.
ch 3, then anchor the petal by sl st back into the same space.
Petal 4
Advance to the fourth ch 2 space and secure it with a sl st.
ch 3 to begin the formation of the fourth petal.
Work 2 dc into the fourth space.
ch 3, and conclude the fourth petal by sl st into the same space.
Petal 5
Navigate to the fifth ch 2 space and perform a sl st to prepare the area.
ch 3 to give the fifth petal its height
Work 2 dc into this fifth space to provide the petal volume.
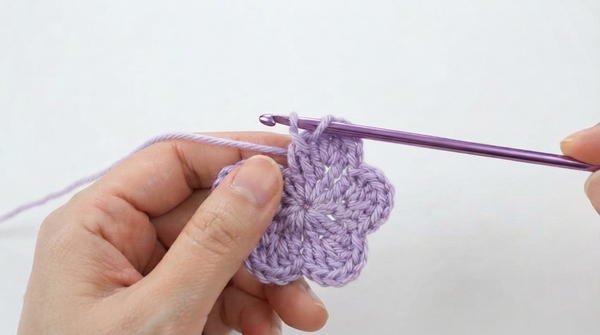
ch 3, then finish the fifth petal by performing a sl st into the same space.
Petal 6
Begin by inserting your hook into the first ch 2 space from the previous round and performing a sl st to join.
Locate the final ch 2 space and perform a sl st.
ch 3 to establish the final petal's dimension.
Work 2 dc into this last remaining space to complete the floral structure.
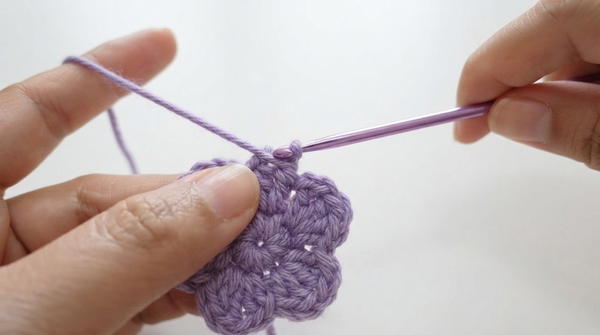
ch 3, and perform the final sl st into the same space to close the loop.
Assembly & Finished Size
- Once all six petals are completed, finalize the work by performing a final sl st in the last stitch to secure the structure.
- Fasten off your yarn, leaving a sufficient tail to weave in the ends using your tapestry needle.
- If you have chosen to include a bead for the center, position it now.
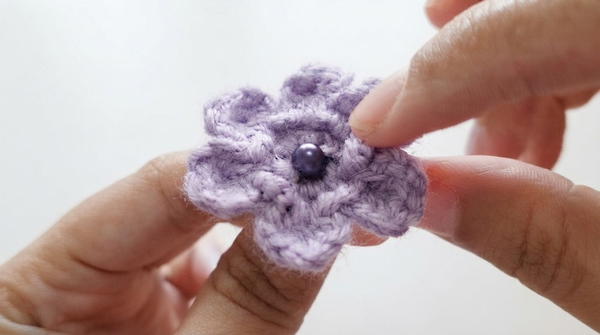
- Turn the flower to the wrong side and insert your hook through the center.
- Feed the bead onto the needle and secure it firmly at the front.
- Finally, tie a secure knot at the back to ensure the bead is locked in place.
- The finished piece will be a charming, petite flower that showcases your neat, consistent stitch work.
Conclusion
You have successfully navigated the steps to construct this elegant crochet accessory. This pattern offers a fantastic way to utilize scrap yarn and practice your petal-shaping skills. We hope you enjoyed this quick project; feel free to experiment with different colors and sizes to create a diverse garden of crochet blooms. If you found this pattern helpful, consider sharing your progress and continuing your creative journey with more exciting designs. Happy hooking!