 Mint Design Blog



Give your storage game a creative upgrade by crocheting oval baskets with this free pattern that combines durability and aesthetic appeal beautifully.
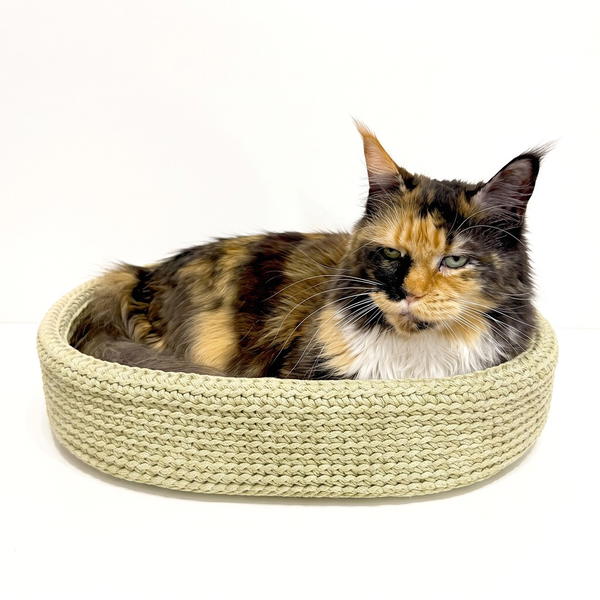
Organizing your space can be both practical and stylish with a charming storage solution that adds a touch of elegance. The Free crochet Oval Basket Pattern from Promlatex. Шнур для вязания. introduces a beautifully shaped basket, perfect for tidying up small items while elevating your room’s décor. This basket, knitted from thick polyester cord, features an oval base measuring approximately 22 by 14 cm and stands about 9 cm tall, making it ideal for storing everything from keys to toiletries.
Stylish Free Crochet Oval Basket Pattern – Perfect Home Decor
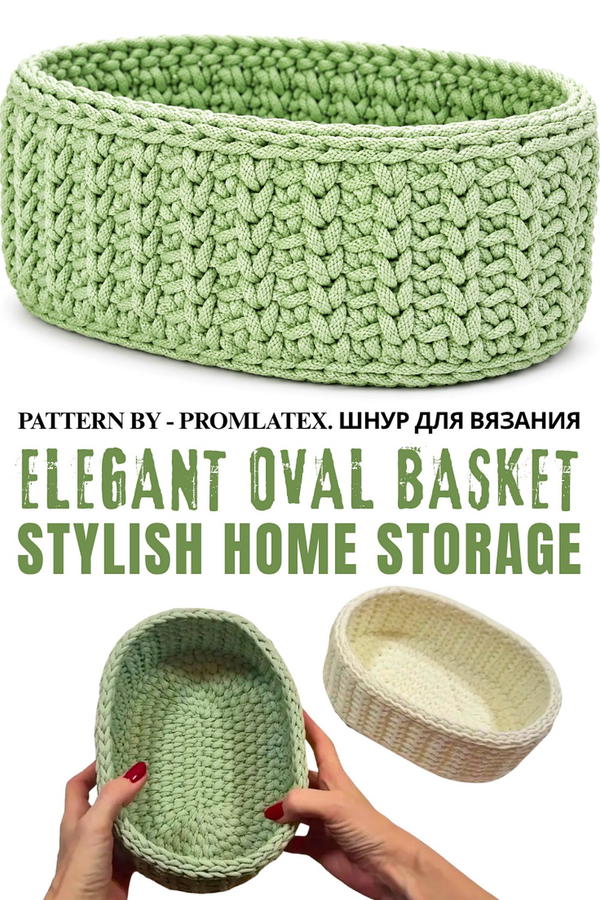
The basket's design captures attention with its unique pattern that resembles English elastic, lending both strength and a delicate texture. The use of a 5 mm polyester cord gives it a firm but flexible structure, ensuring the basket holds its shape while maintaining a soft feel. Its dusty menthol color adds a soothing, modern vibe, making it a tasteful addition to any interior setting.
This project makes a thoughtful gift, combining usefulness and aesthetic appeal that anyone would appreciate. It offers the perfect blend of functionality and decoration, great for organizing spaces elegantly. The video tutorial provides clear guidance on forming smooth stitches, careful increases, and finishing touches, ensuring the basket comes out neat and durable. Bringing together practicality and style, this oval basket stands out as both a lovely home accessory and a versatile storage option.
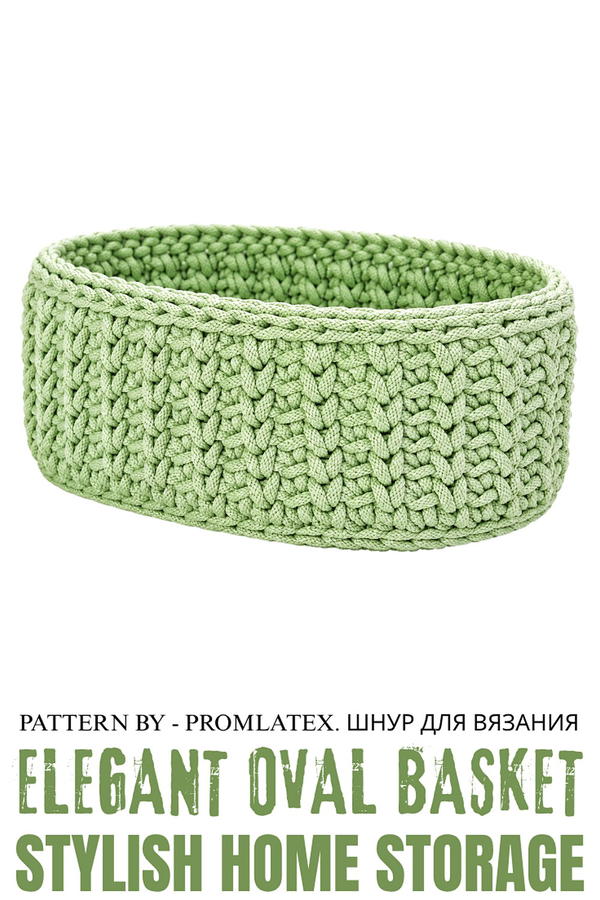
Crochet Oval Interior Basket – Imitation English Rib Pattern
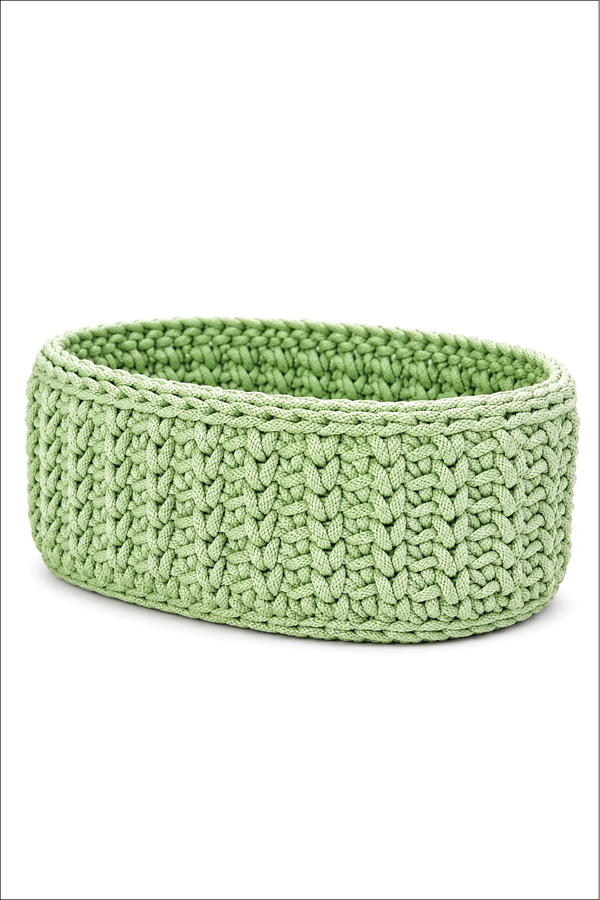
This oval-shaped crocheted basket is an elegant and functional piece for home organization. Featuring a sturdy base and walls patterned with imitation English rib stitches, it’s perfect for storing small items while adding a decorative touch to your space. Constructed from durable polyester cord, the basket holds its shape beautifully yet remains easy to handle.
Skill Level
Intermediate
This pattern requires a basic understanding of single crochet (sc), slip stitches (sl st), working in an oval, handling thicker yarns/cords, and joining rows seamlessly.
Materials
- Yarn/Cord:
- 5 mm polyester cord, approx. 75 m for one basket (dusty menthol color used).
- Flat, springy cord (made with spandex) for slightly flexible yet firm baskets.
- Crochet Hook:
- 5.5 mm crochet hook (recommended).
- Additional Tools:
- Scissors.
- Lighter (to seal cord ends).
- 4 stitch markers.
Stitch Abbreviations
- ch – Chain
- sc – Single Crochet
- sl st – Slip Stitch
(Note: Other techniques used are explained in detail under each round, such as working into the split and back wall.)
Helpful Tips
Cord Characteristics:
Opt for a thick polyester cord (about 5 mm) and ensure it is soft but firm enough to hold its shape. The spandex content in the cord adds springiness, ensuring the basket’s structure remains intact. The cord may stretch and tighten slightly, helping stabilize the shape.
Maintaining Even Tension:
To ensure uniform stitching, keep the cord and hook parallel while crocheting, especially when pulling loops through stitches. Adjust loops so they remain consistent throughout the project, preventing uneven bumps or gaps.
Shape Maintenance:
Steaming the finished bottom helps smooth out unevenness and gives the basket a nice flat base.
Tail Usage for Seamless Joins:
Leave a longer tail (approximately 1–1.5 m) at the start of each main section so that rows can be connected neatly with an invisible loop method.
Pattern Instructions
Basket Dimensions:
- Bottom: ~22 cm × 14 cm
- Height: ~9 cm
Section 1: Oval Bottom Base
The base follows the standard oval pattern, with six increases per round (three increases on each turn).
Foundation Chain:
- Leave a long tail (approximately 1.5 m).
- Work a double chain foundation:
- Hold the tail toward you and the working cord away.
- Insert the hook under the cord, twist it to form a loop.
- Lay the tail over the hook and yarn over with the working cord. Pull through both loops.
- Repeat for a total of 10 loops.
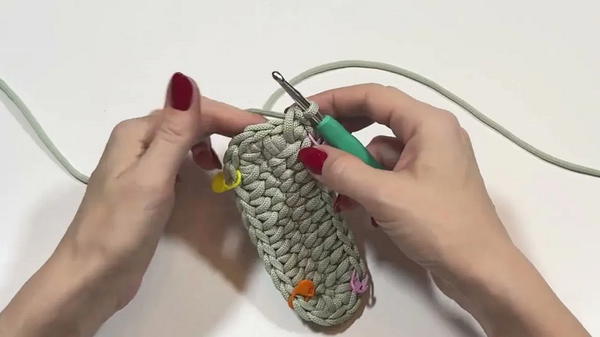
Round 1:
- Work 3 sc into the first chain stitch. Place a marker in the first and third sc.
- Work 8 sc into the back loops of the foundation chain.
- Into the last chain stitch, work 3 sc. Place a marker in the first and third sc.
- Work 8 sc back into the base of the stitches on the opposite side of the foundation chain.
Round 2:
- Work 2 sc into each of the first 3 sc (your first turning section, marked by markers).
- Place markers in the first and third stitches.
- Work 8 sc into the next 8 stitches.
- Work 2 sc into each of the next 3 sc (second turning section).
- Place markers in the first and third stitches.
- Work 8 sc into the stitches opposite the working side to complete the oval.
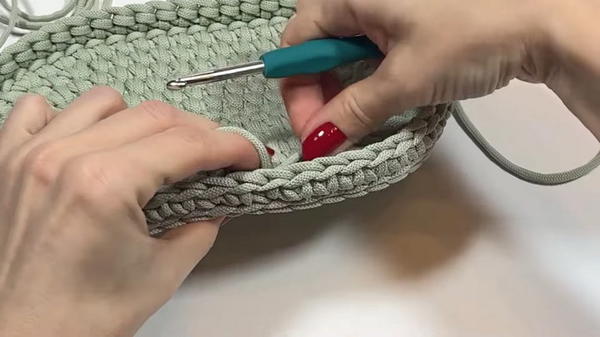
Rounds 3–7:
In each subsequent round, increase the number of single crochet stitches between increases for the turns:
- Round 3: Alternate 1 sc, increase at turns. Add 1 sc prior to increases.
- Round 4: Alternate 2 sc, increase at turns. Add 2 sc prior to increases.
- Round 5: Alternate 3 sc, increase at turns. Add 3 sc prior to increases.
- Round 6: Alternate 4 sc, increase at turns. Add 4 sc prior to increases.
- Round 7: Final round: Alternate 5 sc, increase at turns. Add 5 sc prior to increases.
Ensure your final stitch count before moving to the next phase.
Section 2: Edge Binding for the Base
- After completing the last oval row, turn the basket over to work the edge binding.
- Work slip stitches into the split of each stitch (insert the hook between loop legs and under the back bar).
- Continue slip stitching evenly for a smooth edge of braids around the entire oval base.
Section 3: Raising the Walls
The walls use a textured stitch alternation to mimic an English rib pattern.
- Round 1:
- Attach the working yarn to the back wall of the foundation braid and the back crossbar.
- Work single crochet stitches evenly around the entire basket base.
- Follow the same joining method used in the base: Close the last stitch with the tail and connect seamlessly to the first braid.
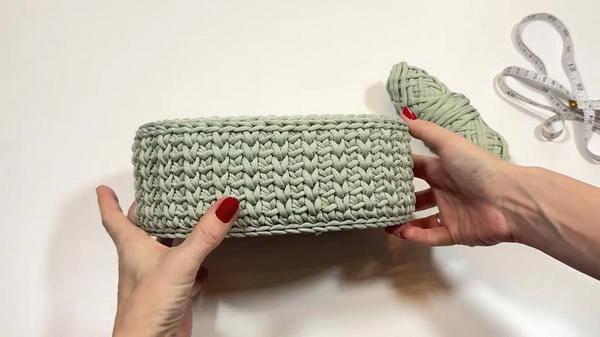
Round 2 – Starting the Pattern
The pattern alternates two stitches to create the textured rib effect:
- Work 1 sc into the top braid and jumper.
- Work the next sc into the split of the stitch (between the legs of the stitch and under the back jumper).
- Alternate “sc into the braid and jumper” and “sc into the split” for the entire round.
- Finish the last stitch with the tail and connect seamlessly to the starting braid as described.
Round 3 and Beyond:
Each subsequent round repeats the alternation, ensuring proper alignment of stitches:
- Stitches worked into the split in the previous row will continue to be worked into splits.
- Stitches worked into the braid and jumper in the previous row will continue to be worked into the braid and jumper.
Repeat alternating rows until the basket walls reach the desired height.
Section 4: Binding the Walls
To add rigidity to the wall edges:
- Use slip stitches worked into the splits of the stitches below.
- Keep tension firm but even.
- Finish the last stitch by trimming the cord, pulling it through, and sealing it with a lighter. Use the tail to create a seamless join.
Conclusion
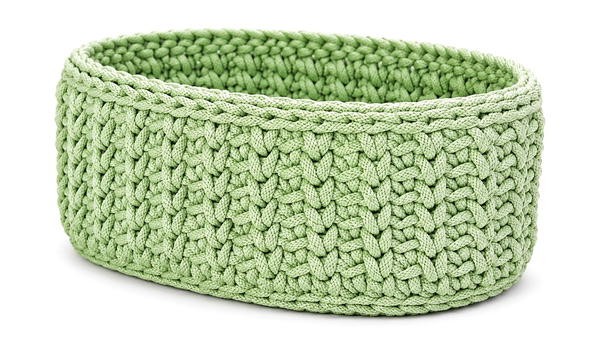
The finished basket measures approximately 22 × 14 × 9 cm, with a final cord consumption of ~75 m. This elegant basket is perfect for organizing personal items while adding a stylish touch to any space. Adjust the size and color to match your needs, and enjoy the versatility of a project that’s both practical and beautiful.