Summer days call for a roomy crochet beach bag that holds all your essentials easily use this free pattern to add style and function to your beach trips.
Looking for a roomy and stylish bag perfect for sunny days out? The Free crochet Large Beach Bag Pattern, featured by the skilled creators at Promlatex. Шнур для вязания., offers an easy way to make a bright, spacious bag that’s both practical and eye-catching. This bag is designed to be large and shapeless, ideal for carrying beach towels, swimsuits, and other essentials with ease.
Free Crochet Large Beach Bag Pattern – Easy & Quick to Make
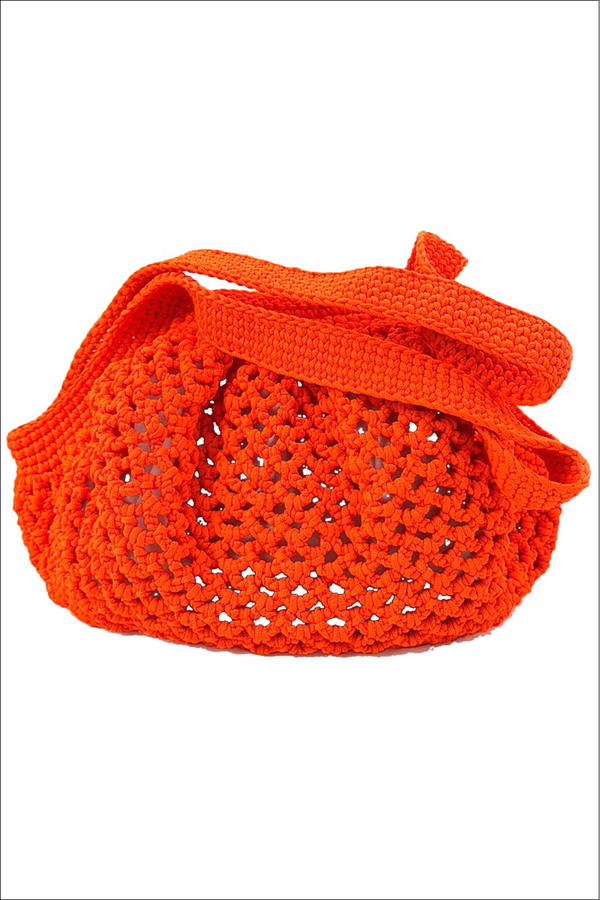
This large beach bag is a wonderful gift idea, combining function and flair. Its soft yet sturdy polyester cord fabric feels gentle to the touch, while the bag’s loose, airy texture keeps it flexible yet durable. The vibrant luminescent orange shade adds a pop of fun, glowing subtly under ultraviolet light for a playful effect.
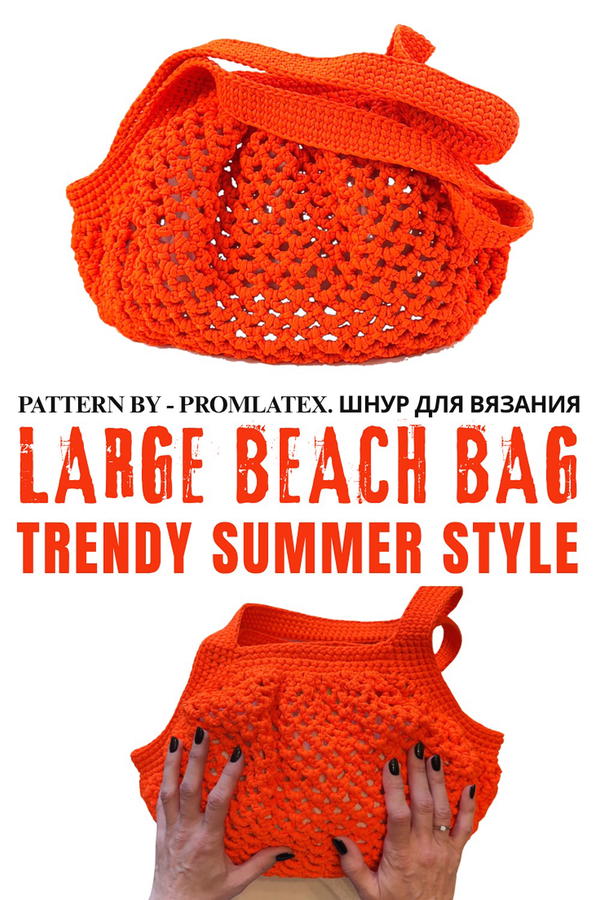
The design stands out with its unique stitched arches that form repeating rows from the base, giving the bag a breezy, open texture and round, roomy shape. The handles are carefully crocheted for strength and comfort, attached seamlessly to the bag's sides. Practical magnetic buttons can be added for closure, and the option to sew in a cloth lining enhances durability and neatness.
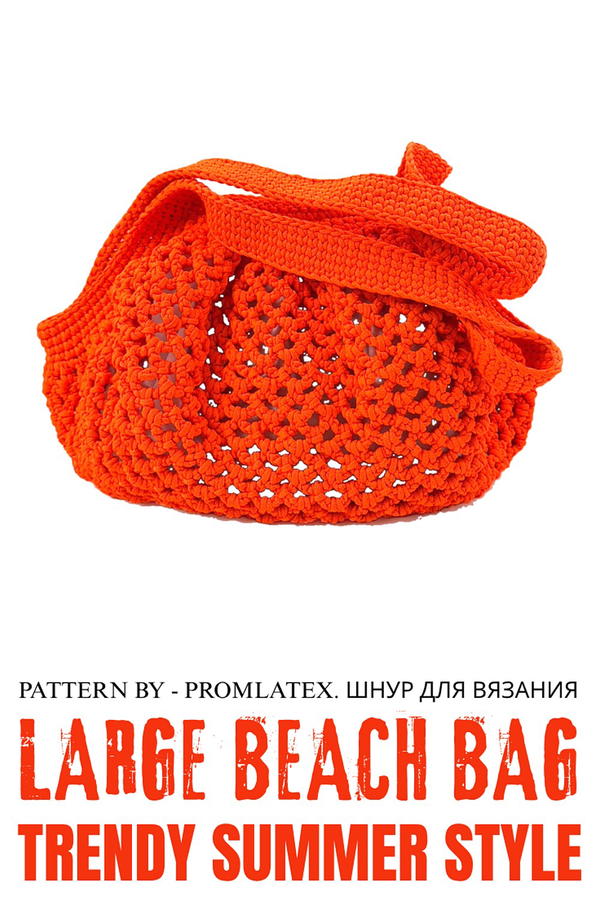
Large Beach Bag (Shopper) Crochet Pattern
Skill Level: Intermediate
This large beach bag (shopper) is designed as a spacious, sturdy accessory suitable for trips to the beach, shopping, or everyday use. The structure is created with a rectangular single crochet base, an airy arch-pattern body, and a reinforced top edge with strong, comfortable handles. The use of polyester cord gives the bag durability, shape retention, and a modern look, while optional lining and magnetic closure allow you to refine the project for added practicality. This pattern focuses on clear construction and clean finishing, making it a satisfying project for crocheters who are familiar with basic stitches and comfortable working with cord.
Materials
- 3 mm polyester cord: 300–350 meters (the original sample uses a luminous orange shade).
- Crochet hook: 3.5 mm.
- Scissors (for cutting the cord).
- Lighter (for melting and securing cord ends).
- Optional:
- Magnetic buttons for closure.
- Lining fabric (rectangular piece sized to fit inside the bag).
- Monofilament thread and sewing needle for attaching the lining.
Stitch Abbreviations (US Terminology)
- ch – Chain
- sc – Single Crochet
- sl st – Slip Stitch
Helpful Tips
- Tension with Polyester Cord: Polyester cord is less elastic than yarn. Work with steady, moderate tension to keep stitches even and prevent hand fatigue. If needed, loosen your grip occasionally.
- Counting Stitches and Arches: The bag relies on consistent stitch and arch counts. Use stitch markers or count regularly to maintain the required 20 stitches and 20 arches per row.
- Back Loop / “In the Split” Technique: For the top rim and handles, working in the back loop or “in the split” (ra-skol) helps create firmer, less stretchy edges that better support weight.
- Handle Length: The pattern uses 70 chains per handle; you may adjust this number depending on whether you want shorter hand-carry handles or longer shoulder straps.
- Heat-Sealing Ends: Always melt cord ends carefully with a lighter and press them into the work while still warm (but not hot enough to damage the stitches) to hide and secure them.
- Optional Lining: A fabric lining prevents items from catching in the arches and adds structure. Use monofilament thread to keep the stitching discreet and strong.
Pattern Instructions
The bag is worked flat for the base, then continues into rows for the openwork body, followed by a solid top edge and integrated handles.
Base
The base forms a firm rectangle that gives stability to the bottom of the shopper.
- Round 1 (Base Foundation):
- Chain 20. This forms the width of the bag at the base.
- Round 2 (Row 1 of Base):
- Turn your work.
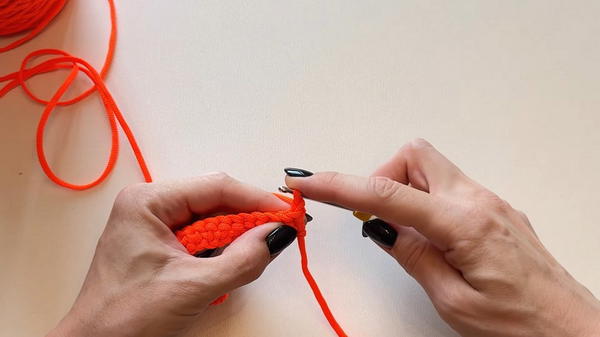
- Work 1 sc into each chain across the row.
- You should have 20 sc.
- Round 3 (Row 2 of Base):
- Turn.
- Work 1 sc in each stitch across (20 sc).
- Round 4 (Row 3 of Base):
- Turn.
- Again, work 1 sc in each stitch (20 sc).
- Round 5 (Row 4 of Base):
- Turn.
- Work 1 sc into each stitch across, keeping the count at 20 sc.
At this point, the base is a firm rectangle worked in 4 rows of single crochet, each row maintaining 20 stitches.
Main Body – Arch Pattern
The main body is formed by rows of arches, giving an airy, lightweight structure while retaining strength.
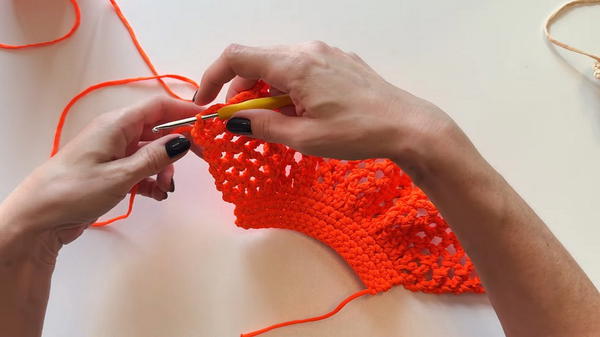
- Round 6 (Row 5 – First Arch Row):
- Starting from the base edge, work along the 20 sc stitches.
- Arch pattern:
- ch 5,
- sl st into the next stitch to attach the arch.
- Repeat the arch pattern across the row to create 20 arches total.
- Rounds 7–70 (Rows 6–69 – Continuing Arch Rows):
- For each subsequent row, maintain the pattern of 20 arches:
- Work ch 5 for each arch.
- Secure each arch with sl st into the next stitch or designated point along the row.
- Ensure that the arches are aligned vertically to create a uniform mesh-like structure.
- Continue working this arch pattern until you complete Row 69, with each row containing 20 arches.
- For each subsequent row, maintain the pattern of 20 arches:
The body will grow in height and form the main openwork section of the bag.
Top Edge
Once the arch section is completed, the top edge closes the arches and reintroduces a solid fabric for stability and for attaching the handles.
- Round 71 (Row 70 – Closing Arches):
- Work 1 sc into each arch across the row.
- Insert the hook into the top of each arch (where the chains form the loop) and work a firm sc.
- At the end of the row, you should have 20 sc across, effectively transforming the arches into a solid row.
- Work 1 sc into each arch across the row.
- Round 72 (Row 71 – First Solid Top Row):
- Turn.
- Work 1 sc in each stitch across (20 sc). Maintain even tension.
- Round 73 (Row 72 – Second Solid Top Row):
- Turn.
- Work 1 sc in each stitch across (20 sc).
- Round 74 (Row 73 – Third Solid Top Row):
- Turn.
- Work 1 sc in each stitch across (20 sc).
- Round 75 (Row 74 – Fourth Solid Top Row):
- Turn.
- Work 1 sc in each stitch across (20 sc).
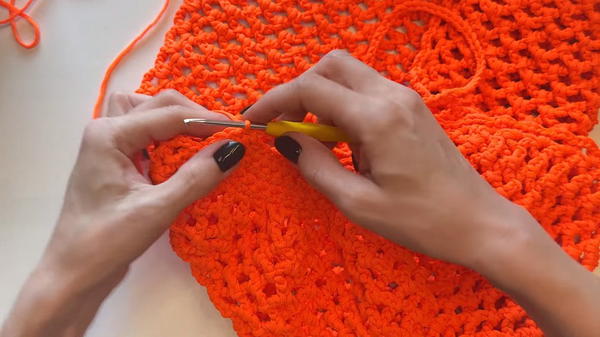
By the end of these four rows, the top edge mirrors the solidity of the base, preparing a firm foundation for the handle construction and edging.
Handle Construction
Handles are crocheted as long chains attached to the sides, then reinforced with rows of single crochet for strength.
- Round 76 – Side Binding and Spacing:
- Bind off the sides of the bag using sc stitches along the side edges.
- As you move along the edges where the arches meet, ch 3 between arches to create a tidy and consistent side spacing.
- Round 77 – First Handle Setup:
- On one long side of the top edge, identify the positions where the handles will be attached (typically near the corners or slightly inset).
- At the first handle location, ch 70 to form the first handle.
- Attach the end of this chain to the corresponding point on the same side using sl st or sc, depending on preferred firmness.
- Round 78 – Second Handle Setup:
- Repeat the same method on the opposite long side of the bag:
- ch 70 for the second handle.
- Attach it symmetrically to mirror the first handle.
- Repeat the same method on the opposite long side of the bag:
- Rounds 79–81 – Reinforcing Top Edge and Handles:
- Work rows of sc around the entire top rim and along both handles.
- For added strength, use the back loop or in the split (ra-skol) technique as you crochet: insert the hook under the split of the stitch or in the back loop only to tighten and reinforce the structure.
- Ensure multiple passes along each handle so they are thick and comfortable to hold.
Finishing
Final finishing includes decorative trimming, securing ends, and optional lining and closure.
- Rounds 82–86 – Edge Trimming:
- Work a total of 5 rows of trim around the top rim and possibly along the handle edges:
- At least the first few rows should be sc, maintaining even stitches.
- The last trim row can be a decorative variation (for example, a tighter sc or subtle pattern) while staying within the transcription’s scope of stitches.
- At least the first few rows should be sc, maintaining even stitches.
- Work a total of 5 rows of trim around the top rim and possibly along the handle edges:
- Securing and Hiding Ends:
- Cut all excess cord, leaving small tails.
- Use a lighter to gently melt the cord ends.
- While still slightly soft, press the ends into the nearby stitches to hide and secure them.
- If necessary, weave the ends through a few stitches before sealing for added security.
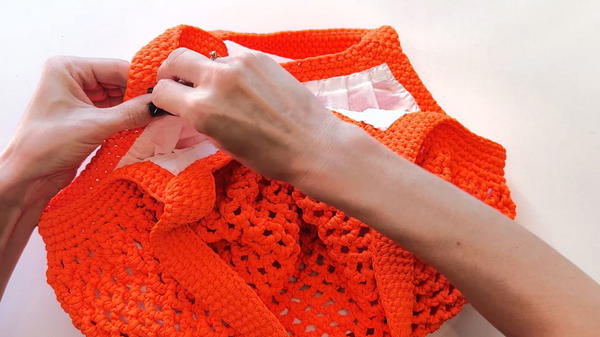
- Optional Lining and Closure:
- Cut a rectangular fabric piece to fit snugly inside the bag, with a slight allowance for seam.
- Using monofilament thread, hand-sew the lining to the inner edge of the top rim and down the sides as needed.
- Attach magnetic buttons at the corners or center of the top opening for a convenient closure.
Conclusion
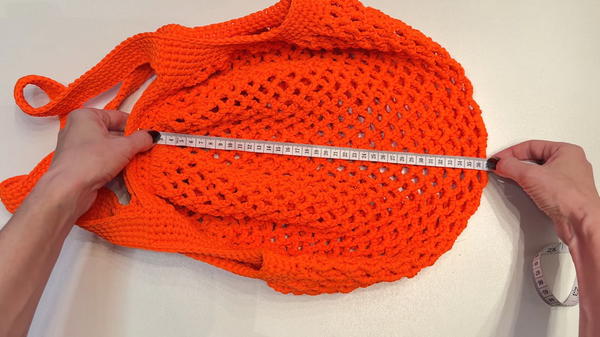
This large beach bag (shopper) combines an airy, decorative body with a solid base and reinforced handles, resulting in a practical accessory suitable for carrying towels, books, groceries, and more. The polyester cord provides resilience and modern style, while the structured base and firm top edge ensure the bag retains its shape. With optional lining and magnetic closure, the design can be tailored further to suit individual needs and preferences. This project offers a balanced mix of straightforward stitches and thoughtful construction techniques, making it a rewarding addition to any crocheter’s collection.