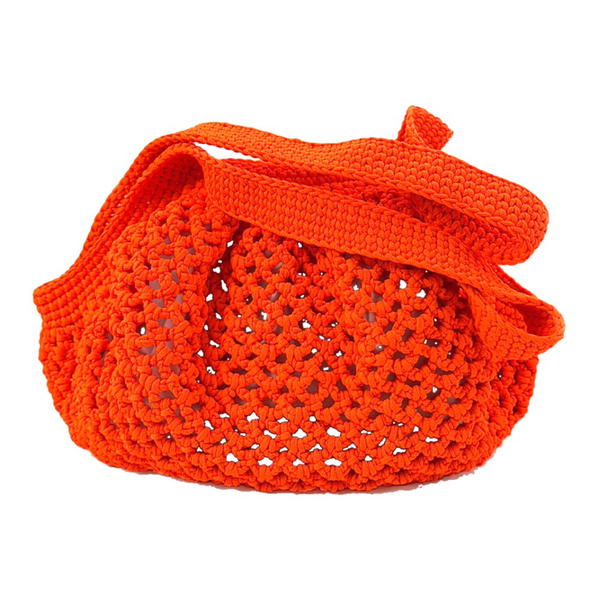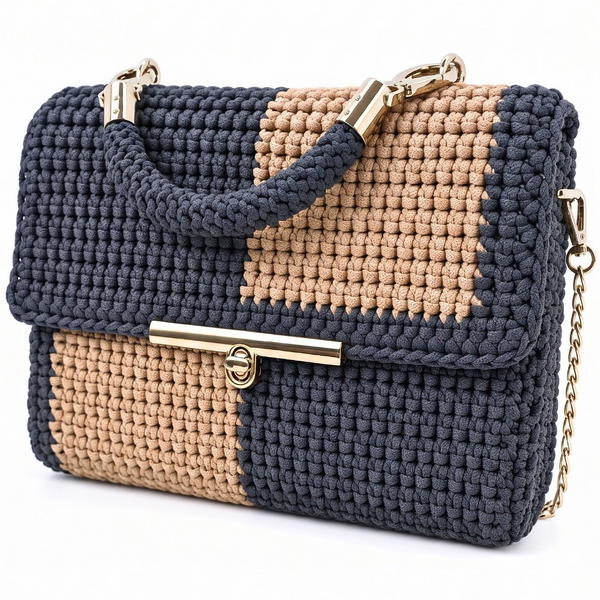
Personalize your look with a handmade cord bag through a free crochet pattern that’s simple and offers a sturdy hold for your essentials.
Adding a lovely and practical accessory to your wardrobe can be both fun and rewarding. The Free crochet Cord Bag Pattern offers an easy way to create a small textured bag that holds its shape beautifully. Thanks to the detailed and beginner-friendly guidance by Promlatex. Шнур для вязания., this project is accessible for anyone wanting to make a unique and durable bag.
Free Crochet Cord Bag Pattern for Trendy Handmade Accessories
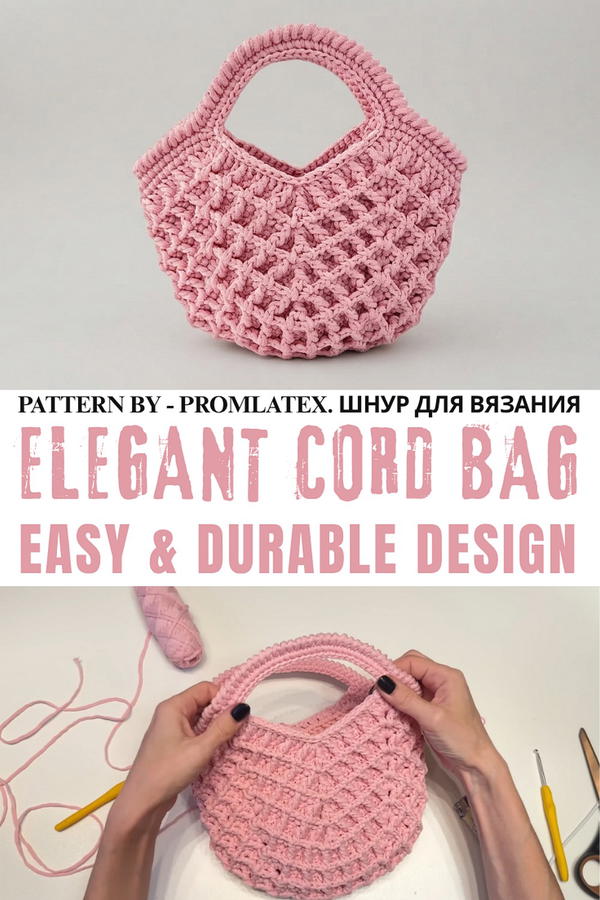
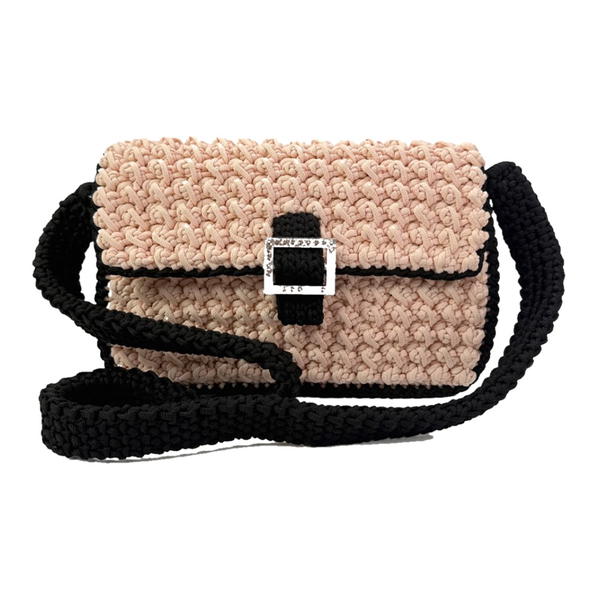
This cord bag is perfect for gifting due to its charming size and delicate colors. It works wonderfully as a stylish pouch for small essentials or a decorative piece for your space. Made from sturdy polyester cord, the bag is tough yet soft to the touch, giving a pleasant texture that stands out. The knitting starts from a central square base and gradually builds up, creating a neat structure with clear stitch patterns.
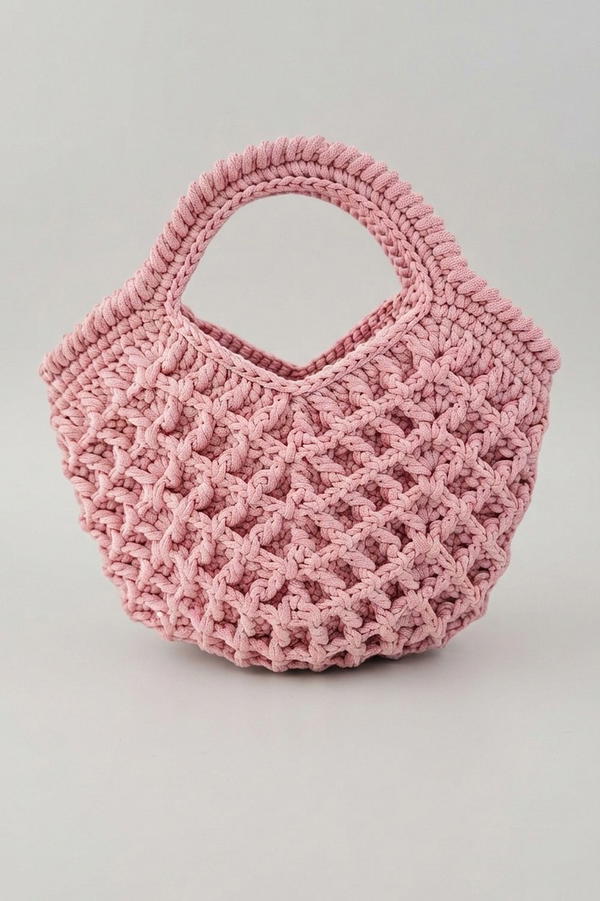
The beauty of this bag lies in its square shape with well-defined corners and a subtly raised pattern created by alternating front posts and double crochets. The handles are carefully attached, matching the bag’s elegant look and ensuring comfortable carrying. Its solid yet soft fabric is both attractive and practical for everyday use.
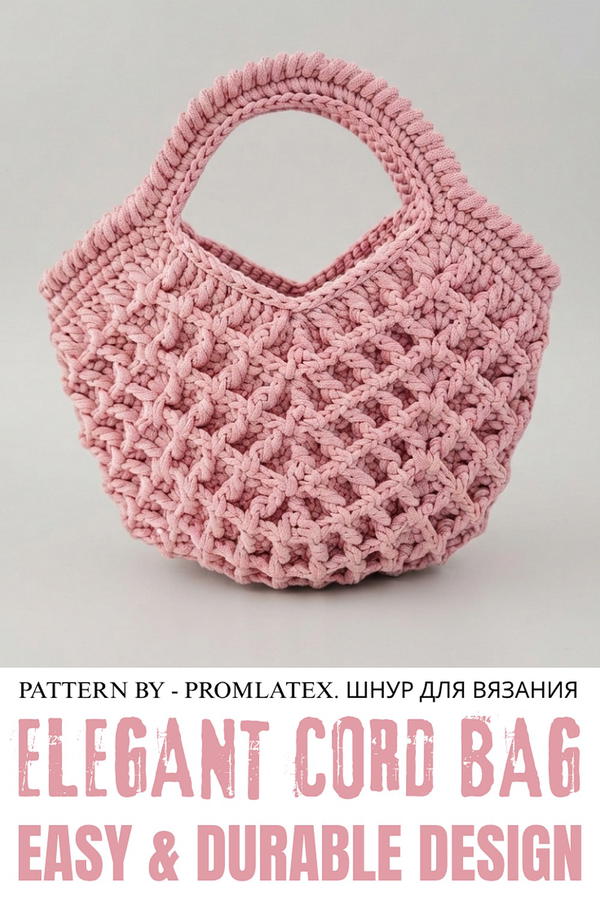
Textured "Baby" Bag Crochet Pattern
Skill Level: Intermediate
The textured "Baby" Bag is a charming and functional project perfect for carrying your essentials or gifting to loved ones. This design incorporates various stitch techniques, creating a nicely textured fabric with defined corners and a sturdy structure. Featuring a square base that transitions smoothly into the walls, the bag’s finishing touches include well-shaped handles and decorative edging for a polished look. Made with durable polyester cord, the bag is both practical and aesthetically appealing.
Materials
- Yarn: Polyester cord, 3 mm thick (approximately 180 meters).
- Crochet Hook: 3.5 mm crochet hook.
- Notions:
- Scissors (for trimming cord).
- Lighter (for heat-sealing and securing cord ends).
- Stitch marker (optional, for keeping track of starting points).
Stitch Abbreviations
(US Terminology)
- ch – Chain
- sc – Single Crochet
- dc – Double Crochet
- fpdc – Front Post Double Crochet
- sl st – Slip Stitch
Helpful Tips
- Handle Material Properly: Polyester cord can be stiff, so keep a consistent tension to ensure uniform stitches. Taking regular breaks will help prevent hand fatigue.
- Defined Corners: The corners of the bag are shaped with precise increases, so be sure to follow the instructions for the chain spaces and corner stitches carefully.
- Crab Stitch Finish: The reverse single crochet (crab stitch) gives the bag a decorative edge. Take it slow when working this round to maintain smooth stitching along the handles and rim.
- Neat Endings: When trimming the cord, use a lighter to carefully seal the ends to prevent fraying. Press the melted tips gently into your work for a concealed finish.
- Adjustable Size: To modify the size of the bag, add or reduce the number of foundation stitches and rows, keeping the same stitch pattern sequence.
Pattern Instructions
The bag is constructed in several sections: the base, walls, rim, handles, and final decorative edging. Follow each outlined step to create your textured bag.
Foundation and Base
Round 1: Create Ring and Start Foundation
- Begin with a ring: Create a magic ring by wrapping the cord around your fingers and pulling through a loop. Tighten to secure.
- Inside the ring:
- Chain 1 (counts as your first single crochet).
- Work 1 single crochet and 1 chain into the ring (marks the first double crochet slot).
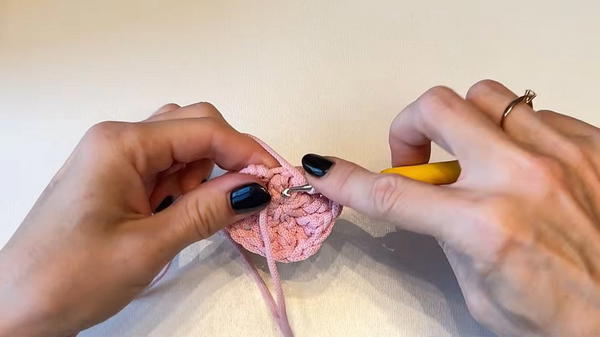
- Work 3 pairs of 2 dc stitches separated by 1 chain into the ring. These form the 4 corners of the square base.
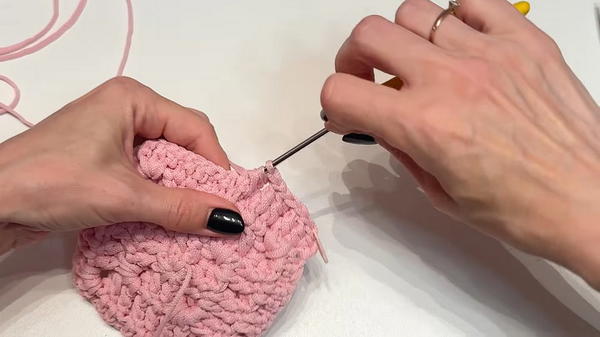
- Tighten the magic ring to close the center.
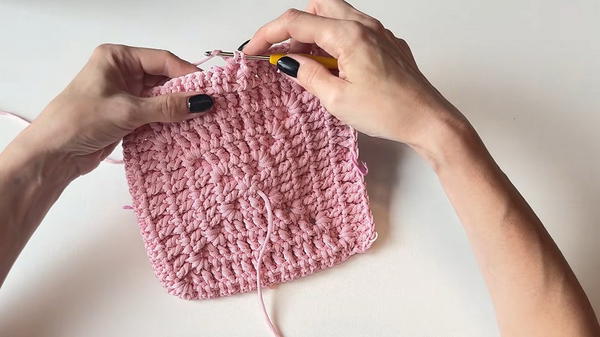
- Join the last stitch to the first with a seamless join, ensuring the center is hole-free.
Walls
Round 2: Transition to Walls and Build Structure
- Chain 1 and turn your work.
- Into the corner gaps:
- Work 1 sc, 1 chain (this chain marks the gap).
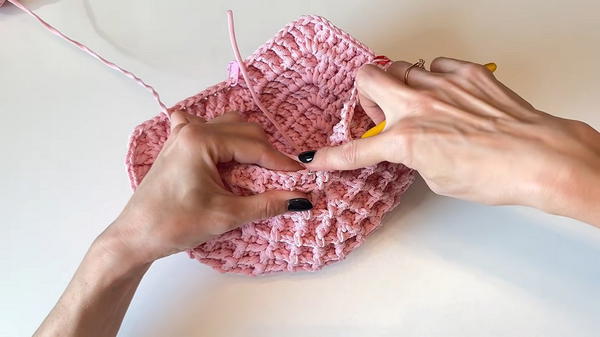
- Work fpdc around the posts of the stitches from Round 1. This creates the texture and structure for the walls.
- At each corner: Work 1 dc, 1 chain, 1 dc into the chain space to maintain the corners. Continue this pattern and join the round with a slip stitch.
Row Building
Rounds 3–17: Alternating Stitch Textures
- Follow the established pattern of alternating between fpdc for the “long” stitches and dc worked under the braids for the “short” stitches. This stitch alternation creates the unique texture of the bag.
- In every corner space, continue working 2 dc stitches separated by 1 chain.
- Starting from Row 9, introduce decreases in specific rows:
- Work “splits” to shape the bag and tighten the gaps between corners. Reduce the number of stitches strategically to create a more closed, seamless structure as you approach the top of the bag.
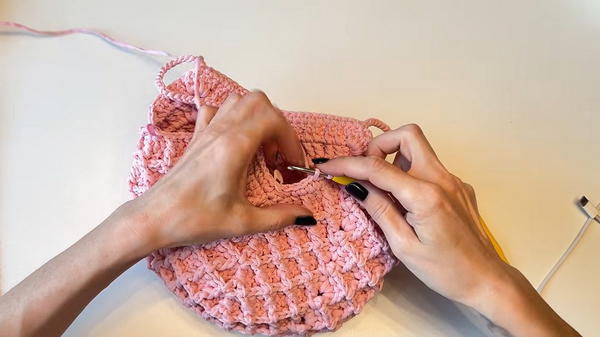
- Work “splits” to shape the bag and tighten the gaps between corners. Reduce the number of stitches strategically to create a more closed, seamless structure as you approach the top of the bag.
Bag Rim and Handles
Rows 18–19: Adding the Rim and Create Handles
- After completing Row 17, transition to work the top edging of the bag. Crochet a round of sc stitches along the entire top edge.
- At each corner of the bag:
- Chain 30 stitches to form the handle. Connect the chain to the opposite corner of the same side using a slip stitch.
- Repeat this for all four corners so the bag has two parallel handles.
Decorative Edging
Final Round: Polish with Crab Stitch
- After completing the handles, work a final round of sc stitches around the edge to reinforce the structure.
- Follow this with a round of crab stitches (reverse sc).
- Work into the edge and handles, moving left to right to create a twisted, decorative finish.
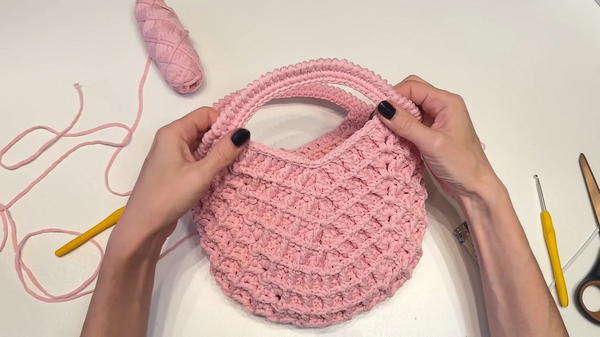
- Work into the edge and handles, moving left to right to create a twisted, decorative finish.
Edge Clean-Up
Tidy the Interior and Secure Ends
- Use sl st to smooth and clean the interior edges of the bag, especially near the handles.
- Weave in any loose ends using smaller hooks or a needle.
- Trim excess cord and seal it carefully with a lighter. Press the melted end into the work to hide it.
Conclusion
This textured "Baby" Bag is not only visually appealing but also highly functional. With its durable polyester cord construction, tidy finishing techniques, and versatile design, this bag is perfectly suited for a variety of uses. Adjust the size, color, or embellishments to personalize your bag and match your unique style. This intermediate-level project allows crocheters to hone their skills with textured stitches while creating a practical and attractive accessory.