Wrap yourself in comfort and style with this free crochet scarf pattern that provides easy instructions to create a cozy accessory for any occasion.
Winter weather calls for accessories that keep you warm without sacrificing your personal style. Utilizing this Free Crochet SCARF pattern provides a simple way to stay cozy during chilly mornings or brisk autumn walks. It fits comfortably around your neck, offering a soft barrier against the cold while remaining light enough for all-day wear. This piece serves as a reliable layer for outdoor outings, ensuring you maintain a comfortable temperature when the air turns sharp.
Free Crochet Scarf Pattern – Unique Textured Design
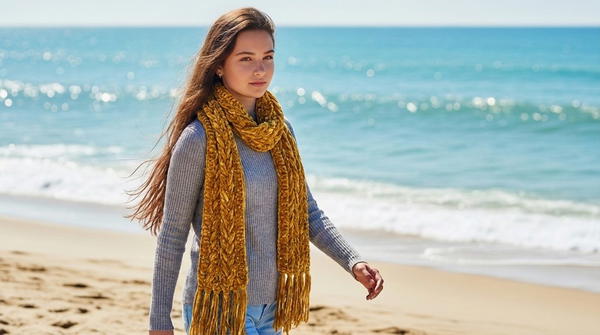
Its classic look allows it to work well with almost anything in your closet. You can pair it with a heavy wool coat for a traditional winter outfit or wear it over a fitted sweater to add a touch of texture to your daily clothes. This accessory acts as a versatile staple, making it easy to finish any outfit before heading out the door. Whether you are running quick errands or attending an outdoor event, this design remains a go-to choice for protection against the elements.
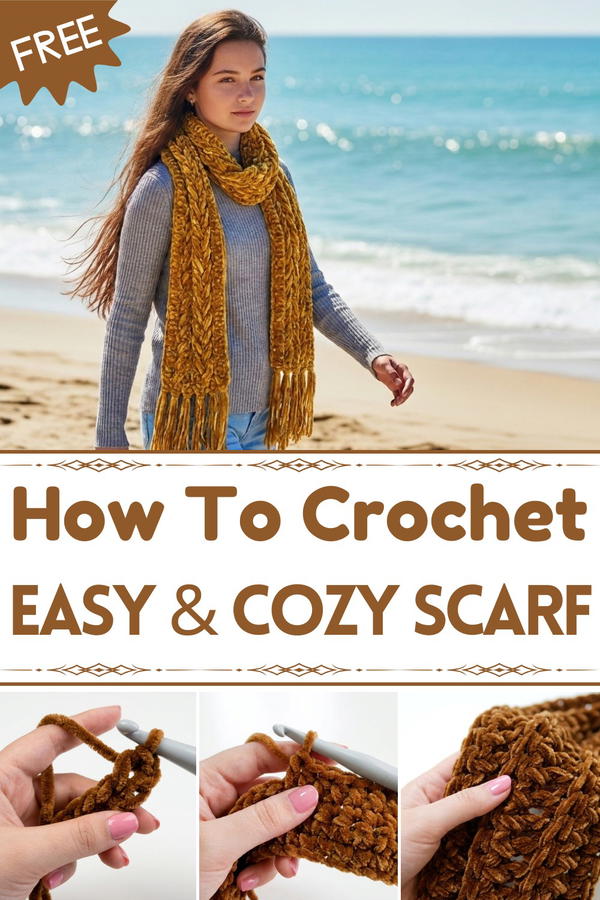
The fabric feels dense yet soft, offering a consistent texture throughout the entire length. Its construction relies on a repeating row method that builds structured, horizontal lines, which provides both durability and a bit of stretch. These features help the piece hold its shape even after regular use. Adding tassels at the ends finishes the look with a balanced, classic touch. For those interested in the full details, please read the complete crochet pattern to see the full assembly process for this project.
About Yarn!
100% wool yarn is a natural fiber prized for its exceptional warmth, softness, and durability. Sourced from sheep, it provides excellent insulation while remaining breathable, making it ideal for cozy winter garments and accessories. Wool yarn also has natural elasticity and resilience, which helps maintain the shape of your crochet or knit projects over time. Its moisture-wicking properties keep you comfortable in varying temperatures, and it’s a favorite choice for crafters seeking a luxurious, eco-friendly material.
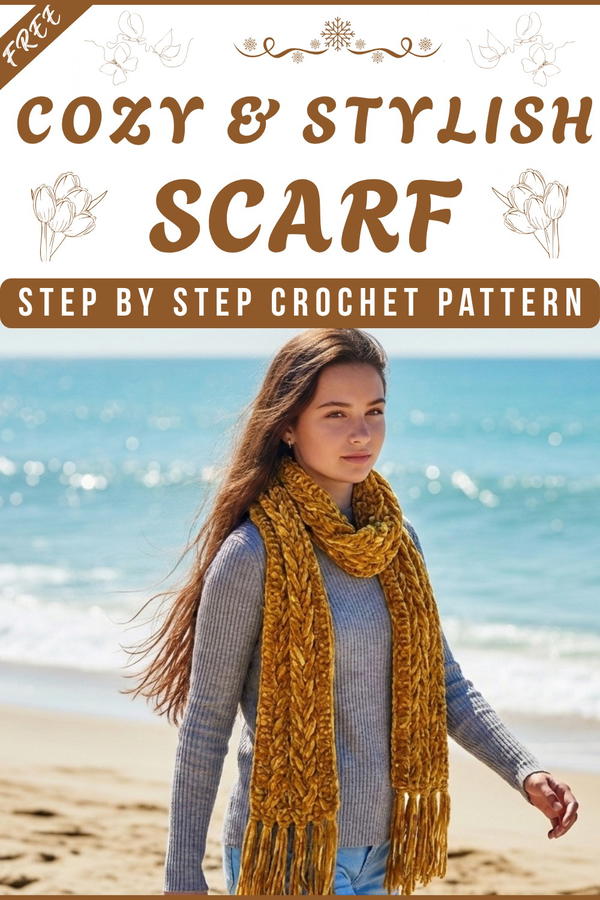
Chunky Crochet Scarf with Tassels Pattern
In today’s pattern, we’ll be making a trendy, super-chunky crochet scarf with eye-catching tassels on each edge. This pattern is specifically designed for those who want a bold and cozy accessory, featuring simple stitches and an extra-thick fabric achieved by holding multiple yarn strands together. If you want to learn how to create this statement piece, follow each step closely—let’s get started!
Quick Overview Of Pattern
- Work a long scarf using single crochet in back loop only for maximum texture.
- Use three strands of yarn together if you don’t have chunky yarn.
- Crochet a wide, thick scarf by making a long starting chain and working short rows.
- Add thick, dramatic tassels to both ends for a playful finish.
- All rows and stitches are carefully counted for consistency.
Notes
- The pattern uses three strands of standard yarn held together to mimic chunky or jumbo yarn. If you have chunky yarn, you may use it instead.
- All crochet stitches are in single crochet, but only the back loop is used for the body.
- Making a slip knot and weaving in the yarn tails are essential for neatness and professional finishing.
- Tassels are optional but add a decorative final touch.
Skill Level
Beginner
This pattern uses basic stitches and repetitive rows, making it ideal for beginners or anyone seeking a relaxing, straightforward project.
Materials
- 100% wool yarn (or any yarn of your choice)
- Crochet hook: 20 mm
- Scissors
Note: If you do not have chunky yarn, hold three strands of regular yarn together to achieve the thickness.
Measurements / Sizing
- Length: Approximately as long as the starting chain (101 chains = rough estimate: 2–2.5 meters / 79–98 inches, can vary with tension).
- Width: Determined by the number of rows (10 rows), resulting in a thick, blanket-like appearance.
- Tassels: Length and thickness are customizable.
Gauge
Because of the chunky nature and casual look, gauge is not crucial, but approximate gauge is:
- 4 stitches and 4 rows = 10 cm (4 in) worked with three strands and a 20 mm hook in single crochet back loop only.
Stitch Abbreviations
- ch – chain
- sc – single crochet
- st(s) – stitch(es)
- blo – back loop only
Special Stitches
Single Crochet in Back Loop Only (sc blo):
Insert the hook into the back loop (the furthest loop from you) of the stitch, yarn over and complete the single crochet as normal. This technique adds stretch and a distinct ridged texture to the scarf.
The Crochet Pattern!
Step 1: Prepare Your Yarn
- If you don’t have super chunky yarn, hold three strands together for the entire project to achieve the right thickness and loft.
Step 2: Make the Foundation Chain
- Make a slip knot and place it on your 20 mm crochet hook.
- Chain 101.
- (Tip: Count slowly to ensure accuracy; your chain should be long and relaxed to avoid puckering.)
Step 3: Row 1
- Turn your work, so you can see the “bumps” (back humps) on the chain.
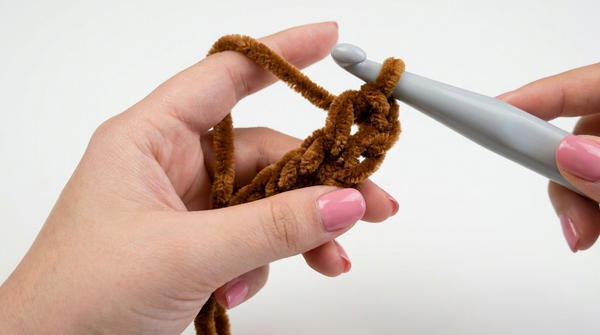
- Starting from the second chain from the hook, make 1 single crochet (sc).
- Continue making 1 sc in each chain across the row.
- At the end of Row 1, you should have exactly 100 sc.
- (Make sure to count and verify.)
Step 4: Row 2
- Chain 1, turn your work.
- Working in the back loop only (blo), make 1 sc blo in each stitch across.
- At the end of the row, you will again have 100 sc.
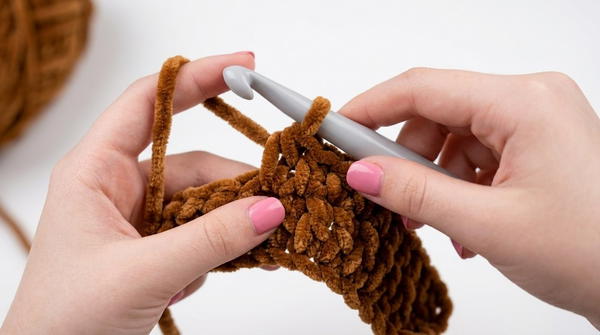
Step 5: Rows 3–10
- Repeat step 4: At the start of each row, ch 1, turn, then make 1 sc in the back loop only of each stitch across the row.
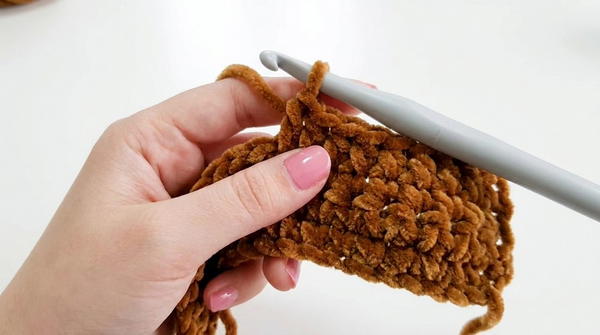
- Continue until you have a total of 10 rows of single crochet back loop only, each row having exactly 100 sc.
- Always remember to chain 1 at the start of every row.
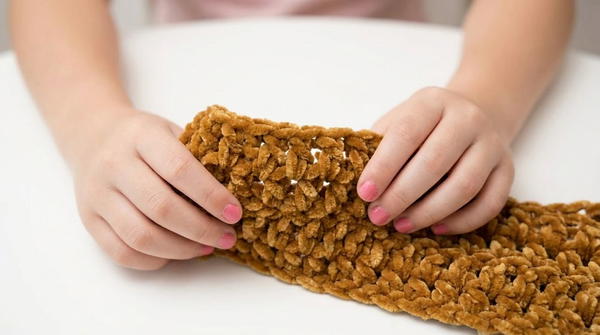
- Always remember to chain 1 at the start of every row.
Step 6: Finishing the Main Piece
- At the end of Row 10, chain 1 and fasten off, leaving a tail for weaving in.
- Use the tapestry needle (or your hook, if you prefer) to weave in the tail securely into the edge stitches for a neat finish.
Assembly & Tassel Instructions
Step 7: Prepare the Yarn for Tassels
- Cut several lengths of yarn (exact length is your choice; consider 20–25 cm / 8–10 inches per strand for generous tassels).
- Combine three yarn strands per tassel to match the body’s thickness.
Step 8: Attach Tassels
- Fold each group of three strands in half to make a loop.
- Insert your hook into the edge space at the end of a row on the short side of the scarf.
- Pull the folded loop through to make a small opening, then bring the ends through the loop, forming a secure tassel.
- Repeat: Continue adding tassels in every edge stitch (or in every space you choose) along both short ends of the scarf.
- Make sure to add tassels evenly on both sides for a balanced look.
Step 9: Trim and Fluff
- Once all tassels are attached, lay the scarf flat and trim tassel ends to be even and neat.
- Fluff the tassels with your fingers for volume.
Finished Size & Assembly Review
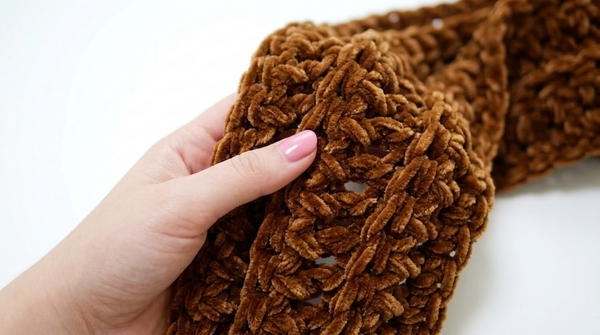
- After assembly, your scarf should be wide, cozy, and beautifully textured, with thick, playful tassels at both short edges.
- Dimensions will depend on your tension and yarn, but expect a statement piece that comfortably wraps or drapes.
Conclusion and Ending Words
Congratulations, your super chunky crochet scarf with tassels is finished! This piece combines maximum warmth, style, and texture—perfect for cold weather or as a standout gift. The pattern’s simplicity makes it accessible for beginners, while the bold, modern result will impress seasoned crocheters alike. Try different color combinations and tassel lengths for unique variations.