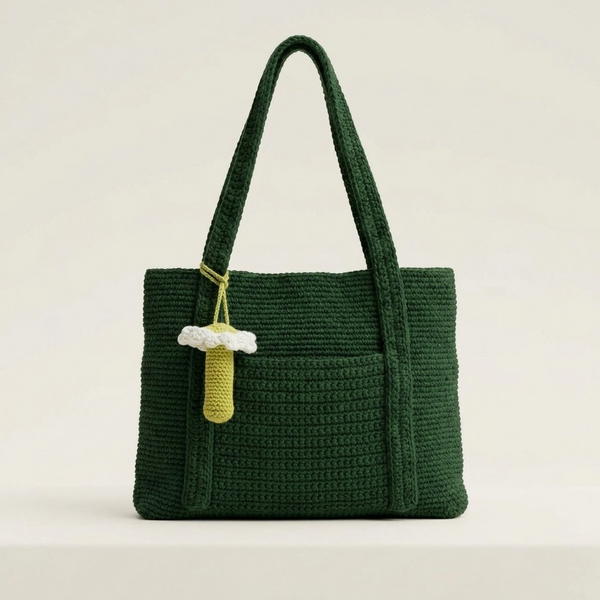
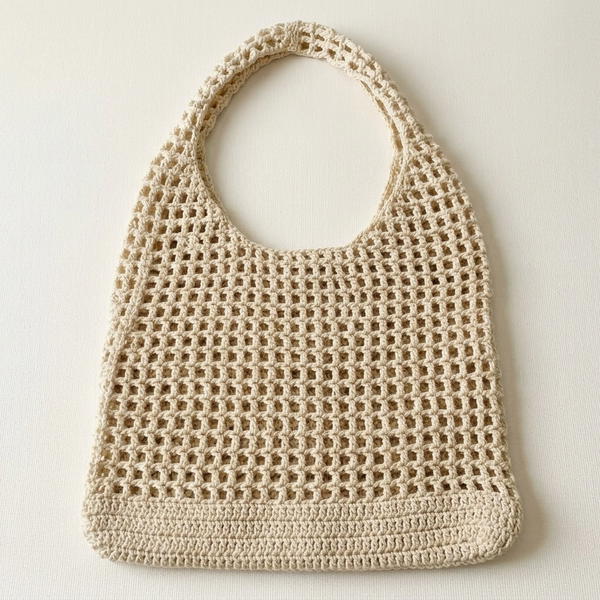
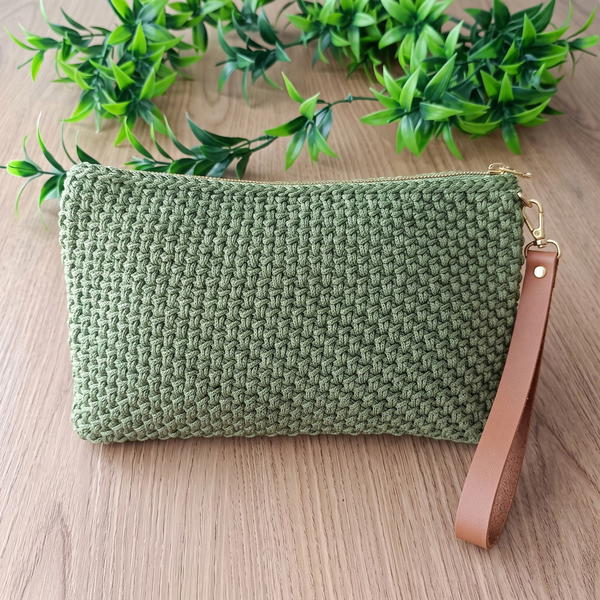
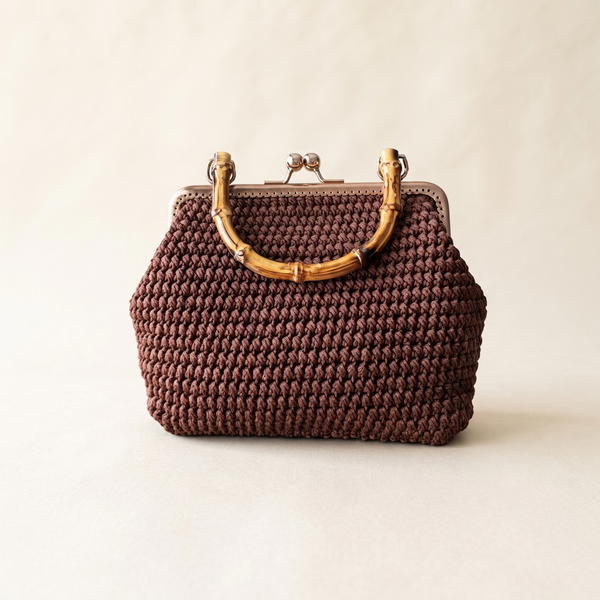
Surprise yourself with how simple it is to stitch a functional and fashionable tote bag using this free crochet design for beginners and experts alike.
U R Unik offers a wonderful chance to create a beautiful and practical accessory that many will admire. Making this tote bag with a charming bow detail brings joy and style together in one project. Using simple materials like ribbon yarn and a sturdy wooden base, this easy-to-follow pattern is perfect for crocheters of all levels.
Quick Free Crochet Tote Bag Pattern with Big Bow Design
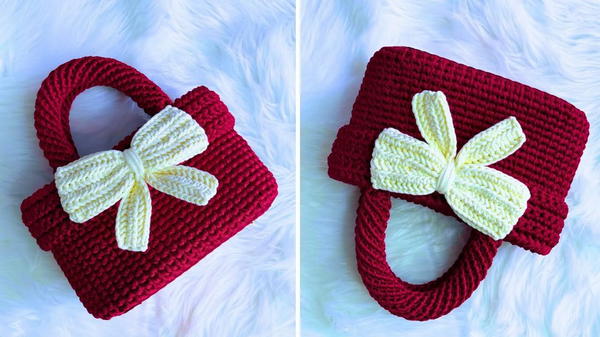
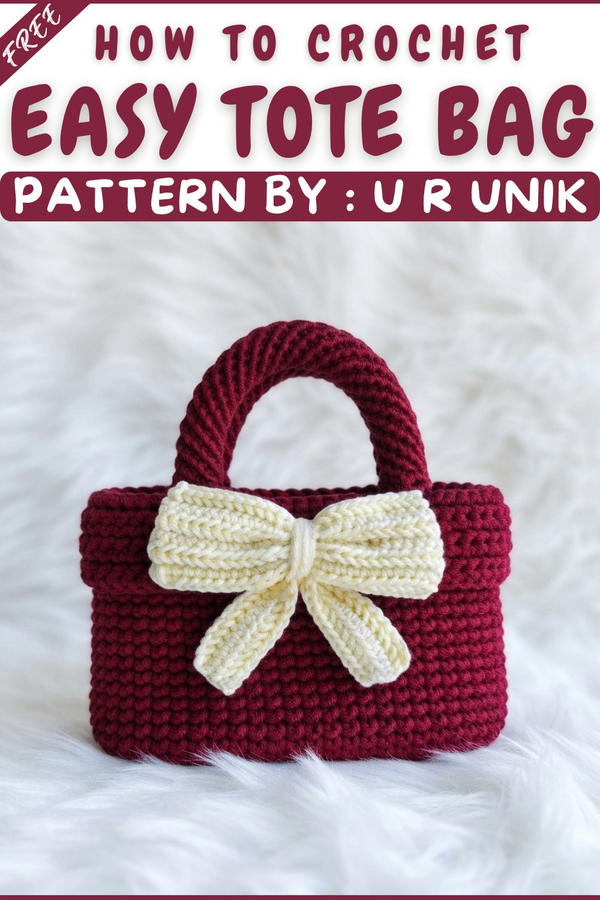
The tote bag has a rounded bottom that provides strong support and balance. It’s made by crocheting closely around the base, creating a smooth texture with neat single crochet stitches. The bag is spacious enough to carry everyday items like books, groceries, or personal belongings. What really makes this design special is the soft, fluffy bow attached to the front, adding a playful and feminine touch that stands out beautifully.
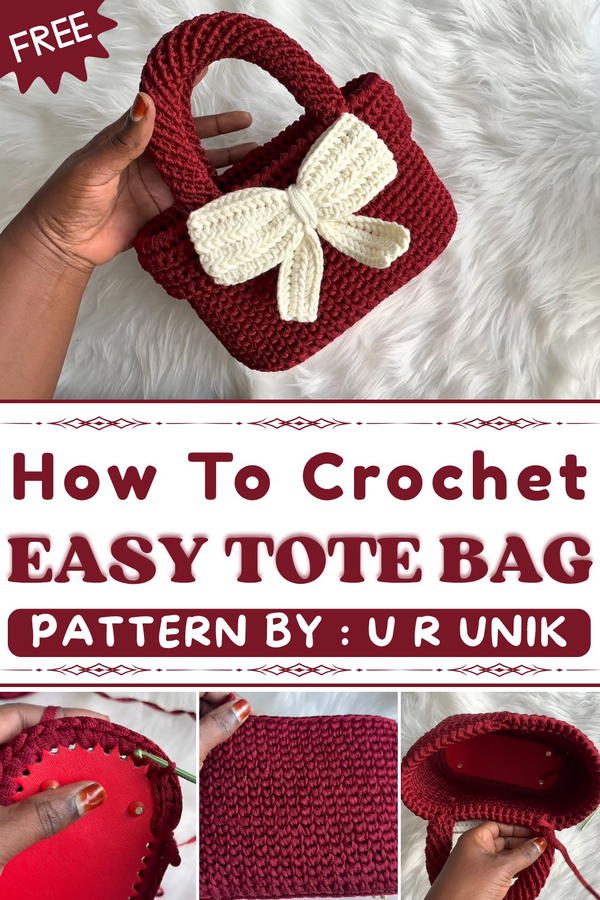
Working on this bag involves crocheting in rounds to build up the body, then carefully attaching the handle and the lovely bow. The process is simple but satisfying, giving you a finished product that is both useful and decorative. Its sturdy shape and charming bow make it a perfect gift or a stylish piece for daily use.
About This Pattern
This sweet mini bag with a vibrant bow detail offers both elegance and fun. The body is crafted in sturdy ribbon yarn on a readymade base for crisp shape, then finished with a contrast bow and handmade handles. With tidy edges and customizable colors, it makes a charming accessory for any occasion.
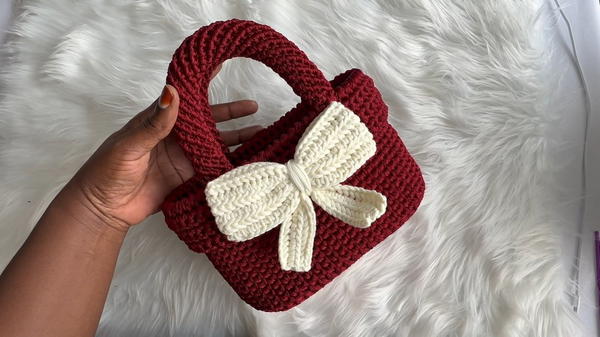
Crochet Mini Bow Bag Pattern
Pattern Important Tips
Count Carefully
- Always count stitch numbers around your base and when making the band to ensure all parts fit seamlessly.
Material Handling
- Ribbon yarn can shed when cut; use a lighter to gently seal ends for a tidier result.
- Consider placing paper or cloth under your yarn when trimming to catch fibers.
Even Stitch Placement
- For clean sides, insert stitches evenly and consistently around the base.
- When working through the “V” of stitches in later rounds, keep your hook position uniform for a neat finish.
Gentle Assembly
- Handle the bow and fluffy yarn delicately during sewing to maintain its soft shape.
Skill Level
Beginner to Intermediate. Involves basic single crochet, simple seaming, and basic bow making. No advanced shaping or techniques.
Materials
- Bag base with holes, approx. 6.5 inches (16.5 cm) wide (can be round, oval or rectangle)
- Ribbon yarn (main color, approx. 1 skein)
- Fluffy or regular yarn in white/off-white (or other chosen bow color)
- 4.5 mm crochet hook (for bag and handles)
- 3.75 mm crochet hook (for bow)
- Scissors
- Yarn needle
- Lighter (optional, for ribbon yarn finishing)
Gauge (and Stitch Pattern)
- Gauge is not critical; for reference, 10 SC and 10 rows ≈ 8 x 8 cm (3.25” x 3.25”) with 4.5 mm hook in ribbon yarn.
- The bag body is made in single crochet, with rounds worked through the "V" (center) of sc stitches for a dense structure.
Stitch Abbreviations
- SC: single crochet
- Ch: chain
- SLST: slip stitch
- Inc: increase (2 SC in one hole)
- st: stitch
Special Stitches
- Increase (Inc): Work 2 SC in one hole.
- Working into the “V”: Insert hook through the center “V” of the single crochet stitch rather than under both loops, for extra firmness.
Notes for Starting the Pattern
- Choose a base with uniformly spaced holes for neatness.
- Lay out all materials before starting.
- Wipe your workspace before and after working with ribbon/fluffy yarn to manage lint.
Bag Instructions
Bag Base and Setup
Round 1: Foundation onto Bag Base
- With 4.5 mm hook and ribbon yarn, attach at a central hole under any button or notch.
- Work as follows:
- 1 SC in the first hole.
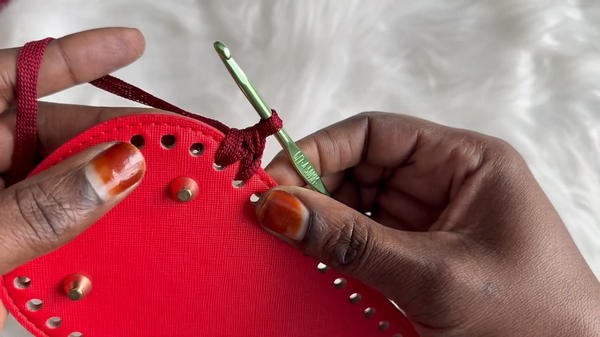
- 1 SC in the next hole.
- 2 SC (Inc) in the next hole.
- 1 SC in each of the next two holes.
- 2 SC (Inc) in the next hole.
- Repeat: 1 SC in 2 holes, then 1 Inc.
- Continue around the rounded end, alternating single and increase as above.
- Along the straight sides: 1 SC in every hole (no increases).
- Repeat the increase sequence at the opposite rounded end (as you did for the first).
- Continue with 1 SC in each hole across the last straight section.
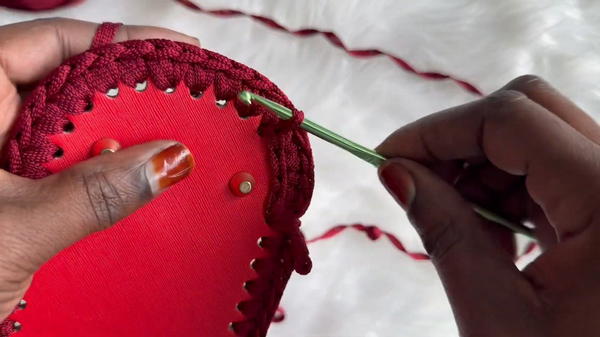
- 1 SC in the first hole.
- Work as follows:
- When you reach the start, SLST to the first SC to join.
Round 2: Closing Base Holes
- Attach a new strand of the same yarn if needed.
- Insert hook through each base hole and SLST in every remaining gap all the way around, closing visible holes for a solid edge.
- Fasten off and trim, sealing ends with a lighter if required.
Building the Sides
Round 3: First True Body Round
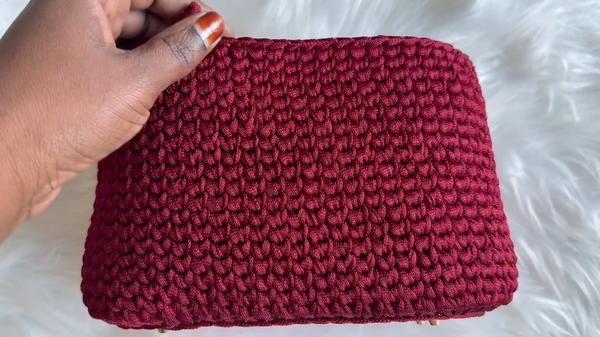
- With main yarn, insert hook into the “V” of each stitch from the base round.
- SC in every stitch around.
- Continue, always working through the “V” or center of each SC for extra structure.
- Repeat for as many rounds as required to reach desired height (approx. 4 to 5 inches or 10–13 cm).
- End at starting point, fasten off, pull end to inside, and weave in.
Top Band
Band Foundation
- Count the total stitches around the bag opening.
- With 4.5 mm hook and main yarn, Ch the same number of stitches (e.g., 62).
Band Rows
- Row 1: SC in 2nd ch from hook and each chain across.
- Rows 2–7: SC in each st across to make 7 rows total (including the first chain row).
- Fasten off, leaving a long tail.
Attaching the Band to Bag
- Match the band to the top of the bag so stitch counts align.
- With main yarn, position the beginning of the band to the midpoint of the bag.
- Sew (or SC seam) the band to the top edge using single crochet, always matching a band stitch to a bag stitch.
- Cut yarn, leaving a tail. Use the tail end with a needle to sew any small gap closed. Weave in ends.
Handles
Each Handle (Make 2)
- With 4.5 mm hook:
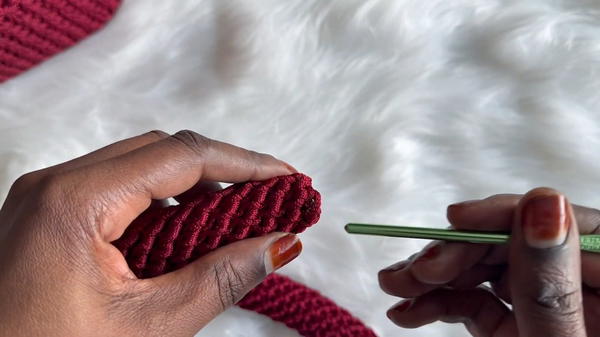
- Ch 8.
- Join with a SLST to make a loop.
- Work SC around the loop and continue to spiral, working only through the top loops and tightening as you go for several rounds until your handle is the desired length and thickness.
- Fasten off, cut the yarn, and sew in loose ends.
Bow
Large Bow Piece
- With 3.75 mm hook and fluffy yarn:
- Ch 50.
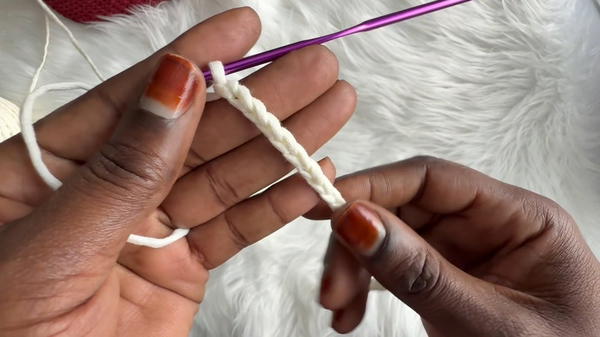
- Row 1: SC in 2nd ch from hook, and in each ch across (49 SC).
- Rows 2–7: SC in each st across for a total of 7 rows (including starting chain).
- Fasten off, leave a long tail.
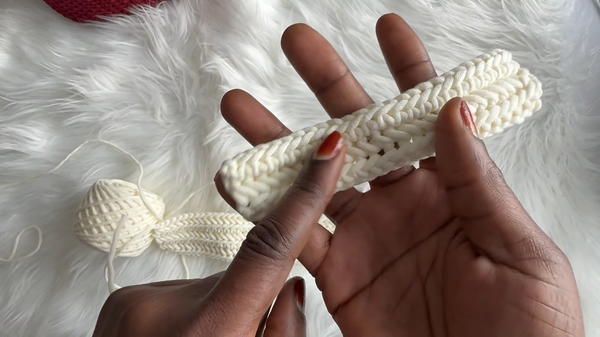
- Ch 50.
Small Center Bow Strip
- Ch 25.
- Row 1: SC in 2nd ch from hook, then in each st across.
- Rows 2–4: SC in each st across for a total of 4 rows (including starting chain).
- Fasten off, leave tail for sewing.
Assembly of Bow
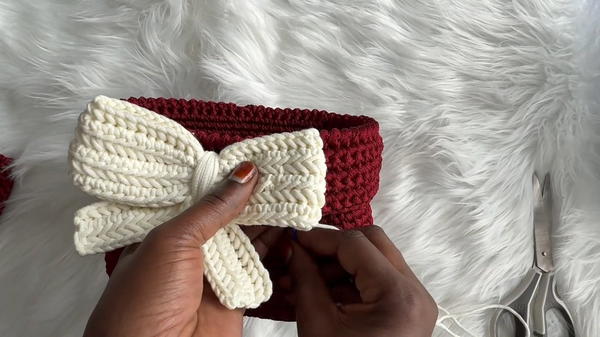
- Gently accordion fold or pinch large piece in the center.
- Use the center strip to wrap tightly around the center, secure edges at the back with a yarn needle and the tail.
- Fluff and shape.
Final Assembly and Sizing
- Center the finished bow on the bag band at the front middle position. Sew on using matching yarn and needle.
- Place handles at equal points on each side of the bag, aligning just beside the bow. Sew each handle securely to the top band and through the inside of the bag for best strength.
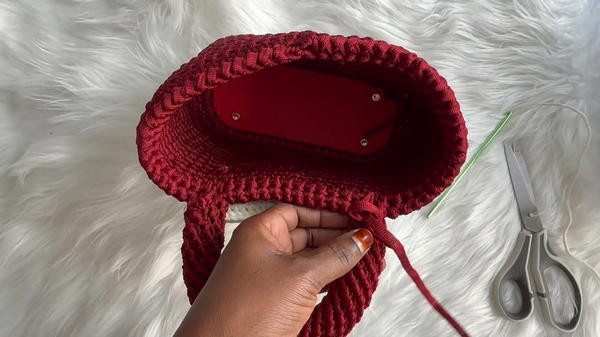
- Sample size is approx. 6.5" (16.5 cm) wide and 5" (13 cm) tall, not including handles.
Final Notes
This bag pattern delivers a sturdy, cheerful bag highlighted by a standout bow and unique base. Color and yarn choices allow further customization, and careful stitching ensures durability. This project’s simplicity and adaptability make it suitable for a wide range of crochet skill levels and creative tastes.