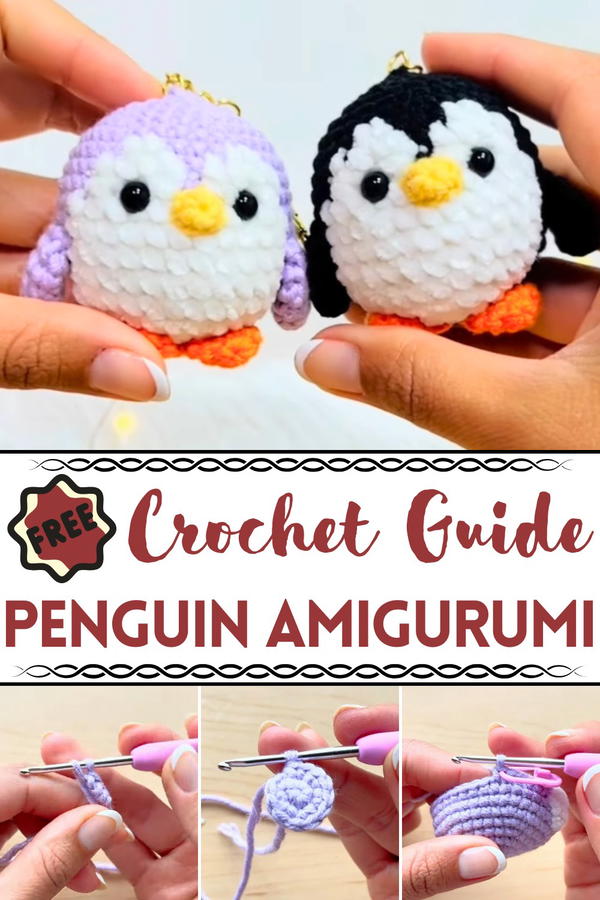
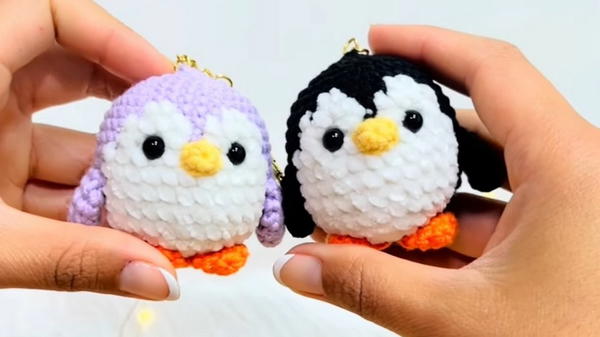
Waddle into fun by stitching the Free Crochet Penguin Amigurumi Pattern that’s perfect for soft toys keychains and adorable handmade winter gifts.
Few animals capture attention quite like the penguin, its upright stance, friendly expression, and contrasting color make it instantly recognizable and loved. This handmade version captures those familiar traits in a miniature, huggable form. The Crochet Penguin Amigurumi offers a beginner-friendly approach to amigurumi that uses single crochet stitches, increases, and decreases to form a round and sturdy shape. With clear instructions, it guides you through forming the body, beak, wings, and feet separately before sewing them into place.
Easy Tips to Crochet Penguin Amigurumi With Minimal Yarn & Time
This pattern is ideal for those looking to practice basic shaping techniques without getting overwhelmed. It requires only a small amount of yarn, making it budget-friendly and perfect for scrap yarn projects. The finished piece works wonderfully as a keychain, soft toy, nursery decoration, or holiday gift. The safety eyes add a polished touch, though alternatives can be embroidered for young children.
Measuring just a few inches tall, this penguin is quick to complete yet detailed enough to impress. It’s an excellent choice for developing consistency in stitch tension and learning simple assembly skills. Whether you're gifting it or keeping it, the result is a lovable penguin that brings a smile and serves as a fun stepping-stone into the world of amigurumi.
Headings and Information
1. Special Features of the Penguin
- The penguin stands out with its fluffy tummy effect, achieved using chenille yarn.
- It can double as a keychain or be adapted with accessories like scarves or hats for seasonal decoration.
- The penguin design is versatile and allows for experimenting with different vibrant colors.
2. Materials Required
- Yarns:
- Chenille yarn for the tummy effect.
- Acrylic yarns in lilac/purple for the body, yellow for the beak, and orange for the feet.
- Yarns should have a thickness of 2.5 mm.
- Other Supplies:
- 2.5 mm crochet hook.
- Synthetic silicone cotton (for stuffing).
- Wool needle and scissors.
- Optional: Stitch markers (useful to keep track of rounds).
- Eyes: 6 mm safety eyes.
3. Difficulty Level
- Level: Beginner to intermediate, with detailed explanations throughout.
- The video provides step-by-step guidance, making it easy to follow even for those relatively new to amigurumi.
- Some color changes, especially the tummy section, may challenge beginners but are well-explained.
Tip for Beginners: Use a stitch marker when working on rounds to avoid confusion about starting and ending points during color changes.
4. Step-by-Step Process
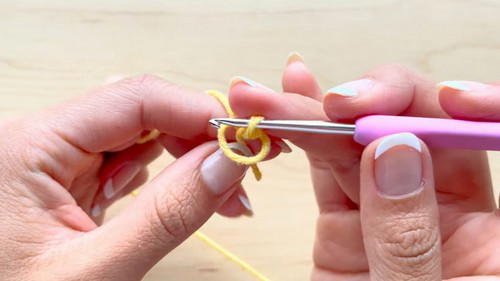
(a) Creating the Body and Head
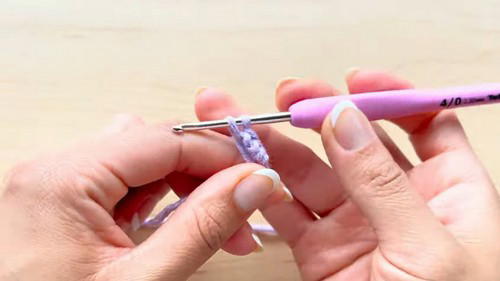
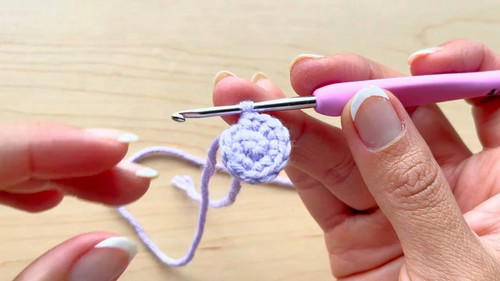
- Start with a magic ring and work single crochets, increasing the stitch count each round.
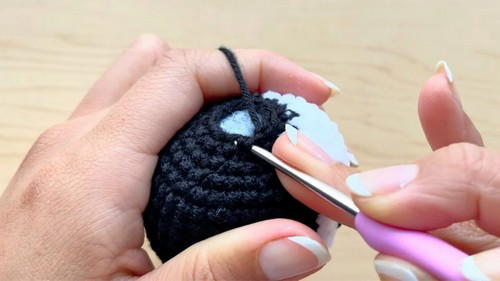
- Introduce white yarn for the penguin’s tummy. Techniques to alternate between yarns without puckering are highlighted.
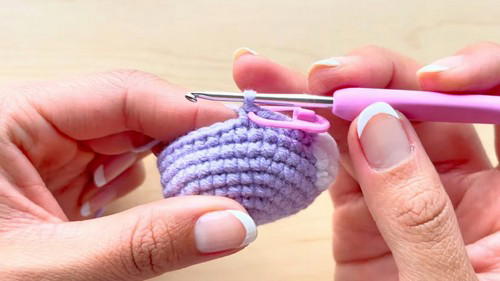
- Continue rounds to shape the body, then add decreases to close the top.
- Add safety eyes between rounds 9 and 10, aligning them symmetrically above the tummy.
(b) Making the Legs
- Create a magic ring and add six single crochets.
- Add an increase in the next round to form the leg.
- The leg is folded and stitched across four stitches for a compact shape.
(c) Making the Wings
- Start with a magic ring and progress with one stitch increase.
- Shape the wing in four rows, folding and stitching across for a small wing design.
(d) Making the Beak
- Use yellow yarn to form a magic ring with six single crochets.
- Finish the tiny beak quickly and sew it in place, aligned between the eyes.
(e) Assembly:
- Sew the beak in the center of the tummy, between the eyes.
- Attach the legs at the bottom of the penguin's body, ensuring symmetry.
- Position the wings at round 10, just where the tummy color ends.
- Secure keychain hardware if desired by threading yarn through the magic ring at the top.
5. Tutor's Suggestions
- Use vibrant and creative colors for crafting multiple penguins; there are no color restrictions in amigurumi designs.
- Maintain loose tension when switching yarns to avoid puckering the fabric, especially on the tummy area.
- Use a stitch marker or pay close attention when working rounds involving color changes.
6. Uses of the Penguin
- As a keychain: Add a chain and hook for a portable penguin accessory.
- As Christmas ornaments: Customize with hats and scarves for holiday decorations.
- As a gift: Make unique and colorful penguins for family and friends.
Bonus Tip
To prevent fabric puckering when changing yarn colors, keep the overlapping yarn strand loose but secure. Adjust stitches tightly at the end to avoid gaps in the fabric or stuffing showing through.
Short Conclusion
This Amigurumis offers a thorough, step-by-step guide to creating adorable crochet penguins. With clear instructions and opportunities for customization, this project is suitable for beginners and intermediate crafters alike. The final result is a cute, versatile penguin that can be a decorative item or a heartfelt gift.


