Stay warm and festive this holiday with a soft and fun Crochet Santa Claus Hat that’s easy to make and perfect for Christmas celebrations.
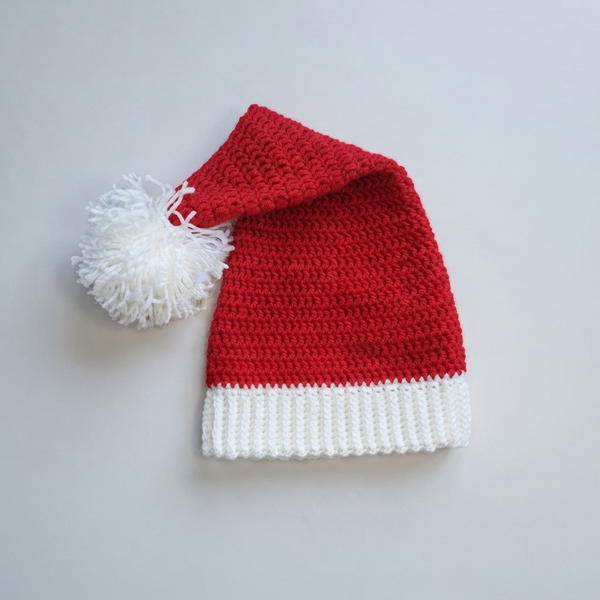
A warm and fun hat that looks like the one Santa Claus wears at Christmas is a great thing to have in winter. This is called a Crochet Santa Claus Hat. It is soft and cozy, perfect for keeping your head warm when it is cold outside. You can make this hat by using yarn and a simple crochet hook.
Cute Crochet Santa Claus Hat Free Pattern For Christmas Celebrations
The hat is very pretty because it is usually red with a white fluffy edge and a white ball on top. You can choose your favorite colors, like green, blue, or even shiny yarn. You can also make the hat small for kids or bigger for adults. This way, anyone can wear it!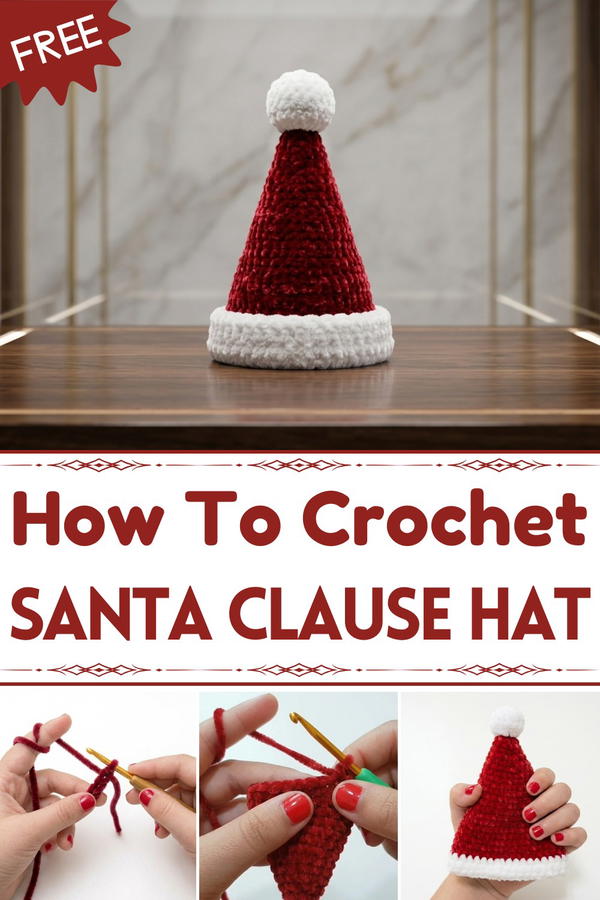 Besides wearing it, the hat can be used as a fun decoration at home during Christmas. You can hang it on doors or walls or use it to hold small gifts.
To make the hat, you use easy stitches like the single crochet and double crochet stitches. These make the hat strong but stretchy, so it fits well on your head. The white fluffy edge is made with special stitches like the bobble stitch or popcorn stitch that give it a soft, bumpy feel.
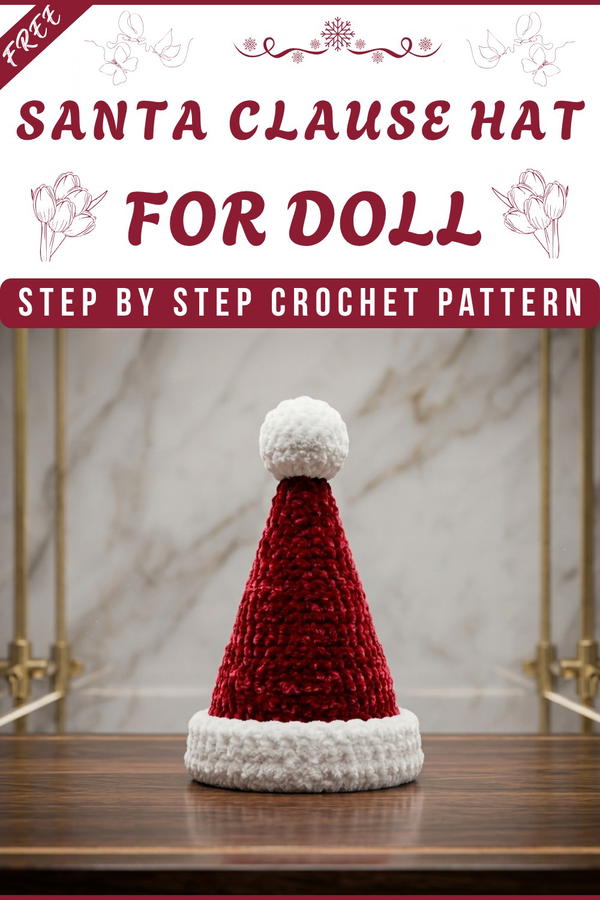
Making a Crochet Santa Claus Hat is simple and fun, even for beginners. You get to pick fun yarn colors, learn easy stitches, and make a hat that keeps you warm and looks great. It is a happy project that brings Christmas spirit to everyone!
Santa Claus Hat for Dolls Crochet Pattern
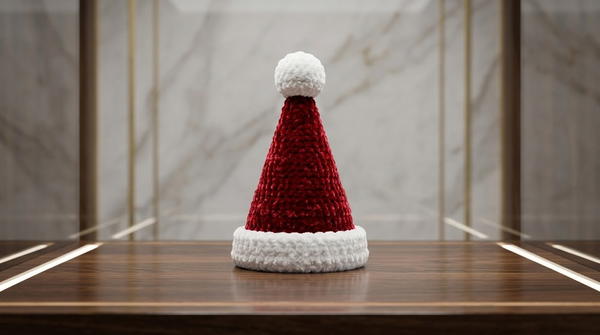
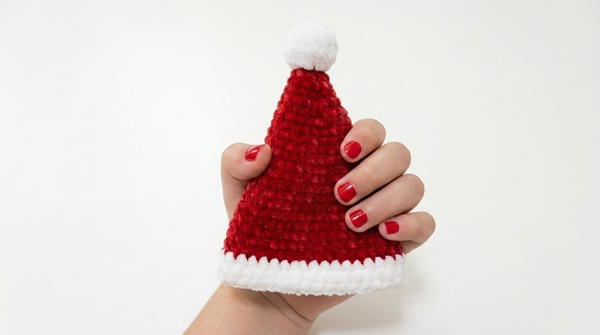
In today’s pattern, we will be making a charming Santa Claus hat sized especially for dolls. This straightforward pattern uses simple crochet stitches to create a festive and adorable accessory for your favorite amigurumi or doll. Follow along to make a cozy little Santa hat that’s perfect for the holidays.
Quick Overview Of Pattern
- Start with a magic ring and work in rounds
- Use single crochet stitches throughout
- Increase evenly in early rounds to shape the hat
- Maintain stitch count for several rounds to build the main hat body
- Switch yarn color to white to finish the hat’s brim
- Add a pom-pom for the classic Santa look
Notes
- The hat is worked in continuous rounds; use a stitch marker to mark round ends
- Each round begins with a chain of 1 to maintain stitch height
- Increases are made by placing two single crochets (sc) in the same stitch
- Stitch count increases gradually every few rounds for shaping
- The pattern uses a smaller crochet hook (3 mm), suitable for tighter fabric
- Pom-poms are applied at the end using hot glue or sewn on
- Yarn tails should be woven in neatly after finishing
Skill Level
Beginner to Intermediate
Requires familiarity with the magic ring, chain stitch, single crochet (sc), increasing stitches, slip stitch, and basic sewing or glueing for pom-pom attachment.
Materials
- Red poly acrylic yarn or your choice of red yarn
- White yarn (can be acrylic or cotton)
- Pom-poms for decoration
- Stitch marker
- Crochet hook size 3 mm
- Scissors
- Hot glue (optional, for pom-poms) or needle for sewing
- Yarn needle
Measurements / Sizing (Optional)
- Designed to fit dolls or small amigurumi figures
- Approximate finished height: 10–12 cm (4–5 inches) depending on yarn and hook tension
- Diameter at brim approximately 8–10 cm (3–4 inches)
Gauge
- Gauge is flexible since the pattern’s purpose is decorative
- Maintain consistent tension to ensure even shaping
- Recommended: about 15 single crochet stitches per 5 cm (2 inches) for reference
Stitch Abbreviations
- ch = chain
- sc = single crochet
- sl st = slip stitch
Special Stitches
- Magic ring (adjustable loop to start rounds)
- Increase: 2 sc in the same stitch
Crochet Guide
Starting the Hat
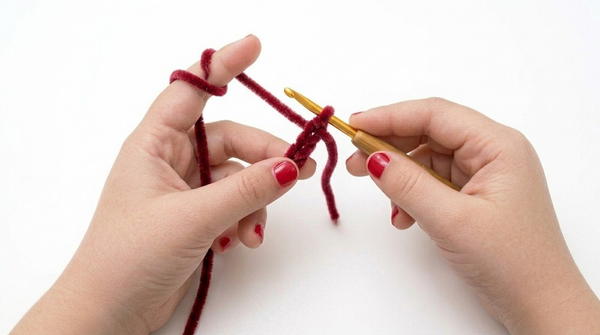
- Make a magic ring with red yarn.
- Chain 1 to begin Round 1.
Round 1
- Work 6 single crochet (sc) inside the magic ring.
- Pull the tail to close the ring tightly.
- Join with a slip stitch into the first single crochet.
- Place a stitch marker to mark the end of the round.
- Total stitches: 6 sc.
Round 2
- Chain 1.
- Make 1 single crochet in each stitch around (no increases).
- Join with slip stitch.
- Update stitch marker to new round end.
- Total stitches remain: 6 sc.
Round 3
- Chain 1.
- Make an increase in each stitch: 2 single crochet in each stitch around.
- Join with slip stitch.
- Place stitch marker.
- Total stitches: 12 sc.
Rounds 4, 5, and 6
- For these 3 rounds:
- Chain 1 to start each round.
- 1 single crochet in each stitch around (12 sc total).
- Slip stitch to join and adjust stitch marker after each round.
- This builds the hat’s body without increases.
Round 7
- Chain 1.
- 1 single crochet in first stitch, increase in next stitch — repeat all around.
- Join with slip stitch.
- Stitch marker updated.
- Total stitches: 18 sc.
Rounds 8, 9, and 10
- For these 3 rounds:
- Chain 1 start each round.
- 1 single crochet in every stitch (18 sc).
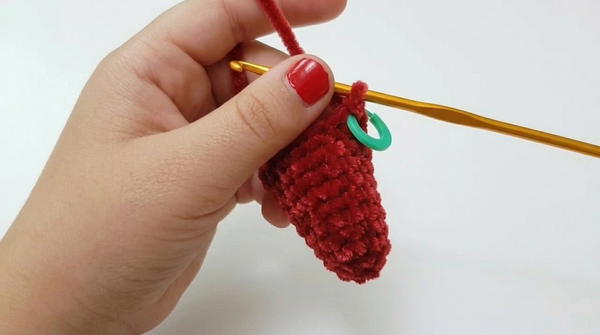
- Join with slip stitch and move stitch marker after each round.
Round 11
- Chain 1.
- 1 single crochet in next 2 stitches, increase in the 3rd stitch — repeat around.
- Join with slip stitch.
- Update stitch marker.
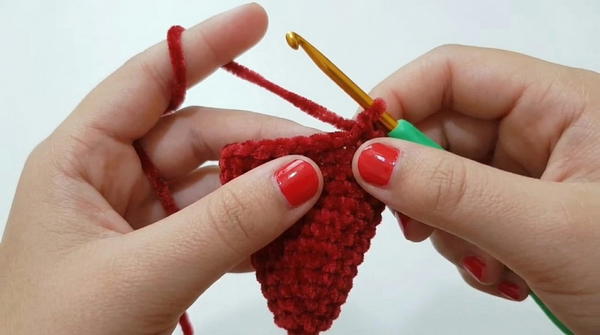
- Total stitches: 24 sc.
Rounds 12, 13, and 14
- For these 3 rounds:
- Chain 1 start each round.
- 1 single crochet in each stitch (24 sc total).
- Join rounds with slip stitch each time.
Round 15
- Chain 1.
- 1 single crochet in next 3 stitches, increase in the 4th stitch — repeat around.
- Join with slip stitch.
- Total stitches: 30 sc.
Rounds 16, 17, and 18
- For these 3 rounds:
- Chain 1 start each round.
- 1 single crochet in every stitch (30 sc total).
- Join with slip stitch.
Round 19
- Chain 1.
- 1 single crochet in next 4 stitches, increase in the 5th stitch — repeat around.
- Join with slip stitch.
- Total stitches: 36 sc.
Rounds 20, 21, and 22
- For these 3 rounds:
- Chain 1 each round start.
- Single crochet in every stitch (36 sc total).
- Join rounds with slip stitch.
Round 23
- Chain 1.
- 1 single crochet in next 5 stitches, increase in the 6th stitch — repeat around.
- Join with slip stitch.
- Total stitches: 42 sc.
Rounds 24 to 30
- For these 7 rounds:
- Chain 1 start each round.
- 1 single crochet in every stitch (42 sc total).
- Join with slip stitch.
Round 31 – Change to White Yarn
- Switch to white yarn.
- Chain 1.
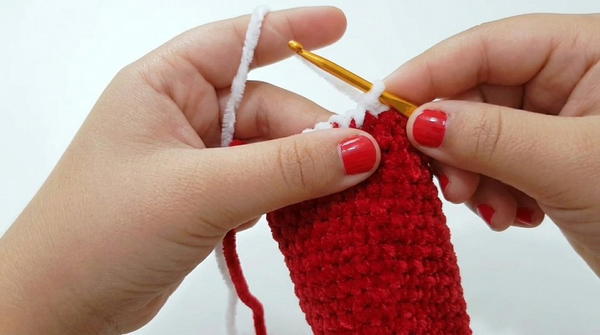
- Single crochet all around (42 sc).
- Slip stitch to join.
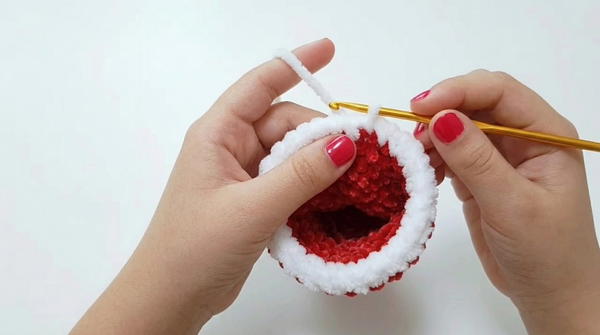
- Cut red yarn and securely weave in ends.
Finishing the Hat
- Slip stitch in the last stitch.
- Chain 1 and fasten off.
- Hide all yarn tails neatly with a yarn needle.
Pom-Pom Attachment
- Attach pom-poms at the tip of the hat using hot glue or sew on with a needle and thread.
Assembly & Finished Size
- The completed Santa Claus hat stands approximately 10 to 12 cm tall and fits comfortably on small dolls or amigurumi.
- The hat’s brim diameter is around 8–10 cm.
- Weave in all ends securely for durability.
- Pom-poms add the classic finishing touch and charm.
Conclusion and Ending Words
This easy-to-follow pattern builds foundational crochet skills with simple increases and continuous rounds. Enjoy gifting your handmade holiday decor or dressing your amigurumi in seasonal style. Stay tuned for more adorable patterns like the matching amigurumi Santa Claus!