Stay stylish and cozy with this free crochet hat pattern that helps you easily add a personal touch and warmth to your wardrobe for any season.
Making a cozy hat by yourself is a fun and creative activity that anyone can enjoy. This simple pattern helps you create a warm and stylish headwear piece that suits all ages. It’s like making a small treasure that keeps you snug during chilly days.
Free Crochet Hat Pattern with Detailed Instructions
One wonderful feature of this pattern is its beautiful design. You can pick any colors you like, bright reds, soft pastels, deep blues, or sunny yellows and even mix them to make stripes or playful patterns. This means every hat you make can be unique and show off your own style and personality.
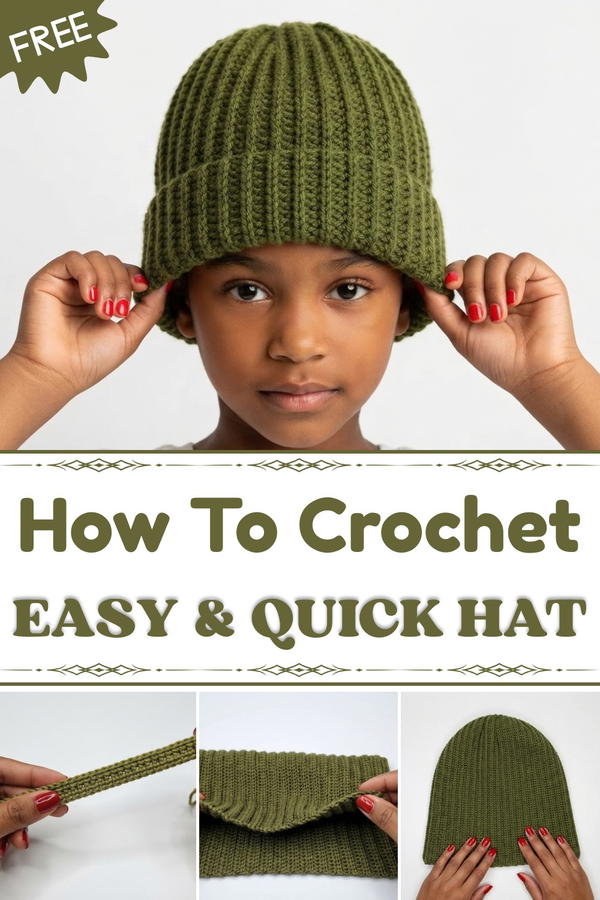
Hats made with this pattern have many uses. They can protect you from cold weather, add a cute touch to your outfit, top, cardigan, or become thoughtful gifts for family and friends. Because you can customize the size easily, hats can fit babies, kids, or adults comfortably. Growing children can even have a new hat each year!
The stitches used here are both important and simple. The single crochet stitch creates a firm and warm fabric, perfect for keeping the cold out. The double crochet stitch adds stretch and softness, making the hat comfortable to wear. Learning these stitches helps make your hat strong and durable.
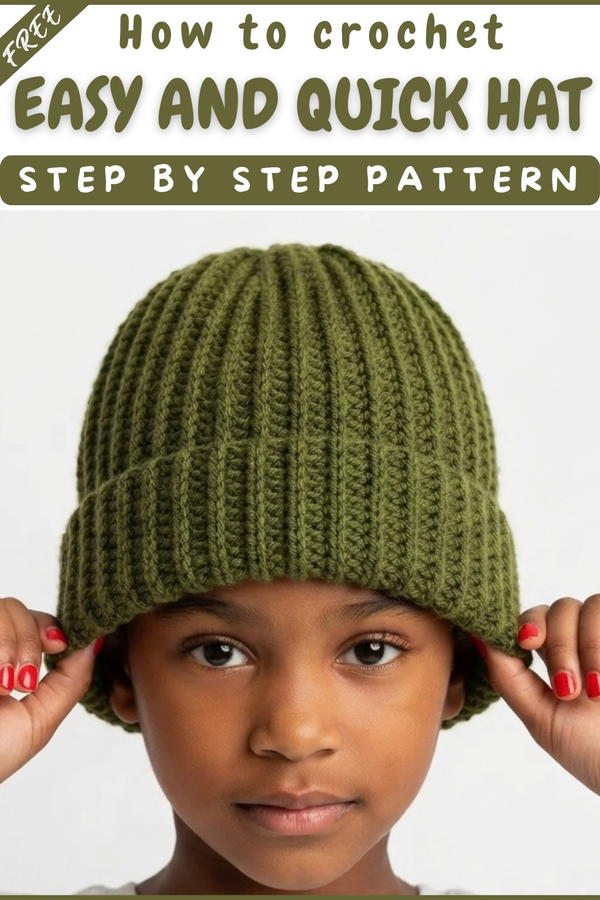
Brioche-Effect Crochet Hat Pattern
Designed to evoke an elegant “brioche” ribbed effect, this hat is both modern and classic, making it a versatile accessory for all seasons. The secret to its appealing structure lies in simple stitch placement and repetition, allowing even beginners to achieve a professional finish. This hat is worked flat and then assembled, creating a seamless look with minimal fuss. This pattern is ideal for crocheters looking for a relaxing, repetitive project with maximum impact and wearability.
Pattern Basic Points
Construction Overview
- Worked flat in rows, then seamed into a tube and gathered at the top for a beanie-style finish.
- Stitch marker guides the top edge to keep shaping and seam clear.
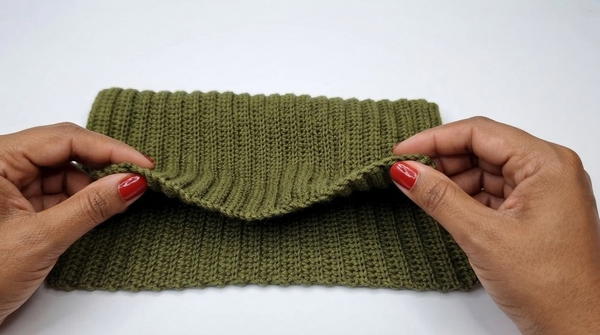
- Ribbed texture achieved by working exclusively in back loops.
- No decreases or complex shaping — simple assembly after rectangular fabric is complete.
Highlights and Tips
- No increases or decreases required for the ribbing!
- The rib effect is achieved through half double crochet in the back loop only (BLO hdc)—easy to master and satisfying to work.
- Crown is closed by gathering in ends for a neat finish.
- Seam is barely visible thanks to slip stitch join in back loops only.
Special Notes
- Chain tension is important! Measure the foundation chain without any stretch for an accurate fit.
- Keep edge stitches and SC rows neat, as they form the visible crown and brim lines.
- This pattern is easily adaptable for all head sizes—just adjust the starting chain (height of hat) or the number of rows (circumference).
Skill Level
Beginner to Adventurous Beginner
Familiarity with chaining, single crochet, half double crochet, and basic finishing is helpful.
Materials
- Yarn: 2.5 weight yarn (light sport or fine DK recommended), or similar yarn for your desired hat weight and feel
- Hook: 3.0 mm crochet hook
- Scissors
- Yarn needle
- Stitch marker
Measurements / Sizing
- Adult Hat:
- Height (foundation chain): 30–33 cm (unstretched)
- Circumference (number of rows): 44–45 cm (for standard adult head, adjust as needed)
- Note: Size can be easily adjusted for children or custom fits by altering starting chain length and number of rows.
Gauge
- Gauge:
- 10 stitches and 10 rows = approx. 5 cm x 5 cm in BLO HDC (after light blocking)
- Stitch Pattern:
- Half Double Crochet in Back Loop Only (BLO HDC)
Stitch Abbreviations
| Abbreviation | Meaning |
|---|---|
| ch | chain |
| sc | single crochet |
| hdc | half double crochet |
| BLO | back loop only |
| sl st | slip stitch |
| st(s) | stitch(es) |
Special Stitches
Back Loop Only (BLO):
Insert hook under back loop of the stitch only, not both loops, before completing stitch as usual.
Crochet Pattern
Preparation
- Before starting, leave about 20 cm (8 in) tail of yarn. This will assist in the final assembly and weaving in at the end.
Foundation & Setup
- Foundation Chain:
- Chain until you reach the desired hat height (without stretching)—for adults, chain to 30–33 cm (measured vertically; this will be the height of your hat from base to crown).
- Place a stitch marker at the very last chain; this marks the top of your hat.
- Initial Setup:
- Directly after your marker, work 2 single crochet (sc) in the next 2 chains. This defines the crown shaping and will be important for gathering later.
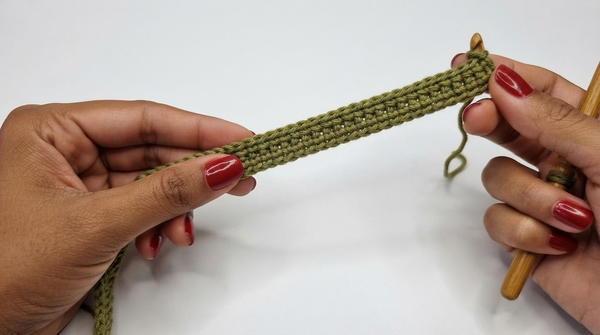
- Directly after your marker, work 2 single crochet (sc) in the next 2 chains. This defines the crown shaping and will be important for gathering later.
Main Ribbing Rows
- Work Down the Chain:
- From the top marker, work 1 half double crochet (hdc) in each chain down to the base of your foundation row.
- Turning (Bottom Edge):
- At the end of the row (bottom of chain), chain 2 and turn your work.
Ongoing Rows (Ribbing Pattern)
- Brioche Texture Rows:
- Work each hdc stitch in the back loop only (BLO) all the way back up to the top marker.
- When you reach the marker/top:
- Work 2 sc (one in each of the top two edge stitches),
- Chain 1, turn,
- Then work 2 sc back down, aligning with the previous 2 sc worked. This helps create a defined crown band.
- Continue Pattern:
- Repeat row sequence:
- hdc in BLO down, ch 2, turn, hdc in BLO back up,
- always working 2 sc at top and chaining 1 to turn, followed by 2 sc down.
- Continue until your fabric reaches your needed head circumference (usually 44–45 cm for an adult, unstretched).
- Repeat row sequence:
Seaming the Hat
- Joining the Sides:
- Fold the fabric right sides together so short ends align.
- Use sl st worked through the back loop of both sides to join. This keeps the seam flat and nearly invisible.
- When you reach the top of the crown, fasten off but leave a tail for gathering the crown.
Shaping the Crown
- Closing the Top:
- Thread the yarn tail with a yarn needle.
- Weave the yarn through the top edge (the side with SC stitches at every row end), gathering stitches as you go.
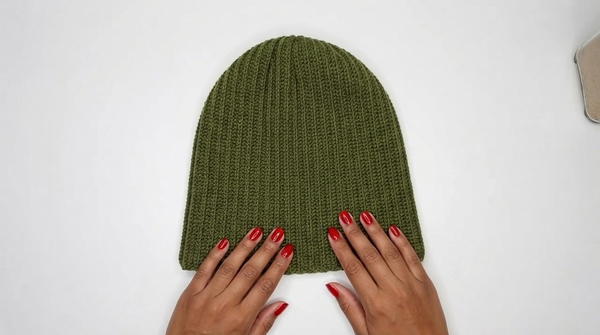
- Pull tight to cinch the crown closed.
- Secure with several knots on the inside to prevent opening.
- Weave in the ends neatly.
Finishing
- Final Touches:
- Tidy up both the brim and crown by weaving in any loose tails.
- Shape your hat with your hands.
- Trim any excess yarn.
Assembly & Finished Size
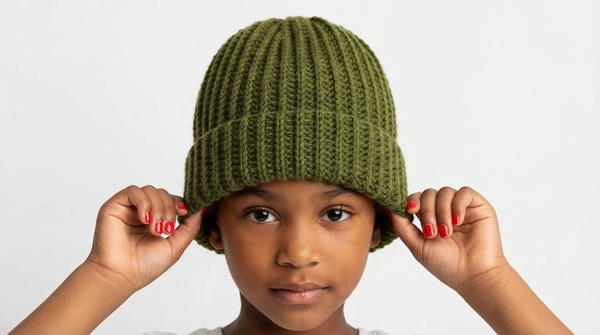
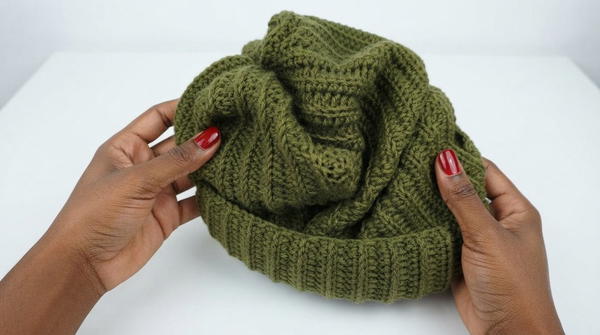
- Your hat should show crisp, structured ribs and no visible seam.
- The gathered crown creates natural pleats at the top for a fitted, classic beanie look.
- Finished adult hat measures approx. 30–33 cm tall (can be folded for brim) and 44–45 cm in circumference (unstretched).
Conclusion
This accessible but striking project is perfect for personal wear, gifts, or charity makes. The clever use of back-loop crocheting ensures a sophisticated, elastic texture and neat fit every time. Customize further by adding a pom-pom, contrasting edge, or switching up your yarn choice for warmer or lighter styles.