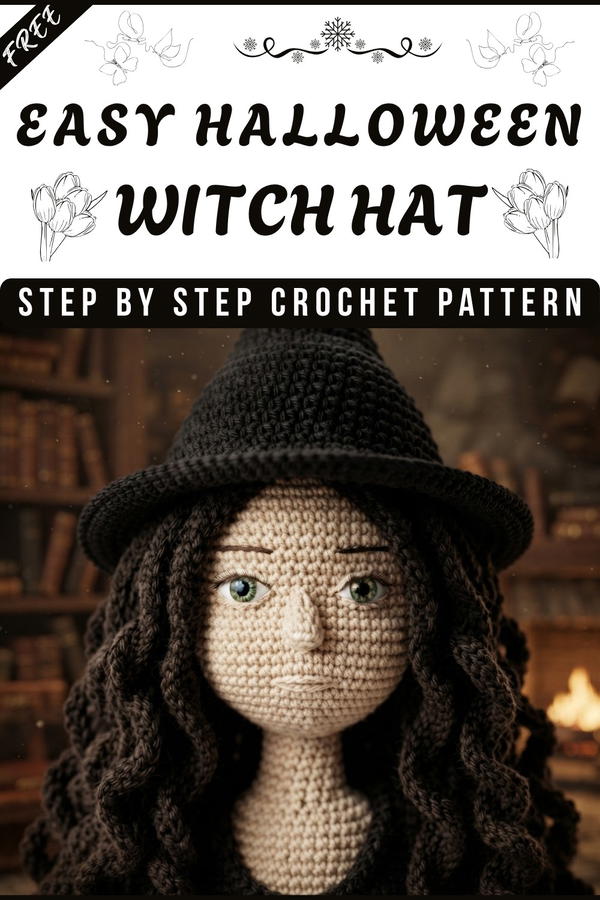
Make this Halloween extra fun with a Free Crochet Witch Halloween Hat Pattern, helping you easily create a charming and unique handmade hat to enjoy.
Crocheting fun and festive accessories has always been one of my favorite ways to get into the holiday spirit, especially around Halloween. One project that I found super enjoyable and perfect for the spooky season is a witch hat. If you’re looking for a charming accessory to complete your Halloween look, the Free crochet WITCH HALLOWEEN HAT pattern is a fantastic choice that’s both fun to make and wear.
Simple Free Crochet Witch Halloween Hat Pattern You’ll Love
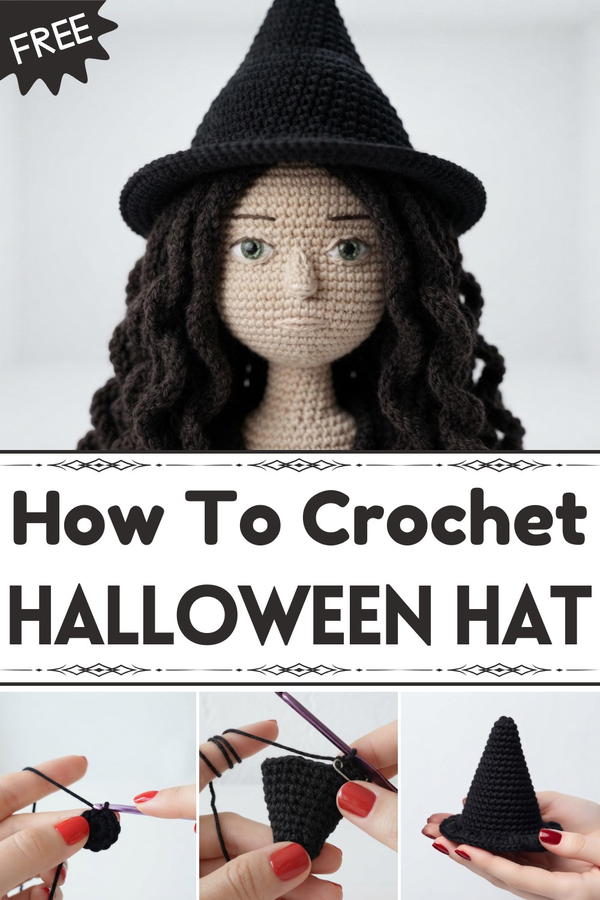
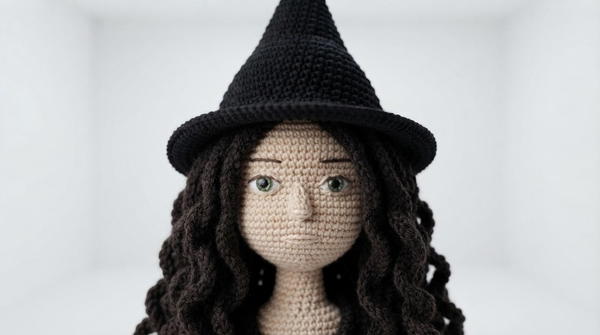
This witch hat stands out with its classic pointed shape and a wide brim that gives it an authentic, magical vibe. The texture is usually smooth with simple stitches that create a neat finish, but some variations add subtle ribbing or a twist in the brim for a bit more flair. It’s lightweight and holds its shape nicely, making it comfortable to wear for parties, trick-or-treating, or even as a quirky decoration. The style leans on the traditional witch’s hat look but can easily be customized with colors, ribbons, or other embellishments to suit your personal taste.
You don’t need to be a crochet expert to tackle this project, it’s great for beginners and those with basic skills. The main stitch used is often the single crochet or half double crochet, giving a tight but flexible fabric that shapes the hat perfectly. Working in rounds helps keep the structure smooth and makes adjusting the size straightforward, so you can create hats for all ages.
Besides being a fun costume piece, this witch hat makes a thoughtful handmade gift for friends and family who love Halloween. It’s also a festive décor item that can add character to any room. Whether you want to wear it or display it, this project combines creativity and simplicity in a way that’s rewarding to make.
Witch Hat (Halloween Hat) Crochet Pattern
In this step-by-step guide, you will learn how to make a miniature witch hat (Halloween hat) using easy crochet stitches. For clarity, we’ll use orange yarn instead of black, allowing you to easily follow the instructions. This pattern is beginner friendly and perfect for decoration during the Halloween season. Follow the detailed pattern below and check summary explanations after each section if you are new to pattern formats.
Skill Level & Terminology
- Skill Level: Beginner
- Terminology: This pattern uses US crochet terms.
This pattern is ideal for those who are comfortable with single crochet, double crochet, and working in the round. If you’ve never used a magic ring before, the instructions and explanations below will help you get started.
Materials & Tools
- Yarn: DK-weight or light worsted yarn (orange for the demo; black is traditional)
- Hook: 3mm crochet hook
- Stitch marker: Useful for marking the start of each round
- Scissors
- Yarn needle: For weaving in ends
You can substitute yarn weight and hook size for a larger or smaller hat.
Gauge
Gauge is not critical for this project, since it’s decorative.
For reference:
- After Round 2, the circle should measure about 1 inch (2.5 cm) in diameter.
- If you want a more tightly stitched hat, use a smaller hook.
If your stitches are too loose or the hat seems floppy, switch to a smaller hook.
Abbreviations List
- ch: chain
- sc: single crochet
- dc: double crochet
- inc: increase (work 2 stitches into one stitch)
- st(s): stitch(es)
- MR: magic ring
Keep this list handy while you work through the pattern.
Special Stitch Instructions
- Magic Ring (MR): Wrap yarn into a loop, insert hook, pull up a loop, ch 1 to secure.
- Increase (inc): Work 2 sc or 2 dc into the same stitch.
- Single Crochet (sc): Insert hook into stitch, yarn over, pull up a loop, yarn over, and pull through both loops.
- Double Crochet (dc): Yarn over, insert hook into stitch, yarn over, pull up a loop, yarn over, pull through two loops, yarn over, pull through remaining two loops.
Basic stitches are used throughout with increases for shape and the magic ring for starting.
Finished Size
- Hat Height: Approx. 4 – 5 inches (10 – 12 cm)
- Brim Diameter: Approx. 3 – 4 inches (7 – 10 cm)
You may adjust the size by adding more increase rounds or using thicker yarn.
How to Begin
To start, use the magic ring technique and single crochet stitches. As you build the cone, alternate rounds with increases to widen the hat, then use double crochet to finish the brim. This pattern is beginner friendly, straightforward, and fun to make with just a few basic stitches.
The Pattern Itself
Hat Cone
- Round 1:
Make a magic ring (MR).
Ch 1 (does not count as a stitch).
Work 6 sc into the MR.
Pull the tail to close.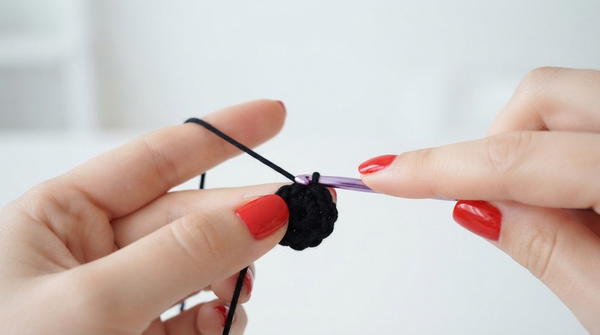
(Total: 6 stitches)- For beginners: Start with a loop, chain 1, and make 6 single crochets into the center. Pull tight to form a small circle.
- Round 2:
Work 2 sc in each st around.
(Total: 12 stitches – 6 increases)- For beginners: Crochet two single crochets in every stitch from the previous round. Now you have 12 stitches, forming a larger circle.
- Rounds 3 – 4:
Work 1 sc in each st around for 2 rounds.
(Total: 12 stitches per round)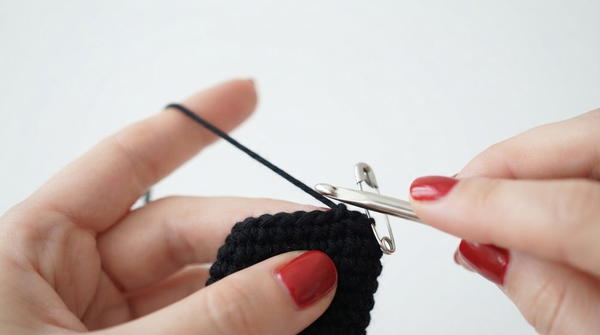
- For beginners: Make a single crochet in each stitch. Do this for two rounds, keeping the stitch count the same to build height.
- Round 5:
Pattern: [1 sc, 1 inc], repeat around.
(Single crochet in one stitch, two single crochets in the next, repeat.)
(Total: 18 stitches)- For beginners: Alternate making one sc and then two sc in the next stitch. You should finish the round with 18 stitches.
- Rounds 6 – 7:
Work 1 sc in each st around for 2 rounds.
(Total: 18 stitches per round)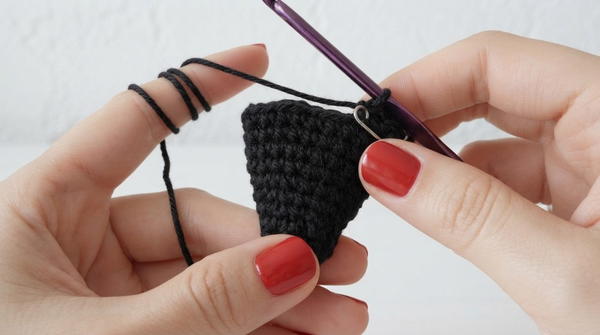
- For beginners: Work a single crochet into each stitch across both rounds; your hat will start to form a cone.
- Round 8:
Pattern: [2 sc, 1 inc], repeat around.
(Single crochet in the next two stitches, then two single crochets in the next.)
(Total: 24 stitches)- For beginners: Crochet two sc, then two sc in the following stitch, repeat this combo until the round is complete. Your circle will grow bigger.
- Rounds 9 – 10:
Work 1 sc in each st around for 2 rounds.
(Total: 24 stitches per round)- For beginners: Work single crochets evenly around; these rounds build height.
- Round 11:
Pattern: [3 sc, 1 inc], repeat around.
(Single crochet in the next three stitches, then two sc in the next.)
(Total: 30 stitches)- For beginners: Crochet three sc, then two sc in the next, until you finish the round. Your hat cone will widen.
- Rounds 12 – 14:
Work 1 sc in each st for 3 rounds.
(Total: 30 stitches per round)- For beginners: Crochet one sc in every stitch for three rounds. You are now ready for the brim.
Hat Brim
- Round 15 (last round):
Work 2 dc in each st around.
(Total: 60 stitches)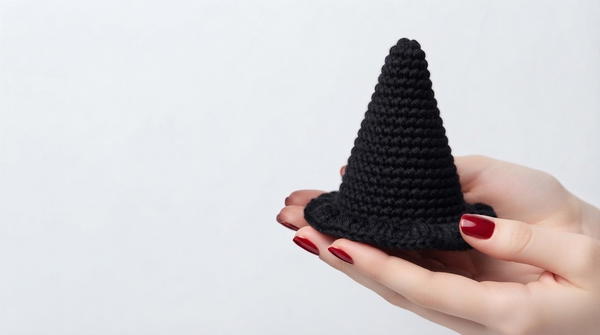
- For beginners: In the final round, make two double crochets into every stitch, forming a ruffled and flared brim.
Assembly & Finishing
- Cut the yarn, leaving a tail.
- Pull through the final loop.
- Use your yarn needle to weave in all ends.
- Gently shape your hat. The cone should stand upright and the brim will flare.
- For beginners: Once you finish all rounds, cut the yarn and pull it tight so the hat is secure. Use your yarn needle to tuck in the leftover ends and shape your hat nicely.
Pattern Summaries
- This hat starts with a magic ring and is created in a continuous spiral.
- You use single crochet and increases to shape the cone, then finish with double crochet to make a ruffled brim.
- Place your stitch marker in the first stitch of each round to keep your rounds even.
- If you’re new to patterns, each pattern section is explained as you go, so you can follow the step-by-step instructions.
Assembly & Finished Size
Once you’ve completed the final round and woven in ends, your hat is ready! Shape it by gently pinching the cone and flaring the brim. It should be about 4–5 inches tall and the brim 3–4 inches wide. This makes a perfect Halloween decor item or mini accessory.
Conclusion
You have now completed your witch hat! Whether you’re a beginner or just want a quick festive project, this hat is fun, fast, and decorative. If you enjoyed this pattern, consider subscribing for more crochet tutorials.