Add a splash of color with this Crochet Flower Bucket Hat Pattern, perfect for creating a cheerful, stylish, and eye-catching accessory for sunny days.
This hat is a bright and cheerful accessory that can make any outfit look lively and fun. Made with colorful crochet flowers, it adds a playful and handmade touch to your style, making it perfect for sunny days, picnics, beach trips, or casual outings. The bucket shape is not only trendy but also practical, providing shade and keeping you comfortable under the sun.
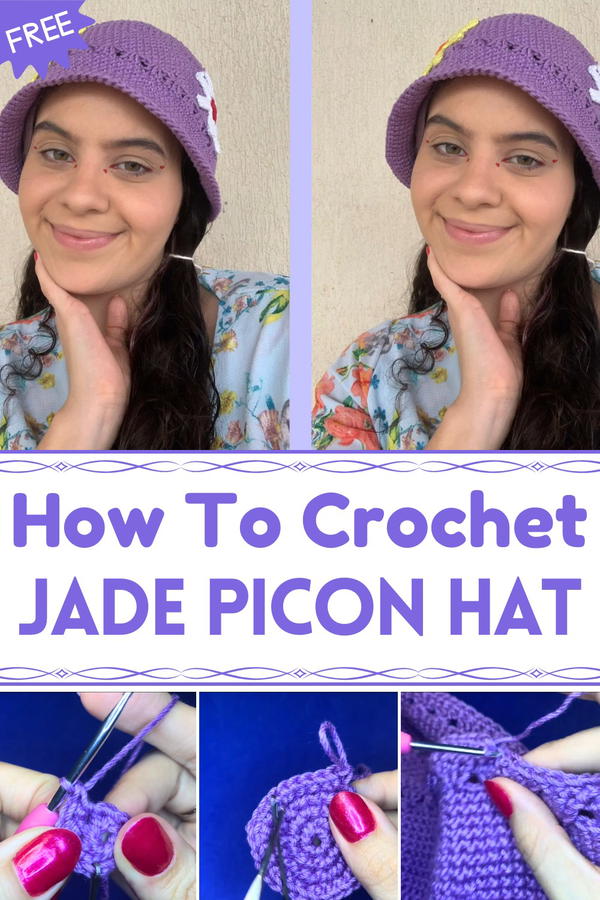
Easy Crochet Flower Bucket Hat Pattern to Upgrade Your Wardrobe
Its soft texture feels gentle on the head, and the flowers give it a charming, eye-catching look that draws compliments wherever you go. You can wear it with simple clothes to instantly lift your style or pair it with other vibrant pieces for a bold, joyful outfit. This hat is lightweight, easy to carry, and suitable for all ages. Whether for daily wear or special occasions, it’s a fun way to show off personality and creativity while staying stylish and protected.

Crochet flower bucket hat – Step-by-Step Pattern
Special Features
- Uses Duna yarn for a firmer, thicker feel.
- Crochet hook size 2 for base, size 3 for main work ensuring firmness.
- Can be styled multiple ways: folded, unfolded, or with a flap.
- Worked in continuous rounds, increasing carefully for shaping.
- Seamless finishing for a neat look.
Difficulty Level
Beginner to Intermediate
Requires basic knowledge of chain (ch), single crochet (sc), double crochet (dc), and working in rounds with increases.
Materials Needed
- Anne brand yarn (same as bikini) or Duna line for sturdiness
- Crochet hooks: size 2 and size 3 mm
- Stitch marker or small hair clip for marking rounds
- Yarn needle
- Scissors
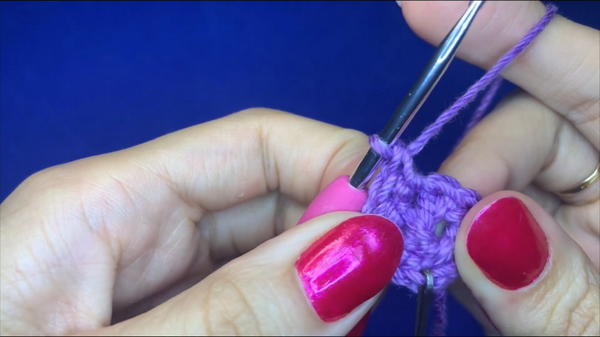
Step-by-Step Pattern
Round 1: Starting the Crown
- Make a magic ring or chain a small number and join to form a ring.
- Chain 2 (counts as first stitch).
- Work 7 single crochet (sc) stitches evenly into the ring — all in the same little starting loop.
- Tighten the ring gently as the work begins to form a small circle.
Round 2: Increasing for Cup Shape
- Place a marker on the first stitch of the round to track your progress.
- Work 2 single crochet stitches (sc) into each stitch of the previous round.
- You should have 14 sc stitches at the end of this round (7 pairs).
- Keep tension loose to maintain elasticity.

Round 3: Pattern Introduction – Single and Double Crochets
- Turn your work carefully; rotate your marker to indicate the new first stitch.
- Work 1 single crochet (sc) in the first stitch, then 2 single crochets (2 sc) into the next stitch (increase).
- Repeat this pattern (1 sc, 2 sc in next stitch) around the round.
- This creates a progression of one single stitch followed by an increase.
Round 4 to Round 6: Alternate Pairs and Singles
- Begin alternating rows with patterns of double single crochets in one stitch (pinha) followed by single crochets alone.
- For example, in round 4: do 1 pair (2 sc in one stitch), then 1 single crochet in the next stitch; repeat all around.
- Increase the number of single crochet stitches between pairs by one in each subsequent round.
- Maintain stitch count as per pattern, e.g., 16 in round 4, increasing progressively.
Round 7 to Round 17: Gradual Expansion
- Continue increasing the number of single crochet stitches alone between pairs (pinha) in each subsequent round.
- For example, 3 singles between pairs, then 4, then 5, up to 6-7 singles as needed to fit your head size.
- The hat widens, maintaining a flat circular crown that will shape gently downward.
- Use your marker consistently to track first stitch of each round.
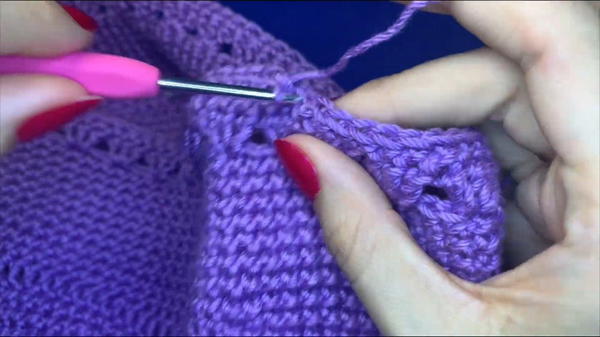
Round 18 to Round 22: Begin Sides with Double Crochet
- Chain 1 or 2 to start height for turning the work.
- Work double crochets (dc) around, 1 double crochet per base stitch, no increases to form straight sides.
- Continue rounds of double crochet until desired height is reached to cover the crown and head.
Final Round: Finishing Edge
- Work a neat row of single crochet stitches around the brim edge for a clean and firm finish.
- If desired, work decorative edges with slip stitches or scallop edging.
- Cut yarn and weave in all ends securely.
Optional Step: Adding Decorations (Petals or Flowers)
- Use contrast yarn to make flower appliqués or points as decoration (optional).
- Sew or use fabric glue to attach appliqués to the outside or inside (inside for reversible style).

Tutor’s Suggestions
- Use stitch markers for round beginnings to avoid confusion.
- Adjust rounds according to your head size for a perfect fit.
- Use firmer yarn for sturdiness, especially for the brim.
- If tension is tight, go up a hook size; if too loose, go down a size.
- To make reversible, attach decorations inside or outside as preferred.
Uses
- Stylish casual sun hat with adjustable brim wear.
- Complete your bikini set with matching hat.
- Great summer accessory for beach or casual outings.
Tip
When working increases in rounds, divide them evenly to keep the hat symmetrical and flat on top. Always count stitches after each round to avoid accidental gaps or puckers.
Conclusion
This chic little crochet hat is a perfect finishing touch to any summer outfit, especially when paired with its matching bikini pieces. Simple to make but versatile in wear, it offers a great project for crocheters of all levels.


