Fly into fun with this free crochet butterfly bracelet pattern and make a colorful, joyful accessory that will add a playful vibe to any outfit.
Creating your own jewelry adds a unique and personal touch to any outfit. The Free crochet butterfly bracelet pattern offers a delightful way to crochet a charming accessory that features a delicate butterfly design. This bracelet is both simple and elegant, making it perfect for everyday wear or for adding a special flair to a casual look.
Free Crochet butterfly bracelet Pattern With Complete Tutorial
The butterfly motif brings a sense of lightness and beauty, capturing the gentle charm of nature right on your wrist. Its hand-crocheted style makes it stand out from mass-produced jewelry, giving it a warm, personal feel. Beyond its decorative appeal, this bracelet makes a thoughtful gift, perfect for birthdays, holidays, or just to show someone you care.
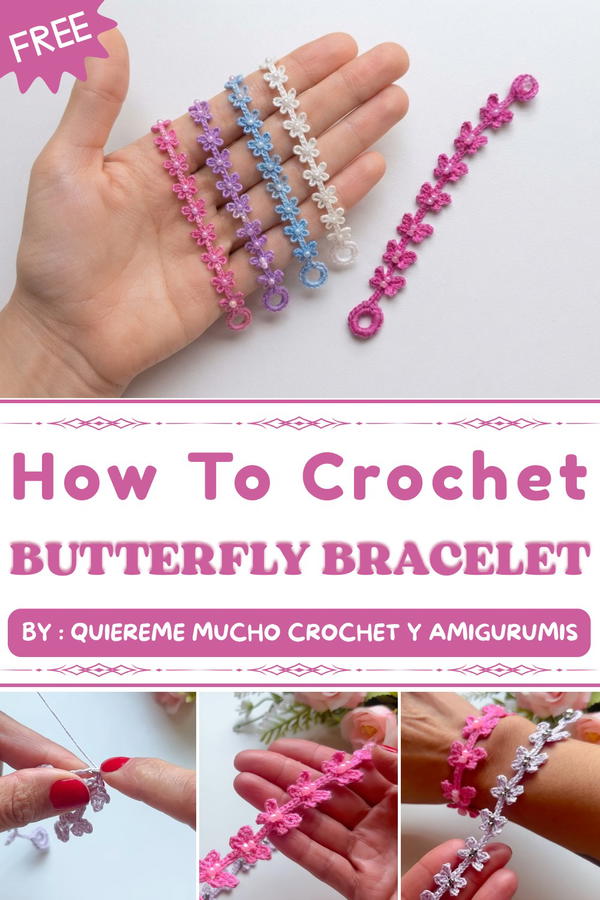
I came across this lovely pattern through the channel Quiereme Mucho crochet y amigurumis, which offers clear and friendly tutorials ideal for beginners and experienced crocheters alike. The project is both fun and rewarding, as it allows you to create something beautiful with your own hands.
If you’re looking to add a hand-crocheted piece to your jewelry collection or want to make a heartfelt gift, be sure to check out the free crochet butterfly bracelet pattern. It’s an enjoyable project that results in a stunning accessory anyone would love to wear.
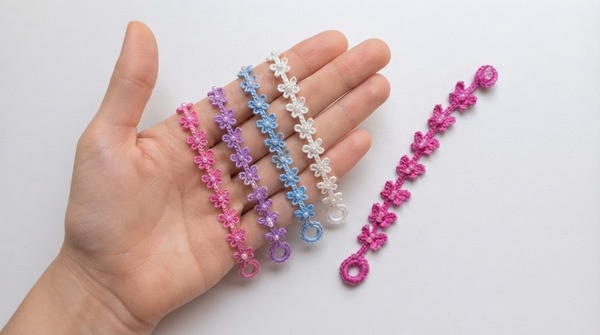
Uses of the Crochet Butterfly Bracelet
- Fashion Accessory: Adds a pretty and unique touch to your daily outfits.
- Gift Idea: Makes a thoughtful and handmade present for friends and family.
- Special Occasions: Perfect to wear for parties, birthdays, or casual events.
- Conversation Starter: Its unique butterfly design can catch attention and start conversations.
- Craft Practice: A great project for improving crochet skills while making something beautiful.
- Personal Expression: Allows you to show your style and creativity in a simple way.
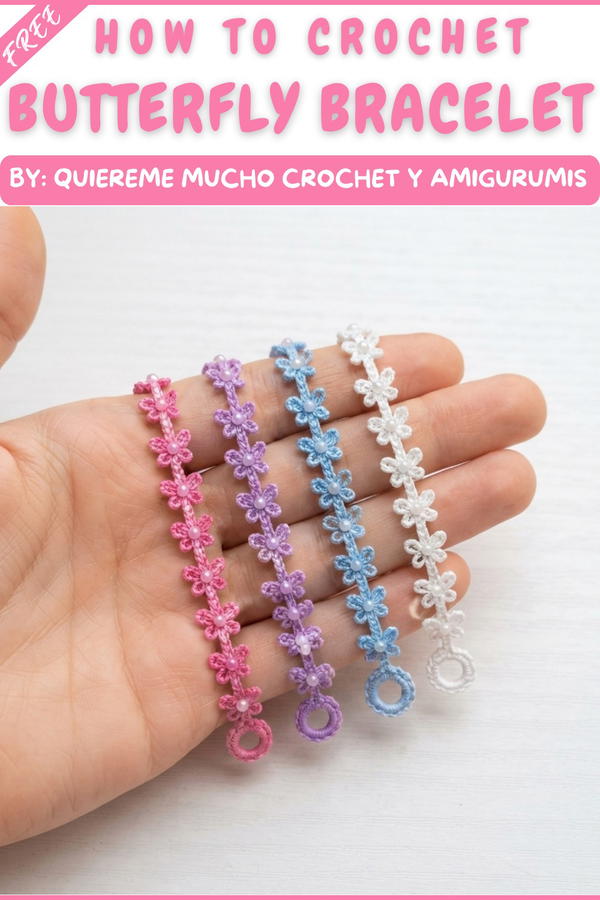
Butterfly Crochet Bracelet
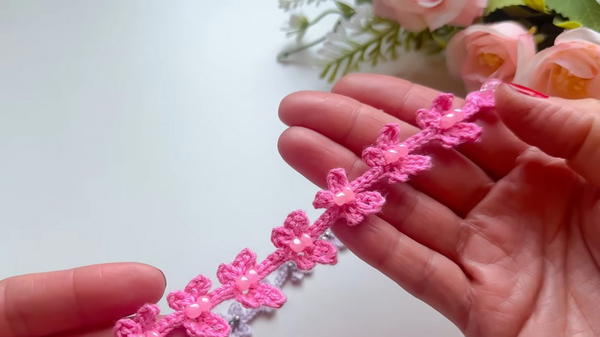
This butterfly bracelet features a chain of delicate butterflies interconnected to form an elegant, adjustable accessory. The design uses lightweight mercerized cotton or macramé thread, making it sturdy yet airy and ideal for everyday wear or as a charming handmade gift. Each butterfly is created in two mirrored halves, joined with chains, and finished with a simple pearl or button clasp for easy wear and enhanced style.
Pattern Basic Points
Key Features
- Continuous chain of butterflies constructed in mirrored halves.
- Minimal sewing; worked in one piece except for decorative finishes.
- Closure is integrated into the fabric (loop and bead/pearl).
- Works beautifully as a child’s or adult’s bracelet; easily adjusted in length.
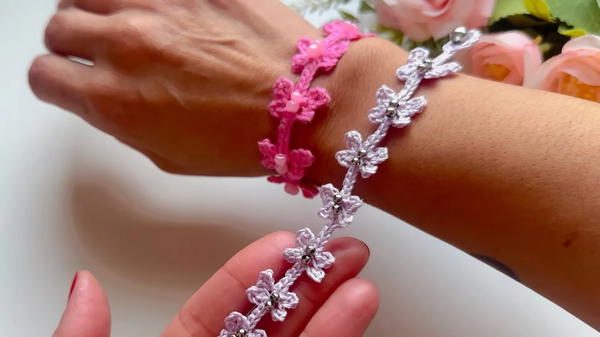
Special Notes
- Neat slip stitches and even tension will keep butterflies uniform and the bracelet delicate.
- Use a thin thread for a refined lace-like finish; thicker thread yields bigger, bolder motifs.
- Decoration with pearls or beads is optional for both closure and butterfly centers.
- Bracelet can be adapted as anklet, necklace, or bookmark by adding or subtracting motifs.
Skill Level
Beginner to Ambitious Beginner
Requires basic crochet knowledge: slip stitch, chain, single crochet, joining rounds, and working in the round.
Materials
- Mercerized cotton or macramé thread, approx. 1 mm thick
- 1.25 mm–2 mm crochet hook (to fit thread)
- Pearl, button, or bead for closure
- Optional: Small beads/pearls for centers of butterflies
- Yarn or beading needle
- (Optional) Fabric or strong adhesive glue
Measurements / Sizing
- Approx. bracelet length for 7 butterflies: 17–19 cm
- Width of each butterfly: ~2 cm
- Adapt length by making more/less butterflies
Gauge
- Gauge is not critical; tension should be firm but not tight.
- A ring of 8 chains joined with 15 sc results in a ~1 cm diameter circle.
Stitch Abbreviations
- ch = chain
- sl st = slip stitch
- sc = single crochet
- st(s) = stitch(es)
Special Stitches
No advanced techniques required, but precision in slip stitch placement is crucial for neatness. Insert hook under only the strand indicated (sometimes the “front belly” of a stitch) for tidy joins when closing butterfly wings.
Step-by-Step Pattern
1. Closure Ring
- Make a slip knot and ch 8.
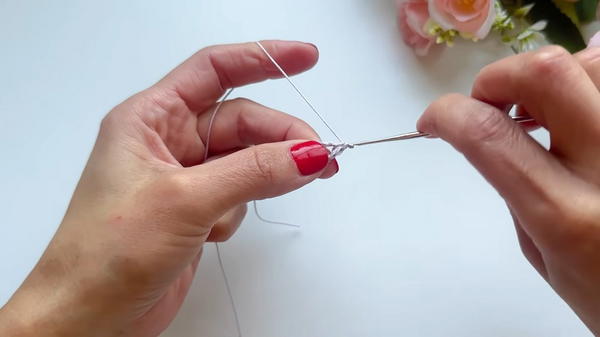
- Join with a sl st to the first chain to form a ring.
- Into the ring, work 15 sc. Crochet over the yarn tail to secure.
- Close the circle with a sl st in the first sc.
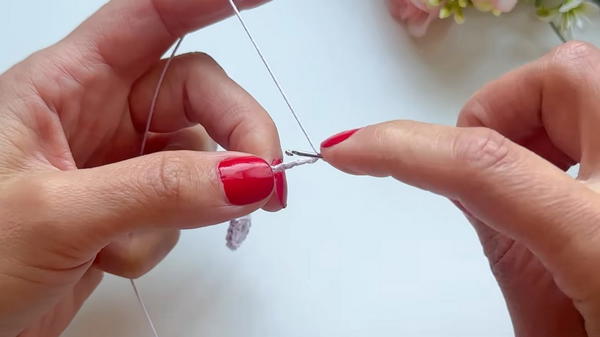
- Fasten off and trim end. This ring is one side of the bracelet’s clasp.
2. Butterfly Chain – First Half (Forward Row)
Each butterfly half is constructed as follows:
- Ch 6 (creates the “spine” between motifs).
- Ch 4 (butterfly body half).
- Count backward, sl st in the fourth chain from the hook (creates a “wing loop” at the base of the four chains).
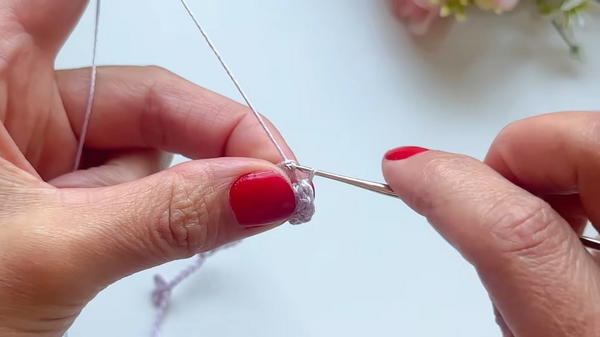
- Count backward, sl st in the fourth chain from the hook (creates a “wing loop” at the base of the four chains).
- Ch 4 again.
- Insert hook under the visible front strand (“belly”) of the last sl st you made, and then through the center of the same chain space.
- Sl st. This keeps the opening small and tidy.
- Repeat this sequence until you have the number of half-butterflies needed for your bracelet (for most adult wrists, 7 repeats).
3. Closure Loop (Opposite End)
- After your final butterfly half, ch 6.
- Ch 2 more.
- In the second chain from the hook, work 5 sc.
- Join with sl st in the first sc (creates a small ring).
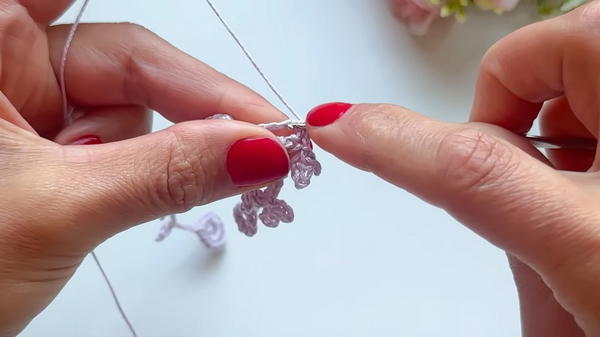
- Ch 1, then work 2 sc in each stitch around (total: 10 sc).
(This creates a reinforced loop for the clasp.) - Join with a sl st to the first sc in the round.
4. Reverse Row – Completing Butterflies
Work back down the bracelet to create the mirrored halves for each butterfly.
- For each segment:
- Work 1 sl st in each of the 6 ch along the connector strip.
- Ch 6.
- Sl st in the very first chain from the hook.
- Ch 4, insert hook under the front “belly” of previous sl st, then through the chain; sl st to close the wing.
- Work 1 sl st in each of the next 6 chains across the next connector strip.
- Repeat for each butterfly segment.
- At end of final butterfly, sl st into the original closure ring to finish.
- Cut yarn and fasten off.
Assembly
- Sew or glue a pearl, button, or bead onto the last ring for a secure clasp.
- If desired, sew or glue a small pearl or bead at the center of each butterfly for extra decoration.
- Weave in all thread ends using the needle.
Conclusion
This butterfly bracelet brings together motif-based construction, fine threadwork, and thoughtful finishing for a lightweight, wearable crochet accessory. With adjustable sizing and customizable embellishments, it’s perfect as a personalized gift or artisan market favorite. Changes in thread thickness or color produce different effects, allowing extensive creative freedom with a consistently beautiful result.