Brighten up your hairstyles with this free crochet flower hair tie pattern that’s easy to follow, fun to make, and perfect for adding a charming handmade touch to any look.
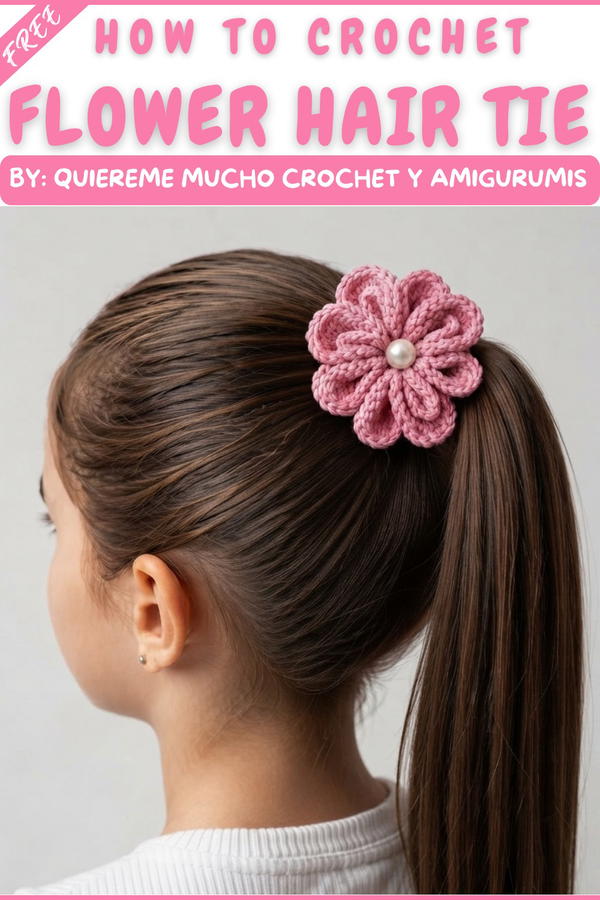
I recently found a delightful way to add a splash of charm to my hair accessories. The free crochet Flower HAIR TIE pattern caught my eye thanks to the creative tutorials shared on Quiereme Mucho crochet y amigurumis. This simple, yet beautiful item brings a handmade touch to everyday style, making it easy to brighten up any look.
Quick Crochet Flower Hair Tie | Free & Cute Hair Accessory Pattern
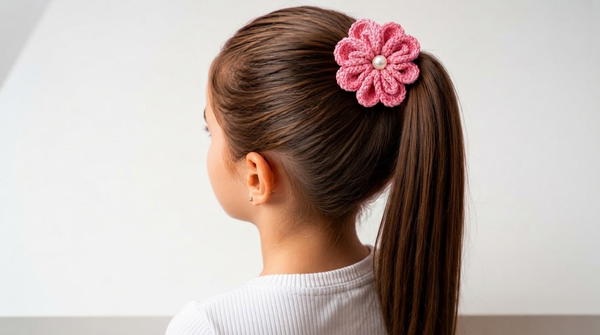
The Flower Hair Tie is a fun and stylish project that combines practicality and decoration. The bright, crocheted flower softens the overall appearance, making the hair tie not only useful but also a lovely accent piece. Its cheerful design can lift your mood and add a spring-like feel, no matter the season.
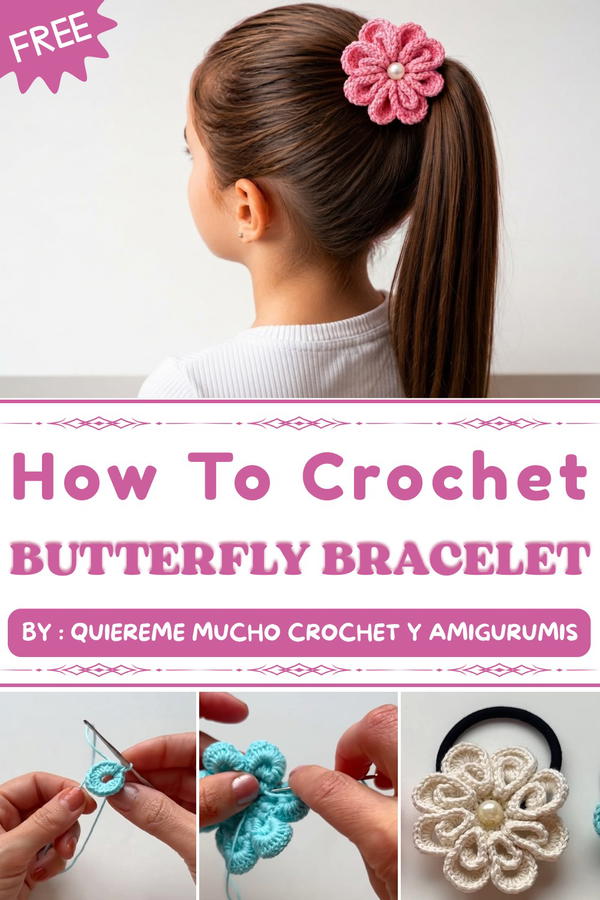
This hair tie is more than just an accessory, it’s a wonderful gift idea. Hand-crocheted items like these show care and thoughtfulness, perfect for friends, family members, or even as a special treat for yourself. The colorful flower adds personality and warmth, making it a memorable present that anyone would appreciate.
Whether you want to keep your hair neat during a busy day or accessorize for a casual outing, this crochet flower hair tie does both with style and ease. Its charm lies in the handmade detail and the way it gently complements your look. Plus, it’s great for crocheters of all levels who enjoy quick and rewarding projects.
If you’re looking for a cheerful and practical accessory to make or gift, be sure to explore the free crochet Flower HAIR TIE pattern. It’s a wonderful way to add a personal, handmade touch to your collection.
Crochet Relief Flower Hair Accessory
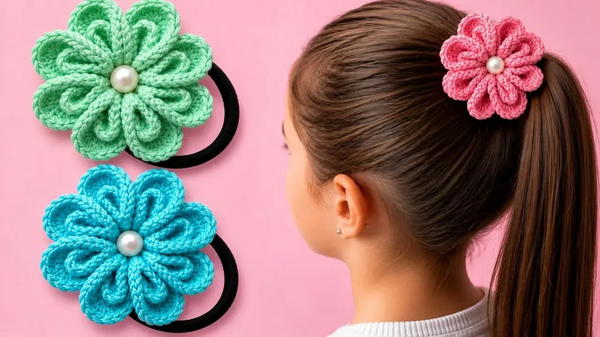
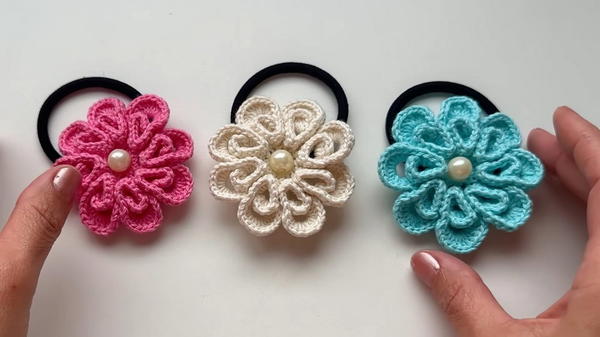
This crochet relief flower is designed as a beautiful and practical accessory suitable for market sales or gifting. Created with fine Peruvian thread, its dimensional petals and decorative center are perfect for hair ties, brooches, and embellishments. The project combines quick construction with a professional, layered finish, making it both efficient and visually appealing.
Pattern Basic Points
Structural Highlights
- Petals are created in two steps, resulting in sculptural, layered texture.
- Fine thread and a small hook yield precise, delicate details.
- The backing ring ensures secure attachment to hair elastics or clips.
- Embellished with a pearl, the flower exudes a refined, attractive look.
- The technique uses strategic relief and chain manipulation for visual depth.
Special Notes
- Double check the chain length and petal sequence for symmetry; working with fine thread, count stitches carefully to avoid gaps.
- Using hot glue is effective for fast assembly, but sewing yields a longer-lasting bond.
- Petals in relief are worked both into the post and the back chain, creating a pronounced 3D effect.
- The chain spaces and skipped stitches in petal formation are essential for even spacing.
Skill Level
Intermediate
- Comfortable with magic ring, slip stitch, double crochet, half-double crochet, and working into chains and posts.
- Pattern is worked in rounds and includes relief (post) crochet.
Materials
- Fine Peruvian thread (1.3 mm)
- 1.75 mm crochet hook (or size 2)
- Elastic hair band (tubular)
- Pearl (for center embellishment)
- Hot glue or sewing thread (for assembly)
- Scissors
- Yarn needle (for sewing/weaving ends)
Measurements / Sizing
- Finished flower diameter: About 5–6 cm across, depending on tension and thread
- Petal length: Each petal reaches approximately 2 cm
- Backing ring: Sized slightly smaller than flower, fits standard hair elastic
Gauge
- Gauge is not essential for accessories, but as a reference:
- Magic ring + 16 half-double crochets yields a base disk of approx. 2–2.5 cm
Stitch Abbreviations
- ch: chain
- sl st: slip stitch
- sc: single crochet
- hdc: half-double crochet
- dc: double crochet
- st(s): stitch(es)
- MR: magic ring
Special Stitches
Double Crochet (dc) into Front Two Loops:
Insert hook under only the front two loops of the stitch, rather than through both loops, for enhanced relief.
Relief Petal Formation:
Work dc stitches around the post created by previous dc (not the stitch itself), which forms raised, sculptural petals.
Step-by-Step Pattern
1. Base
- Create a magic ring.
- Ch 2 (counts as first hdc).
- Work 15 hdc into the ring (16 hdc total, including the initial chains).
- Sl st into the second chain at the round’s start to join.
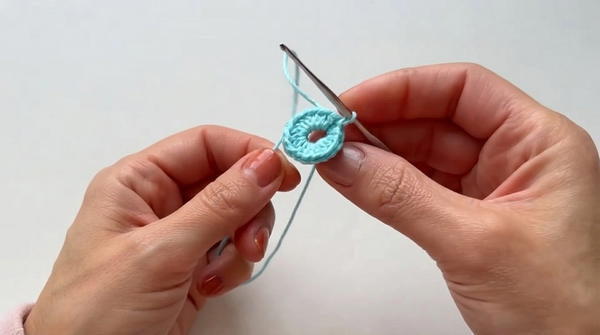
2. Petal Structure
Forming the Petal Outline:
- Ch 10.
- Counting from the flower’s base, sl st into the third chain.
- Dc in the same space (third chain from flower base).
- Work another dc in the same space (two dc total).
- Skip one base stitch, dc into the next base stitch.
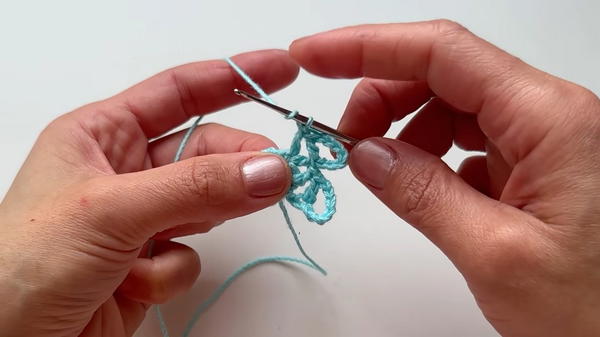
- Ch 7, dc into the front two loops of the previous dc, then add another dc into the same skipped base stitch.
- Repeat the petal structure:
- Ch 10, sl st into third chain, two dc in the same space, skip 1 base stitch, dc in next, ch 7, dc into front two loops of previous dc, dc into same base stitch.
- Continue this sequence around to form 8 petals (each petal anchored in the base ring).
- Complete the round with a sl st into the beginning space.
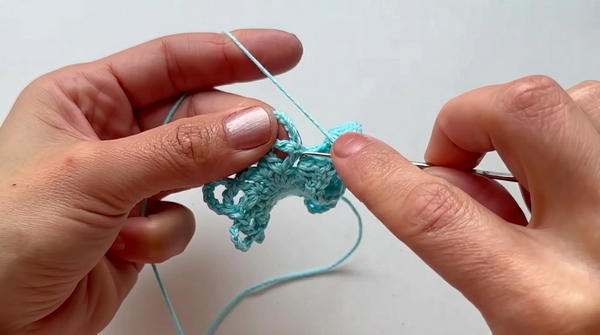
3. Flower Petals in Relief
Creating Raised Petals:
- Insert hook into the base of each petal, sc, ch 1.
- Work 4 dc into the post formed by previous two dc (this creates the relief effect).
- Continue: For each petal, repeat 4 dc into the post, working around the “V” shape created by earlier dc.
- When reaching the chain-7 segment (petal back), work 14 dc into the back chain loops.
- Complete each petal by working a sc in the middle to anchor.
- Repeat for all petals, ensuring uniform fullness and symmetry.
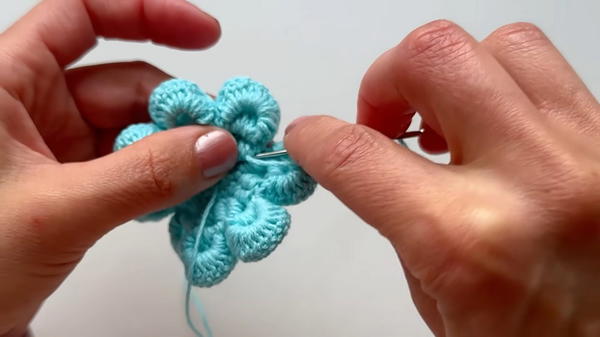
4. Assembly
Backing Ring for Attachment:
- Create a ring separately:
- Magic ring, work 18 dc into the ring.
- Close with a sl st.
- Attach the backing ring securely to the back of the flower using hot glue or sewing thread.
- Glue or sew the elastic hair band to the back, placing it at the center of the backing ring.
- Add a pearl to the center of the flower (by sewing or gluing), for a polished finish.
- Weave in any remaining ends with the yarn needle.
Conclusion
The relief crochet flower is an excellent choice for quick, high-impact accessories. Layered petals and a central pearl evoke classic elegance, while the sturdy construction ensures lasting utility. Versatile enough for hair ornaments, bags, or clothing embellishments, the flower can be personalized in color and assembly to match your creative or commercial needs. With straightforward rounds and emphasized relief work, this pattern provides a satisfying project with both beautiful texture and practical application.