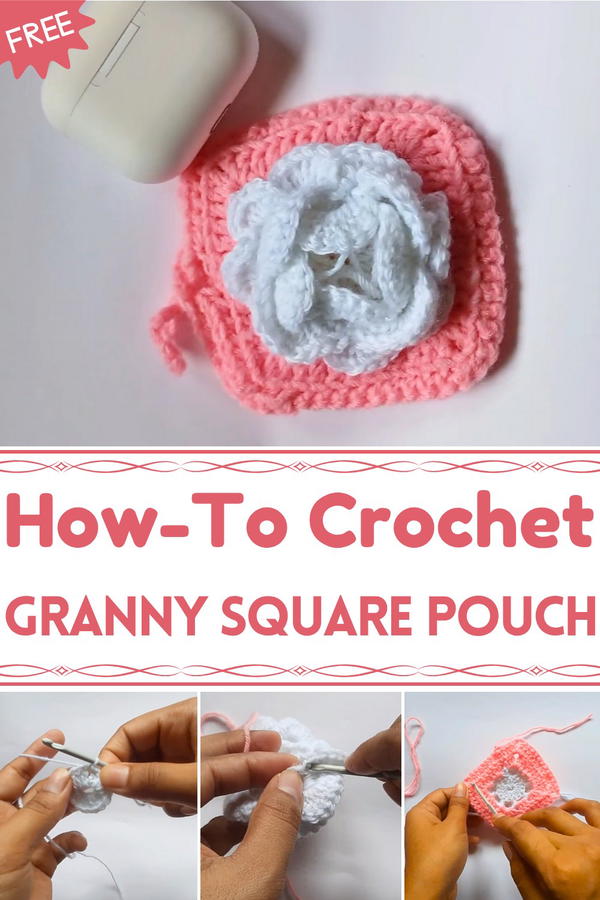
Gracefully stitched, the Free Crochet Granny Square Pouch Pattern brings charm and purpose together for stylish storage and heartfelt handmade gifting.
A small motif once passed from grandmother to granddaughter still carries the warmth of handmade tradition. That sentimental spark comes alive again through the Crochet Granny Square Pouch Pattern, turning simple yarn scraps into something both graceful and functional. Each square joins another like a memory linked with care, forming a pouch that feels as nostalgic as it is useful.
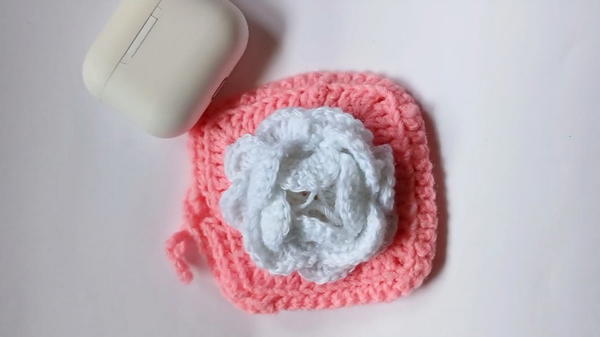
Crochet Granny Square Pouch to Keep Your Essentials Neat
Ideal for storing daily essentials, like makeup, jewelry, coins, or crochet hooks—it keeps little treasures neatly tucked away while adding charm to your everyday routine. The pouch’s colorful composition also makes it a thoughtful, eco-friendly project, allowing you to repurpose leftover yarn in a meaningful way. Soft to the touch yet sturdy in shape, it fits perfectly in a handbag or can stand alone as a decorative accent on a vanity or dresser.
This timeless piece not only celebrates traditional needlework but also brings a sense of calm and creativity into modern living. Every stitch becomes a gentle reminder that small things, when joined with purpose, can hold remarkable beauty and usefulness. It’s a lovely expression of heritage, practicality, and personal style—woven together in the simplest of squares.
Materials Needed
- Yarn: Multiple colors for granny squares (pick contrasting or complementing shades)
- Crochet hook: Match the size to your chosen yarn thickness
- Scissors: For cutting yarn
- Tapestry needle: For weaving in ends and joining squares
- Stitch markers (optional): To mark corners and rows as you work
Step-by-Step Details
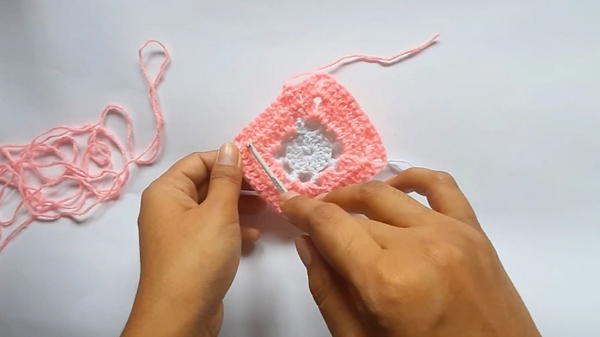
1: Creating the First Granny Square with Flower Design
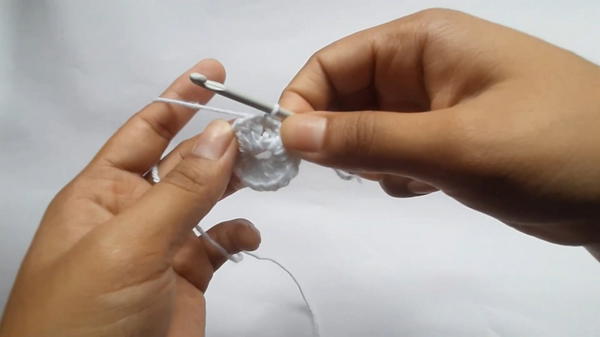
Start with a Magic Circle:
- Start with a loose slip knot.
- Insert your finger into the loop, pull the yarn through, and adjust to form the circle.
Make the Center Circle (Round 1):
- Chain 3 (counts as the first double crochet).
- Follow with 15 double crochets into the magic circle.
- Tighten the circle by pulling the loose yarn end, and join the round with a slip stitch. You should now have 16 stitches.
Create Foundation Loops (Round 2):
- Chain 4, skip one stitch, make a single crochet in the next.
- Repeat this pattern until you complete the round, creating 8 loops.
- Join the row with a single crochet in your starting stitch and count to verify you have 8 loops.
Add Petals (Round 3):
- Work into the loops:
- In the first loop, make 1 single crochet.
- In the second loop, crochet 8 double crochets.
- Alternate between making a single crochet in one loop and 8 double crochets in the next, forming petals.
- Continue this pattern across the round.
- Work into the loops:
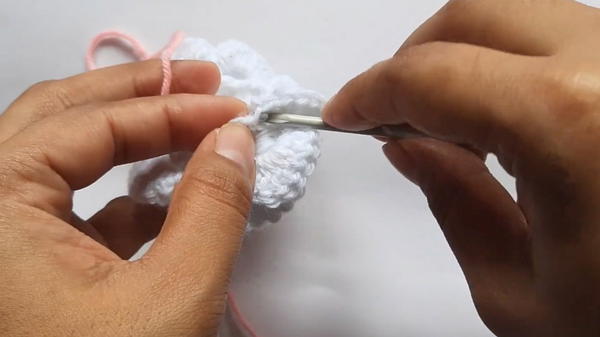
Overlap Petals (Round 4):
- Turn your work to the backside.
- Make a single crochet in the spot behind the previous row’s single crochet.
- Chain 4 and repeat the pattern across all 8 gaps.
Final Layer of Petals (Round 5):
- In the loops from Round 4, alternate between:
- Crocheting 9 double crochets to form a petal in one loop;
- Making a single crochet in the next loop.
- Continue this alternating pattern to finish the row.
- End this step by switching to a different color yarn for the granny square’s edges.
- In the loops from Round 4, alternate between:
Create the Granny Square Shape (Rounds 6–7):
- Round 6:
- Chain 3 (first double crochet) in the first loop and make 2 double crochets.
- Chain 2 for the corner and make another 3 double crochets in the same loop.
- Continue alternating between 3-double-crochet clusters and chain-2 corners around the square.
- Slip stitch to finish the row.
- Round 7:
- Chain 3 (counts as the first double crochet). Work double crochets in all stitches.
- In the corner spaces, make 2 double crochets, 2 chains, 2 double crochets.
- Round 6:
2: Making the Second Granny Square without a Flower Design
Foundation Circle (Round 1):
- Create a magic circle and follow the same process as the first square: Chain 3 and add 15 double crochets to the circle for a total of 16 stitches.
Increase the Round Size:
- Follow an alternating pattern of 1 double crochet in one stitch, followed by 2 double crochets in the next stitch (an increase). This increases the stitch count in every row.
Create the Granny Square (Rounds 3–4):
- Repeat the same patterns used in the earlier granny square, ensuring to have even stitches and properly positioned corners.
3: Joining the Granny Squares to Create a Pouch
Align the Two Granny Squares:
- Place the squares together with their wrong sides facing each other. Ensure that the edges align perfectly.
Single Crochet Along the Edges:
- Use the back loop of the front square and the front loop of the back square for a neat join.
- Work single crochets on three edges to join the squares together, leaving one side open for the pouch opening.
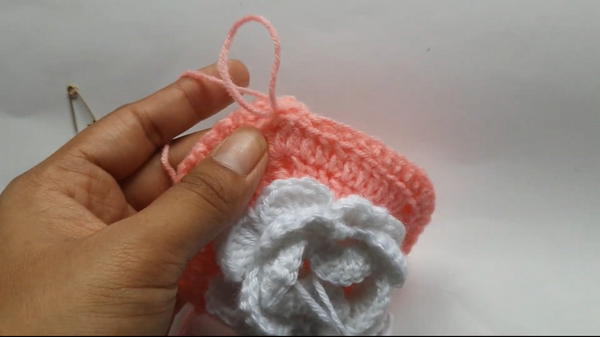
Create the Closure:
- On the open side, work the following pattern:
- 5 single crochets, 4 chains, skip 2 stitches, and repeat.
- On the other square, repeat the same closure pattern but chain 13 to create a loop for closure (or adjust the chain length based on preference).
- On the open side, work the following pattern:
Weave in Loose Ends:
- Use a tapestry needle to weave in all loose yarn ends for a clean finish.
- Use a tapestry needle to weave in all loose yarn ends for a clean finish.
Special Features
- Dual Design: Combines a floral square and a simple granny square for a unique and charming aesthetic.
- Functional: Offers storage for small items like keys, coins, or earbuds.
- Customizable: Change yarn colors, square size, or add embellishments to personalize.
Level of Difficulty
Beginner to Intermediate:
- The floral design may present a slight challenge for beginners, but overall, the project uses basic stitches like magic circles, chains, double crochets, and single crochets.
Tutor’s Suggestions
- Count Your Stitches: Verify stitch and loop counts after each row to avoid errors.
- Keep Tension Consistent: Maintain even tension throughout for a neat and even finish.
- Mark Corners: Use stitch markers or scrap yarn to mark the corners of your granny squares.
- Adjust to Preference: Change the pouch size or add decorative elements like buttons or a strap.
Uses of the Granny Square Pouch
- Storage: Perfect for small daily items like cosmetics, coins, or earbuds.
- Gift: A thoughtful, handmade gift for friends or family.
- Craft Projects: Great practice for building your granny square crochet skills!
Tip
To create a more structured pouch, consider lining the inside with fabric for added durability and support. Simply sew the fabric to the inside before joining the squares.
Conclusion
The granny square pouch is a delightful and practical project that combines crochet basics with creativity. Whether you want to store small items or create a personalized accessory, this pouch is a fantastic project that works up quickly.


