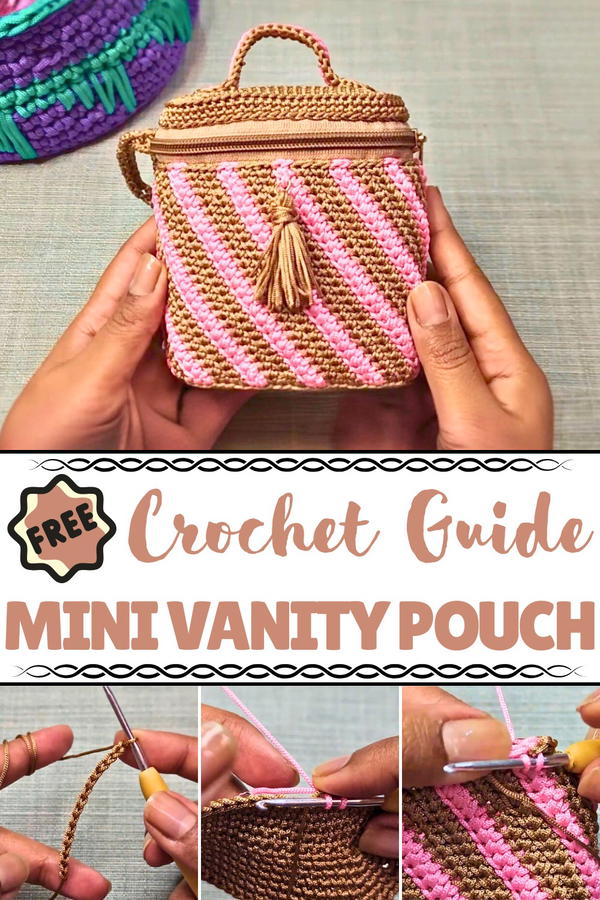
Carry your daily must-haves with charm using this Free Crochet Mini Vanity Pouch Pattern that keeps style and function beautifully balanced.
Tucked into the corner of a carryall, a small pouch once held only the essentials, a lip balm, a hair tie, a few bobby pins. Over time, it became something more: a quiet companion that keeps life’s little necessities neat and close at hand. The Free Crochet Mini Vanity Pouch Pattern celebrates this very notion. Compact yet thoughtfully structured, this pouch fits easily into handbags, glove compartments, or desk drawers, offering a soft space for storing tiny items that often get lost in clutter.
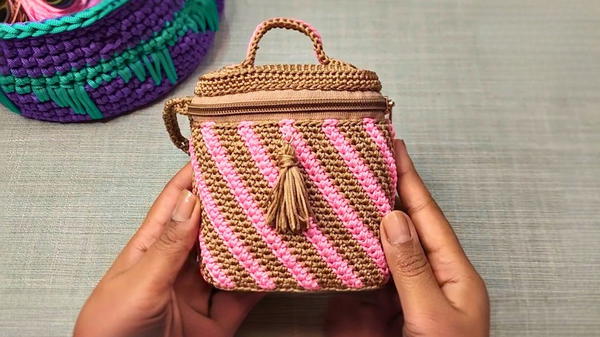
Tiny & Chic Try Free Crochet Mini Pouch For Beauty On The Go
Its firm texture ensures it holds its shape, while the subtle stitchwork adds a gentle texture that complements both utility and charm. Whether you're keeping cosmetics secure, organizing earbuds and chargers, or giving it as a thoughtful gift, this pouch carries both style and practicality. A simple button or zip closure ensures contents stay in place. Its size is just right, not too bulky, not too slim, making it versatile for daily use.
With its understated appeal and functional flair, this mini pouch proves that even the smallest accessories can make a big impact on organization. A beautiful way to bring order to the everyday, it’s a timeless staple for anyone who values both detail and usefulness.
Step-by-Step Guide for a Cute Crochet Pouch
Materials Required
To make the pouch, you will need the following items:
- Nylon yarn (1 mm):
- Primary color (main body of the pouch)
- Secondary color (contrasting design details)
- Total quantity: less than 100 g
- Crochet hook: 2.5 mm
- Zipper: 7 inches
- Stitch markers: (preferably different colors for easy identification)
- Tapestry needle
- Scissors
Special Features of the Pouch
- D-Shaped Base: The pouch is flat at the back and rounded in the front, resembling the letter "D."
- Multicolored Detail: Alternating two colors for aesthetic patterning using primary and secondary yarn.
- Zip Closure: A zipper adds a functional element while maintaining a clean look.
- Wristlet Handle: Includes a detachable wristlet strap for convenient carrying.
- Compact Size: The pouch measures approximately 4 inches tall, perfectly suited for storing small cosmetics or essentials.
Step-by-Step Process
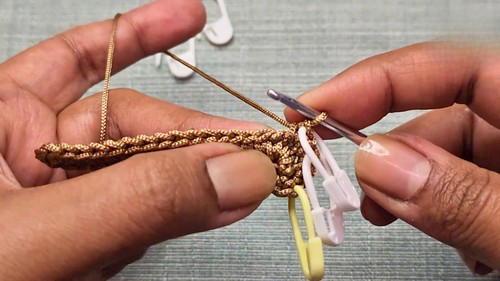
1. Creating the Base
- Difficulty Level: Beginner
- Steps:
- Start with a slip knot.
- Make 15 working chains.
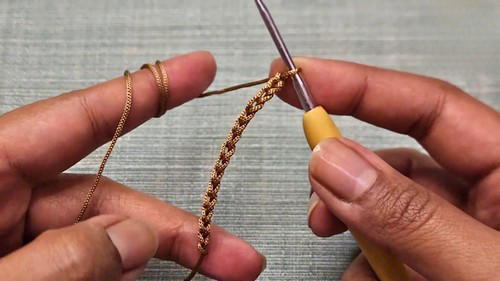
- Crochet into the back bumps of the chain—this method makes the edges cleaner.
- Create rows of single crochet as detailed in the tutorial.
- Shape the base into its D-structure by adding strategic increases at the curved ends.
- Tips from the Tutor:
- Pull tightly on the tail to keep the initial stitches snug.
- Use stitch markers to differentiate the "flat" and "curved" edges.
- Outcome: A D-shaped base with structured corners for the pouch.
2. Building the Body
- Difficulty Level: Intermediate
- Steps:
- Work the stitches only in back loops to transition from flat base to vertical sides of the pouch.
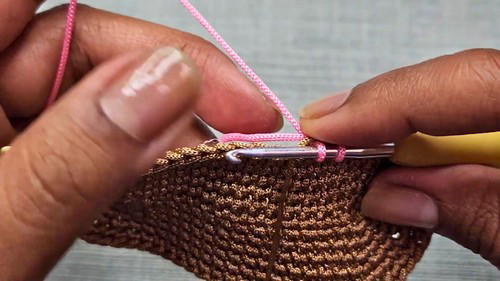
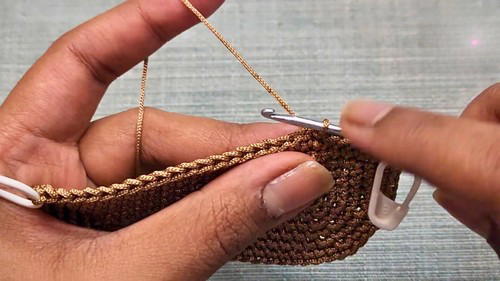
- Alternate between primary and secondary yarn to form a pattern (e.g., two-color stripes).
- Carry along the unused yarn inside the stitches to maintain neatness and prevent gaps.
- Crochet for a total of 25 rows to build the body of the pouch.

- Work the stitches only in back loops to transition from flat base to vertical sides of the pouch.
- Suggestions from the Tutor:
- Ensure your stitches follow the D-shape geometry for consistent structure.
- Use a tapestry needle to hide loose ends neatly.
- Align stitch markers at corners before finishing the row.
3. Adding the Zipper
- Difficulty Level: Intermediate
- Steps:
- Measure from one corner of the pouch to the other.
- Crochet rows that align perfectly with the zipper height (e.g., 3 rows).
- Stitch the zipper securely onto the pouch using the long yarn tail left for this purpose.
- Key Features: The zipper enhances both the style and durability of the pouch.
4. Creating the Top Lid
- Difficulty Level: Beginner
- Steps:
- Replicate the D-shaped base but add height via additional rows.
- Work exclusively in back loops for single crochet stitches.
- Fasten the lid to the top of the pouch using a tapestry needle and the long tail.
- Tutor’s Suggestions:
- Align markers from the top lid with the corners of the base for accuracy.
- Keep tension consistent while sewing to avoid deforming the pouch.
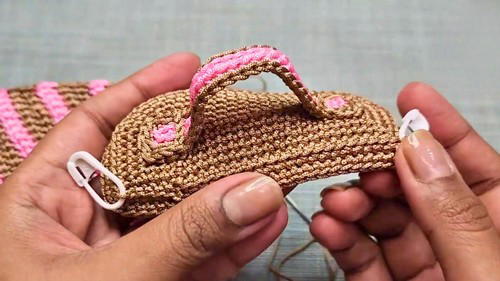
5. Adding the Wristlet Handle
- Difficulty Level: Beginner
- Steps:
- Use the secondary color yarn (pink in the tutorial).
- Make 25 chains for length.
- Crochet into the back bumps for symmetry.
- Attach the completed handle to the top lid using a tapestry needle.
Uses of the Finished Pouch
- Handbag Organizer: Store cosmetics, small tools, or daily essentials.
- Standalone Wristlet: Use the pouch as a fashionable accessory.
- Travel Companion: Carry small hygiene items or valuables during travel.
Tutor’s Overall Suggestions
- Yarn Choice: Choose nylon or polyester yarn for sturdiness.
- Alignment: Lay the pouch flat and use stitch markers to ensure symmetrical alignment during assembly.
- Adjust Size: To make a taller pouch, simply extend the body by adding extra rows.
Tip for Success
For a polished look, keep the yarn tension consistent throughout all rows. When attaching the zipper, use back stitches to ensure it's secure and avoid any loose ends. You can add decorative embellishments like tassels or beads if desired!
Conclusion
This tutorial teaches you how to create a versatile pouch while practicing essential crochet techniques. Whether you’re a beginner learning the crochet or an intermediate crocheter refining your skills, the pouch combines functionality with style.


