Add a handmade touch to your space with this free crochet chicken pattern that helps you deliver a fun and charming decor piece for any setting.
If you enjoy making handmade things, creating a little chicken can be a wonderful and fun activity. The Free Crochet Chicken Pattern allows you to make a cute and soft bird that looks like a friendly farm animal. This small crochet chicken adds a warm, cheerful touch to any room.
Free Crochet chicken Pattern With Easy Steps
This pattern’s most attractive design is its simple, round shape paired with tiny wings and a bright comb on top of the head. Its texture is soft and smooth because of the close and neat crochet stitches. The overall appearance is playful and welcoming, which makes it perfect for decoration or as a special, handmade gift.
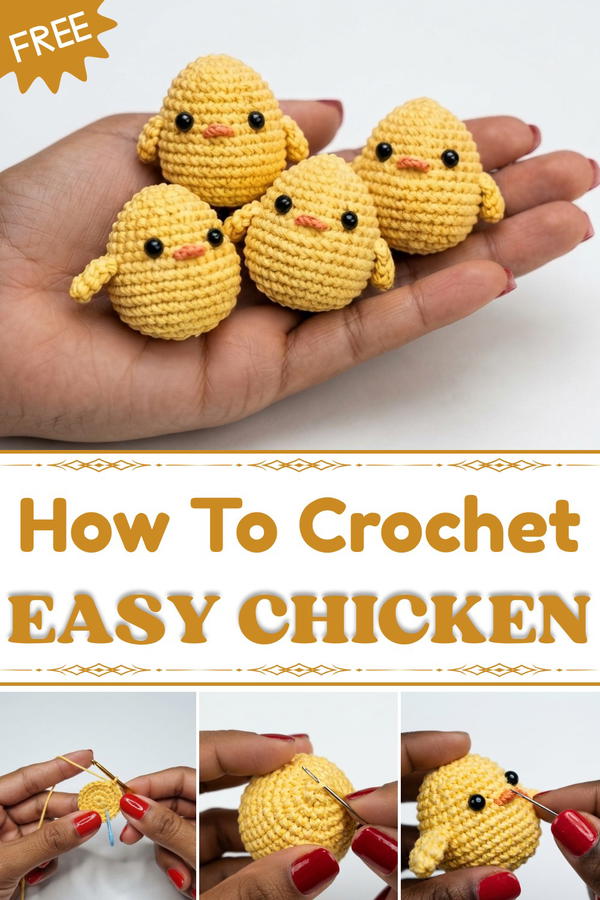
There are many ways to use this little chicken. It can be a lovely toy for children to play with or a charming addition to your kitchen windowsill or shelf. You might also use it as a unique pincushion if you enjoy sewing. Making several chickens in different colors and sizes is easy and fun, allowing you to create a collection that brightens up any space.
This pattern works well for beginners and those who have some experience with crochet. You can choose yarn in bright yellow, soft brown, or a mix of colors—whatever you like best. Its friendly shape and soft feel make it a great project for all ages, including kids learning to crochet and adults who want to make something cheerful and cute.
In short, the Free Crochet Chicken Pattern helps you make a soft, lovely figure that looks great at home or in a playroom. This simple and joyful project brings a bit of countryside charm into daily life.
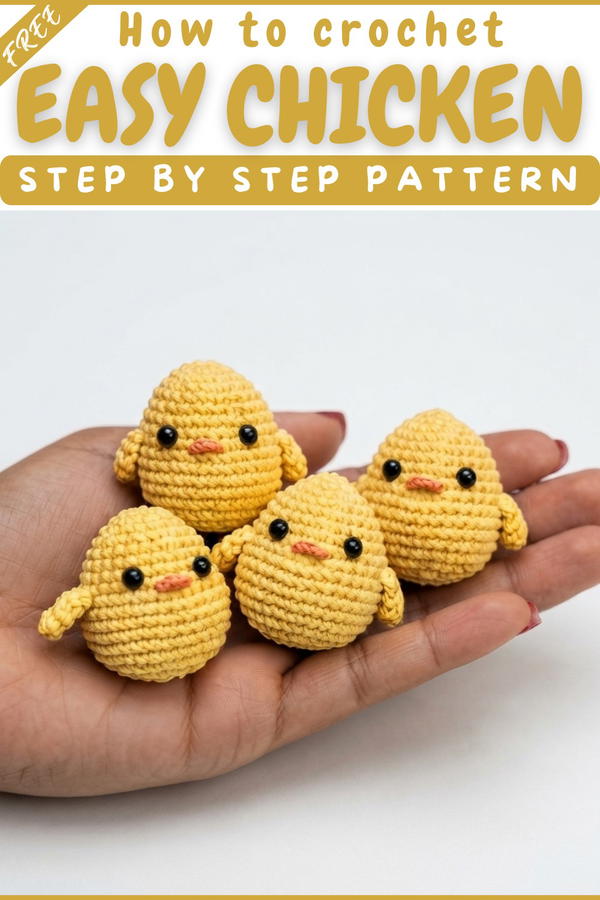
Egg-Shaped Amigurumi Chick – Crochet Pattern
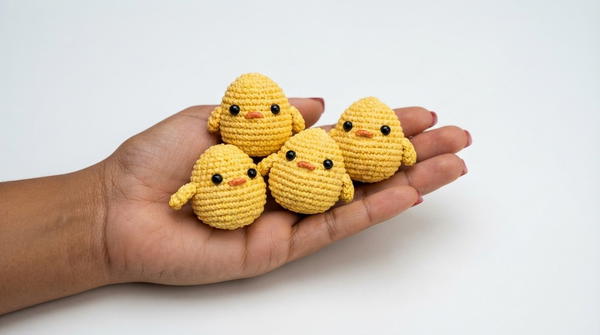
This charming little chick fits perfectly in the palm of your hand and makes a cheerful springtime accent, baby shower favor, or sweet stash buster. The pattern walks you step-by-step through the process of sculpting a seamless chick body, working simple wings, and adding adorable embroidered and safety-eye features. Even confident beginners can achieve a neat, professional finish using basic amigurumi techniques and clear assembly guidance.
Skill Level & Terminology
- Skill Level: ★☆☆☆☆ (Beginner/Confident Beginner)
- Terminology: This pattern uses US crochet terms throughout. If you need help converting to UK terms, see the notes at the end.
Materials & Tools
- Yarn: Worsted weight #4 or DK weight #3 in yellow for the body, plus a small amount of orange for the beak.
- Crochet Hook: Size 3.0 mm to 4.0 mm (choose a size that gives firm stitches).
- Stuffing: Polyester fiberfill.
- Safety Eyes: 5 mm diameter.
- Yarn Needle: For sewing and embroidery.
- Scissors
- Wooden Stick or Chopstick: Helpful for stuffing the egg shape evenly.
- Stitch Marker: Highly recommended for tracking rounds (optional).
Gauge
- Gauge: Tight amigurumi stitch to prevent stuffing from showing through.
- Sample Swatch:
- Work 10 rounds of 8 single crochets in spiral. Piece should measure approximately 1.5” (4 cm) wide when worked with recommended yarn and hook. Adjust your hook size for a firmer or looser fabric as needed.
- Note: Gauge is not critical, but consistency is important for the overall look and feel.
Abbreviations List
| Abbreviation | Meaning |
|---|---|
| st(s) | Stitch(es) |
| ch | Chain |
| sc | Single crochet |
| inc | Increase (2 sc in same stitch) |
| dec | Decrease (single crochet 2 together) |
| MR | Magic ring |
| FO | Fasten off |
Special Stitch Instructions
Magic Ring (MR)
- Start with a loop; insert hook and pull up a loop, then work all listed stitches into this ring. Pull tail tight to close for a seamless start.
Increase (inc)
- Work 2 single crochet stitches into the same stitch from the row below.
Decrease (dec)
- Insert hook into front loop of each of the next two stitches, yarn over, pull through all three loops. This “invisible” decrease makes the finished piece more seamless.
Rococó Stitch (for Beak)
- This is an embroidered, raised stitch (similar to a rolled bullion or wrapped stitch); wind the yarn around your embroidery needle several times, insert it where you want the beak, and gently pull the wraps off to create a plump beak.
Finished Size
- Height (egg-shaped chick): Approx. 2.5–3” (6–7.5 cm) tall, but can vary with your yarn and hook.
- Wings: Flattened, approx. 0.75” (2 cm) across.
- Proportions: Firm, plump, and palm-sized; ideal for small hands, decor, or gifting.
The Pattern
BODY
- Round 1:
- Start with a Magic Ring (MR).
- Work 8 sc in MR. (8 sts)
- Round 2:
- Inc in each stitch around. (16 sts)
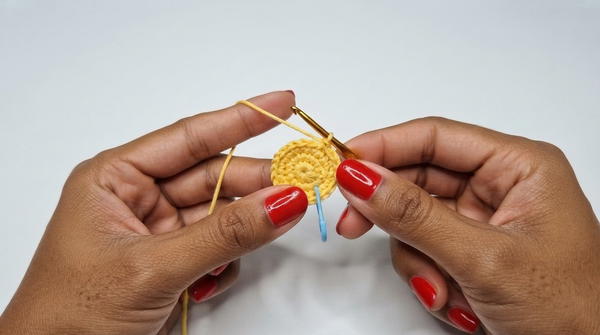
- Inc in each stitch around. (16 sts)
- Round 3:
- (1 sc, 1 inc), repeat around. (24 sts)
- Round 4:
- (3 sc, 1 inc), repeat around. (30 sts)
- Round 5:
- (5 sc, 1 inc), repeat around. (35 sts)
- Rounds 6–10:
- Work 1 sc in each stitch. (35 sts per round)
- Round 11:
- (5 sc, 1 dec), repeat around. (30 sts)
- Rounds 12–13:
- Work 1 sc in each stitch. (30 sts per round)
- Round 14:
- (4 sc, 1 dec), repeat around. (25 sts)
- Round 15:
- Work 1 sc in each stitch. (25 sts)
- Round 16:
- (3 sc, 1 dec), repeat around. (20 sts)
- Round 17:
- (2 sc, 1 dec), repeat around. (15 sts)
- Round 18:
- (1 sc, 1 dec), repeat around. (10 sts)
- Round 19:
- 5 dec to close piece. (5 sts)
- FO.
- Weave tail through the remaining 5 sts and pull to close, hide the end inside.
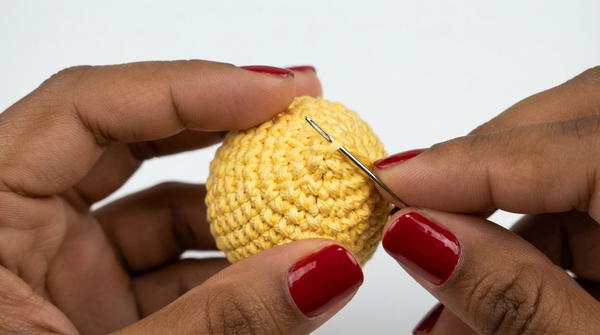
- Stuff firmly during and after Round 17, using your wooden stick to reach the bottom and give an even “egg” roundness.
WINGS (Make 2)
- Round 1:
- Start with MR.
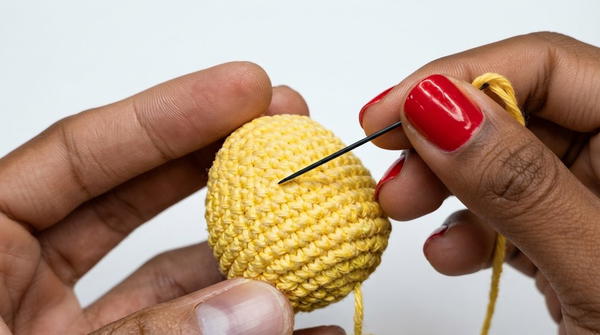
- Work 6 sc in MR. (6 sts)
- Round 2:
- (1 sc, 1 inc), repeat around. (9 sts)
- Round 3:
- 1 sc in each stitch around. (9 sts)
- Finishing:
- Flatten the wing.
- Work 4 sc through both layers across the edge, closing the wing.
- FO and leave a tail for sewing to the body.
Assembly & Finishing
Stuffing
- Stuff the body firmly but gently while the opening is still large enough for your stick or fingers. The roundness is important for a cute, eggy look.
Attaching the Wings
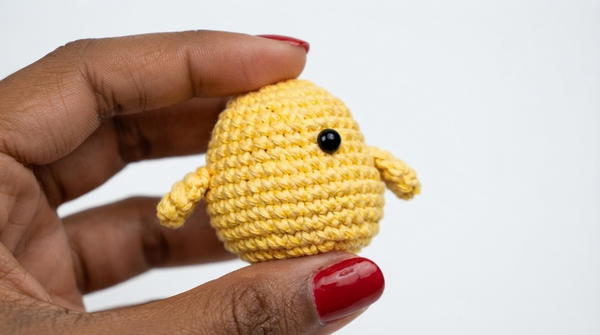
- Place the closed wings between rounds 10 and 11 (about halfway down the body).
- Position them opposite each other, with 14 stitches apart between wing edges on the body (use pins or stitch markers for symmetry).
- Sew each wing securely with a yarn needle.
Adding the Eyes
- Insert 5 mm safety eyes one round above the wings.
- Space them 6 stitches apart (count from the center of one eye to the center of the other).
- If using safety eyes, add before closing the head. If embroidering, do so after assembly.
Embroidering the Beak
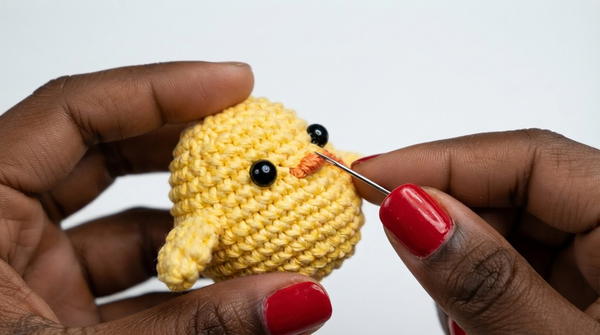
- Thread a blunt needle with orange yarn.
- Find the center point between the eyes and wings.
- Work a rococó (bullion/rolled) stitch: wind yarn around the needle several times, insert and pull through to create a plump, raised beak. Secure ends inside the body.
Final Touches
- Weave in all ends neatly inside your chick to prevent unraveling.
- Massage to shape the body and wings as desired.
Additional Tips
- For variation, glue or stitch a ribbon bow, embroider tiny blush cheeks, or add a keyring loop for a cute bag charm.
- To make a set, use pastel or ombré yarns for seasonal chicks.
UK Terms Conversion
- UK sc = US dc
- UK dc = US sc
- Pattern above is written using US terminology.
Conclusion
This pattern not only familiarizes you with basic shaping, increasing, and decreasing, but also teaches you the importance of careful positioning and embroidery for bringing your character to life. With just a small amount of yarn and a handful of notions, your chick will be ready to brighten up any room, gift basket, or special occasion.