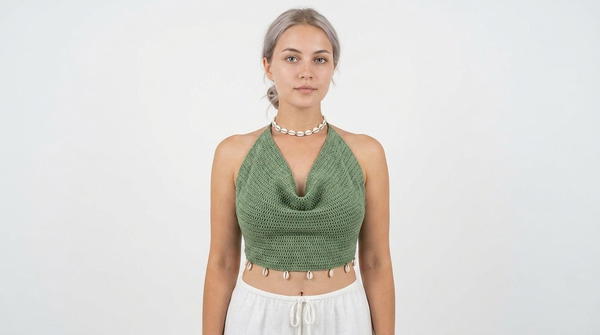
Experience the charm of a lightweight and stylish crochet top, perfect for sunny days and easy to customize with your favorite colors and designs.
Creating a handmade crochet top is a wonderful way to combine creativity and practicality. It allows you to make a piece of clothing that is perfectly tailored to your style, size, and comfort. These tops are light, soft, and breathable, making them ideal for warm weather or layering during cooler days.
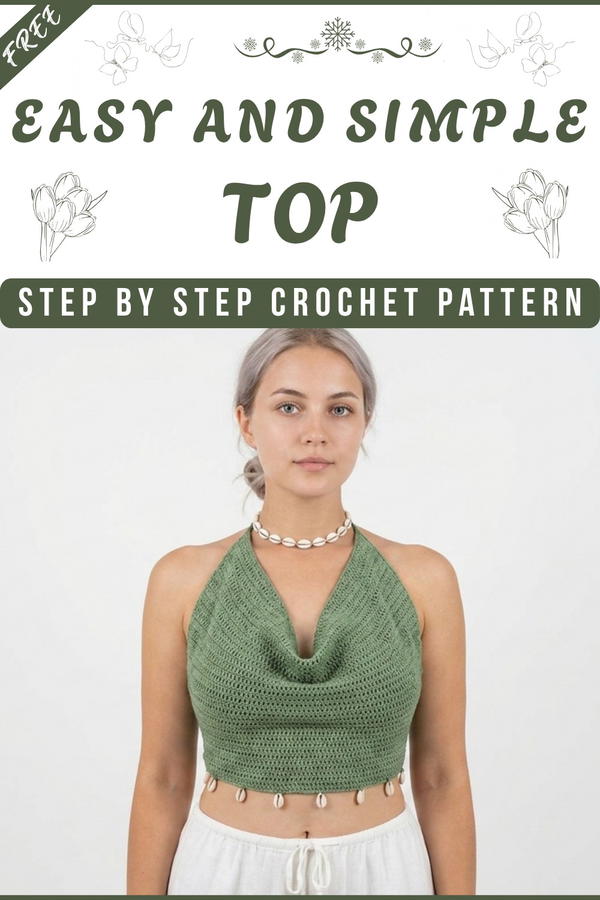
Easy Free Crochet Top Pattern for Beginners to Try Today
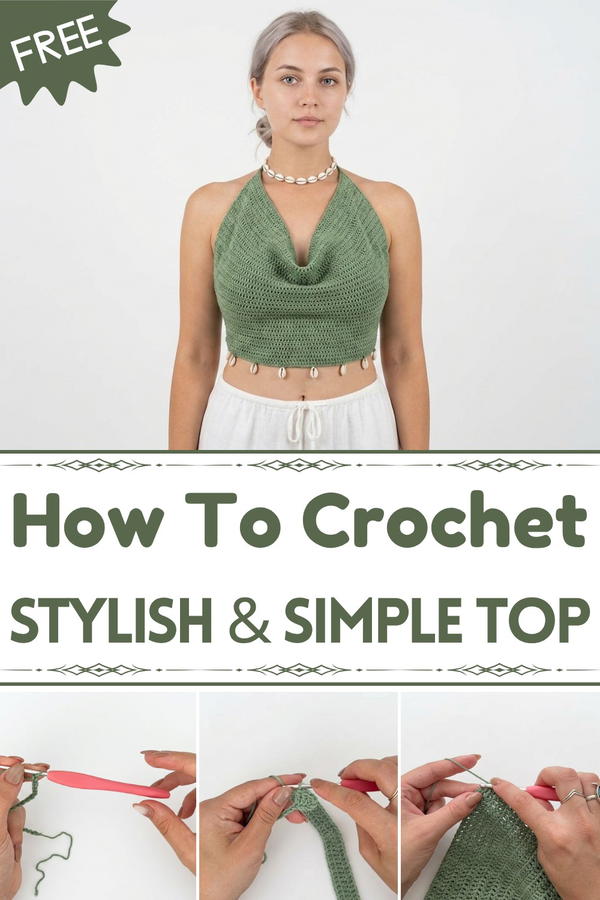
The beauty of a crochet top lies in its intricate yet simple design, which you can personalize in any color, add unique details like laces or beads, and even experiment with fun patterns to make it truly your own. It’s not just a clothing item but also something that shows your talent and gives a sense of accomplishment. A crochet top fits well with any outfit, be it jeans, skirts, or shorts, making it versatile and practical for everyday wear.
Crochet Simple Rectangular Summer Top
Materials Needed
Yarn:
- Drops Loves You 7: 100% cotton yarn (appropriate for summer garments).
- Suggested: Any cotton yarn of a similar fiber and thickness can be used.
- Note: Thicker yarn will produce a heavier garment, while thinner yarn will create a lighter and more delicate top.
Hook:
- 3mm crochet hook.
- Optional: Use a larger hook (e.g., 3.5mm–4mm) for the foundation chain to make stitches easier to work.
Additional Supplies:
- Scissors.
- Tapestry needle for weaving in loose ends.
- Measuring tape.
- Shell embellishments (optional).
Gauge:
14 double crochet stitches = 10cm (4 inches), 8 rows = 10cm (4 inches).
- Adjust hook size if gauge does not match.
Finished Size:
- Width: 42cm (16.5 inches).
- Height: 29cm (11.5 inches).
- Lace Length: 100 chains (~50cm/20 inches).
- Sizes can be adapted as needed.
Customization Ideas:
- Optional Shells: Add shells to the laces or bottom edge for decorative flair.
- Yarn Choice: Experiment with blended fibers like bamboo or linen for a unique texture.
- Sizing: Adjust the width and height of the rectangular panel according to your desired fit.
Special Techniques:
Double Crochet Without Chains (Optional Replacement for Turning Chains):
- Start with 1 chain and insert your hook into the next stitch.
- Work a single crochet in the stitch.
- Insert the hook into the left loop of the single crochet just made.
- Work another single crochet.
- Yarn over and pull through both loops to mimic the look of double crochet stitches.
Using this technique creates a clean edge without the gaps typically left by turning chains.
Pattern Instructions
Step 1: Create the Panel
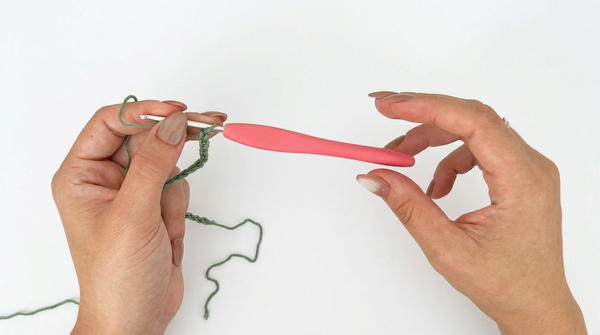
Foundation Chain:
- Make a slip knot and chain 90 chains (or the length needed for your desired width).
- For reference: 90 chains = 42cm (16.5 inches).
- Use a larger crochet hook for this step if you're a beginner to make stitches easier to work.
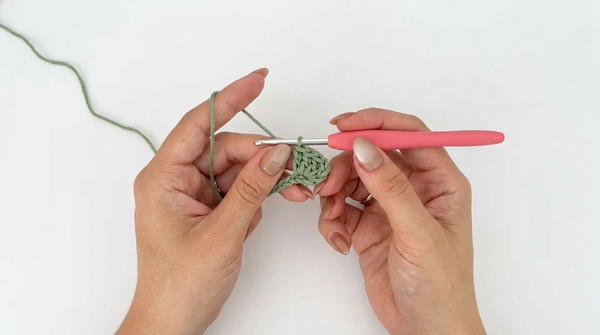
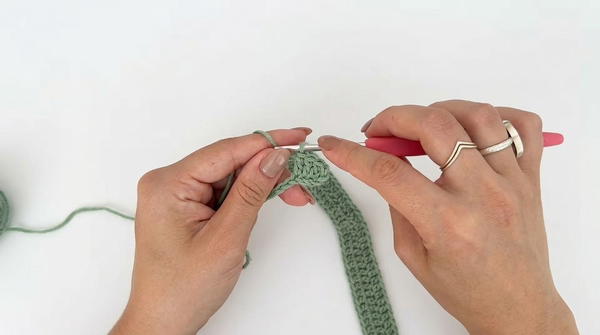
Row 1:
- Begin with either 3 chains (counting as the first dc) or use the double crochet without chains technique.
- Work 1 double crochet (dc) into each chain until the end of the row.
- Turn the work.
- Tip: Insert the hook under both loops of the chain for a cleaner edge.
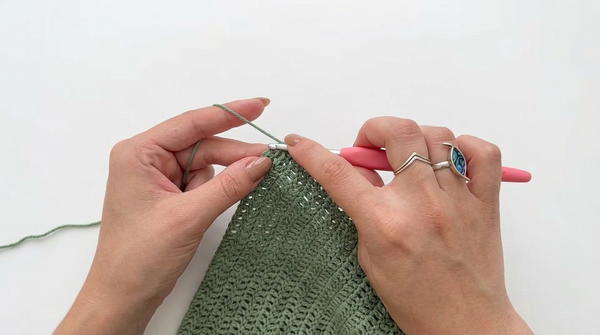
Rows 2–34:
- Repeat Row 1 until the desired height is achieved.
- For the sample: 34 rows = 29cm (11.5 inches).
- At the end of the 34th row, turn the work and measure the panel to ensure it meets your desired dimensions.
Step 2: Adding Laces
Create the First Lace:
- At the corner of the panel, chain 100 chains (~50cm/20 inches long).
- Adjust the chain length depending on how long you want your lace.
- Single crochet (sc) back along each chain, starting from the second chain from the hook.
- When you finish, work sc along the adjacent side of the panel.
- Insert the hook into the side of the double crochet stitches and work 2 sc per stitch.
- Insert the hook into the side of the double crochet stitches and work 2 sc per stitch.
Add Shells (Optional):
- Insert a shell bead onto the chain before starting single crochets on the lace and secure it.
- Repeat this for every lace. You can also add shells or embellishments onto the panel's lower edge.
Step 3: Add Remaining Laces
Repeat Step 2: Adding Laces for the other three corners of the rectangular panel:
- Each lace will consist of 100 chains with single crochets worked back along the chains.
- After finishing a lace, continue working single crochets along the panel edge.
Step 4: Finish Edges
Bottom Edge:
- Work sc in each chain along the bottom edge of the panel (foundation chain).
- Add shell embellishments (optional). For example, insert a shell bead every 10 single crochets and secure it as described earlier.
Top Edge:
- Work sc in each dc along the opposite (top) edge of the panel.
- Finish with a slip stitch in the corner, chain 1, cut the yarn, and pull it through to form a knot.
Step 5: Weave in Loose Ends
- Use a tapestry needle to hide all loose yarn ends.
- Weave ends into the single crochet edge stitches for a clean look.
Tips for Crocheting Success
- Block the Panel: Gently block the panel before adding embellishments to ensure even edges and dimensions.
- Exact Measurement: Check dimensions frequently as you work to ensure your panel fits your desired size.
- Thread Management: Secure and hide threads carefully to keep your edges neat.
Conclusion
This simple rectangular summer top combines elegance with ease, making it a perfect project for both beginners and experienced crocheters seeking a quick project. Fully customizable, the top allows for personalized touches such as optional shell embellishments, varied yarn textures, or adjusted sizes. Whether worn casually or styled for summer outings, this versatile garment will add a charming touch to any wardrobe.
Important Remarks
- For a seamless look, alternate between single crochet and double crochet without chains.
- If embellishments like shells are used, ensure they're securely attached for durability.


