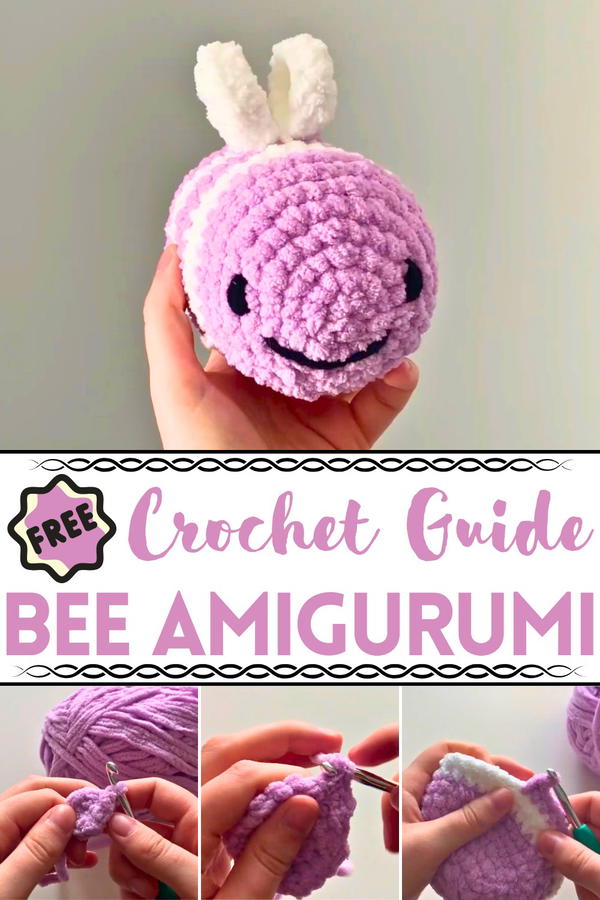
Buzz into creativity with the Crochet Bee Amigurumi Pattern, a simple and delightful way to create adorable handmade bees with vibrant charm.
The magic of crochet lies in its ability to transform simple yarn into delightful creations, and the Crochet Bee Amigurumi is a perfect example of this charm. The versatility of the Crochet Bee Amigurumi makes it suited for a range of purposes it can serve as a nursery decoration, a heartfelt handmade gift, or a whimsical accessory like a keychain.
How To Crochet Bee Amigurumi
The process of creating this adorable figure also helps crafters refine techniques such as increasing, decreasing, and strategic color changes while enjoying a creative, stress-relieving hobby.
With every stitch, the project celebrates creativity and effort, resulting in a vibrant creation that brings joy to both the maker and recipient. The Crochet Bee Amigurumi isn’t just an adorable figure it’s a buzzing burst of handmade love that highlights the beauty of crocheting.
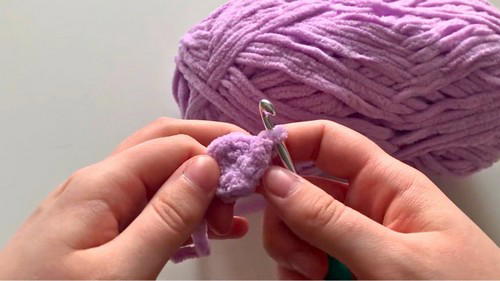
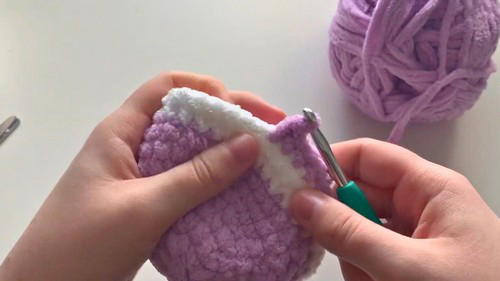
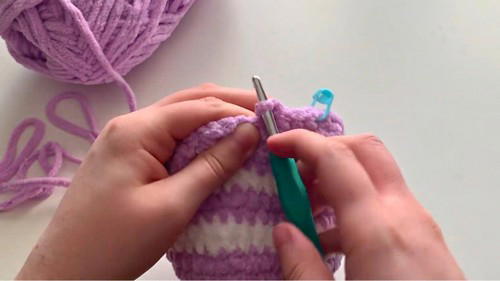
Starting with the magic ring technique, the bee’s body begins to take shape through rounds of single crochet stitches. As the figure grows, alternating black and yellow stripes bring the iconic design to life.
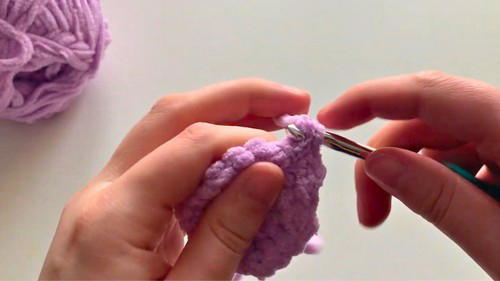
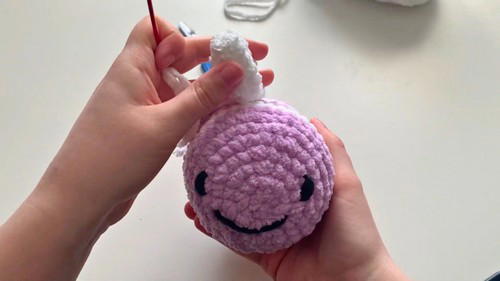
Careful increases and decreases ensure a rounded and tapered body, while slip stitches provide clean finishes at the end of each round. As the project progresses, special details like eyes and a cheerful smile are added, giving the bee its playful personality.
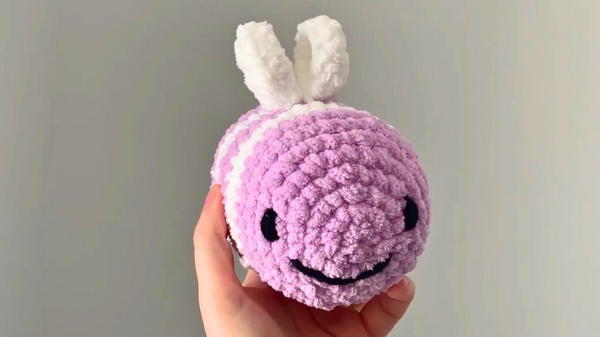
The wings, crafted using textured stitches such as half double crochets, are attached securely between the stripes to balance symmetry and enhance the amigurumi’s visual appeal. Thoughtful stuffing and stitching guarantee that the bee is both firm and soft, making it durable while maintaining its cute charm.
Materials Required
The tutor suggests the following materials:
- Yarn – Two colors for the main body and stripe (e.g., purple and white).
- Black Yarn – For sewing the smile.
- Crochet Hook – Appropriate size for your chosen yarn.
- Safety Eyes or Yarn – For stitching/sewing the eyes.
- Stuffing – For filling the bee’s body.
- Yarn Needle – For sewing and finishing.
Special Features
- Magic Ring Foundation: Provides a seamless beginning for the crochet body, ensuring no visible gaps.
- Striped Body: Easily customizable with colors of your choice for personalized designs.
- Cute Wings Placement: Perfectly centered for symmetry.
- Embroidery Details: Add a smile for personality using simple stitching techniques.
Level of Difficulty
- Beginner-Friendly: The project involves basic techniques such as magic rings, single crochets, increases, decreases, and sewing.
- Intermediate Creativity: Customizing colors and fine-tuning details like eyes and smiles offers room for creative improvement.
Tutor’s Suggestions
- For color changes, the tutor prefers tying knots to simplify the process, though other color-joining methods can work.
- Customize eye placement and smile design to suit the personality you’d like your bee to have.
- Use quality stuffing to maintain the bee’s shape and create a plush finish.
Uses
- Gift Idea: A handmade present for loved ones, especially children.
- Room Decor: Brighten up shelves, desks, or nurseries.
- Teaching Aid: Use the bee as a fun introduction to crochet amigurumi.
Pro Tip
When attaching parts such as wings, ensure tight stitching for durability. Pull the yarn through the body after each attachment to secure pieces.
Step-By-Step Instructions
This tutorial provides a detailed pattern of the crochet bee amigurumi tutorial. The project is simple yet delightful, perfect for both beginners and intermediate crocheters.
Conclusion
With this easy-to-follow tutorial, you can craft a delightful crochet bee amigurumi that’s truly one-of-a-kind. Play around with colors, personalize designs, and enjoy the handmade joy this project brings. Whether used for decor or as a gift, this little bee is sure to bring smiles.


