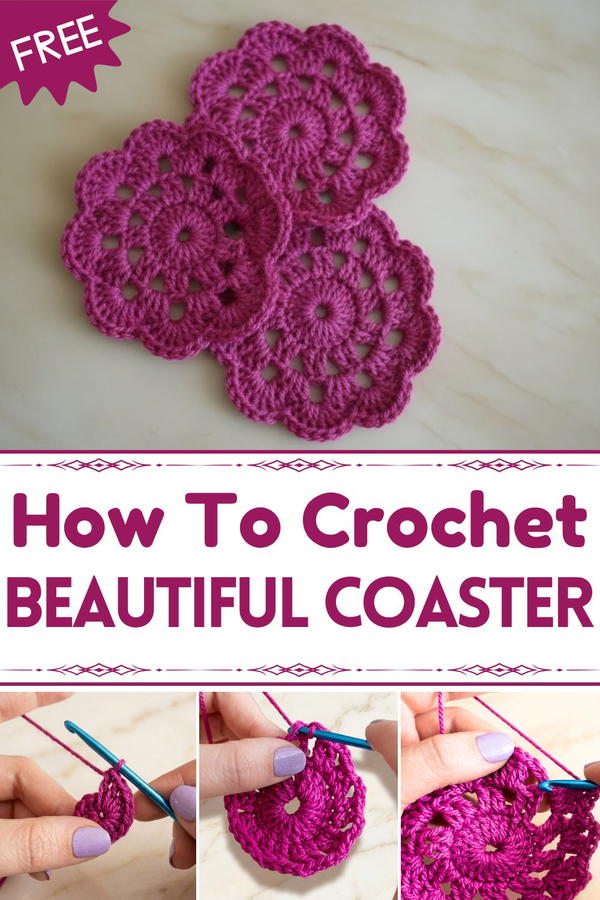
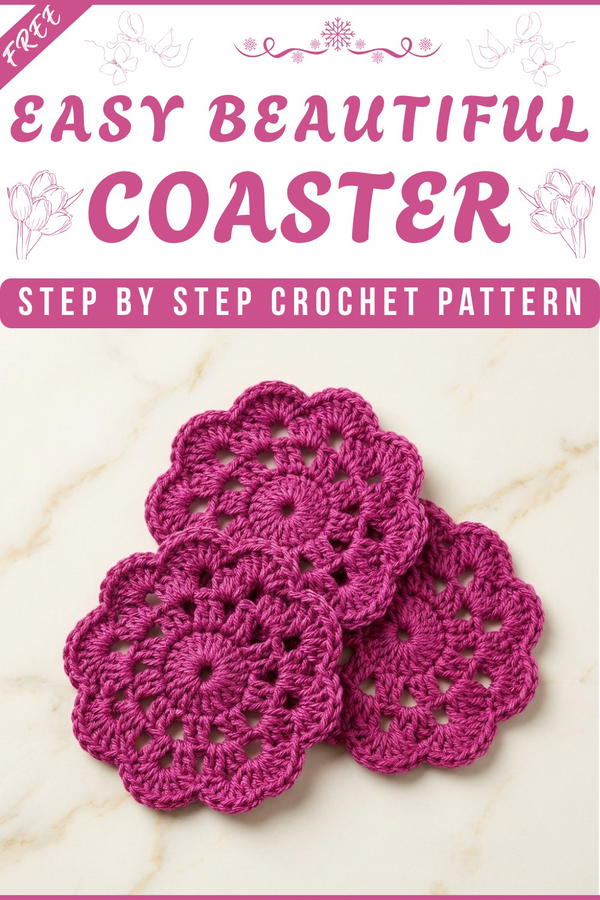
Spice up your table settings with this free crochet coaster pattern that's simple, and the perfect way to protect your furniture with flair.
Protecting your tables while adding a touch of handmade charm has never been easier or more enjoyable. A crochet coaster not only prevents stains and scratches but also serves as a beautiful accent piece that brightens up any space. Using a free crochet coaster pattern, you can turn simple yarn into an eye-catching creation that fits your personal style.
Free Crochet Coaster Pattern That Enhances Any Home Décor
Whether in the shape of a circle, square, or decorative motif, it combines practicality with elegance. Ideal for decorating coffee tables, gifting loved ones, or simply learning new crochet techniques, the coaster is both functional and visually appealing. Its soft, lightweight texture and customizable design make it suitable for everyday use or special occasions. More than just a protective layer for your furniture, a crochet coaster adds warmth and personality to your home, making it an inviting space for you and your guests.
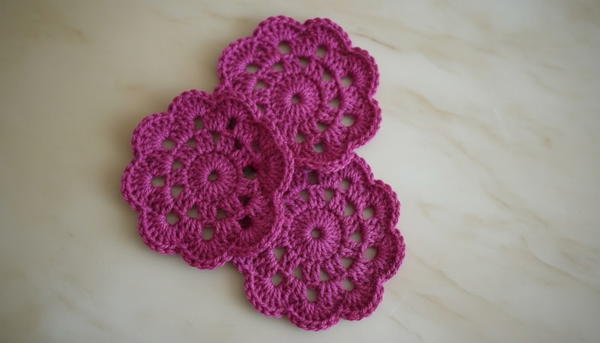
Crochet Scalloped Edge Coaster Pattern
Materials Needed
- Yarn:
- Stylecraft Special DK or any other DK-weight yarn.
- You may use single or multiple colors for a gradient effect.
- Crochet Hook: 4.0 mm (G/6 in the US).
- Scissors: For cutting yarn.
- Darning Needle: For weaving in loose ends.
Abbreviations
(US terms are used here)
- ch: Chain
- sl st: Slip Stitch
- dc: Double Crochet (UK term: Treble Crochet)
- sc: Single Crochet (UK term: Double Crochet)
- yo: Yarn Over
Special Techniques
- Slip Knot and Chain: For starting your foundation.
- Joining with a Slip Stitch: Method to connect the ends of a round.
- Working into a Chain 2 Space: Used for clusters and scallops.
- Scalloped Edging: Creates the decorative border of this coaster.
Pattern Instructions
Foundation: Magic Circle Alternative
Make a Slip Knot:
- Create a slip knot and place it on your hook. Tighten gently.
Chain 6:
- Ch 6 to form a loop.
Form a Circle:
- Insert your hook into the first chain, yarn over, and pull through to create a sl st, forming a circle. This will serve as the base of your coaster.

- Insert your hook into the first chain, yarn over, and pull through to create a sl st, forming a circle. This will serve as the base of your coaster.
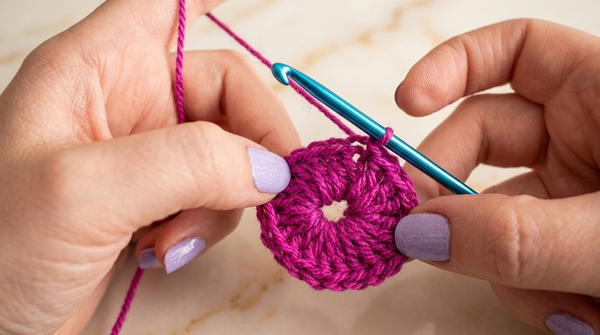
Round 1: Foundation Round
Chain 3:
- This counts as your first dc.
Work 19 Double Crochets into the Circle:
- Yarn over, insert your hook into the center of the circle, yarn over, pull through (3 loops on the hook), yarn over, pull through 2 loops, yarn over, pull through the remaining 2 loops.
- Repeat 18 more times.
Work Over Tail:
- Hold the starting tail of the circle alongside the edge of the foundation loop and crochet over it to secure.
- Hold the starting tail of the circle alongside the edge of the foundation loop and crochet over it to secure.
Join the Round:
- Slip stitch into the top of the chain-3 you made at the start of the round. Ensure you have 20 stitches total (19 dc and the first chain-3). Pull the tail gently to close the circle tight.
Round 2: Setting the Framework
Chain 3:
- This will count as the first dc of the round.
Work 1 dc in the Next Stitch:
- Yarn over, insert into the next stitch, and complete a dc. You now have a pair of dc.
Chain 2:
- This forms a chain space between clusters.
Repeat Cluster + Chain 2 Around:
- Alternate between 2 dc and chain 2 in each consecutive stitch. Continue this pattern around the circle.
- You should have 10 clusters of 2 dc separated by chain-2 spaces.
Join the Round:
- Slip stitch into the top of the initial chain-3 to complete the round.
Round 3: Expanding Framework
Chain 3:
- This counts as one dc within the first chain-2 space.
Work into the Same Chain-2 Space:
- Add 1 more dc, chain 2, and 2 more dc into the same space. This creates a "V" shape (corner for scallops).
Skip to the Next Chain-2 Space:
- Work 2 dc, chain 2, and 2 dc into the following chain-2 space.
Repeat Until Complete:
- Work (2 dc, ch 2, 2 dc) into each chain-2 space around.
Join the Round:
- Slip stitch into the top of the first chain-3 to close.
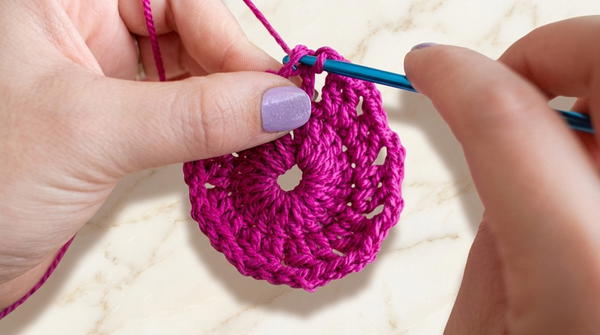
Round 4: Scalloped Edge
Chain 3:
- Counts as part of your scallop edge.
Work into the Next Chain-2 Space:
- Work 6 dc into the same chain-2 space to form a scallop.
Anchor Next Scallop:
- Slip stitch into the next chain-2 space. This secures the scallop to the framework.
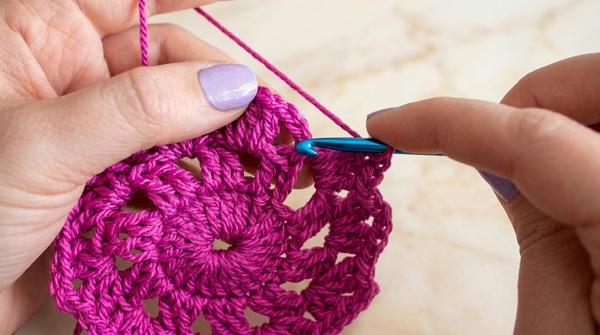
Continue Scallop Pattern:
- Work 6 dc into each chain-2 space around, followed by a slip stitch to the next available space.
- Work 6 dc into each chain-2 space around, followed by a slip stitch to the next available space.
Complete Final Scallop:
- When reaching the last chain-2 space, work 5 dc instead of 6 to prevent overlapping. Slip stitch to the top of the initial chain-3 to close.
Finishing Steps
Fasten Off:
- After the last stitch, chain 1 to secure the yarn, cut the thread, and pull it out tightly to create a small knot.
Weave in Ends:
- Use a darning needle to weave in all loose yarn ends on the back of the coaster. Weave through multiple stitches for secure finishing.
Trimming:
- Cut off any excess yarn after weaving in to avoid stray threads.
- Cut off any excess yarn after weaving in to avoid stray threads.
Tips for Success
- Loose Tension: Avoid crocheting too tightly, especially in the scalloped edge, to maintain the coaster’s structure.
- Stitch Count: Double-check your stitch count at the end of each row to maintain symmetry.
- Blocking: Use light steam blocking to flatten and shape the coaster uniformly.
- Yarn Substitutions: Experiment with lighter yarns for a delicate look or use cotton yarn for more functional and absorbent coasters.
Customization Ideas
- Color Variations: Alternate yarn colors for each round to create striped or color-blocked designs.
- Larger Doilies: Extend the pattern beyond Round 4 by adding more framework (Rounds 2–3) and then finishing with the scalloped edge.
- Gift Sets: Create matching sets in various colors to gift during holidays or special occasions.
Final Thoughts
Congratulations on completing your scalloped-edge coaster! This simple yet elegant design allows for creative exploration, whether for single coasters or intricate designs. With its versatility and ease, this project is suited for both beginners and experienced crocheters.