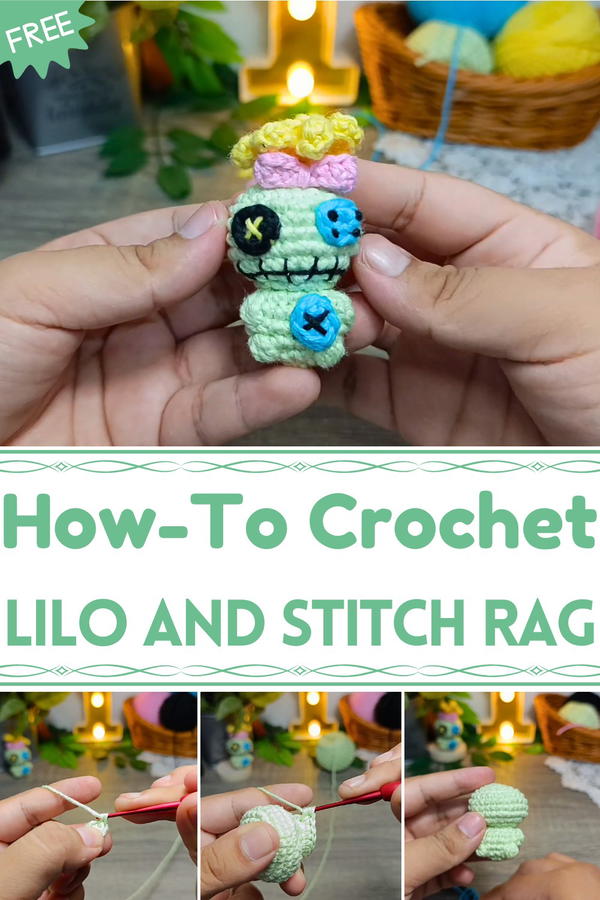
Bring playful vibes to your space with the Free Crochet Lilo & Stitch Rag Pattern, a fun and colorful piece perfect for décor, gifts, or everyday use.
Bright colors and playful shapes can turn ordinary yarn into a delightful companion, and this pattern does just that. The Free Crochet Lilo & Stitch Rag Pattern brings Stitch to life in a charming, compact form, perfect for display or gentle play. Its quirky features, from oversized ears to expressive eyes, capture the character’s mischievous yet lovable personality, making each doll a conversation starter and a joyful addition to any collection.
Handmade Crochet Graduated Chick Pattern for Kids’ Fun
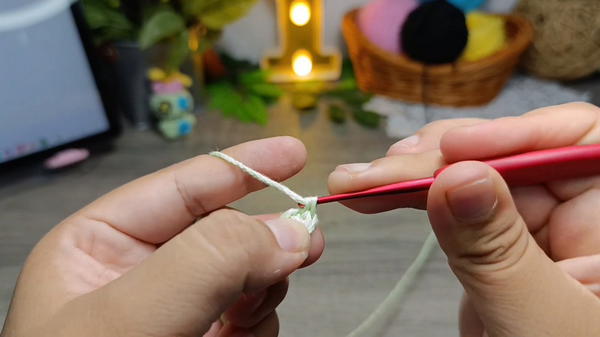
The pattern is beginner-friendly while offering enough detail to satisfy more experienced crocheters. Construction begins with forming the body in soft rounds, followed by the attachment of the limbs, ears, and tail.

Key details, such as the wide grin and eye shapes, are added using simple stitches and color accents, allowing for a polished, professional finish. Step-by-step instructions guide each stage, ensuring precision without overwhelming complexity.
Beyond aesthetics, this project offers multiple benefits. Working through the pattern improves fine motor skills, encourages attention to detail, and provides a rewarding sense of accomplishment.
The lightweight doll is versatile: it can sit on a shelf, serve as a playful gift, or even accompany small adventures as a pocket-sized friend.
By combining whimsy, color, and thoughtful structure, this crochet rag pattern transforms yarn into a character that is as fun to make as it is to display, delivering creativity, charm, and hands-on satisfaction in every stitch.
Materials and Tools
Yarn/Hilasa:
Mint Green: For the main body and head.
Yellow: For the embroidered "X" on the body.
Girl Pink (Rosa Niña): For the bow.
Turquoise Blue: For the main eye color.
Black: For the center of the eye and the mouth embroidery.
Crochet Hook: 2.0 mm (The size may vary based on your yarn weight).
Notions:
Polyester Fiberfill (Stuffing).
Yarn Needle (Tapestry Needle).
Scissors.
Stitch Marker (Optional, but highly recommended).
Pliers: Used to help push the stuffing into place and push the Bobble stitches out.
Glue (Optional): For securing small details.
Level of Difficulty: Intermediate
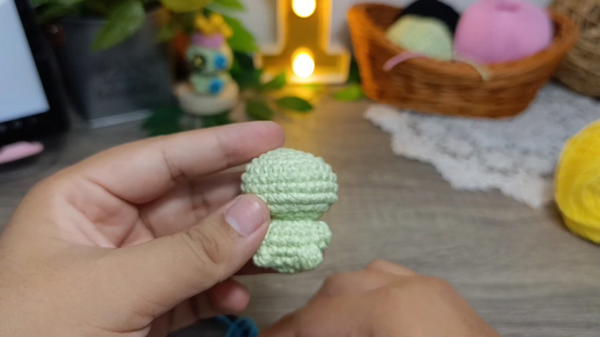
Bobble Stitch (Puff Stitch): This special stitch is used to create the doll’s characteristic bumpy cheeks and stomach, requiring precision.
Complex Shaping: The pattern combines the head and body in a seamless piece, requiring various increase and decrease rounds, as well as working in the front loop only (FL only) to define the neck.
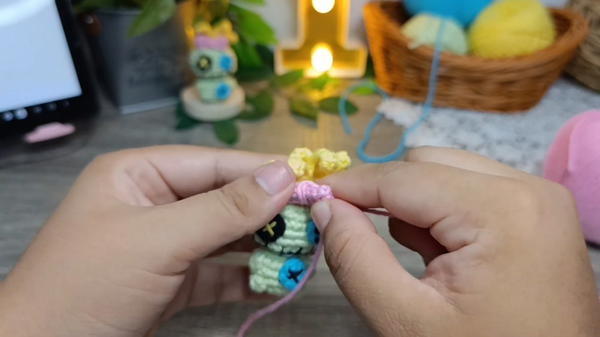
Intricate Assembly: There are several tiny components (eyes, hair, bow) that must be sewn accurately onto the small head.
Special Features and Uses
Special Features
Built-in Texture: The use of the Bobble Stitch (made from 4 unfinished Double Crochets closed together) directly into the fabric creates Trapos's signature bumpy, worn texture on the cheeks and stomach.
Seamless Construction: The head and body are worked as a continuous piece for a smooth finish.
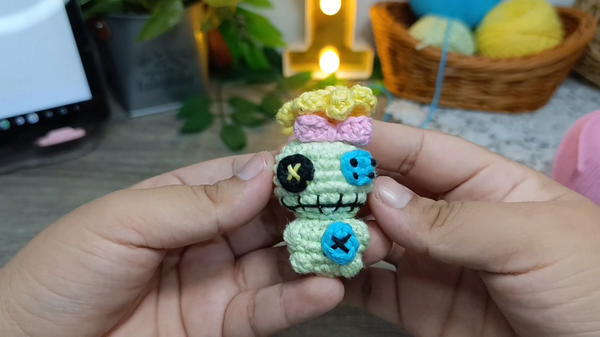
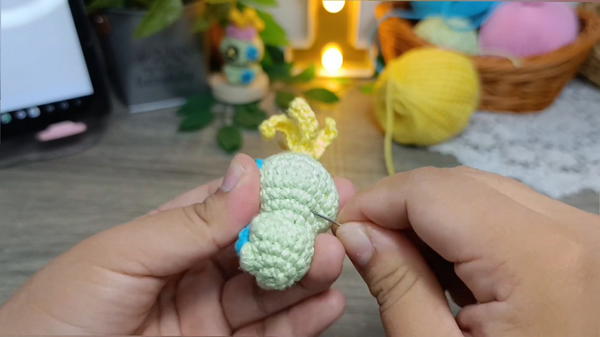
Custom Eyes: The eyes are crocheted separately in two colors (Turquoise and Black) to mimic button eyes, allowing for easy placement.
Uses
Keychain/Bag Charm: The finished size (7 cm) is ideal for a charm.
Amigurumi Accessory: A companion accessory for a larger Lilo amigurumi doll.
Ornament: Can be used as a small decorative hanging item.
Tutor's Suggestions
Sew the Button Eyes: The tutor highly recommends sewing the crocheted button eyes onto the face rather than gluing them to give a better finish.
Stuffing the Head: Stuff the head before continuing with the decreases for the body to ensure the shape is properly maintained.
Closing the Hair: When forming the hair, the strip of crocheted spikes must be tightly rolled up and sewn together before being attached to the head.
Step-by-Step Details
This tutorial provides the complete pattern for "Trapos," a charming, slightly distressed-looking doll amigurumi. When finished, this keychain-sized project measures approximately 7 cm in height. The construction involves detailed shaping of the head and body in one piece, the use of special Bobble stitches for texture.
Conclusion
With all the pieces assembled and secured, your miniature "Trapos" amigurumi is complete! The strategic placement of the Bobble stitches, the button-like eyes, and the final embroidered details combine to capture the perfectly imperfect charm of Lilo's beloved doll.
Tip
When embroidering the facial features, use a very thin, single-ply thread instead of thick yarn. This keeps the stitches small and crisp, enhancing the delicate, miniature quality of the amigurumi.


