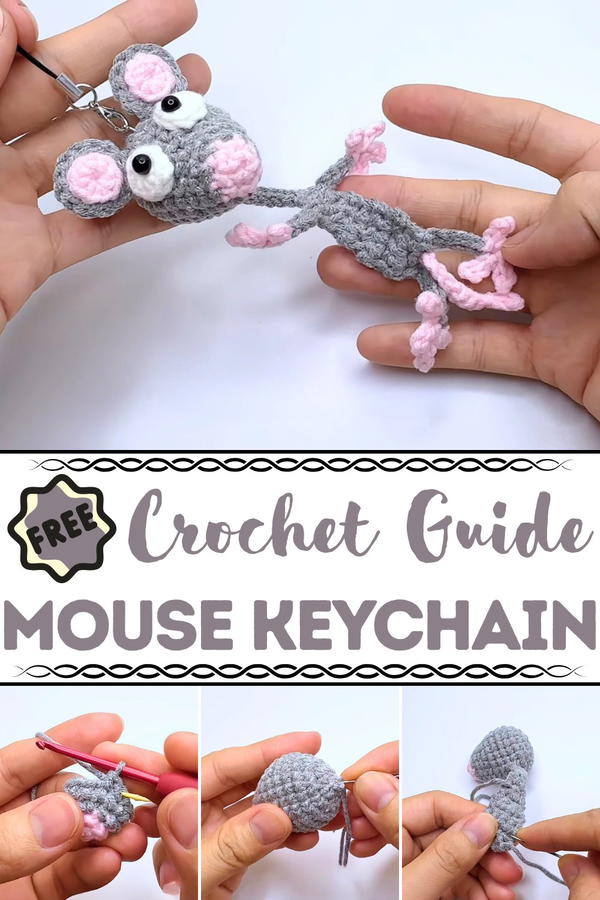
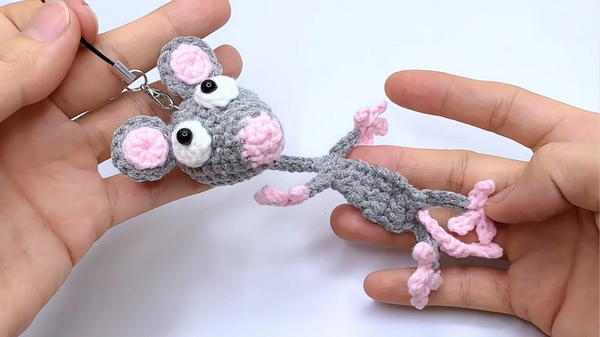
Bring charm to your everyday with this Free Crochet Mouse Keychain Pattern that's a delightful, tiny companion that's fun to make and perfect to gift or keep.
A curious little mouse once scurried into a quiet room, capturing attention not with noise, but with charm. This tiny symbol of cleverness and agility now takes form in yarn as a delightful accessory that fits in the palm of your hand. The Free Crochet Mouse Keychain Pattern brings to life a small, thoughtful gift idea that combines functionality with whimsy. With its soft texture, expressive ears, and curled tail, this mini creation carries more than aesthetic appeal, it holds sentimental value as a keepsake, a bag charm, or even a lucky token.
How to Crochet a Mouse Keychain that fits right in your hand
This pattern focuses on simplicity while still offering enough detail to keep each step engaging. Worked mostly in single crochet stitches with strategic increases and decreases, the mouse takes shape quickly, making it a satisfying project even for those newer to the technique.
The structure is firm, thanks to tight stitching, while the small safety eyes and stitched nose offer a delicate finish. Its compact size makes it perfect for using leftover yarn, and the addition of a metal ring turns it instantly into a portable charm. Whether handed as a thoughtful handmade gift or clipped to a personal item, this small creation adds a dash of personality, warmth, and creative joy to everyday life.
How to Crochet a Flat Mouse
Special Features
- Multi-purpose design: The finished flat mouse can serve as a keychain or bookmark.
- Simple assembly: Combines the body, head, tail, limbs, and ears seamlessly.
- Customizable: You can change yarn colors to personalize your mouse.
- Adorable detailing: Includes tiny ears, arms, legs, a pink tail, and googly eyes for a whimsical finish.
Level of Difficulty
This project is beginner-friendly but requires attention to detail, particularly for the smaller parts like the fingers and inner ears. The techniques used include magic circle, single crochet, increase and decrease stitches, and slip stitches. If you are new to crochet, you might need extra practice with the magic circle and joining smaller components.
Tutor's Suggestions
The tutor offers helpful tips throughout the video, emphasizing:
- Changing yarn: Careful tying and cutting of yarn ends when switching colors to avoid loose strands.
- Detailing: Use hot glue for attaching small components like the inner ears and eyes to keep them securely in place.
- Stuffing: Cotton filling makes the mouse cute and structured, particularly for the head.
- Sewing and finishing: Neatly sew and hide yarn ends to achieve a polished look.
Materials Needed
- Yarn:
- Light pink for accents (nose, tail, inner ears).
- Gray yarn for the body, head, outer ears, arms, and legs.
- Crochet Hook: 2.5 mm.
- Eyes: Two 5 mm eyes for detailing.
- Hot Glue: To attach the ears, eyes, and inner ear components neatly.
- Stuffing: Cotton filling for the head.
- Knitting Needle: For sewing and securing yarn ends.
Step-by-Step Instructions
1. Introduction
The tutorial begins with an overview of the materials and a brief explanation of what you’ll be crocheting: a flat mouse with a tiny body and cute features.
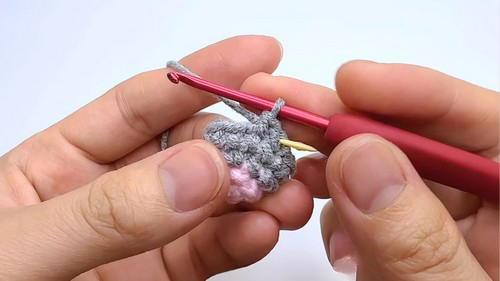
2. Making the Head
- Create a magic circle with light pink yarn and crochet six single stitches inside the circle. Pull the circle tight.
- Crochet multiple rows using a combination of single and increasing stitches to shape the head.
- Switch to gray yarn in the middle rows, using slip stitches to join the new yarn.
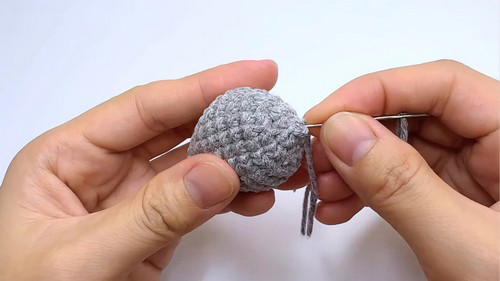
- Decrease stitches in later rows to close the head, then stuff the head with cotton before finishing.
3. Creating the Body
- Start with a chain of four stitches and work rows of single crochet.
- Gradually increase and decrease stitches to form a tapered body.
- After finishing 10 rows, join the body to the head using slip stitches.
- Crochet a braided cord at the neck for added detailing.
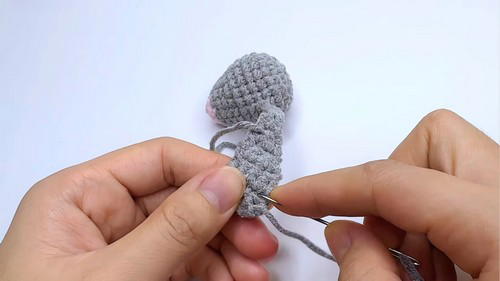
4. Making the Arms and Legs
- Crochet four fingers on each limb by alternating between pink and gray yarn.
- Work slip stitches to create fingers, then make the bases of the arms and legs in gray yarn.
- Attach the limbs at the appropriate positions using slip stitches.
5. Adding the Ears
- Create the outer ears using gray yarn and the magic circle technique.
- Make pink inner ears and attach them to the gray outer ears using hot glue.
- Sew the finished ears behind the eyes.
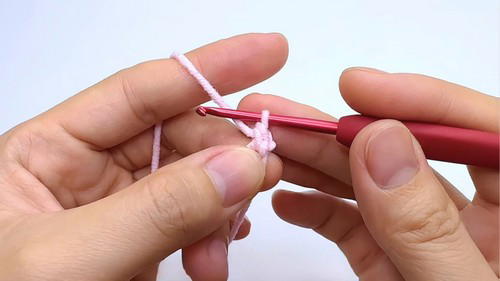
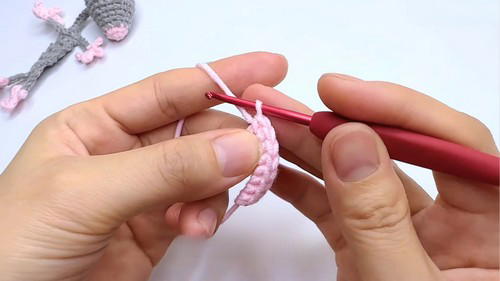
6. Adding the Tail
- Hook directly into the body and crochet a chain of 11 stitches using pink yarn.
- Work slip stitches along the chain to create a flexible tail.
- Neatly attach the tail between the legs.
7. Detailing
- Use hot glue to attach the eyes evenly on the face.
- Secure the ears and tail in place.
- Lastly, attach a keychain at the top of the head for versatility.
Uses
- Keychain: Attach the mouse to your keys for a playful accessory.
- Bookmark: Use the flat body to mark your place in a book.
Conclusion
After completing the flat mouse, you’ll have a cute skill item that’s both functional and decorative. Creator provides detailed steps and tips, making this process enjoyable for beginners and experienced crocheters alike.
Tip: Simplify Small Parts
To make handling small components easier, always keep your yarn tension even and use the correct crochet hook size. If detailing like fingers feels difficult, try simplifying them by skipping one or two fingers, it won’t compromise the overall look.


