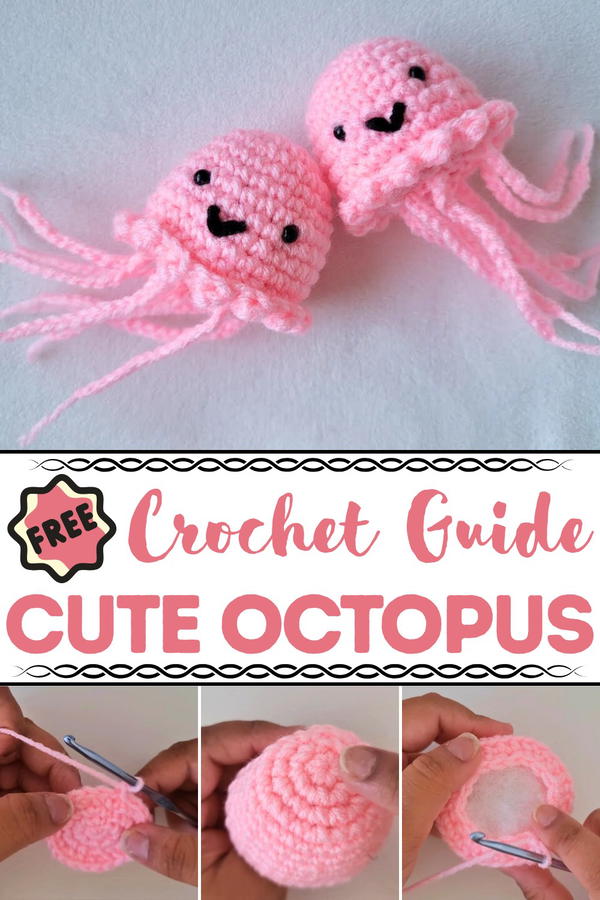
Wiggle some joy into your day with this Free Crochet Octopus that’s soft, squishy, and perfect for gifting, cuddling, or quirky decor fun.
Legends tell of ocean dwellers with eight arms and wise eyes, symbols of strength, flexibility, and mystery. Inspired by that same wonder, this soft Crochet Octopus takes on a form both adorable and meaningful. From its rounded head to the gently curled tentacles, every part holds a quiet charm that’s soothing to make and satisfying to share. Crochet Octopus is not just a toy or trinket it becomes a thoughtful gift for babies, stress relief for adults, or a playful accessory that brings smiles wherever it goes.
Size Tips + Free Crochet Octopus Pattern You Can Make for All Ages
The body begins with soft rounds of single crochet, gradually shaped to form a plump and balanced dome. Tentacles are formed separately, each worked with simple chain stitches that loop back for that perfect spiral. These eight arms, when sewn carefully to the body, give the octopus its distinct shape and character. Bright safety eyes or small stitched details can add even more personality.
Soft cotton or plush yarn makes it safe for little hands, while Octopus size allows for quick stitching and portability. Whether hung on a backpack, gifted to soothe a newborn, or kept on a desk as a whimsical friend, this little creation brings joy, calm, and creativity stitched into every loop.
Special Features
- Beginner-Friendly: The tutorial assumes little to no prior experience and provides clear guidance on basic techniques like the magic ring method and single crochet stitches.
- Customizable: You can customize the squid’s color, eye type, and tentacle placement according to your preference.
- Cute Design Details: The finished product features a charming face, safety-eye placement, and playful tentacles that make the squid uniquely adorable.
Required Materials
- Category 4 Yarn: The tutor uses pink yarn but mentions you can use any color of category 4 yarn.
- Stuffing: Polyfill stuffing is preferred, but leftover yarn or fabric scraps can work as well.
- Safety Eyes: Two black safety eyes. If you don’t have these, black yarn and a darning needle can be used to embroider the eyes and the mouth.
- Crochet Hook: Size 3.75 mm.
- Darning Needle: Used for sewing the mouth and closing the holes.
- Scissors
Tutor's Suggestions
- Alternative for Safety Eyes: If safety eyes are unavailable, use black yarn and a darning needle to embroider the eyes and the mouth.
- Tentacle Placement: The tutor recommends seven tentacles arranged around the bottom, plus one in the center. Placement does not need to be exact, allowing for creative freedom.
- Stuffing Tips: Add stuffing gradually and adjust as the hole gets smaller to ensure proper shaping.
Step-by-Step Instructions
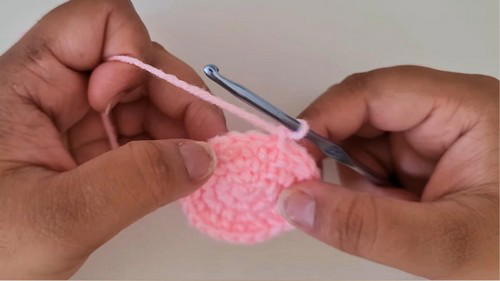
1. Crafting the Body
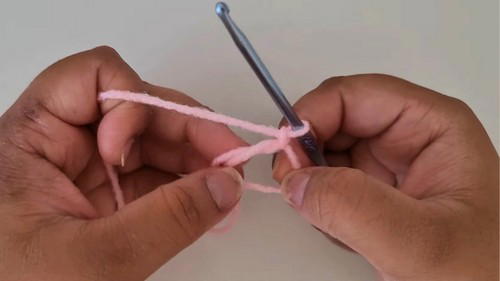
- Round 1: Create a magic ring or slip knot, then chain one. Make six single crochets into the ring and pull the loop to close. Slip stitch to finish the round.
- Round 2: Chain one, then increase in each stitch around by making two single crochets in each stitch (12 stitches total). Slip stitch to finish.
- Round 3: Chain one, then do one single crochet followed by one increase (two single crochets in one stitch) all the way around (18 stitches total). Slip stitch.
- Round 4: Chain one, then do two single crochets followed by one increase (24 stitches total). Slip stitch.
- Rounds 5 and 6: Two rounds of single crochet without any increases (24 stitches total). Slip stitch after each round.
- Round 7: Chain one, then do three single crochets and one increase all the way around (30 stitches total). Slip stitch.
- Rounds 8–11: Four rounds of single crochets without increases, maintaining 30 stitches. Slip stitch after each round.
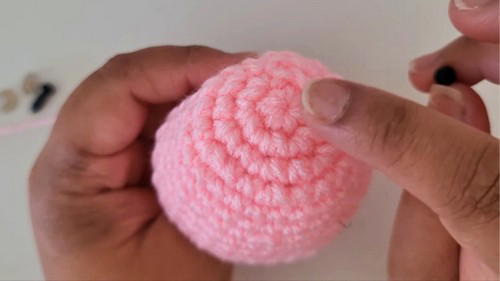
2. Adding Eyes and Sewing the Mouth
- Safety Eyes: Place eyes between rounds 7 and 8, skipping five stitches between placement. Secure with the backings.
- Mouth: Use black yarn and a darning needle to sew a small smile below the eyes, knotting securely on the inside.
3. Shaping the Bottom
- Round 1: Work in back loops only and do three single crochets, then one decrease all around (24 stitches total).
- Round 2: Do two single crochets and one decrease all around (18 stitches total).
- Round 3: Do one single crochet and one decrease all around (12 stitches total).
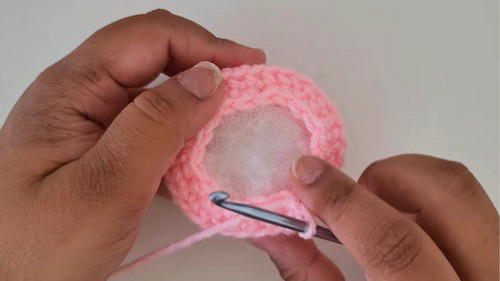
- Round 4: Perform decreases only until six stitches remain. Stuff the body adequately and sew the remaining hole shut with a darning needle.
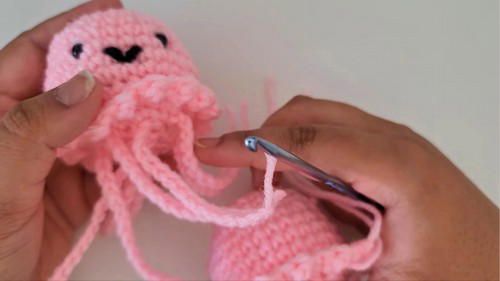
4. Crocheting Tentacles
- Make eight tentacles with slip knots attached randomly around the second round of the bottom part.
- For each tentacle, chain 15 stitches (or longer based on preference), then cut yarn leaving extra length. Tuck in hanging strands using a darning needle or hook.
- Trim tentacle ends evenly, leaving a small gap to avoid unraveling.
Uses
- Decorative piece for desks, shelves, or car dashboards.
- Fun and soft toy for children.
- Personalized handmade gift for friends or family.
Level of Difficulty
This project is suitable for beginners but requires familiarity with basic crochet stitches like single crochet, chaining, and slip stitches. The step-by-step nature of the tutorial makes it achievable for novice crocheters with little practice.
Conclusion
Crochet Octopus is a simple, fun, and fulfilling project that allows creativity in design and color choice. Whether you’re a beginner or an experienced crocheter, this handcrafted squid is sure to bring smiles wherever displayed.
Tip
When starting the magic ring or slip knot, pull the yarn tightly to avoid gaps forming in the middle of your work. Additionally, keep track of your stitch count to ensure the shape remains consistent throughout. If you need extra help, pause the video during tricky parts and replay as necessary.


