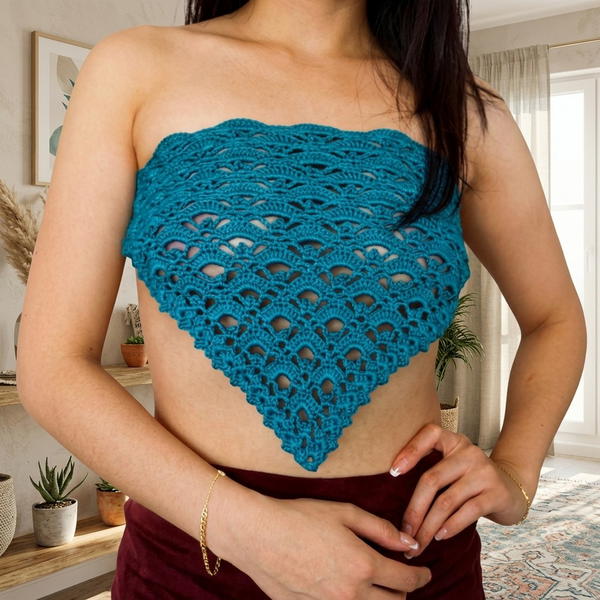
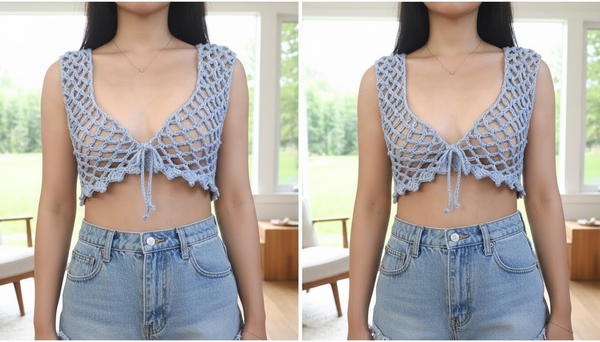
Enjoy the charm of this Free Crochet Summer Mesh Top Pattern and stitch a breezy, lightweight top that's ideal for any casual outing or warm-weather event.
On a warm sunny day, a lightweight top feels like a soft breeze on the skin. In this free crochet summer mesh top pattern, the yarn turns into an airy layer that keeps the body cool while still looking stylish. The open, lacy look lets the skin breathe, so it never feels heavy or sticky in the heat. With simple shapes and gentle holes throughout, the top looks flattering on many body types and goes well over a tank, swimsuit, or simple dress.
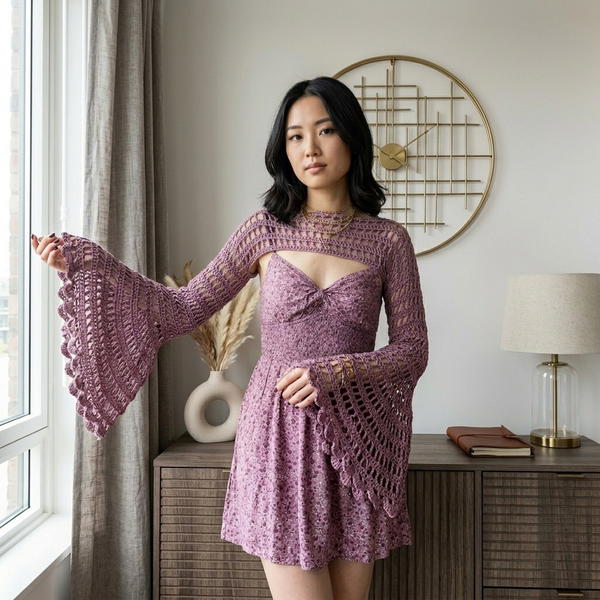
Simple Crochet Summer Mesh Top – Free Pattern You’ll Love
It can work for a walk on the beach, a day in town, or a relaxed evening outside. Soft colors give a calm, natural vibe, while bold shades turn it into a standout piece. The mesh texture gives movement and flow, so every step feels light, comfortable, and confident.
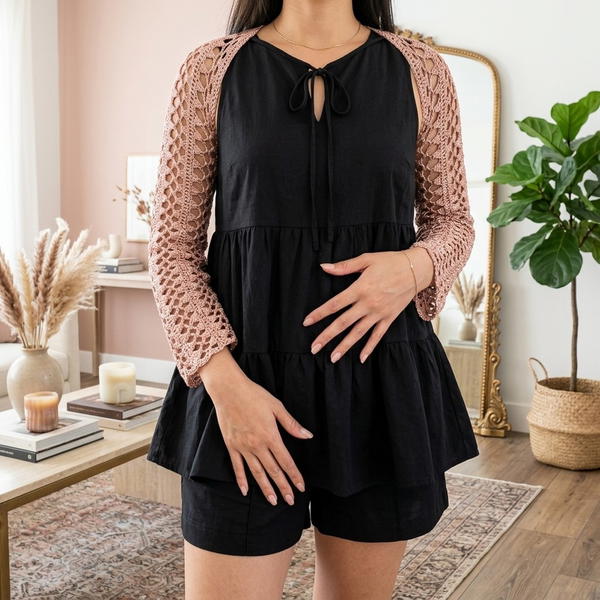
Crochet Summer Mesh Top Pattern
Materials Needed
Yarn:
- 100% Cotton Yarn, Medium Weight (#4).
- Suggested Yarn: Any quality 100% cotton yarn for durability and comfort.
Hook Size:
- 5 mm Crochet Hook for the vest body.
- Optional: 4 mm Crochet Hook for tighter straps.
Other Supplies:
- Scissors for cutting yarn.
- Yarn Needle for weaving in ends.
- Measuring Tape for sizing.
Skill Level
Intermediate to Advanced: Includes shaping, increases, decorative picot edging, and assembly techniques.
Key Abbreviations
(All are in US crochet terms)
- ch: Chain
- sc: Single Crochet
- dc: Double Crochet
- sl st: Slip Stitch
- rep: Repeat
- st(s): Stitch(es)
- picot: Chain 3, slip stitch back into the top of the previous double crochet.
Special Notes
- Adjustable Sizing: The vest's width and length can be customized easily by changing the foundation chain length or number of rows.
- End Rows Correctly: Always end on Row 2 of the pattern repeat when stopping vest body construction to ensure proper border placement.
- Straps: The strap length can vary depending on your preference (suggested length: ~20 inches).
Pattern Instructions
Step 1: Back Panel
Foundation Chain
- Measure your bust circumference and divide by two (e.g., Bust = 32 inches, Half = 16 inches).
- Work a foundation chain in multiples of 6 + 1 until it matches half your bust measurement.
- Example: For a bust measurement of 32 inches, chain 61 (10 x 6 + 1).
- Example: For a bust measurement of 32 inches, chain 61 (10 x 6 + 1).
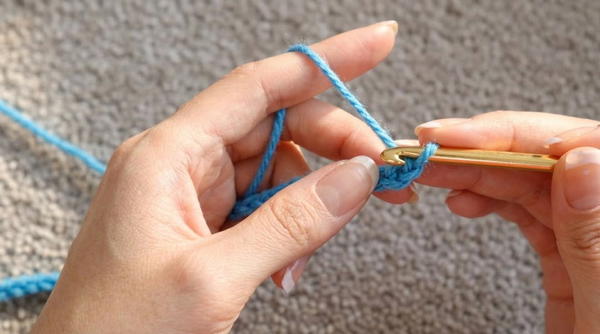
Row 1: Initial Loops
- Ch 1 to turn.
- Sc into the 2nd chain from the hook (go through the back bump if preferred).
- Ch 5, skip 5 sts, and sc into the 6th chain.
- Repeat the sequence (ch 5, skip 5, sc into the 6th) across the row.
- End with a sc in the final chain.
- You should see aligned loops forming.
Row 2: Setting Up Loops
- Ch 5, turn your work.
- Sc into the first loop (center of ch-5 loop from the previous row).
- Ch 5, sc into the next loop.
- Repeat across the row, placing sc in each loop.
- At the end, ch 2, then work a dc into the last sc from Row 1.
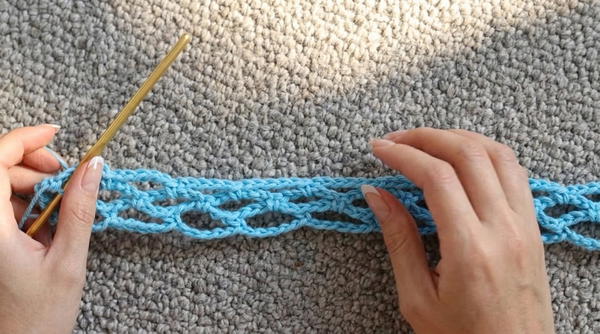
Row 3: Loop Structure
- Ch 1, turn your work.
- Sc into the top of the dc from Row 2.
- Ch 5, skip the small loop at the beginning, and sc into the first large loop.
- Continue ch 5, sc into the next loop across the row.
- End the row with sc into the 3rd ch from the bottom (counted from Row 2).
Repeat Rows 2 and 3 until the back panel measures from the bottom of your armpit to the top-back of your neck (or approximately 7.5 inches).
Step 2: Shoulder Sections
Flip Your Work
Turn the back panel upside down (the foundation chain is now at the top).
Measure Shoulder Width
Determine your shoulder width (e.g., size small = 3 loops wide).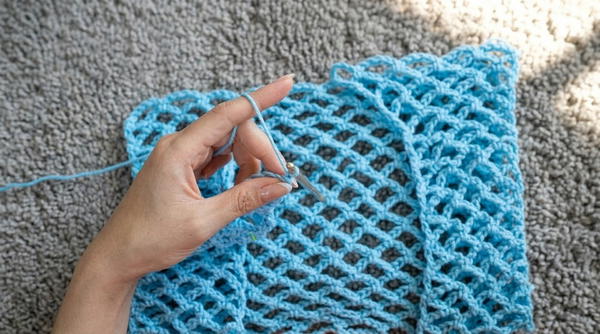
Start Shoulder Straps
- Attach yarn at the designated point for the shoulder strap (e.g., at the start or end of 3 loops).
- Work Row 2 and Row 3 repeats, only on the shoulder strap width, and extend it:
- Crochet from the back of shoulder to front of bust (e.g., ~7 inches).
- End on Row 3.
Tapering the Strap
- Begin increasing rows at the tapering section.
- For Row 2 increases: Ch 5, single crochet into Loops, and at the end of the row ch 5 before your final dc.
- For Row 3 increases: Start with ch 8, then sc into each loop across.
- Continue these repeats until the strap tapers to the body's center (below the bust).
Step 3: Repeat Shoulder Section
Follow the same instructions for creating and tapering the opposite shoulder section.
Step 4: Seam Front and Back Panels
- Align the panels together at the side seams.
- Attach yarn to the corners of both pieces and work:
- Ch 5, slip stitch to the opposite panel corner, repeat.
- Fasten off.
Step 5: Decorative Border
- Reattach yarn to the bottom edge at the corner.
- Chain 1, single crochet into the first st.
- Locate the next sc and begin the border:
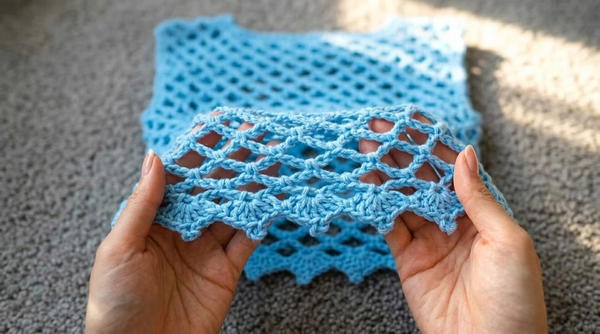
- Work 3 double crochets, followed by a picot (ch 3, sl st into the top of the 3rd dc), then 2 double crochets.
- Skip to the next sc and place a single crochet.
- Repeat this border pattern around the vest edge.
Step 6: Strap Creation
- Using a smaller hook (optional), begin with a slip knot.
- Ch 3, then sl st into the first chain to form a picot.
- Work a simple chain for the desired strap length (e.g., 20 inches).
- End with another picot at the tip, fasten off, and weave in ends.
Attach the strap loops to the vest’s front ties.
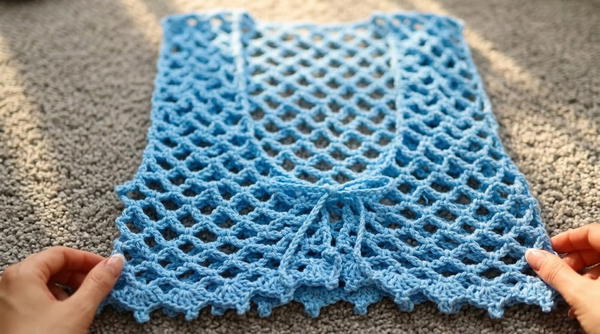
Conclusion
This crochet vest combines elegant looping designs, structured borders, and practical straps to create a comfortable yet stylish accessory. With its adjustable sizing and creative options, this project can be tailored to complement various wardrobes.
Pattern Correction:
Ensure foundation chain math is correct (multiples of 6 + 1) as miscounting this step will misalign loops.
Helpful Tips:
- Blocking: Block your finished piece for crisper edges and proper shaping.
- Testing Fit: Try on the vest periodically to adjust increases and ensure a comfortable fit.
- Adjusting Border: For a wider decorative edge, add more rows of shells/picot designs.