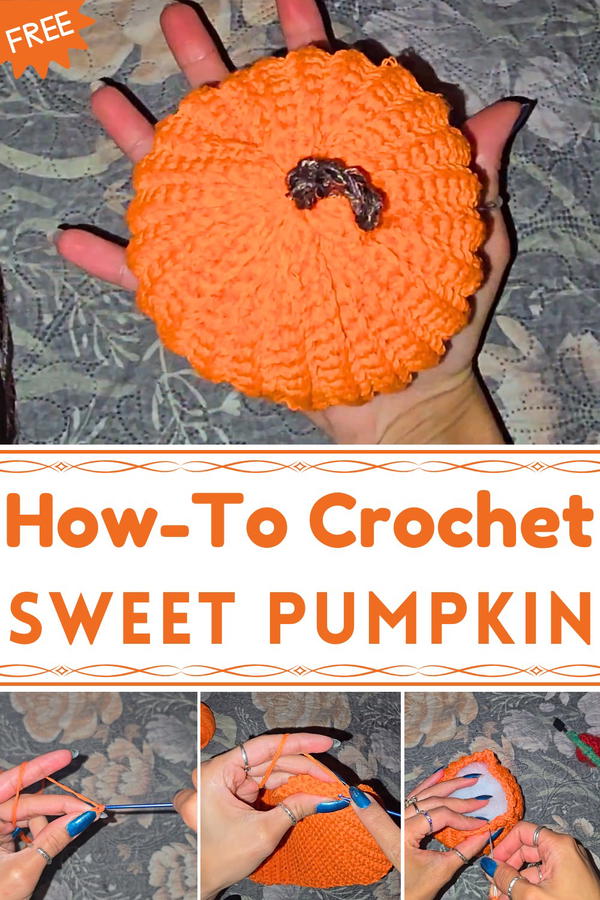
Harvest cozy charm with this Free Crochet Pumpkin Pattern, a festive piece that brings warmth, seasonal flair, and rustic beauty to autumn décor.
These pumpkins can serve as centerpieces for holiday tables, accents for shelves and mantels, or thoughtful additions to gift baskets. Their plush texture adds a tactile warmth that plastic or ceramic versions cannot provide, while the endless color options allow them to match rustic autumn tones or modern décor themes.
Small sizes can double as playful toys, while larger ones create striking focal points in any setting. Lightweight and reusable year after year, they not only enhance seasonal styling but also provide an eco-friendly alternative to disposable decorations. Each handmade pumpkin becomes a symbol of tradition, charm, and creativity woven into everyday living.
Materials Needed
- Yarn:
- Orange yarn for the pumpkin body.
- Brown yarn for the stalk.
- Hooks:
- 2.5 mm crochet hook for the pumpkin body.
- 3.5 mm crochet hook for the stalk.
- Tools:
- Pair of scissors.
- Sharp darning needle.
- Stuffing: Fiberfill or any soft material to stuff the pumpkin.
Step-by-Step Instructions
1: Creating the Pumpkin Body
Foundation Chain:
- Secure your yarn and create a foundation chain of 30 chains.
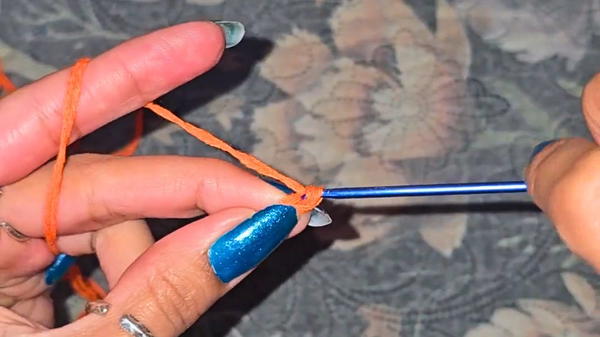
- Secure your yarn and create a foundation chain of 30 chains.
First Row (Single Crochet):
- Skip the first chain and single crochet into the second chain from the hook.
- Continue single crocheting across the row until you reach the end.
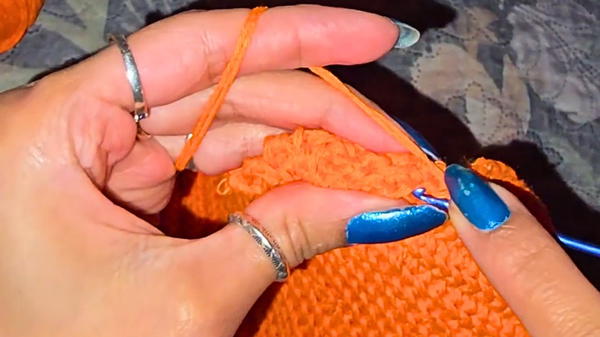
Starting the Ribbing Effect:
- Chain 1 and turn your work.
- Work in the back post only: Insert the hook into the back loop of each stitch and single crochet. This creates a ribbed texture.
Repeat Rows:
- Complete a total of 44 rows, repeating the single crochet pattern in the back post only.
- Always ensure that you crochet into the very last stitch of each row to maintain a straight edge.
Finish the Panel:
- Once 44 rows are completed, cut the yarn and secure it tightly.
2: Assembling the Pumpkin
Seaming the Panel:
- Fold the rectangular panel into a tube shape.
- Sew the two ends together by stitching through the back loops only. Use the darning needle to execute front-to-back and back-to-front stitches for a cleaner and more professional finish.
Closing the Bottom:
- Use the needle and yarn to sew through the tops of the ribbing stitches along one open edge of the tube.
- Pull the thread tightly to gather the stitches and close the bottom securely. Double-knot the thread to ensure the seam doesn’t come undone.
Stuffing:
- Turn the work right side out (the ribbed side should face outward).
- Stuff the pumpkin with fiberfill until it is firm and retains its shape.

Closing the Top:
- Sew through the tops of the ribbing stitches on the opposite open edge of the tube.
- Pull the thread tight to gather the stitches and close the top of the pumpkin. Ensure the top is securely sewn by making a few reinforcing stitches.
Creating Pumpkin Shape:
- To enhance the pumpkin's shape, use a needle and thread to pass through the center from the bottom to the top. Pull tightly to create a slight indentation, mimicking a pumpkin’s natural shape.
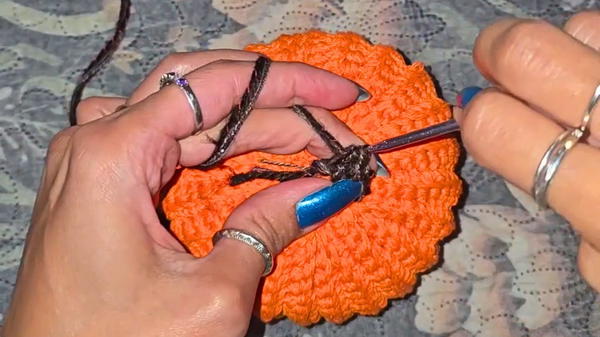
3: Crocheting the Stalk
Creating the Stalk:
- With brown yarn and a 3.5 mm crochet hook, twist the yarn around your hook to create a slip knot.
- Chain 6 and single crochet down the chain to create a sturdy stalk.
Attach the Stalk:
- Secure the stalk to the top of the pumpkin with a few stitches, tucking in any excess yarn for a clean finish.
- Secure the stalk to the top of the pumpkin with a few stitches, tucking in any excess yarn for a clean finish.
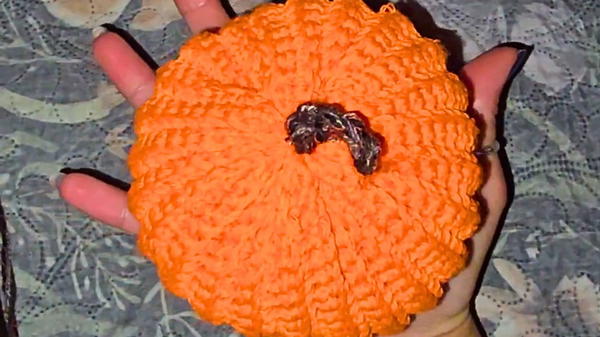
Special Features
- Realistic Ribbing: The back post single crochets create a ribbed texture, replicating the natural grooves of a pumpkin.
- Shape Enhancement: Pulling the yarn through the center transforms the pumpkin’s shape, adding dimension and realism.
- Multi-Use Design: These pumpkins can be used as seasonal décor, part of a fruit and vegetable basket, or as charming handmade gifts.
Level of Difficulty
- Beginner-Friendly: The project is straightforward and uses basic crochet stitches (chain and single crochet), making it an excellent choice for beginners looking to refine their skills.
- Intermediate Features: Techniques such as working in the back post and shaping the pumpkin with stuffing add a touch of complexity suitable for crocheters with some experience.
Tutor's Suggestions
- Avoid Missing Stitches: The tutor emphasizes the importance of crocheting into the last stitch of every row to prevent the panel from caving in or becoming uneven.
- Take Time with Ribbing: While ribbing is repetitive, focus on consistency for an even and professional texture.
- Ensure Tight Seams: Knot and double-stitch seams and gathers to keep the pumpkin structure intact with no gaps.
Uses
- Festive Décor: Use it to decorate for fall, Halloween, or Thanksgiving.
- Fruit Basket Add-On: Combine with crocheted fruits and vegetables for a decorative table centerpiece.
- Handmade Gifts: A delightful gift for anyone who loves seasonal or handmade items.
Tip
When sewing the seams and closing the pumpkin, avoid sharp or sudden tugs with your yarn. Instead, gently but firmly pull the thread to gather the opening evenly, maintaining the shape and avoiding thread breakage.
Conclusion
This ribbed crochet pumpkin is a delightful and stress-free project that you can complete in just a few hours. With its simple construction, realistic design, and versatile uses, it’s a fantastic choice for adding a handmade touch to your home décor or crocheting seasonal gifts.


