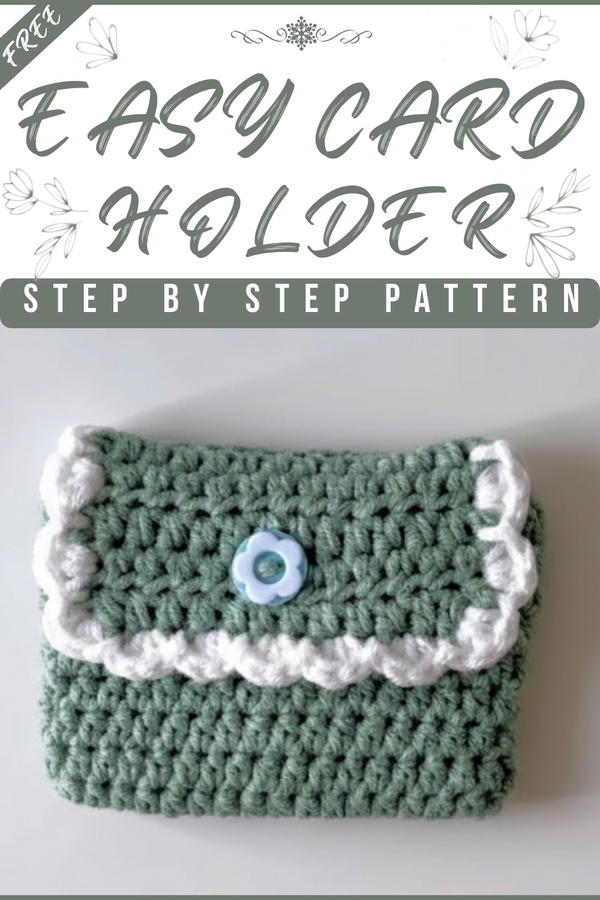
Whip up a cute crochet card holder pattern that’s as fun to make as it is to carry, adding a splash of handmade charm to your everyday style.
If you ever need a small, soft pouch to keep your important cards safe and close, a crochet card holder pattern is just the thing. This handy little wallet is made with colorful yarn and neat stitches, giving it a beautiful look that’s both simple and eye-catching. It fits perfectly in your pocket or bag, making it easy to carry credit cards, ID, or business cards wherever you go.
Chic Crochet Card Holder Pattern for Every Occasion
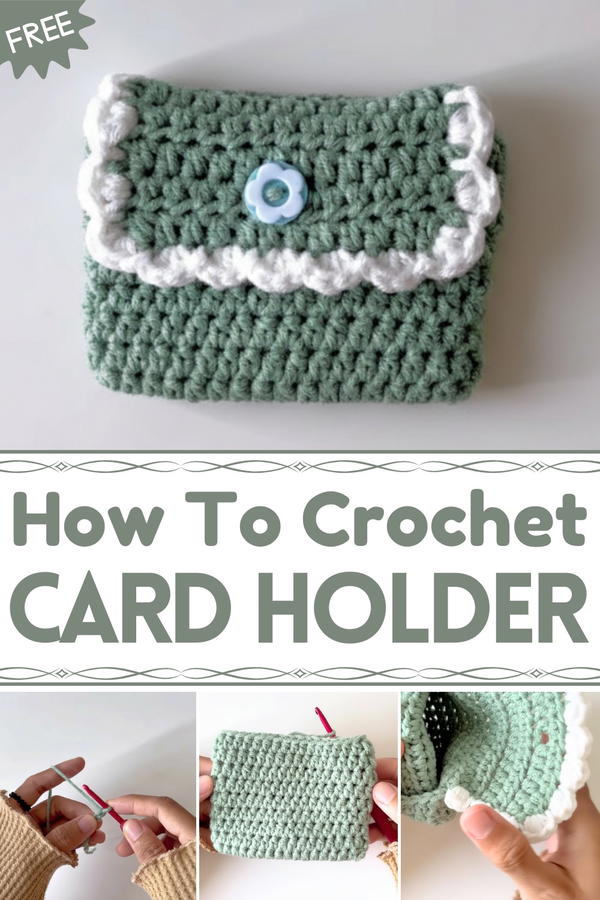
The texture is soft and nice to hold, while its size helps keep your cards organized and easy to find. Durable and easy to clean, this handmade crochet card holder adds a cheerful touch to your everyday life. It’s a practical and pretty way to keep things tidy and stylish, making your busy days a bit brighter and more manageable.
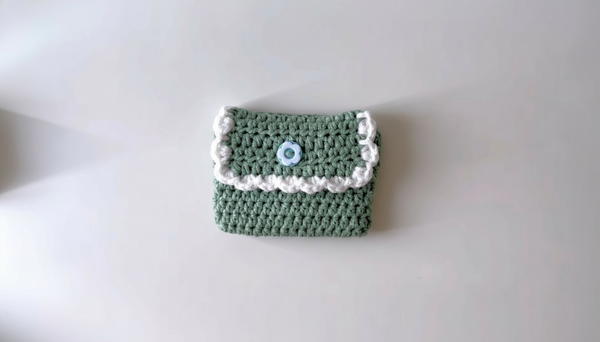
Crochet Card Holder Pattern
Materials Needed
- Medium-weight yarn (two colors for contrast, optional)
- Crochet hook appropriate for yarn (about 4.0 - 4.5 mm)
- Stitch markers
- Scissors
- Yarn needle
- Button and optional hanger for finishing
Step-by-Step Pattern
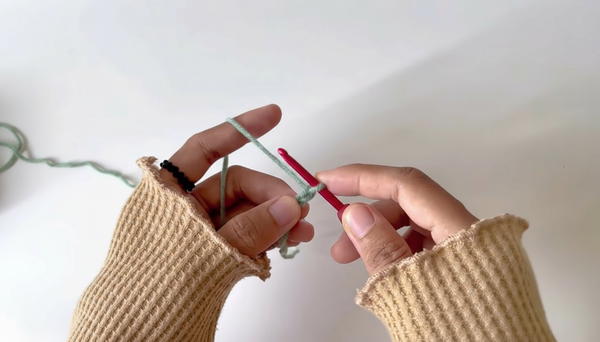
Step 1: Start with Slip Knot and Foundation Chain
- Make a slip knot to start.
- Chain 18 stitches (adjust length by adding in multiples of 2 if desired).
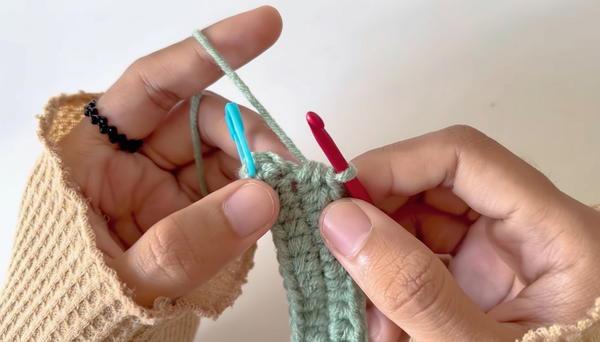
Step 2: Begin Half Double Crochet (HDC) Row
- Skip the first 2 chains; the 3rd chain from the hook is where you’ll work your first HDC.
- Make HDC into the 3rd chain: yarn over, insert hook, yarn over and pull through, yarn over and pull through all 3 loops on hook.
- Place a stitch marker on this first HDC for reference.
- Continue working HDC into each chain stitch until you reach the last stitch.
Step 3: Increase on End Stitches
- In the last chain, work 3 HDC stitches in the same stitch to increase width.
- Continue down the other side of initial chain by making HDC in each stitch.
Step 4: Complete Round by Working HDC and Increases
- When you reach the opposite end, again work 3 HDC in the last stitch to mirror the increase from Step 3.
- Join the round by working a slip stitch into the first marked HDC.
- Count your stitches — there should be 34 stitches.
- Cut the yarn leaving a tail and secure.
Step 5: Second Row — Building Height with Chain and HDC
- Attach yarn. Chain 2 (counts as HDC height). Mark the second chain.
- Work 1 HDC in each stitch around, following the stitch count.
- Do not increase on the ends for the following rows, only one HDC per stitch.
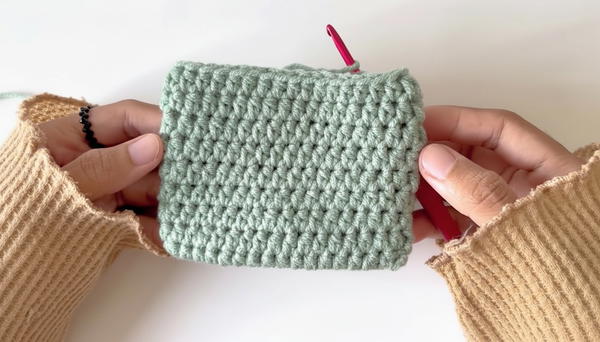
Step 6: Repeat Rows
- Continue repeating Step 5 (chain 2, mark chain, work 1 HDC per stitch) for a total of 9 rows to build the height of the holder.
- Always slip stitch to join each round at the marker.
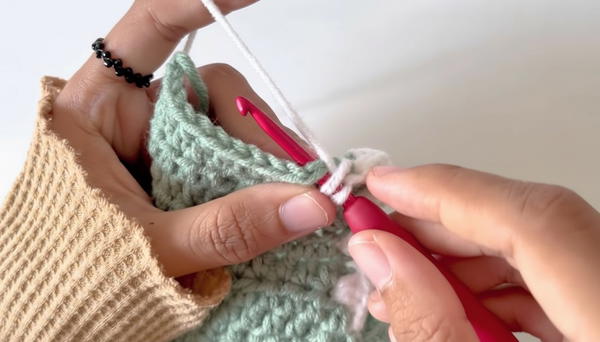
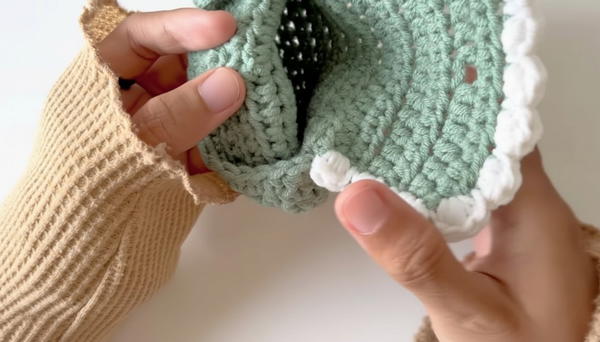
Step 7: Front Loop Slip Stitch Edge
- For finishing, work slip stitches only through the front loops of each stitch around the perimeter.
- Chain 2 to start this edge row and turn.
- Slip stitch in the front loop only, ensuring neat, clean edges.
- Work 13 stitches in this manner for the buttonhole area.
Step 8: Buttonhole Row
- Continue with the usual slip stitches and HDC except skip the 7th hole to create an opening (buttonhole) in the piece.
- Continue the complete row with HDC stitches for buttonhole shaping.
Step 9: Fasten Off
- When complete, make one chain and cut yarn leaving a tail for weaving.
- Weave in all ends neatly with a yarn needle.
Step 10: Assembly — Sew on Button and Optional Hanger
- Position the button across from the buttonhole and sew securely onto the holder. Use thick thread or unravel yarn to fit threading needles if needed.
- Optionally, make and attach a hanging loop or strap on the back.
Special Features
- Shaping by increasing stitches at the ends of rounds.
- Slip stitch edging in front loops for tidy finish.
- Buttonhole integrated into design.
- Modular size — adjust chains and rows to fit any cutlery or utensil size.
Level of Difficulty
Beginner to Intermediate
Basic knowledge of chains, half double crochet, slip stitch, and working in rounds required. Handling stitch markers and increases adds intermediate skills.
Tutor’s Suggestions
- Always mark your first stitch to keep track of rounds.
- Use stitch markers especially for buttonhole rows for precision.
- Block your finished piece for neatness.
- Customize colors for kitchen themes or gifts.
- Use sturdy yarn for durability.
Uses
- Organizing kitchen cutlery and utensils.
- Practical home or gift item.
- Adaptable to different sizes and styles.
Pro Tip
Make the buttonhole wider or narrower depending on your button size by adjusting how many stitches you skip. Test button fit before final fastening.
Conclusion
Congratulations! You have completed a beautiful and functional crochet card holder. With easy stitch patterns and a touch of shaping, it’s an excellent project to boost your crochet skills while creating something practical.