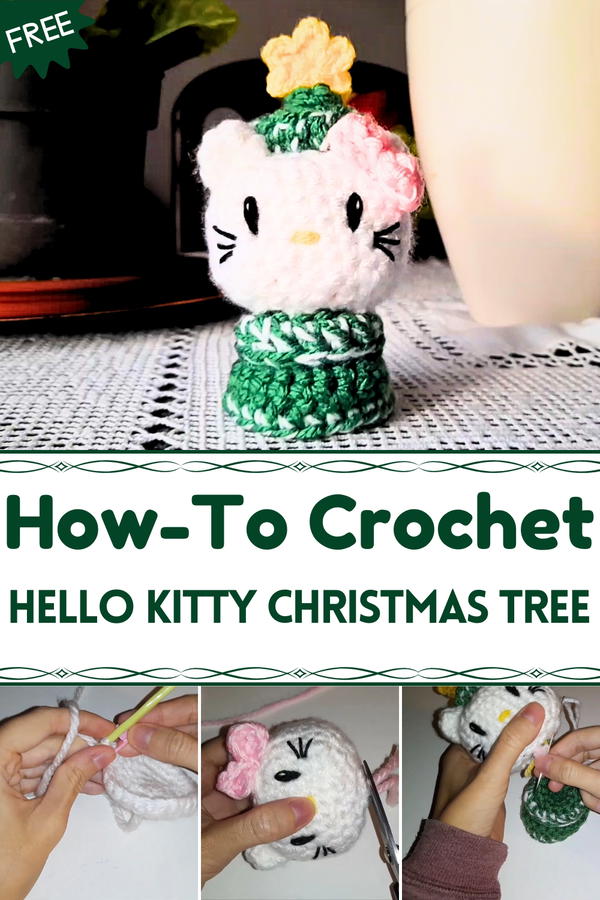
Charm the holidays with this Crochet Hello Kitty Christmas Tree pattern, a festive design that blends cute character magic with seasonal décor.
Festive traditions often feel more memorable when they carry a touch of charm that speaks to both nostalgia and joy. A Crochet Hello Kitty Christmas Tree pattern does just that, offering a delightful way to celebrate the season while adding personality to holiday décor. With its playful structure, it combines the warmth of handmade texture with the recognizable charm of Hello Kitty, turning a simple decorative piece into something truly heartwarming. Its soft details and character-inspired accents bring a sense of cheer, making it appealing not only for children but also for those who hold fond memories of the beloved icon.
Magical Crochet Hello Kitty Christmas Tree for Festive Charm
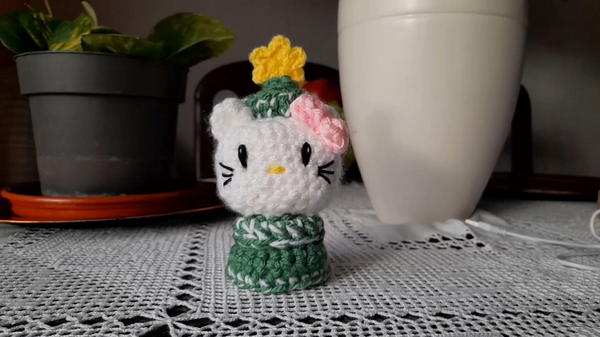
This unique tree serves as a centerpiece or a thoughtful accent for mantels, side tables, or even office desks, instantly brightening the atmosphere with its lighthearted appeal. Beyond aesthetics, its durability ensures it can be displayed year after year, carrying with it both tradition and sentiment.
Unlike store-bought decorations, this piece holds a distinctive beauty that reflects time and care, making it an heirloom-worthy treasure. Whether used to bring a smile to a child’s face or to add a whimsical twist to seasonal décor, the Crochet Hello Kitty Christmas Tree pattern symbolizes warmth, joy, and the lasting comfort of festive spirit.
Materials Needed
To complete this project, you'll need:
Yarn:
- White yarn (for Hello Kitty’s head and ears)
- Black yarn (for the eyes and whiskers)
- Yellow yarn (for the nose)
- Green and white yarn (for the Christmas tree and snow effect)
Crochet Hook:
- A hook size compatible with your chosen yarn (typically 3.5mm–4.5mm).
Stitch Marker:
- Useful for marking the last stitch of a row when working in continuous rounds.
Stuffing Material:
- Leftover yarn scraps, fiberfill, or repurposed plush/pillow stuffing.
Needle and Scissors:
- For sewing pieces together and trimming yarn ends.
Optional Embellishments:
- Charms or small ornaments to decorate the tree.
Step-by-Step Instructions
Step 1: Crochet the Hello Kitty Head
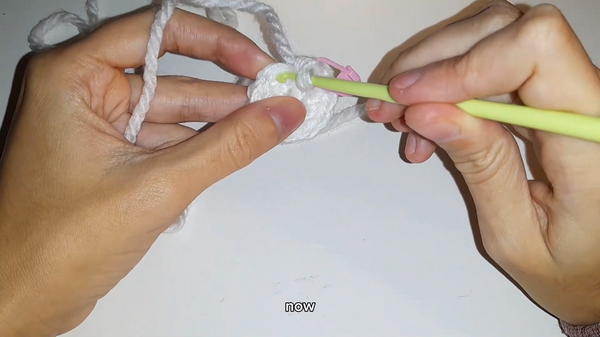
Magic Ring:
- Start with a magic ring and crochet 6 single crochets into the ring.
Increase Rounds:
- Round 2: Make an increase in each stitch (2 single crochets per stitch) to get 12 stitches.
- Round 3: Alternate 1 single crochet and 1 increase, ending with 18 stitches.
- Round 4: Crochet 1 single crochet, an increase, another single crochet, and repeat the pattern for 24 stitches.
- Round 5: Crochet 3 single crochets, then an increase, and repeat, ending with 30 stitches.
- Round 2: Make an increase in each stitch (2 single crochets per stitch) to get 12 stitches.
Body of the Head:
- Rows 6–9: Crochet 1 single crochet in each stitch (30).
- Rows 6–9: Crochet 1 single crochet in each stitch (30).
Decrease Rounds:
- Round 10: Crochet 3 single crochets, then a decrease (combining two stitches). Repeat, ending with 24 stitches.
- Round 11: Alternate 1 single crochet, 1 decrease, and 1 single crochet, ending with 18 stitches.
- Round 12: Alternate 1 single crochet and 1 decrease, ending with 12 stitches.
Stuff the Head:
- Add stuffing to the head using leftover yarn, fiberfill, or any soft material.
Final Decrease:
- Perform decreases in each stitch until the hole is closed. Secure and weave in the yarn end.
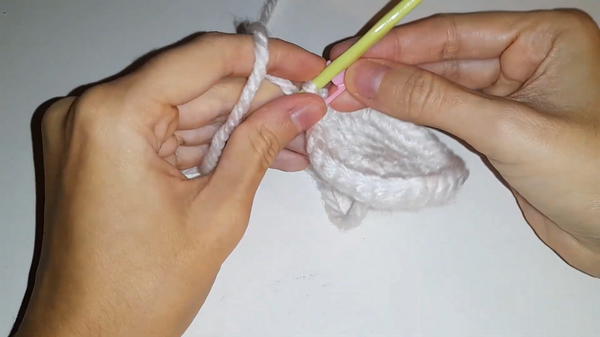
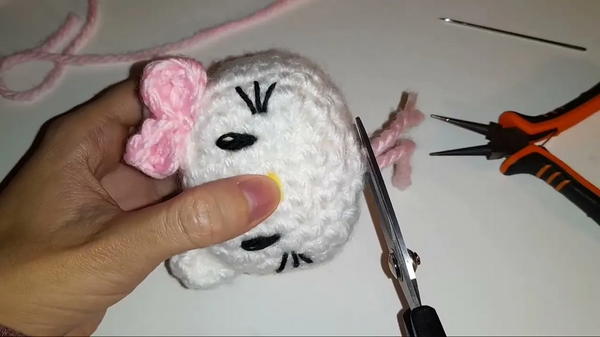
2: Add the Hello Kitty Face
Create Facial Features:
- Use black yarn to create the eyes and whiskers.
- Use yellow yarn to make the nose.
Attach Features:
- Insert the yarn into the desired location, pull through to lock stitches, then finish by knotting and hiding the ends inside the head.
3: Make the Ears
Magic Ring Base:
- Start with a magic ring and crochet 4 single crochets.
Shape the Ears:
- Row 2: Alternate 1 single crochet and 1 increase to end with 6 stitches.
- Row 3: Crochet 2 single crochets, then 1 increase, repeating the pattern to end with 8 stitches.
Finish and Attach:
- Pinch the ear into shape and sew it securely to the top of Hello Kitty’s head.
4: Create the Bow
Magic Ring:
- Create a magic ring and chain 3. Crochet 2 double crochets into the ring, followed by another chain of 3, and slip stitch.
Repeat:
- Chain 3 again, make 2 more double crochets, followed by another chain of 3, and finish with a slip stitch.
Attach the Bow:
- Secure the bow between the ears for added flair.
- Secure the bow between the ears for added flair.
5: Start the Christmas Tree Hat
Magic Ring and Base Rounds:
- Start with a magic ring and make 6 single crochets.
- Row 2: Crochet 1 single crochet in each stitch.
Increase Rounds:
- Row 3: Alternate 1 single crochet and 1 increase (9 stitches).
- Row 4: Crochet 2 single crochets, then 1 increase (12 stitches).
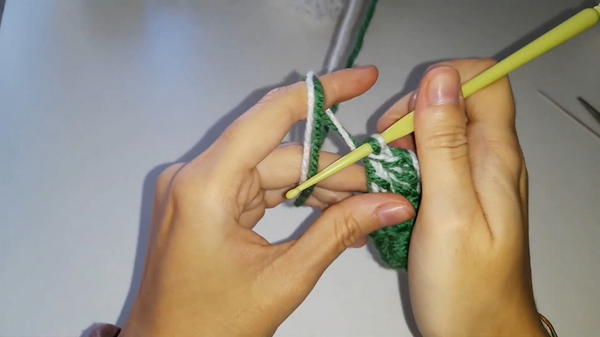
Add Snow Layers:
- Crochet into the front loop only (FLO) for visibility. Switch to white yarn and chain 3, making double crochets to add a snowy effect at the edge of each round.
6: Add Final Tree Shaping
Additional Rows:
- Continue crocheting rows with 1 additional single crochet between increases as the tree widens.
Fold the Base:
- Fold inward to make a stable base for Hello Kitty.
Decorate the Tree:
- Use extra white yarn or create a star to attach to the top of the tree.
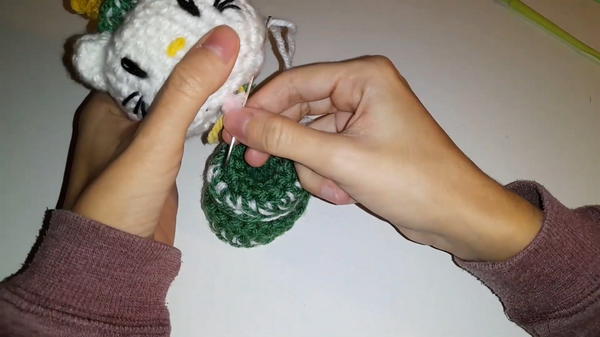
Attach or Glue the Tree to Hello Kitty's Head:
- Either sew or use glue to attach the tree securely.
- Either sew or use glue to attach the tree securely.
Special Features
- Holiday Themed: The combination of Hello Kitty and a Christmas tree makes this crochet creation ideal for holiday gifting and decorations.
- Beginner-Friendly: Uses simple stitches like single crochet, increases, decreases, and magic rings.
- Customizable: Add decorations to the tree and personalize the colors and embellishments to match your style.
- Adorable Design: The Hello Kitty character is universally loved, and the tree hat adds a unique festive touch.
Level of Difficulty
Beginner to Intermediate: This project mainly requires knowledge of basic stitches, increases, and decreases. Any beginner who can follow step-by-step instructions and work with magic rings can achieve this project.
Tutor's Suggestions
- Use a Stitch Marker: To avoid losing your place during continuous rounds.
- Stuff Carefully: Avoid overstuffing to maintain the round shape of Hello Kitty’s head.
- Work Front Loops for Details: FLO stitches create visible lines, giving the snow effect a seamless look.
- Switch Between Yarns Efficiently: Practice switching between white and green yarn for a clean snow effect on the tree.
Uses and Benefits
- Holiday Gift: A perfect handmade gift for fans of Hello Kitty and crochet lovers.
- Seasonal Decoration: Use it as a decorative piece for Christmas displays.
- Skill Practice: A fun and rewarding project for honing your crochet techniques.
Tip
When crocheting with green and white yarn simultaneously for the snowy details, keep the unused yarn taut at the back to avoid tangling and messy transitions between colors.
Conclusion
The Hello Kitty Christmas Tree pattern provides a fun and festive way to crochet a well-loved character with a holiday twist. It blends creativity and practical techniques, making it a delightful project for beginner and intermediate crocheters alike. With the option to customize and decorate, Hello Kitty can become a centerpiece for holiday celebrations or a perfect handmade gift.


